


With our Solo Guide for the Cayo Perico Heist in GTA Online, you can ace the finale and secure valuable loot. The approach is even simple on “Hard” and suitable for beginners. We also provide tips for the heist.

What kind of guide is this? The Cayo Perico Heist has been in the game since December 2020 and remains the best method to quickly earn a lot of money even in 2026. There are different approaches that affect the time required.
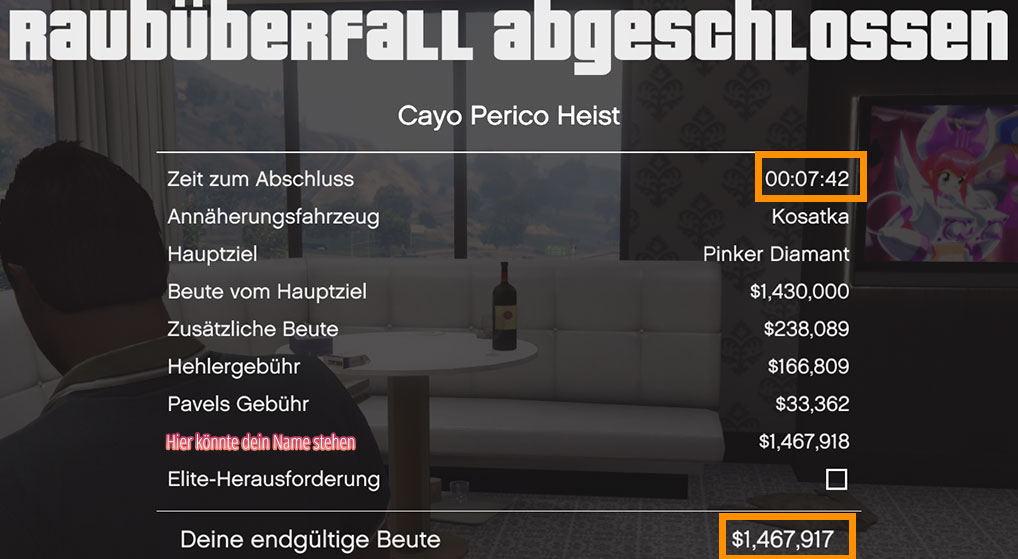
In this guide, we will show you a method to rob the main target, steal some additional valuables, and complete the finale in 7 minutes. This can earn you about 1.4 million GTA Dollars and is one of the easiest tasks for solo players. This is how you easily make money solo.
Keep in mind that there are many ways to rob El Rubio. We are showing you one that has worked very well for us and that we have successfully completed more than 100 times. It works without triggering any alarms.
Preparations – Which missions are necessary?
Before you can start the heist, you need to go to the planning screen in your Kosatka and make various preparations. The planning screen is divided into “Information”, “Equipment”, and “Finale”.
Information: If you are playing the heist for the first time, it is advisable to familiarize yourself with the island and find all the different infiltration points. However, for our guide, only the sewer tunnel is important as an infiltration point.
We have also scouted the escape points, but only one is important in the guide. We take the main dock. We also know all the access points to the estate – but we rely on the sewer tunnels here too. There is a trick for scouting Cayo Perico. Keep in mind that you only need to scout the various points once and then use it again in future heists.
You can scout interesting items however you like. For this approach, it’s not important.
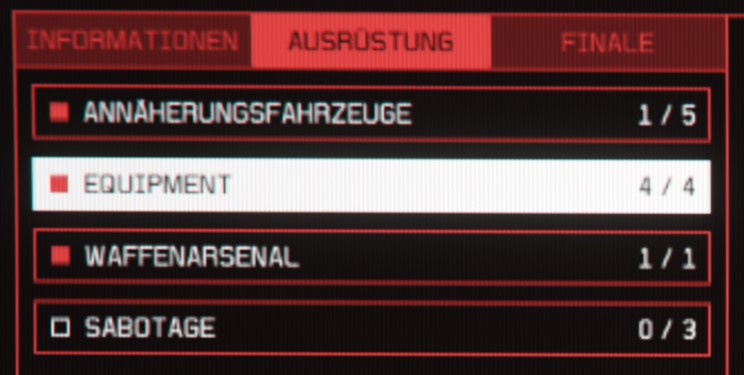
Equipment: The Kosatka and Longfin are good choices as approach vehicles. The Longfin is better suited if you want to take secondary loot such as cash or cocaine from the docks or runway. We describe the approach with the Kosatka in our guide, so we recommend taking this as well. Ultimately, it’s a matter of personal preference.
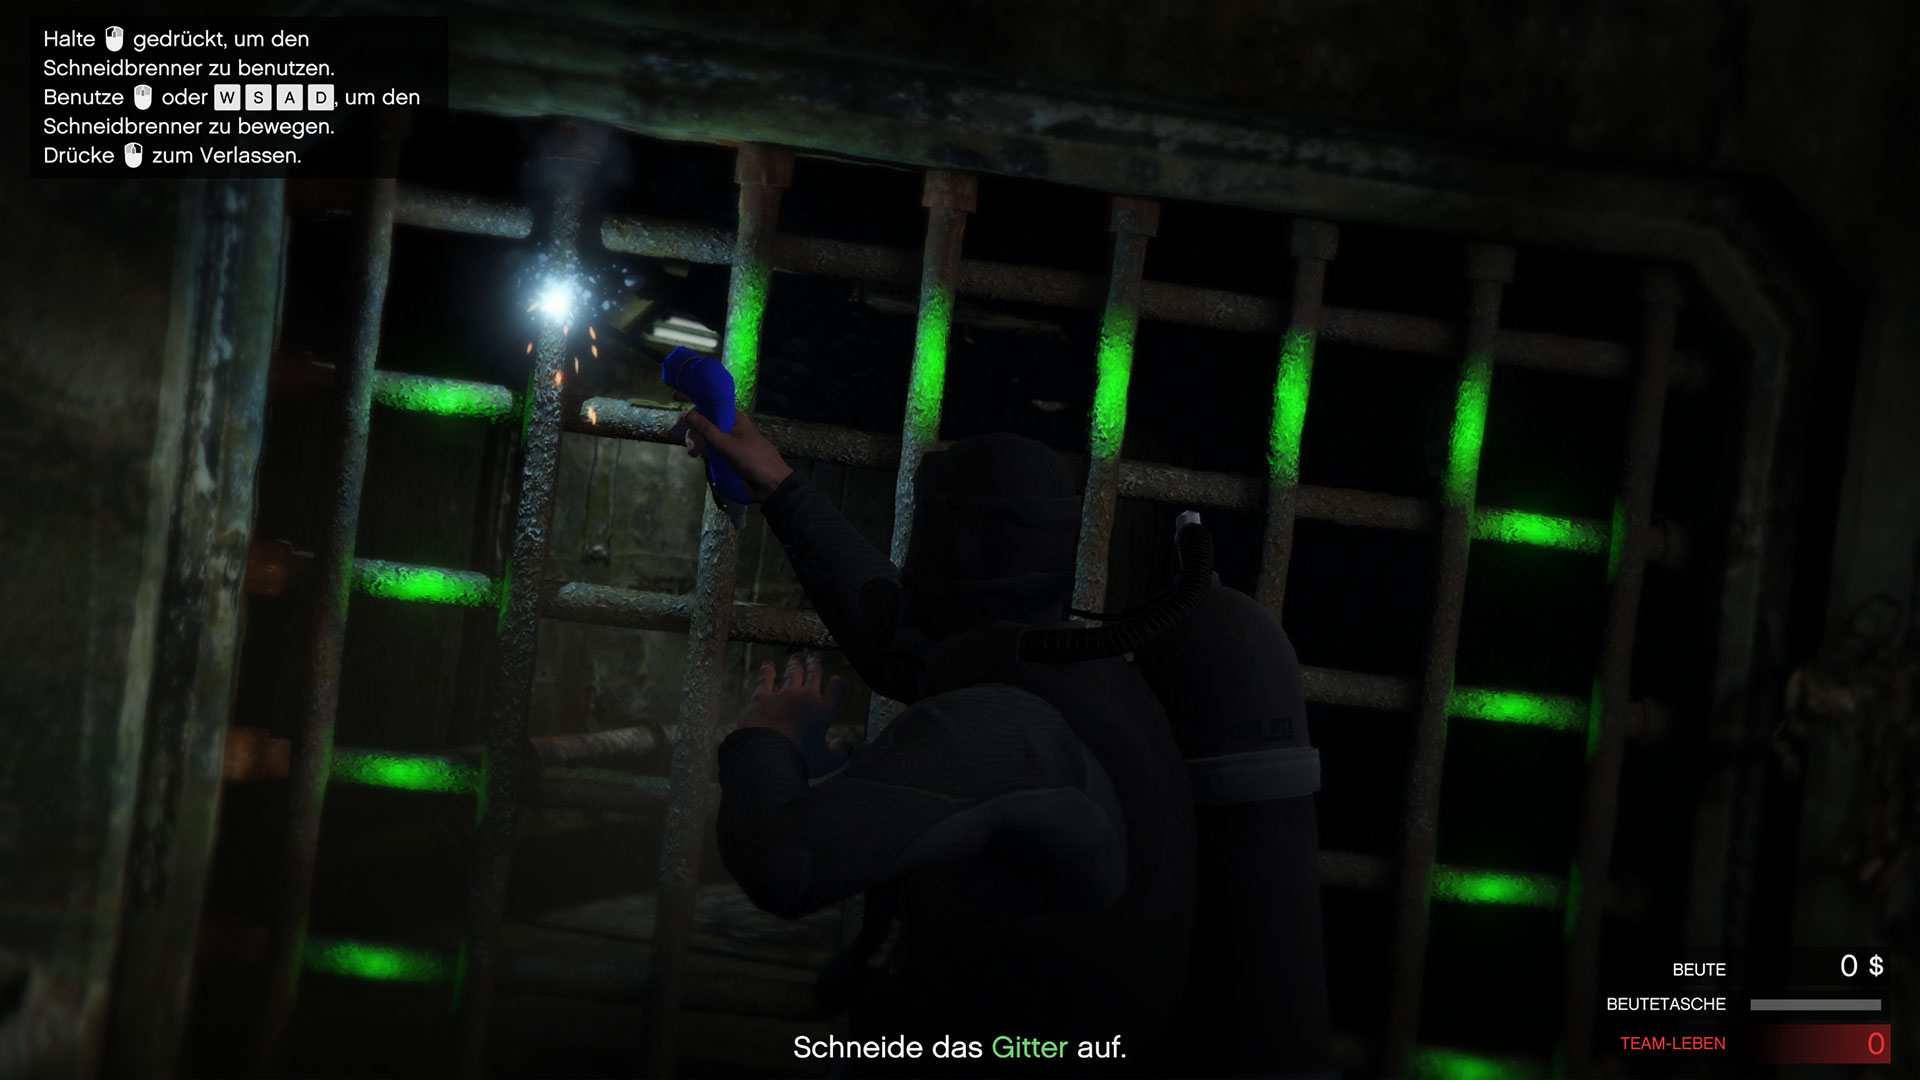
You will definitely need the cutter to open the grate of the sewer tunnel and small locks in El Rubio’s vault. The fingerprint scanner is necessary for quickly getting in and out of the basement. You also need the plasma cutter to steal the main target. The demolition charge is optional and not needed.
For the weapon arsenal, we choose Aggressor. But this also depends on your taste. Typically, you take down two to four guards. It is important that you can quickly pull out the weapons and that they work with silencers.
Tip: You do not need to buy the silencers. If you choose the nighttime approach, you will receive them automatically, saving you 5,000 GTA Dollars.
We do not need sabotage missions for this approach at all.
Summary of preparations:
- Approach vehicle: Kosatka
- Equipment: Plasma cutter, fingerprint scanner, cutter
- Weapon arsenal: Aggressor
- Sabotage: None necessary
Cayo Perico Finale – Make a Choice and Start
After the preparations, you can start the job alone from the planning screen. Buying armor for $500 is not necessary. However, you can take it with you if you’re unsure.
Choice:
- Approach vehicle: Kosatka
- Infiltration point: Sewer tunnel
- Access to the estate: Sewer tunnel
- Escape point: Main dock
- Time of day: Night
- Weapon arsenal: Aggressor (no need to buy silencers)
- Hire support crew? No
Now you can start the job.
Start the Heist – Simple Route for a Quick Finale
Here’s what to do next: After starting the heist, your loyal Pavel will take you to the vicinity of the sewer tunnel with the submarine. You need to swim straight for about 30 seconds and will arrive at the grate marked in yellow. Head straight to the grate and then select the option to cut it open with the cutter. Cut all the green-marked bars and you’re in the tunnel.
Swim through the tunnel until the end and then surface. Confirm the prompt to enter El Rubio’s estate. For the optimal route, you must not lose time now.
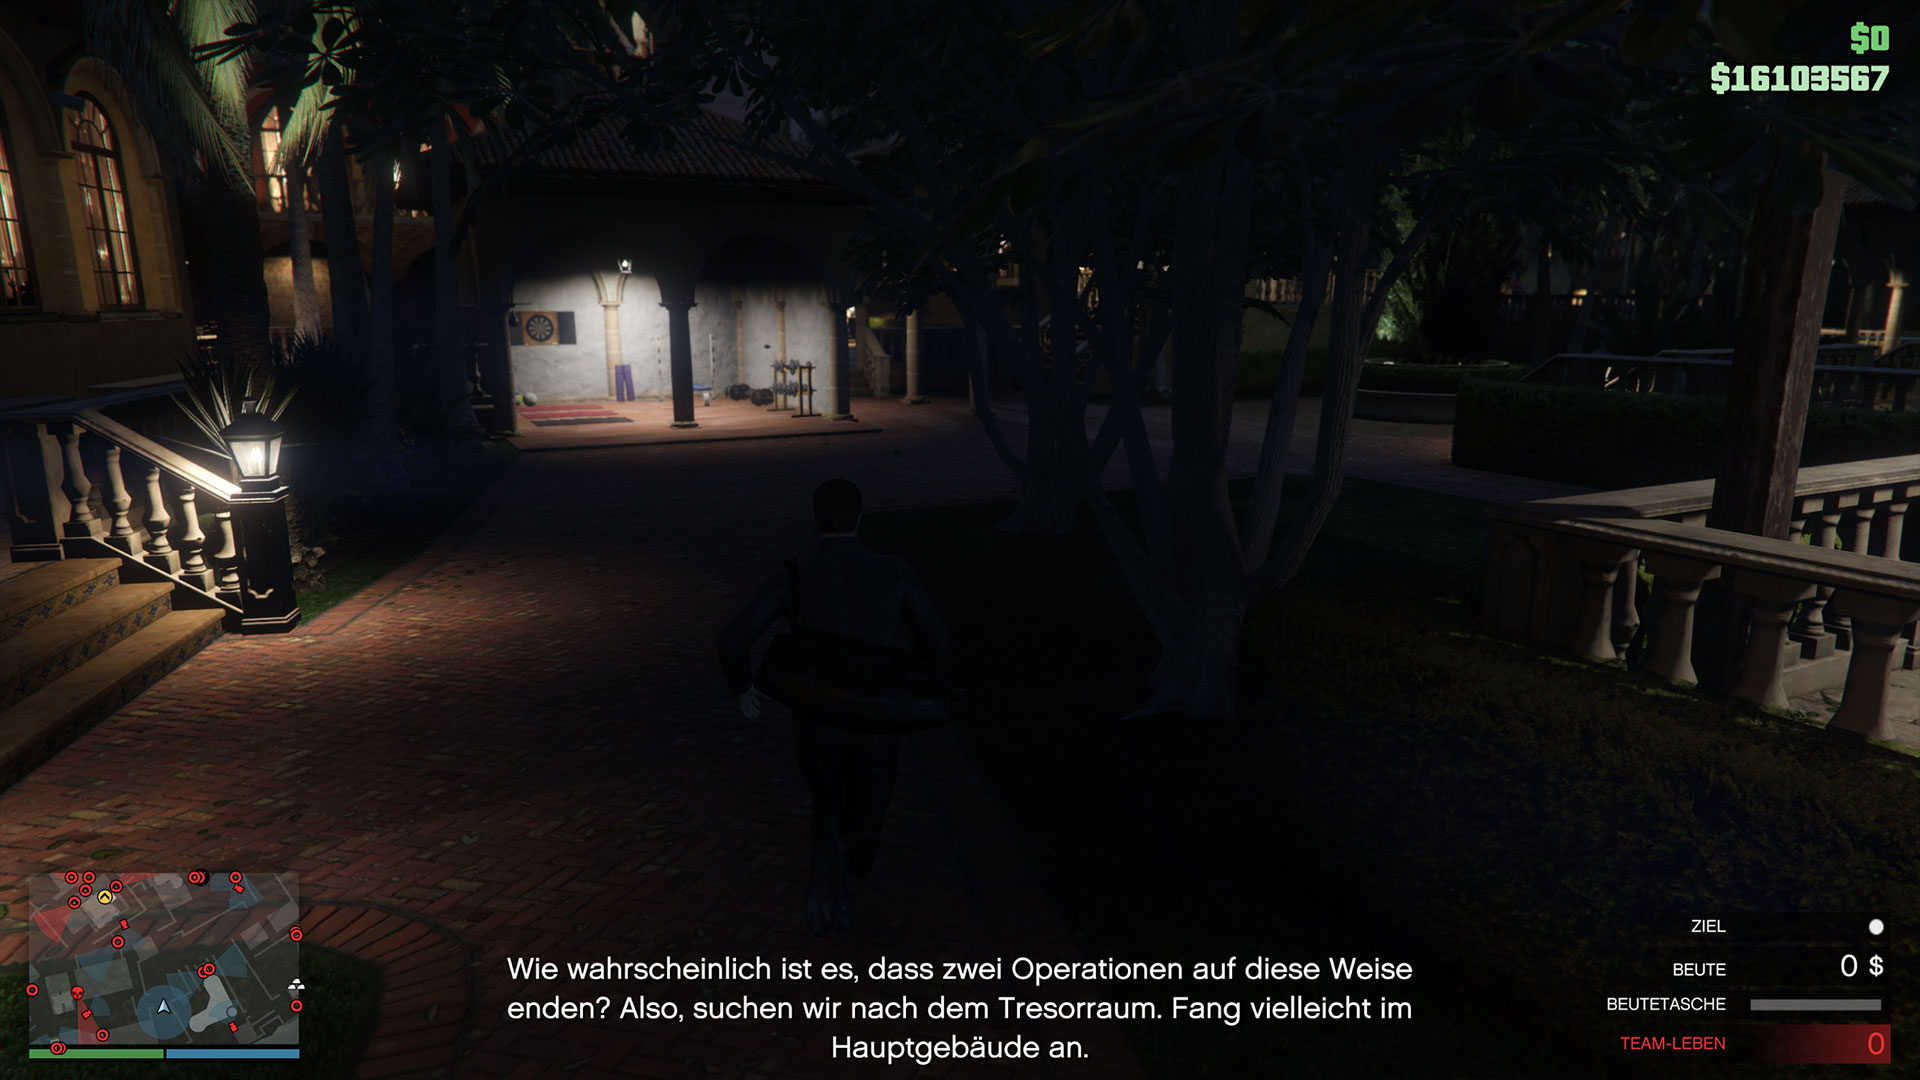
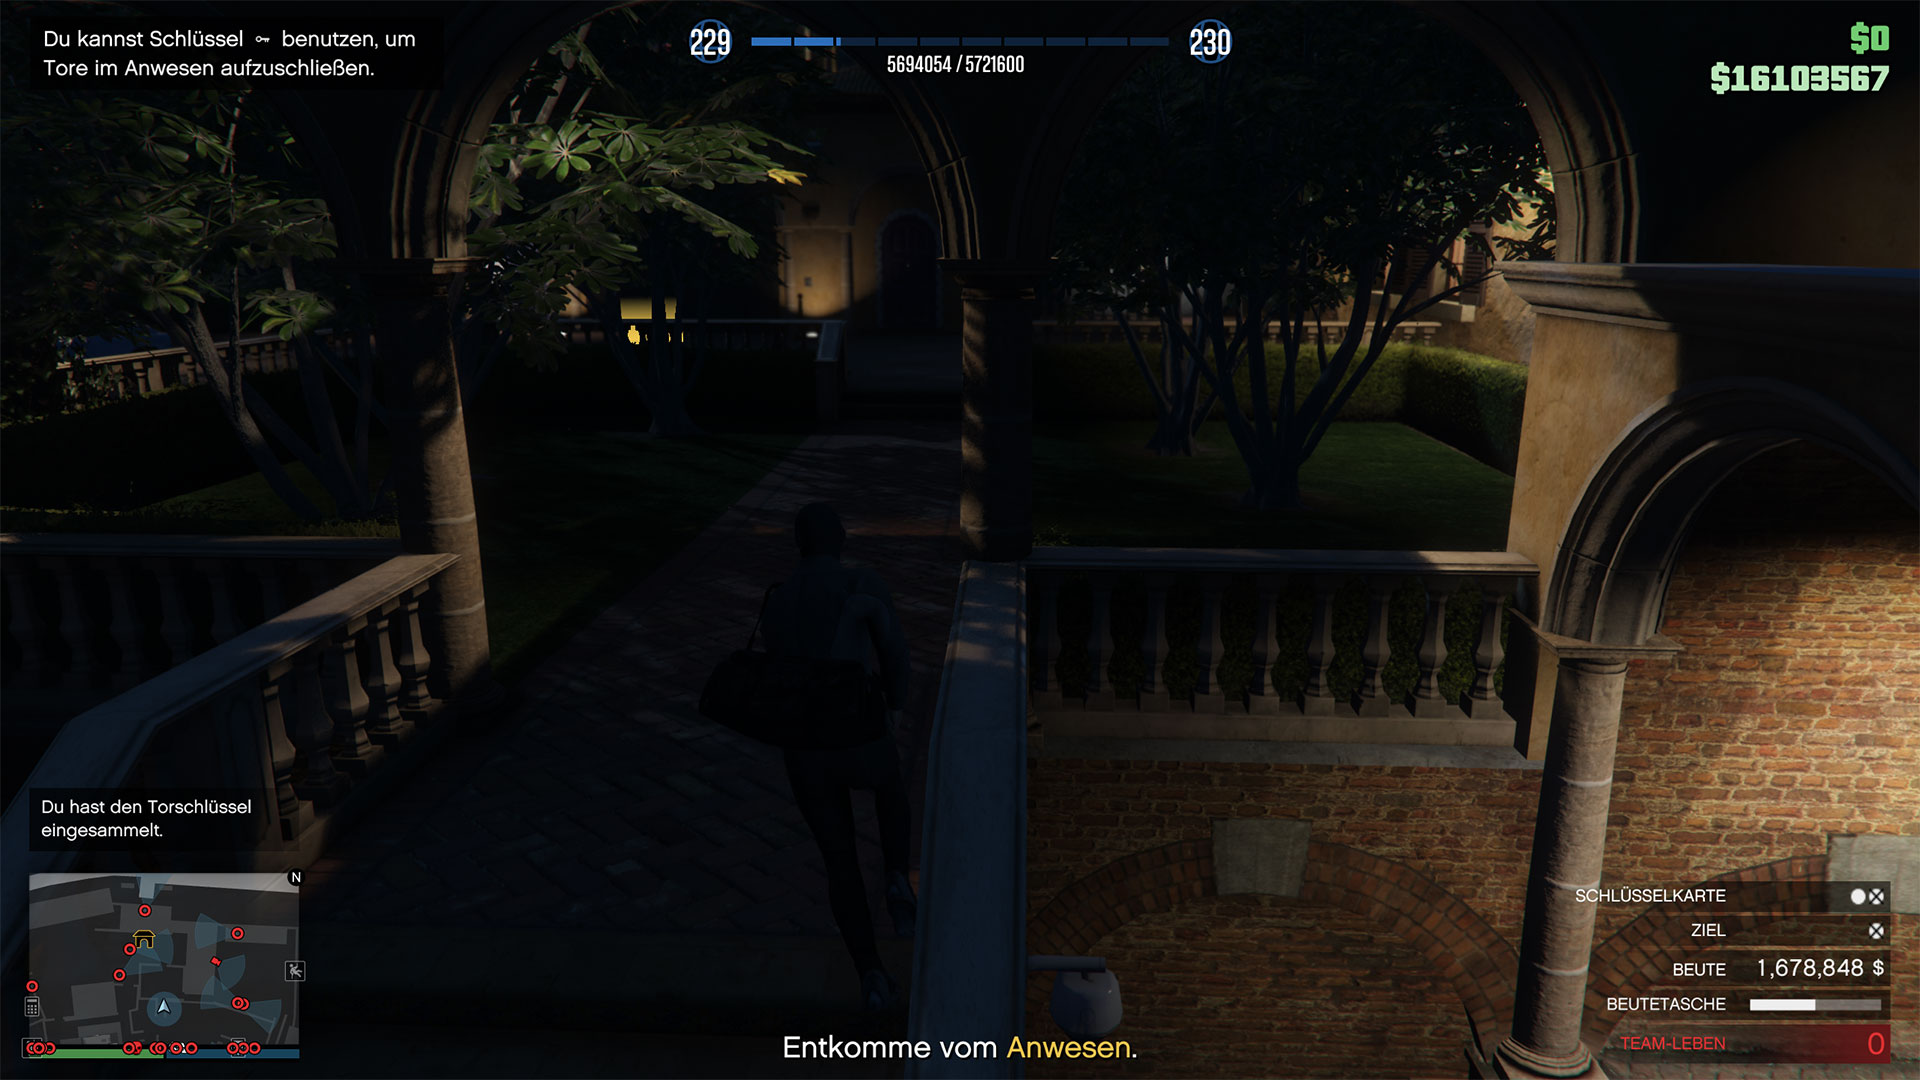
The route to the loot: After surfacing from the tunnel, a short cutscene plays. Turn around right after that, go up the stairs and, as shown in the graphic, run across the area. If you do not dawdle, you can sprint completely to the next point without being disturbed by guards.
Before the large staircase, pause briefly and wait for the guard to go to the right (first red X on the route graphic). Then go up the stairs and around the left side of the building. Once at the back, sneak up and shoot the guard standing there (second red X on the route graphic). With some luck, the guard will drop a gate key that will be important later.

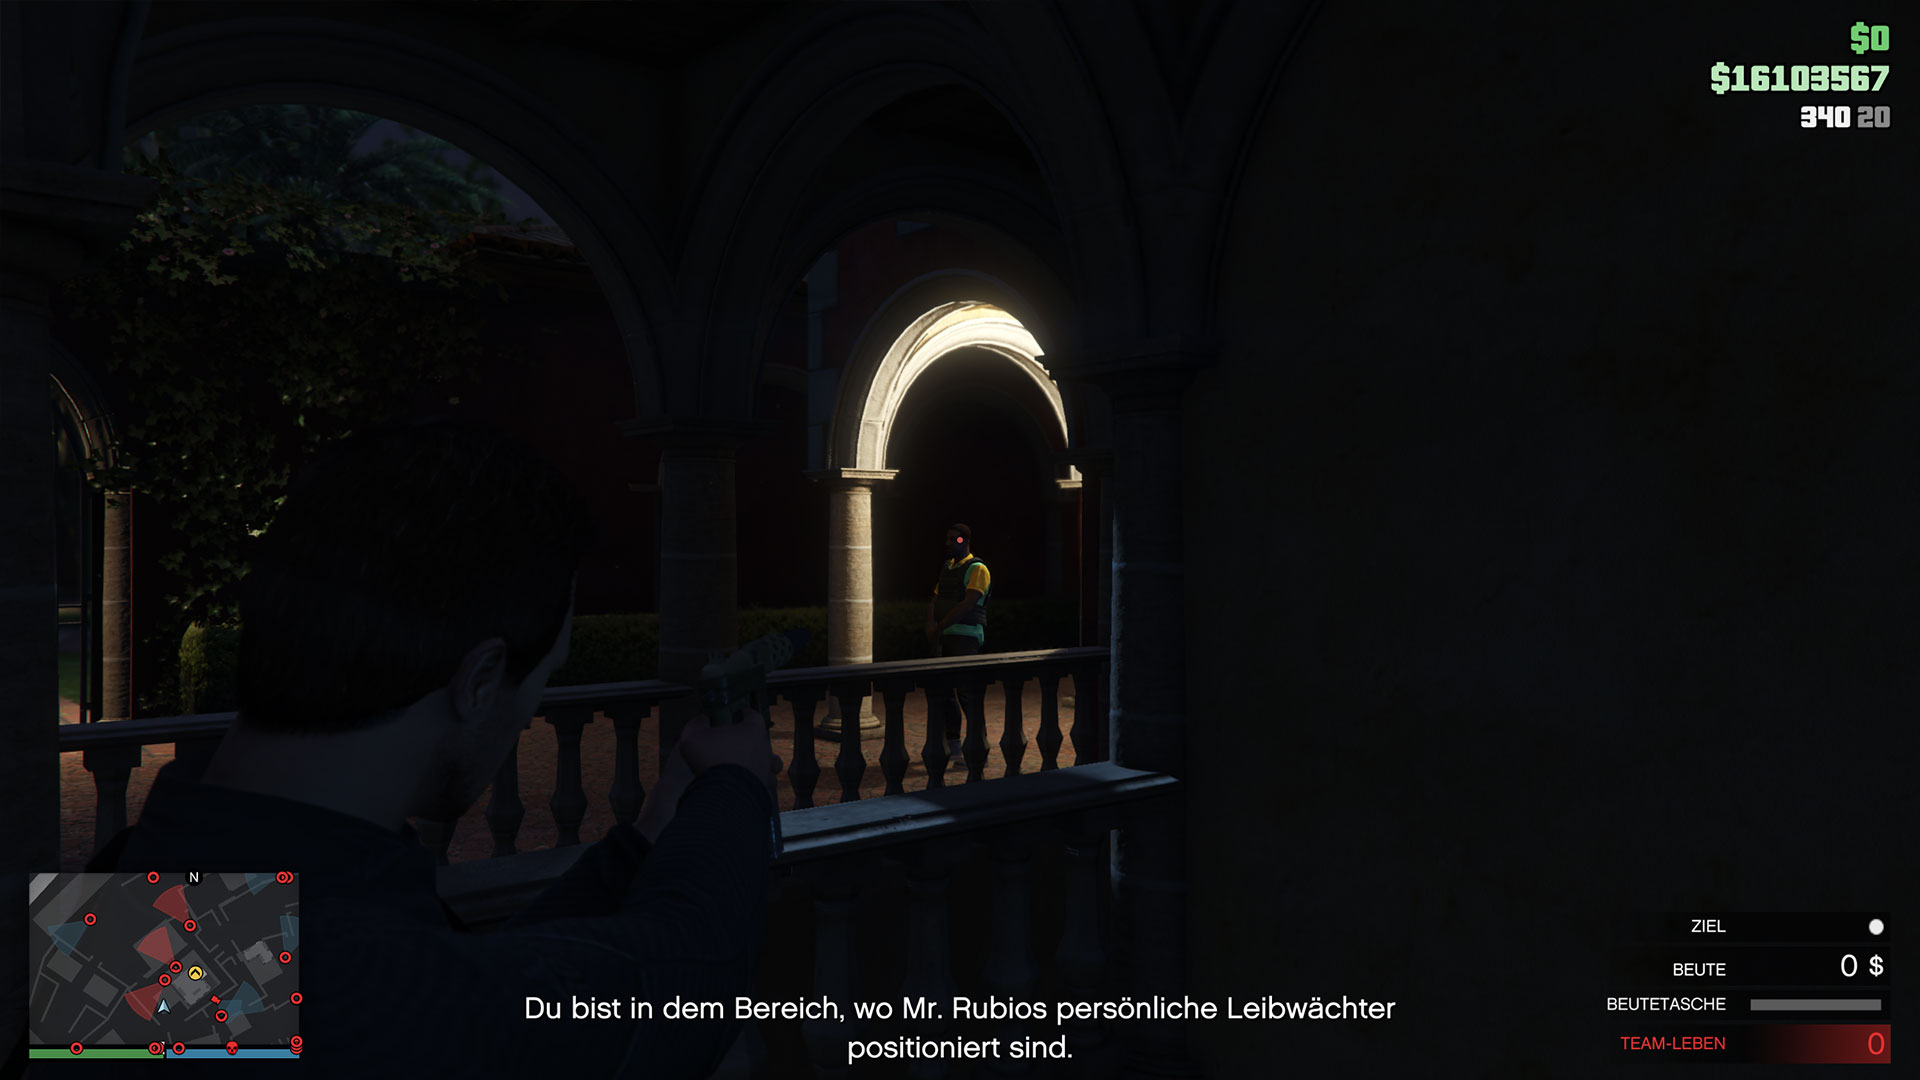
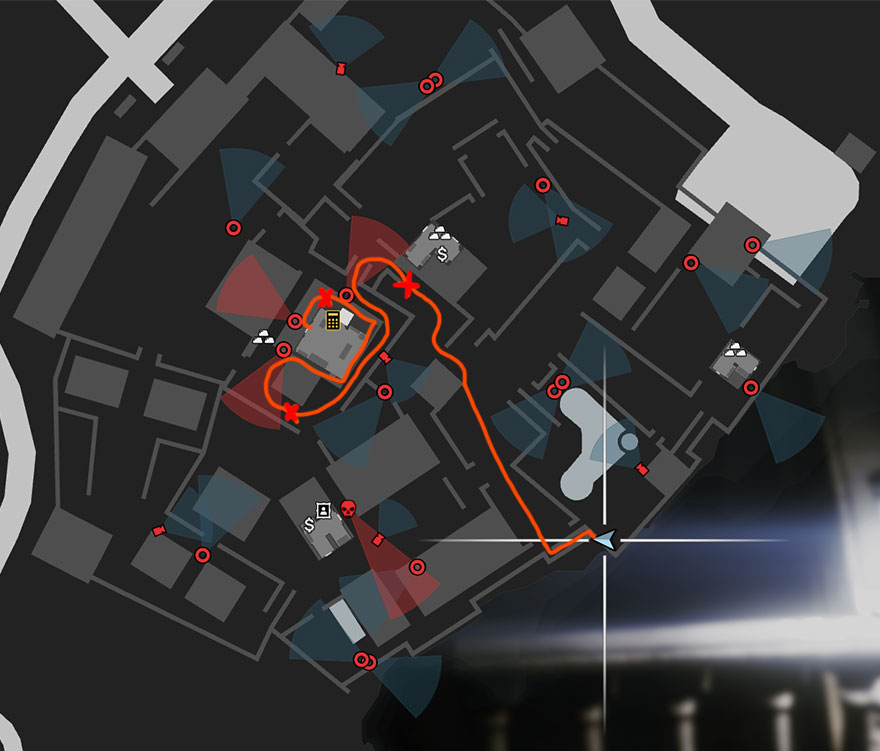
After the kill, continue straight up the stairs. A guard will come down the stairs towards you. Take him out quietly, preferably with a melee attack to the face (third red X on the route graphic). There is also a chance that the guard will drop a gate key. Be sure to pick it up.
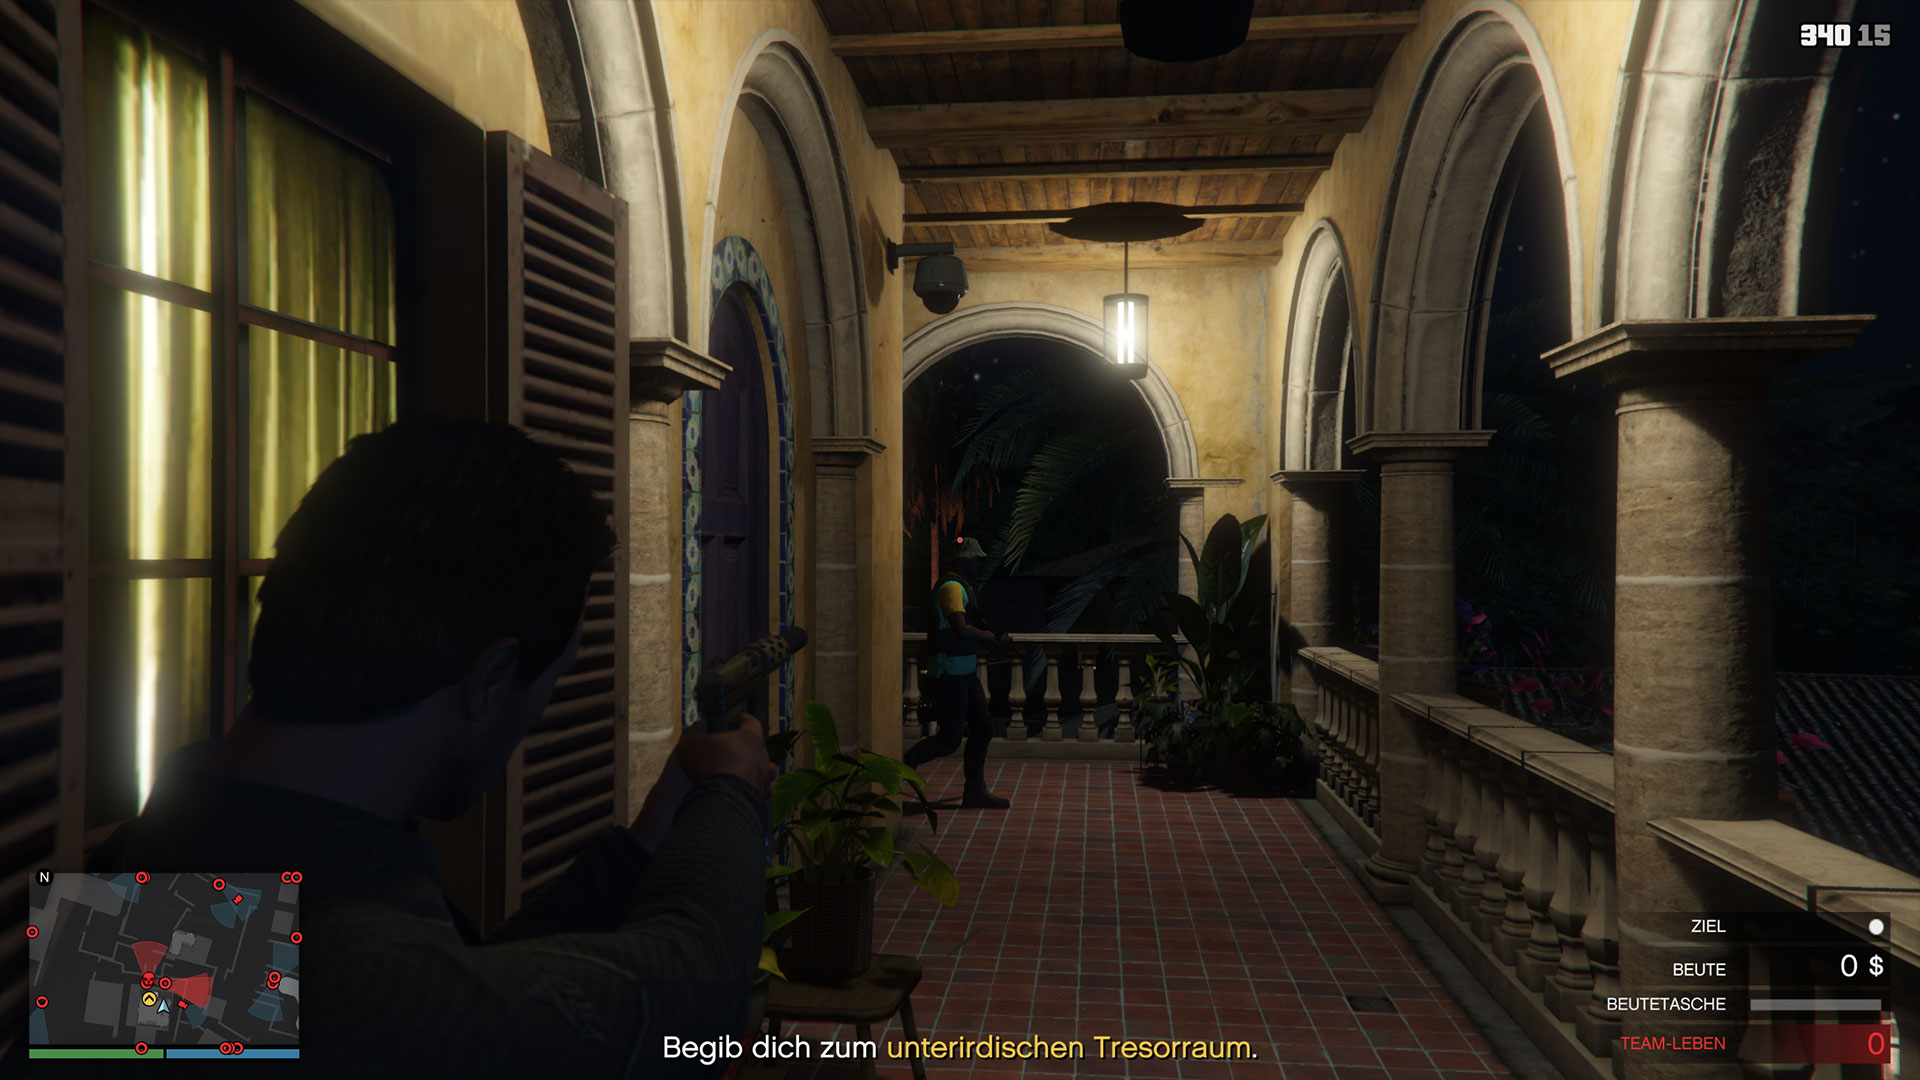
Now you are quietly in El Rubio’s office and have already completed the most stressful part of the heist finale. In the office, you will find a keycard on his desk, which is not interesting for solo players. Next to the desk is a wall with many pictures – that’s his hidden safe. Open it and grab the cash (and a pistol) from it.
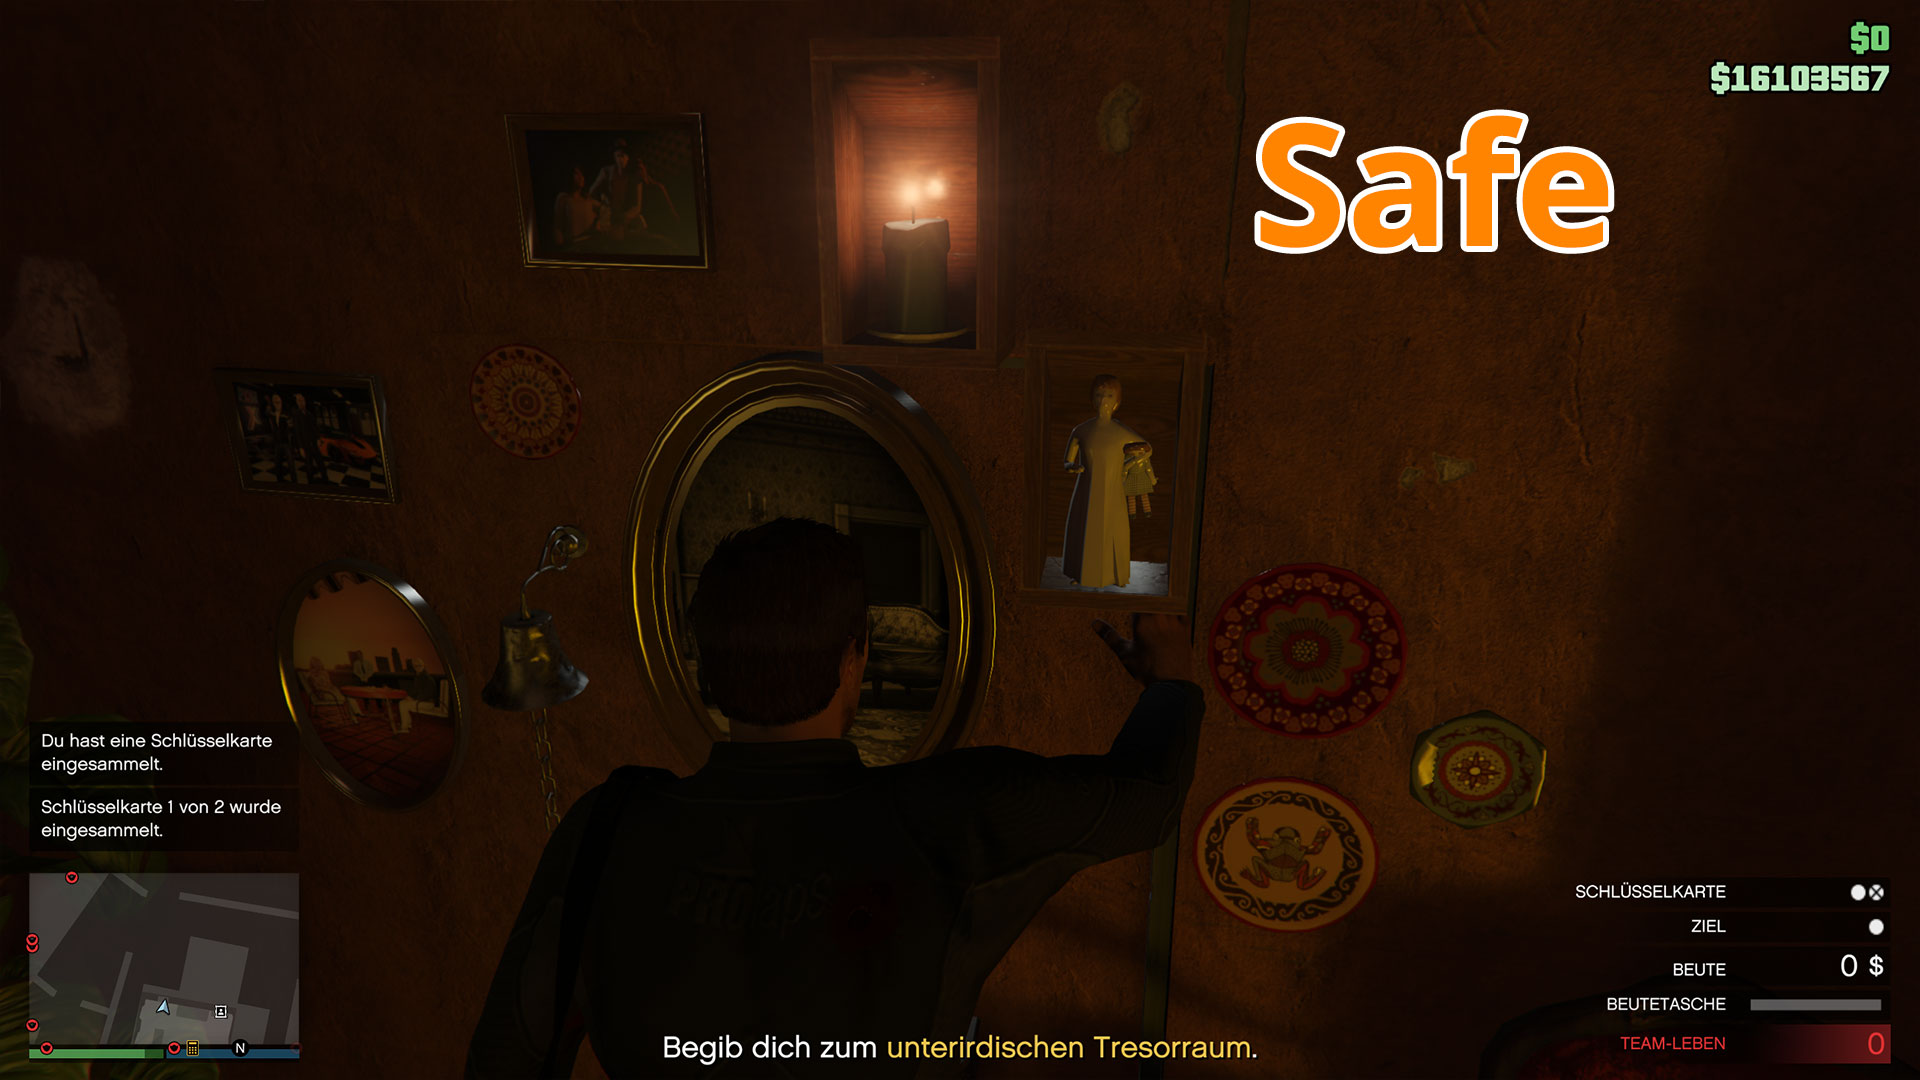

Now look around the office. Up to two paintings can hang on the walls that you can steal. Grab them if they are available.
Office looted? Good. Then comes one of the easiest tasks: The fingerprint scanner. You will find it next to the elevator that leads to the basement.
Easy Trick for the Fingerprint Scanner at Cayo Perico
The scanner seems overwhelming at first glance but can be solved with a trick in less than a minute.

- First, find the top end of the fingerprint in the top row – This is very easy to recognize in every pattern. We call it “0”
- In the second row, find the same top part 0 again, and press right once. So 0 + 1 (once to the right)
- In the third row, look for the top part 0 again, and press right twice. So 0 + 2
- In the fourth row, look for 0 again and press right three times, 0 + 3
- In the fifth, sixth, seventh, and eighth rows, as in the examples above, you add one more press to the right each time
- Once you memorize the system, you will solve the codes in seconds
Rob the Main Target
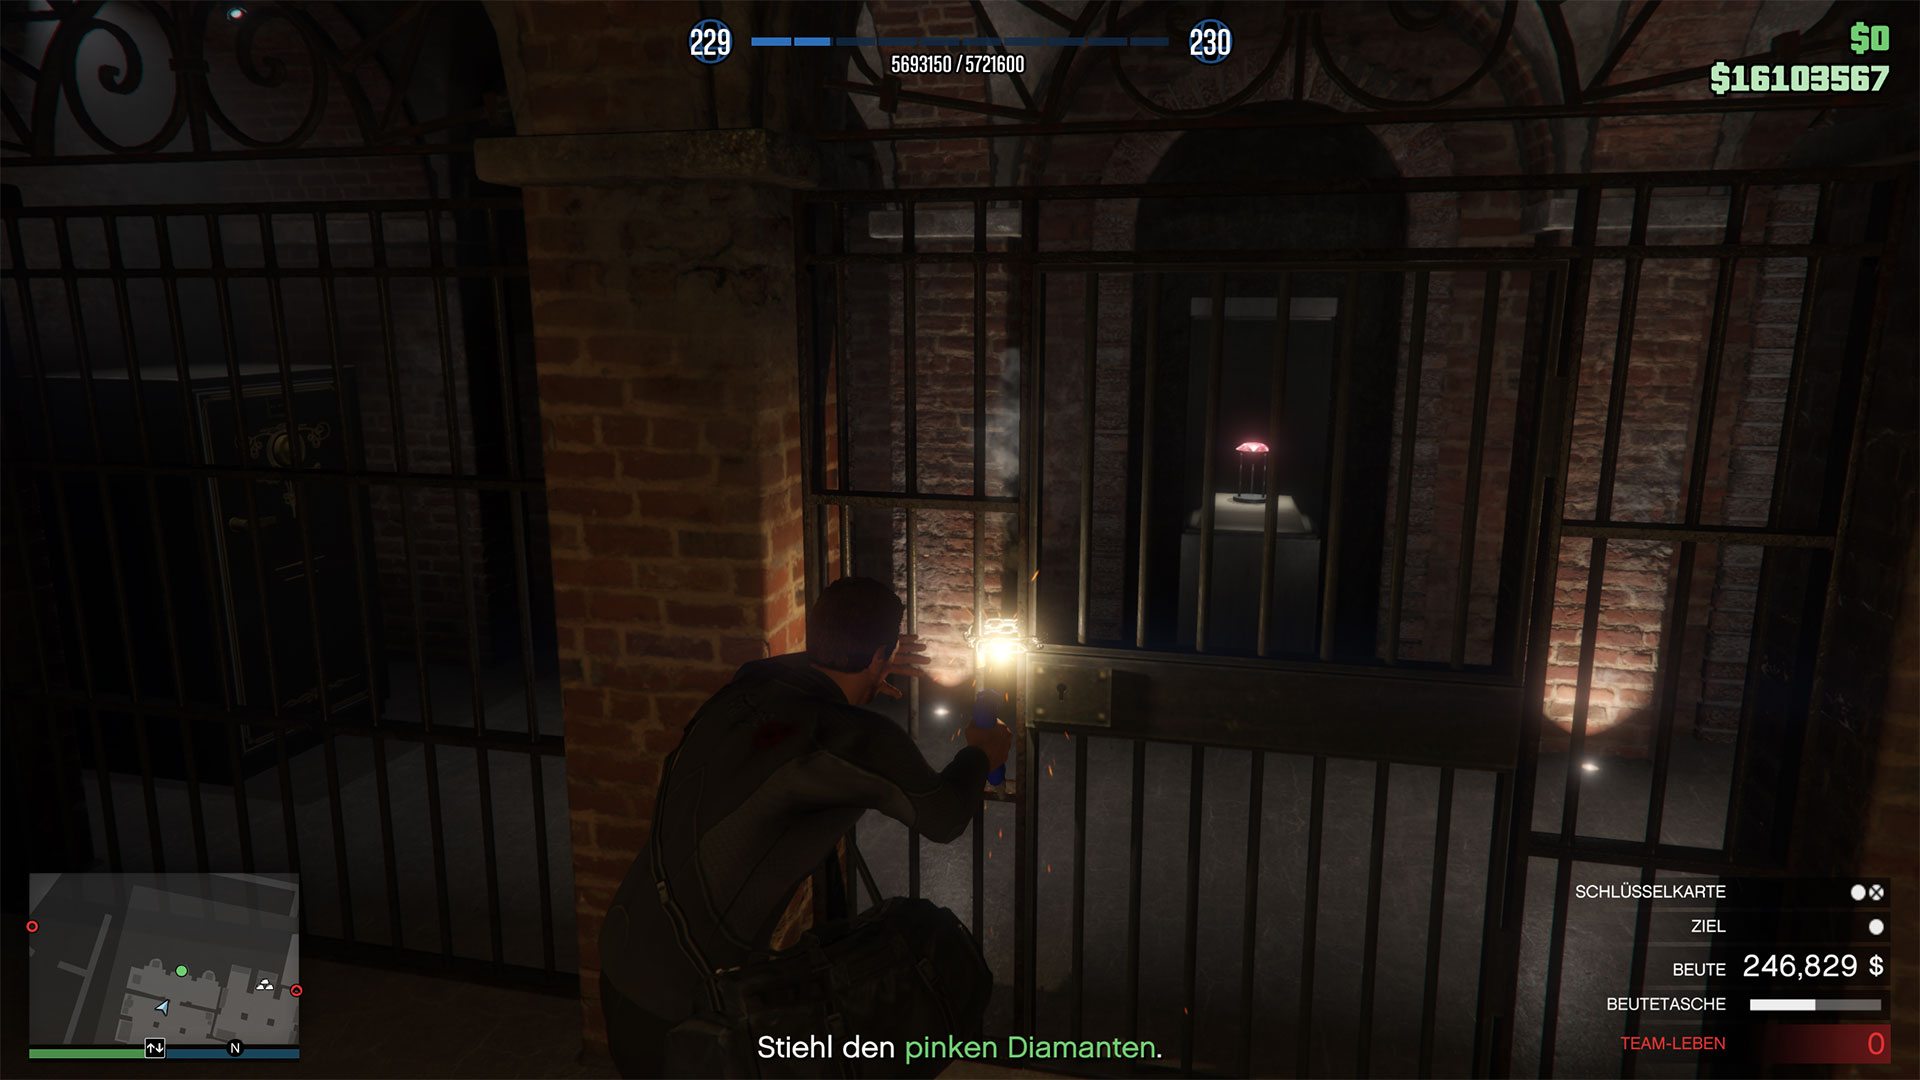
Once you arrive in the basement with the elevator, go straight ahead and cut the chains that block the door with the cutter.
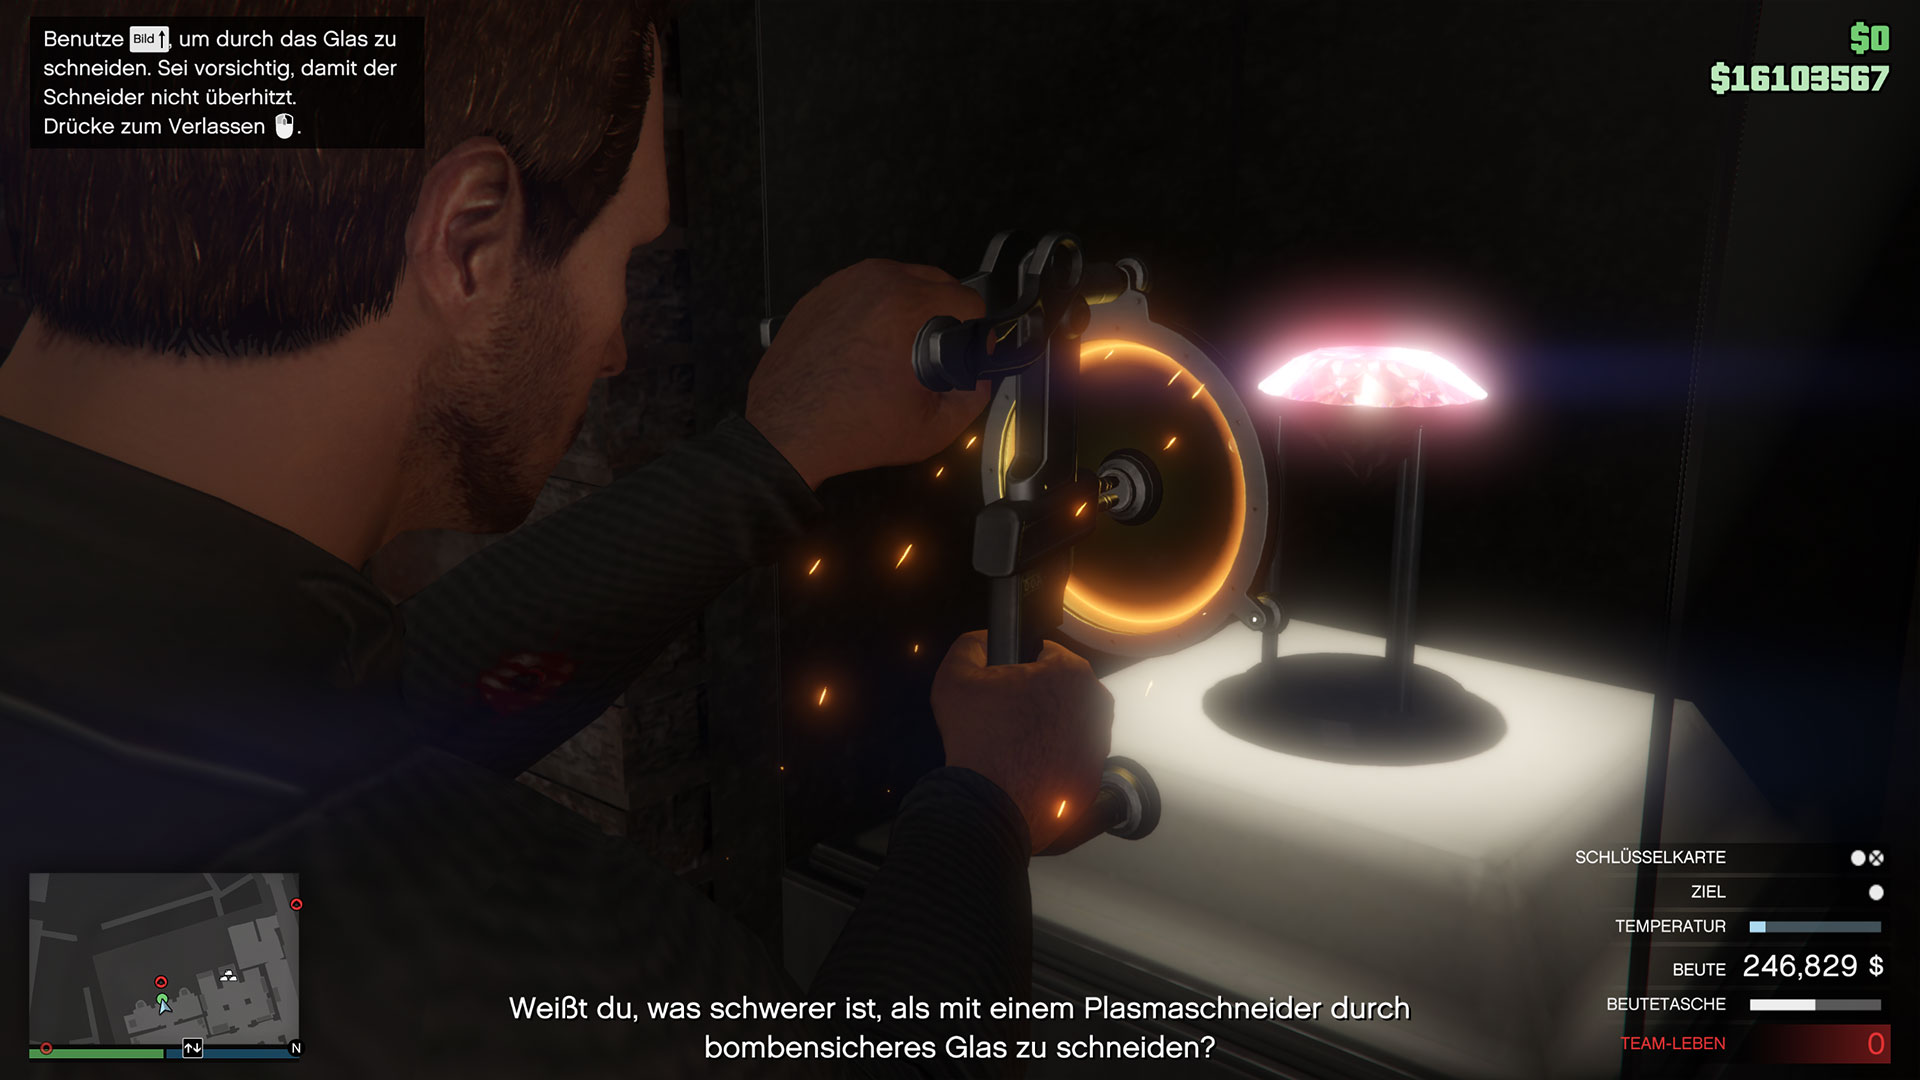
With the plasma cutter, you now free the main target from the display case. Be careful not to overheat the device, or it will cost you more time.
Escape Cayo Perico in the Heist – The Easiest Escape
You now have two escape options:
- Through the gates in the basement after another fingerprint scanner (but only two tests)
- Back through the office
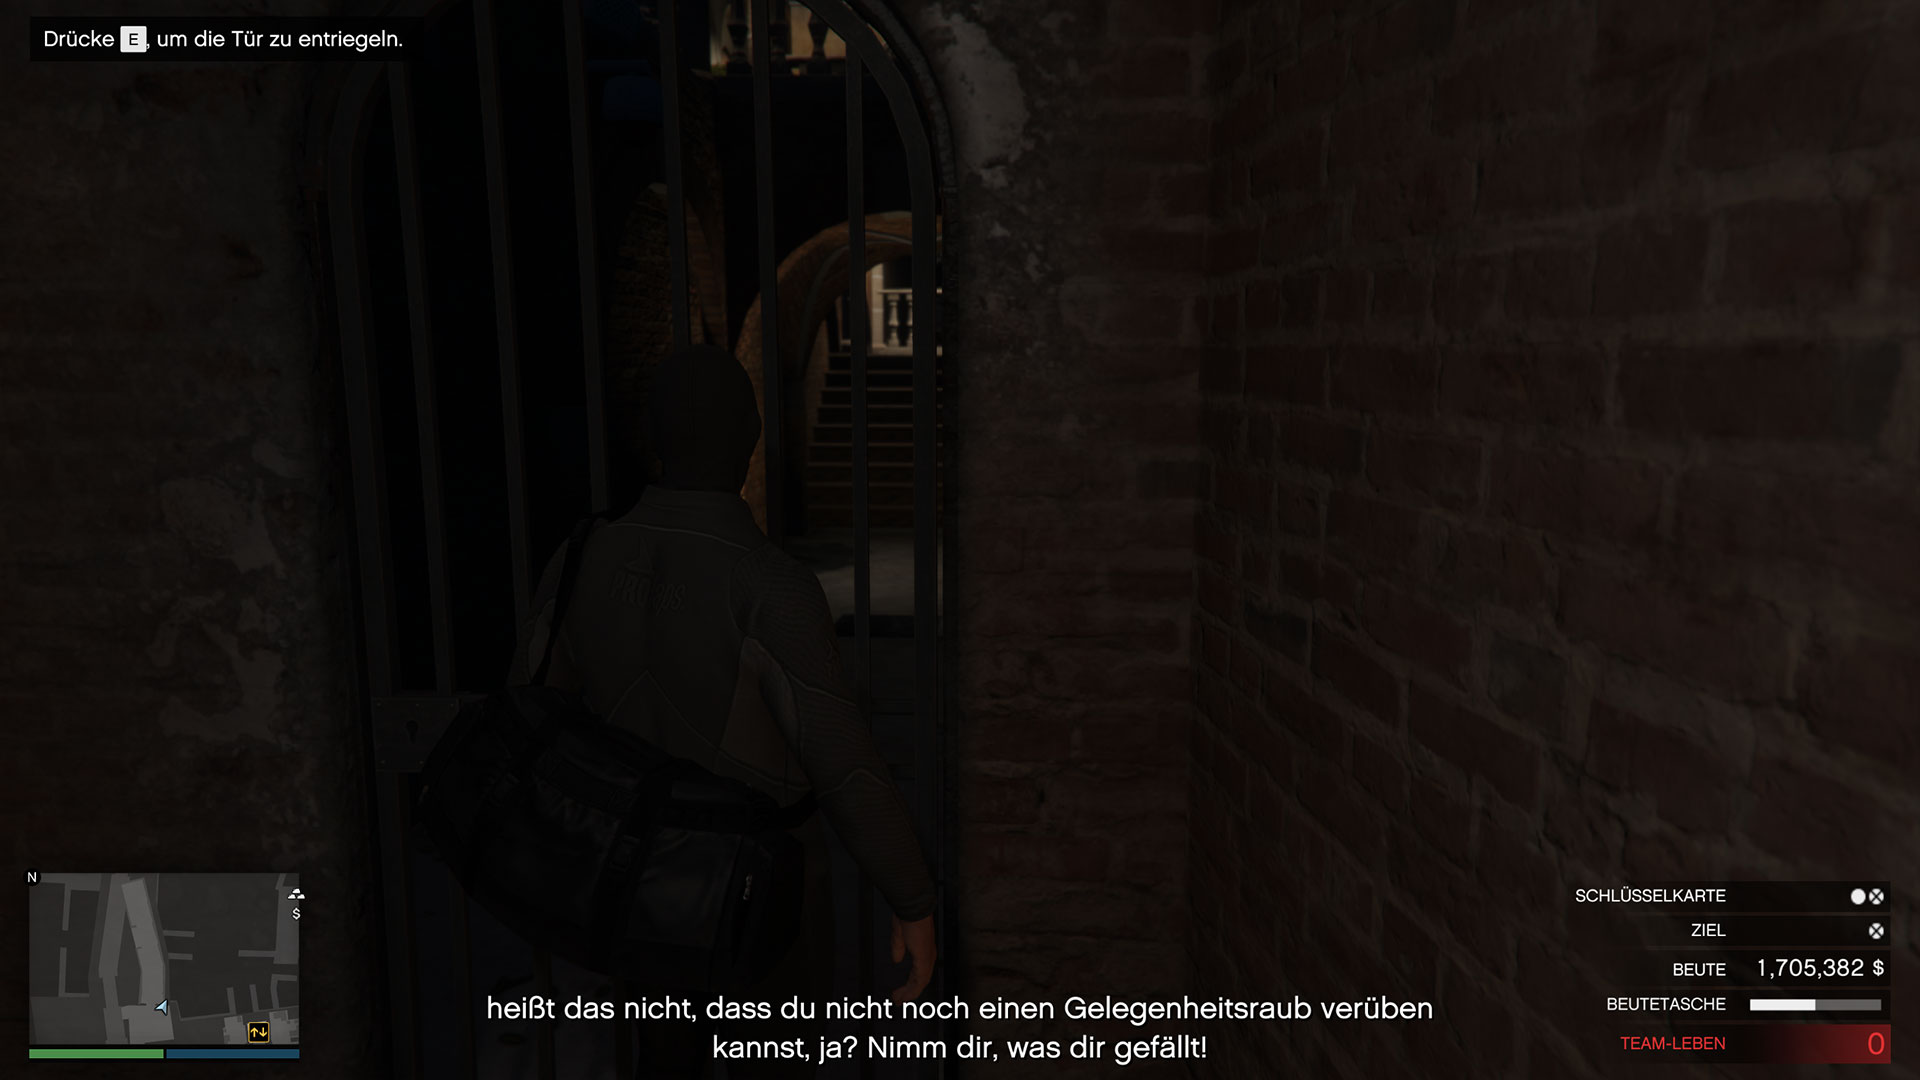
Option 1: The escape through the basement is only advisable if you picked up a gate key from one of the two guards you took out on the way to the office (or you found the key in Los Santos). You go to the fingerprint sensor in the basement, solve the two puzzles with the method mentioned above in the article, and then turn right after the scanner. Open the gate.
Now climb up the wall on the right and then directly left over the small stairs. Now walk slowly towards the exit gate and either take out the patrol there, or wait briefly in the garden until it moves away. Then go to the gate and confirm that you want to get out.
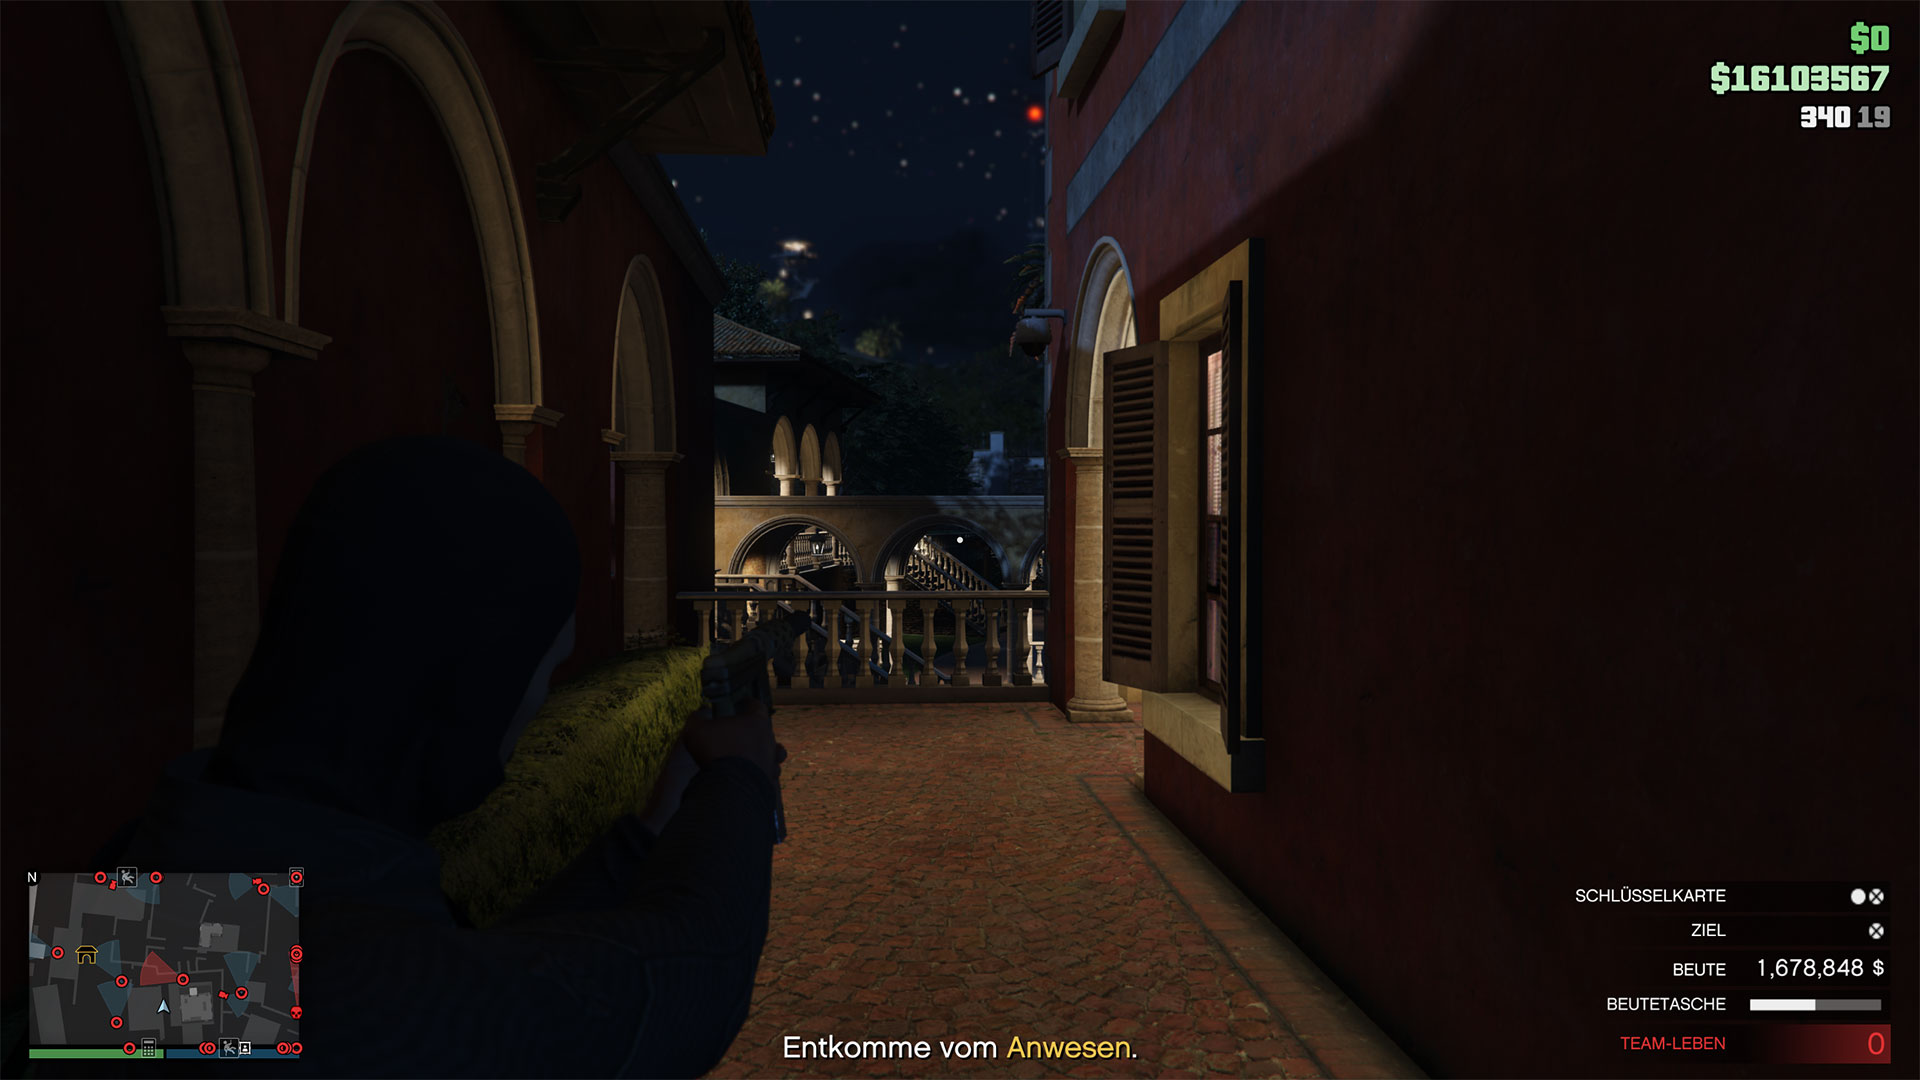
Option 2: Without a gate key, go back up to El Rubio’s office using the elevator. Go out through the entrance door and walk down the stairs that you previously ran up. At the corner where you shot the stationary guard (below), turn right. Wait for the patrol that marches into the hallway to the left of the building. Shoot them down or wait until they are standing in the hallway.
Then jump straight over the railing, go left into the garden, and you can already see the exit gate. Now walk slowly towards the exit gate and either take out the patrol there, or wait briefly in the garden until it moves away. Then go to the gate and confirm that you want to get out.
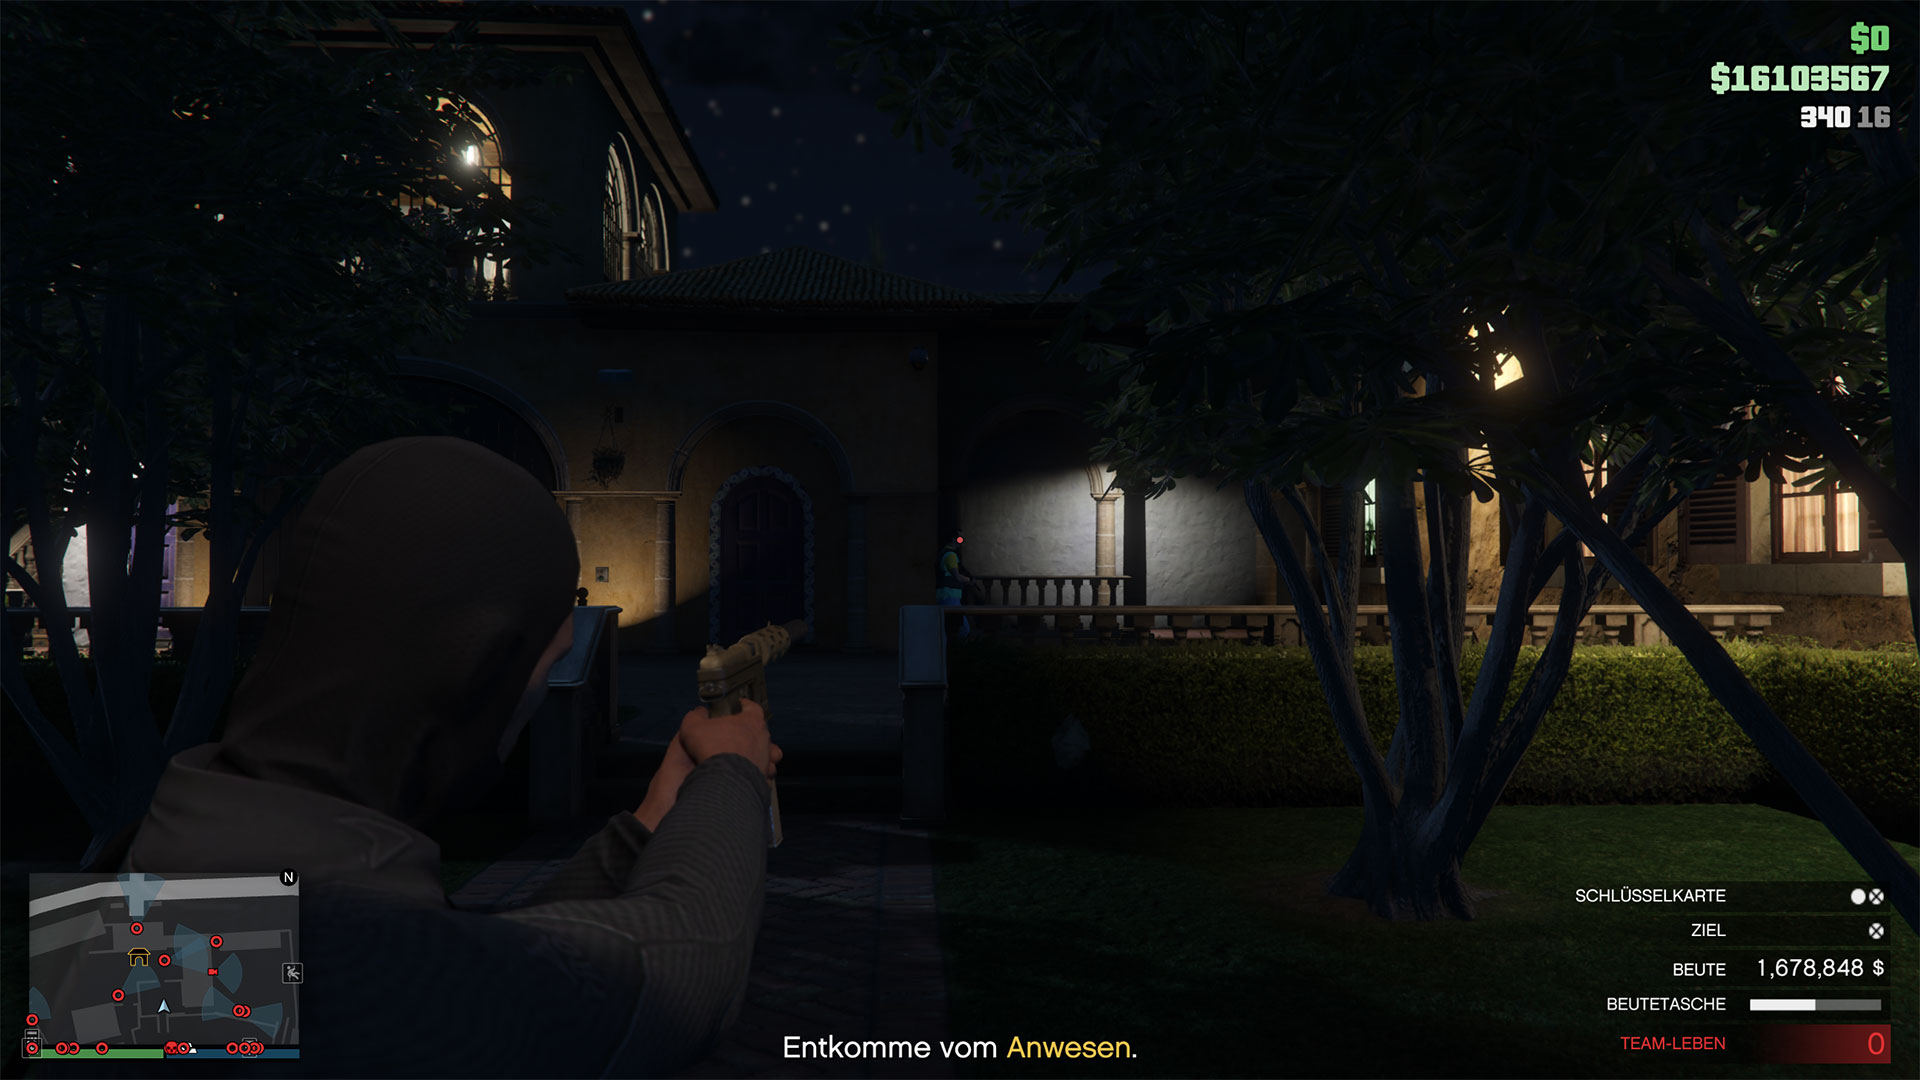
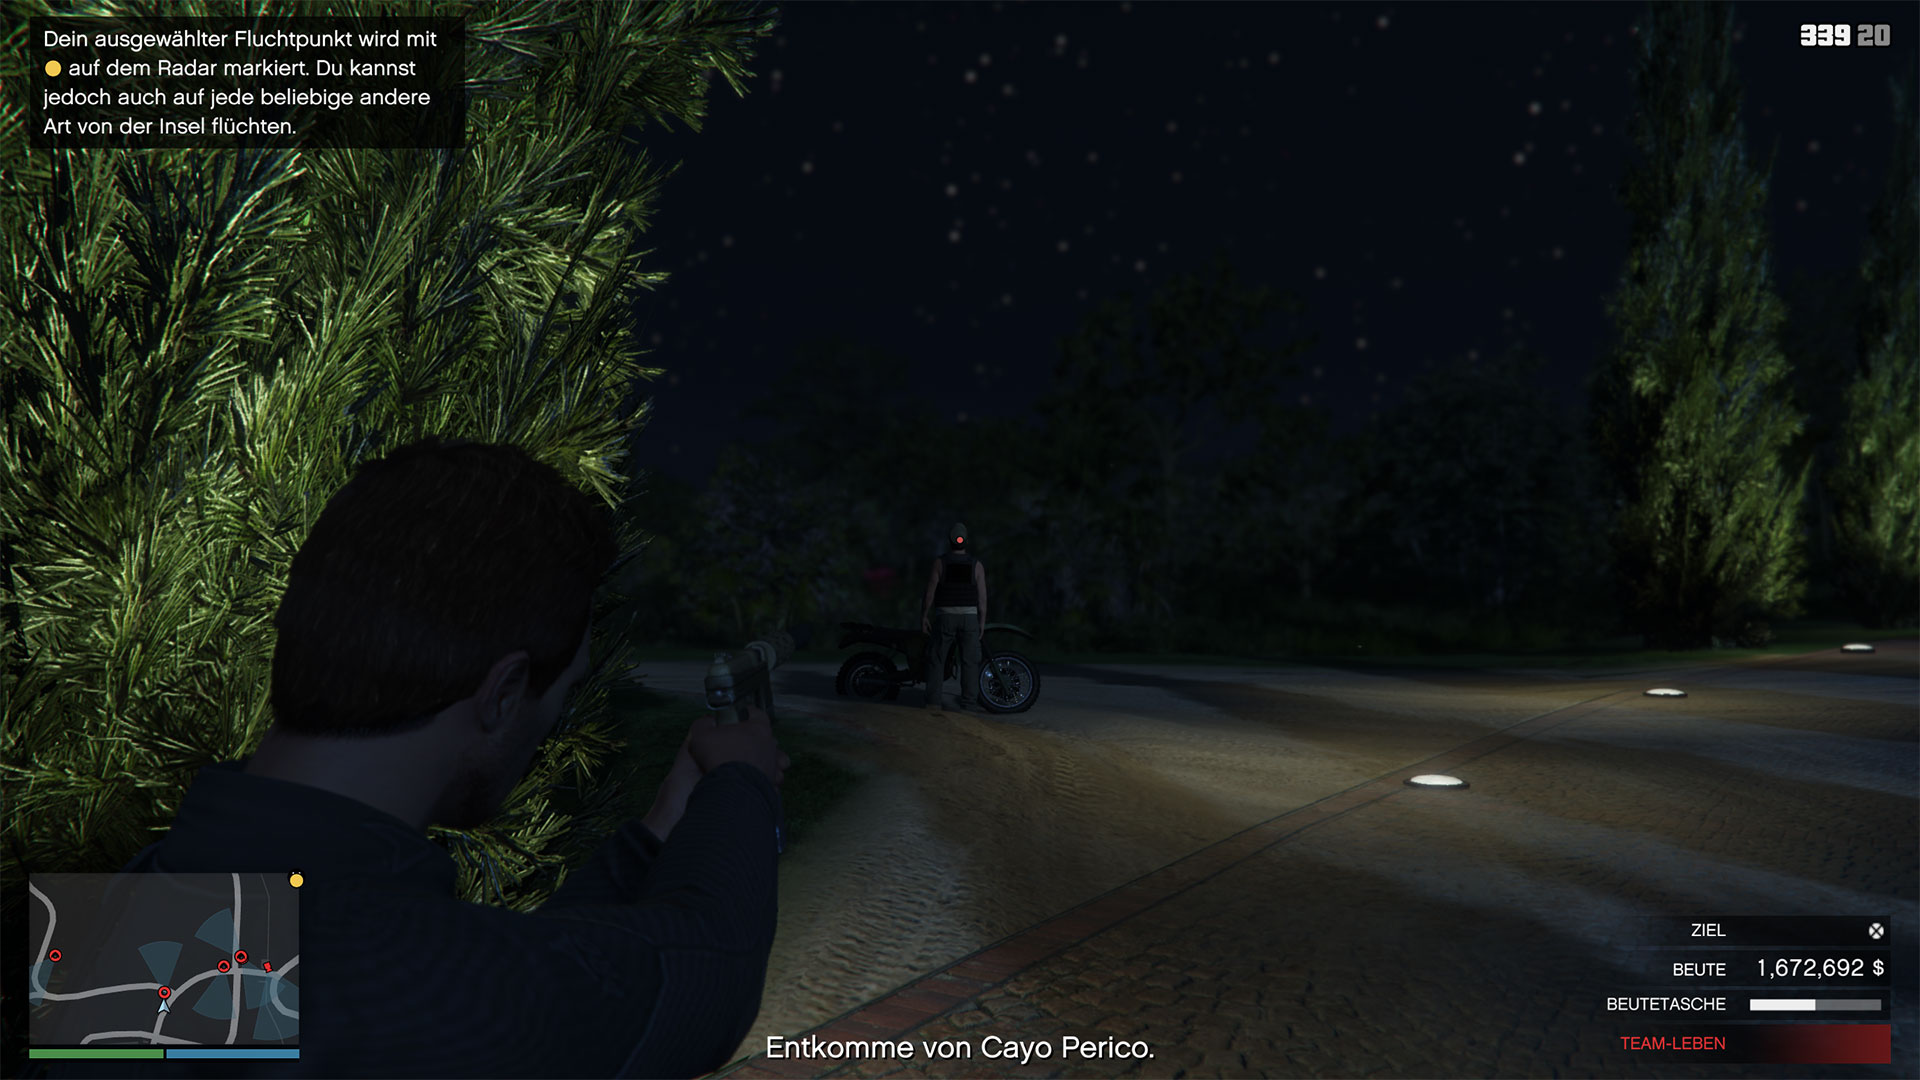
The Last Few Meters in the Finale: Since we managed everything in stealth, there is hardly any resistance on the last few meters. Run straight ahead from the gate and take out the guard waiting by the motorcycle. Grab the motorcycle and ride close to the wall along El Rubio’s quarters or follow the path and take out the guard at the helicopter as well.
Now jump with the motorcycle, as marked in the screenshot, from the island into the water. From now on, the helicopter will follow you, but it poses no threat if you dive.
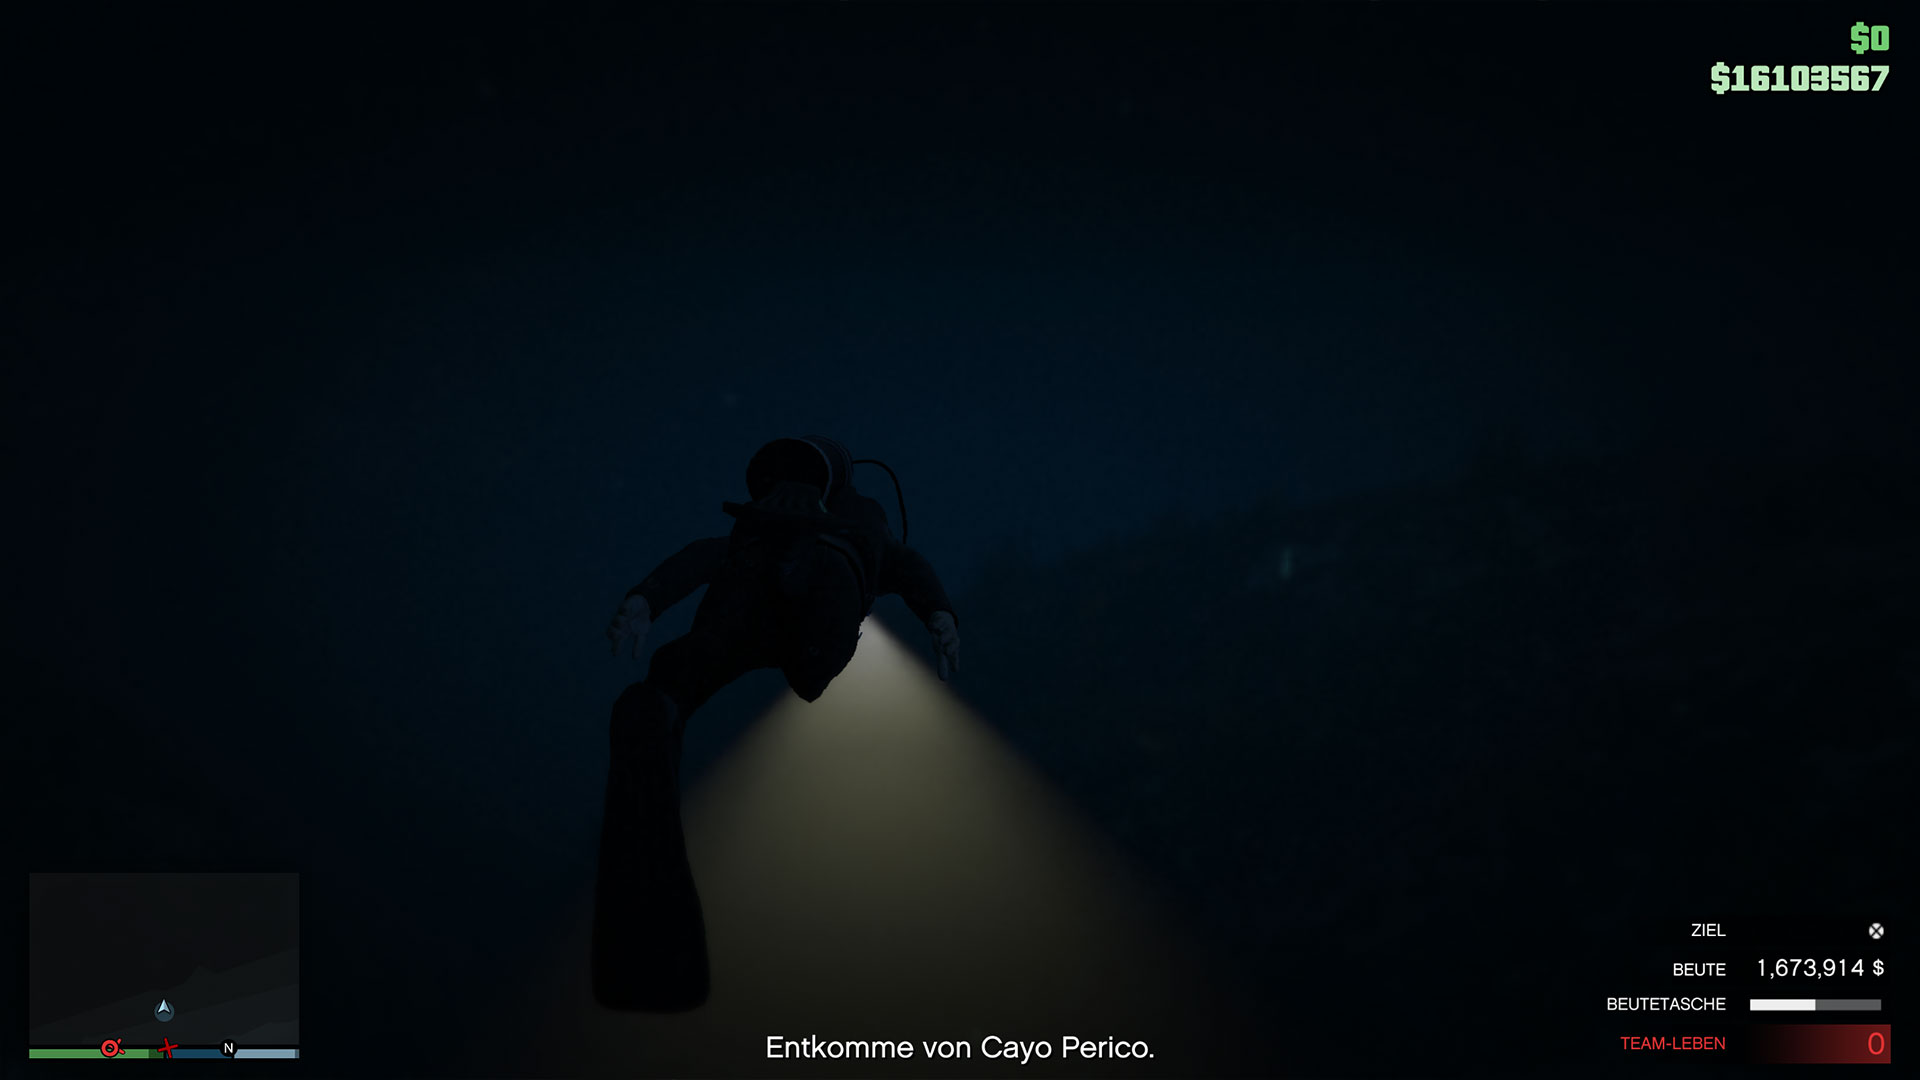
Just keep swimming south and ignore the yellow marker at the main docks. After about half a minute of swimming, you will have escaped, and the cutscene will start where the money is handed to you.

Depending on what the main target was and how many paintings and cash you managed to steal from the office, you should receive between 630,000 and 2 million GTA Dollars from the heist.
If you spend more time and go to the docks or runway after robbing the main target to steal valuable goods such as cocaine, you can still increase the maximum yield. But this takes more time and is riskier.
With this guide, we want to show you how to easily and nearly without risk you can steal your main target and a few paintings from El Rubio.
Even as a beginner, this is not a problem. Since the heist is so quick, you can complete it multiple times a day.



Tip: After the heist, it takes about 8 to 10 minutes until Pavel calls you and explains that you can start the preparations for the new heist. Implement this quickly and visit Pavel promptly in the Kosatka to start a new heist at the planning screen.
This will automatically set the difficulty to “Hard” and you will receive more loot. The hard mode should not pose any special challenge for you, so you should definitely take advantage of this with its loot bonus. However, you only have one game day in GTA Online to start the heist, otherwise, you will start the next Cayo Perico heist on “normal”.

Your opinion is important to us!
Do you like the article? Then let us know!
Comments