

Building an outpost is an important, but especially at the beginning of the game often underestimated feature in Starfield. How to build your own outpost and set up automated processes, you will learn on MeinMMO.

Building an outpost is divided into three major steps: finding the ideal location, planning what resources are needed at the beginning, and the actual construction. The first two steps mainly focus on preparation.
We will first summarize the basics of how to establish an outpost for you. Then we will go through the three steps to finalize the construction of your outpost as ideally as possible.

Building Outposts – The Basics
To start building your outpost, you need to take out your scanner (F/ LB) and then press (R) or (X) on the Xbox controller. Next, you will determine the center and the entire area of your outpost and begin the actual construction.
You can now enter build mode at any time within the radius of your outpost using the scanner. In build mode, you will find a total of 12 different categories with craftable objects:
- Extractors (for various resources)
- Energy (generators and similar)
- Storage
- Builders (e.g. the simple fabricator)
- Buildings
- Manufacturing (various workbenches)
- Defenses (various turrets)
- Robots
- Furniture
- Decorations
- Displays (weapon cases, helmet stands)
- Others (cargo link, landing pad, and similar)
Then simply switch between the categories and select the object you want to craft and place.
With (V) or the view button on the controller, you can also switch the view in build mode. It is possible to work in first-person or bird’s eye view. Some of the selected objects can also be automatically snapped together – this is particularly helpful with housing parts.
Additionally, you can switch to “Modify Mode” with TAB (Controller: B). This allows you to move, rotate, or even delete objects. When deleting a placed object, you will receive all the resources needed for manufacturing back 1:1.
Bonus Tip: With research, you can unlock additional objects for your outpost. However, you will quickly reach a point where certain skills such as Outpost Technology
or “Zoology” are needed.
If you plan to build large bases, start unlocking skills from the “Research” skill tree early, as both “Outpost Technology” and “Zoology” are at level three of the skill tree and thus require at least 8 invested skills in the category.
Building Outposts – Step 1: Finding a Location
When considering where you want to establish your outpost, you need to ask yourself what purpose the outpost should serve.
- If it will be a kind of vacation home, just choose a planet that you find beautiful. Ideally, it even has conditions where you can live comfortably, as well as a lush flora and fauna – for that vacation feeling.
- If the outpost is to be used for resource extraction, diligently scan planets and look for celestial bodies with resources that you can use or sell at a high price. You can already see on the star map which resources a planet provides.
Finding the Ideal Place for Resource Extraction: At the beginning, celestial bodies that contain iron or aluminum are suitable. Both metals are needed in the construction of your outpost for many objects and structures.
At the start, however, you can only build on planets that do not have extreme conditions.
If your outpost is to farm resources as automatically as possible, a Helium-3 deposit is also helpful. For example, Kurtz, which is the moon of Jemison (New Atlantis) in the “Alpha Centauri” system. Kurtz is accessible very early in the game and contains both aluminum and Helium-3.
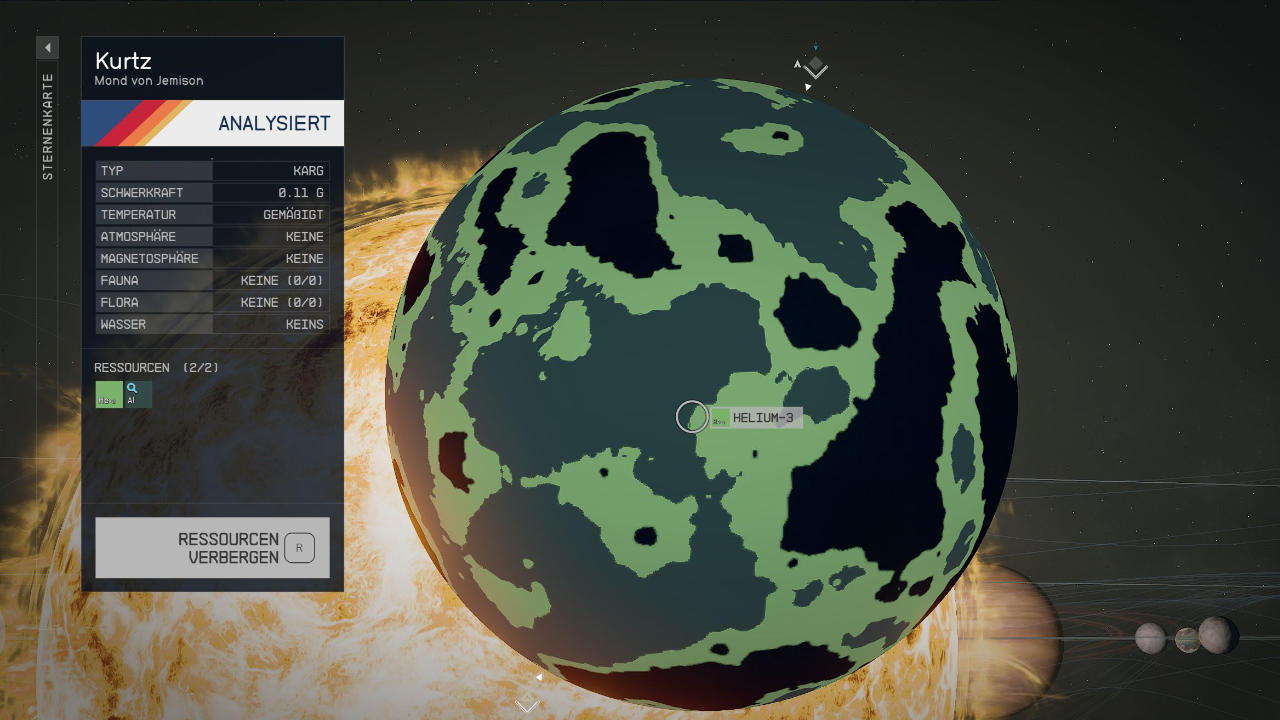
Now activate the resource display on the star map and land as close as possible to the intersection of aluminum and Helium-3 deposits.
Next, walk over the surface of the celestial body with your scanner and look for a spot where you can find both resources. When you place your outpost, you will already see in the upper left corner of your screen which resources are present in the area of the outpost before placing it.
Building Outposts – Step 2: Planning the Construction
Since exploring and traveling in Starfield is limited and you are reliant on fast travel, you do not want to realize during the construction of your outpost that you are missing certain resources. Otherwise, you will travel countless times between systems back and forth, gathering the necessary supplies piece by piece.
You can minimize travel by placing your outpost and then going through the individual objects. This will allow you to see how much a structure requires of a specific resource. Then you can decide which objects you want to build and note down how many amounts you need to implement your plan.
You can then specifically farm these resources or buy them from NPC traders. Here is a list of some structures that you will likely build at your outposts, along with the required resources and components:
Structures and components along with the resources needed for manufacturing at a glance:
- Industrial Workbench: 3x Iron, 4x Aluminum
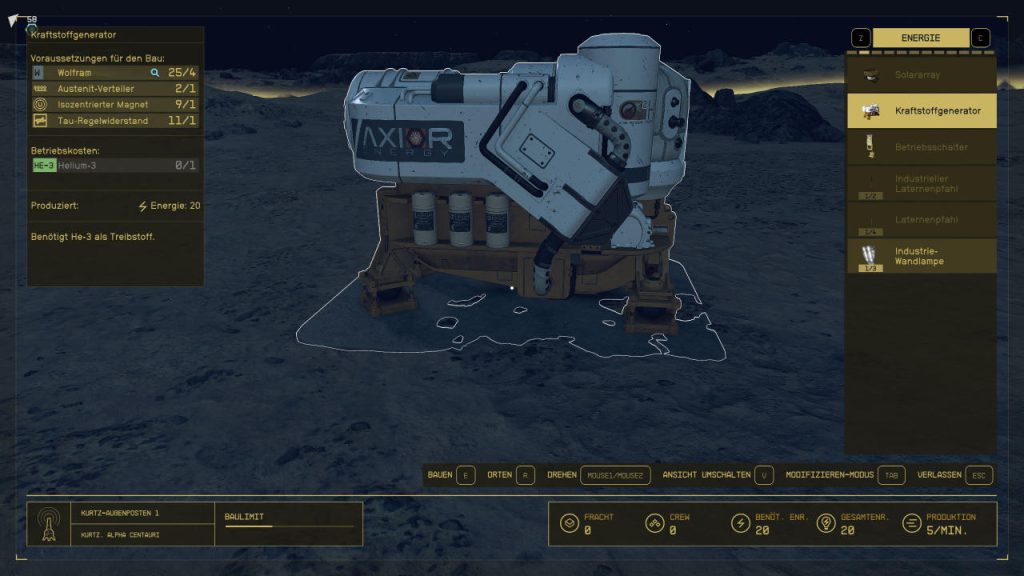
- Fuel Generator: 4x Tungsten, 1x Isocentric Magnet, 1x Tau Regulator, 1x Austenite Distributor
- Crew Station: 3x Nickel, 2x Iron, 5x Aluminum
- Extractor Aluminum: 2x Tungsten, 5x Iron, 4x Aluminum
- Extractor Helium-3: 4x Nickel, 5x Aluminum, 3x Copper
- Small Solid Container: 3x Adaptive Frame, 6x Iron, 5x Aluminum
- Small Gas Storage: 5x Tungsten, 3x Adaptive Frame, 6x Copper
- Small Warehouse: 3x Adaptive Frame, 5x Titanium, 6x Aluminum
- Inter-system Cargo Link: 20x Iron, 12x Aluminum, 3x Reactive Measurement Device, 1x Comm Station
- Note: With the “Inter-system Cargo Link” you can transport goods between two outposts in different solar systems. Therefore, you need at least two of these systems in order to use them. So plan for twice the amount of resources.
- Landing Pad with Ship Builder: 18x Adaptive Frame. 30x Iron, 2x Weightless Wire, 2x Beryllium
To build the various structures, you will also need some components that you can manufacture with the industrial workbench or loot throughout the game. Here’s an overview of what you need to manufacture these components:
- Adaptive Frame: 1x Iron, 1x Aluminum
- Isocentric Magnet: 1x Nickel, 1x Cobalt
- Tau Regulator: 1x Copper, 1x Beryllium
- Austenite Distributor:
- Reactive Measurement Device: 2x Aluminum, 1x Copper
- Comm Station: 1x Isocentric Magnet, 1x Tau Regulator
- Weightless Wire = 1x Silver, 1x Copper
If you want to farm the resources you need to build the outpost yourself, you should charge your laser and mine ores twice as fast.
Building Outposts – Step 3: Establishing a Fully Automated System
Once you have found the perfect spot for your outpost and have the necessary resources for construction ready, the establishment of a fully automated mining system can begin.
First, transfer all resources and components that you need into your inventory, so you save yourself the back and forth. Additionally, you cannot die in Starfield when you run out of oxygen.
Then you should build the basic structures. We assume in our example that you want to farm aluminum and Helium-3 on the moon Kurtz. Therefore, place the following structures at least once:
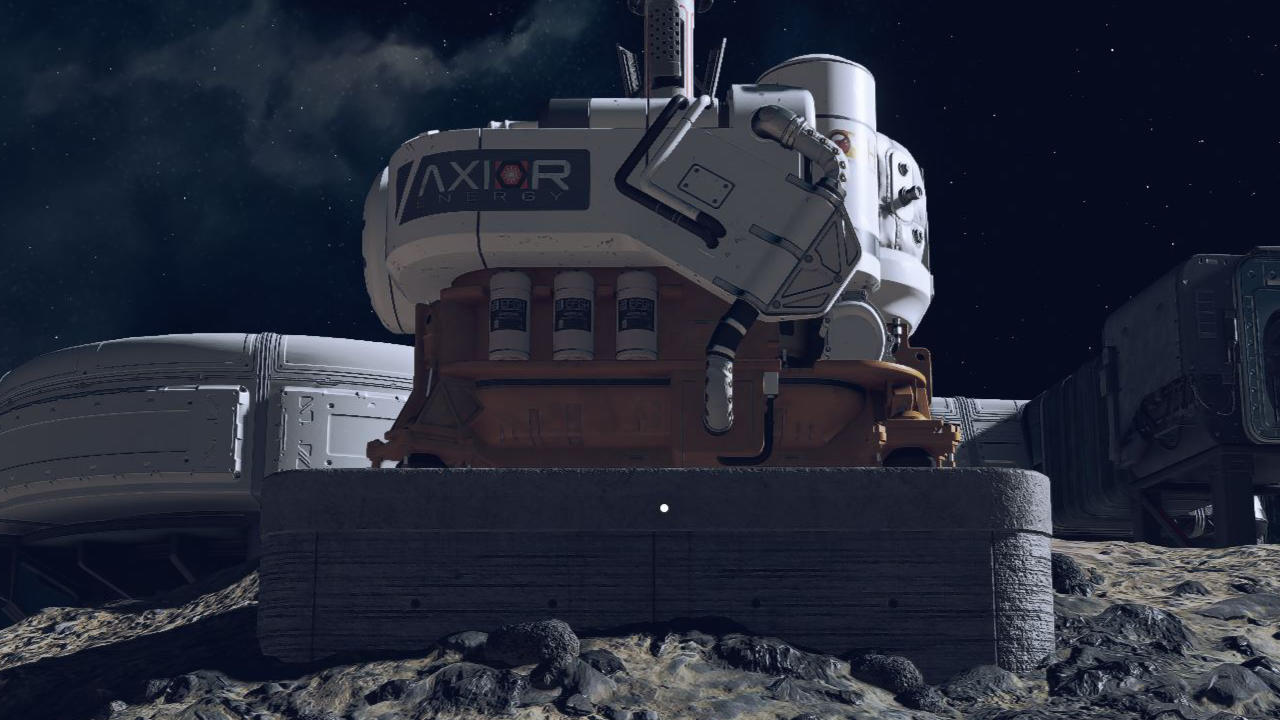
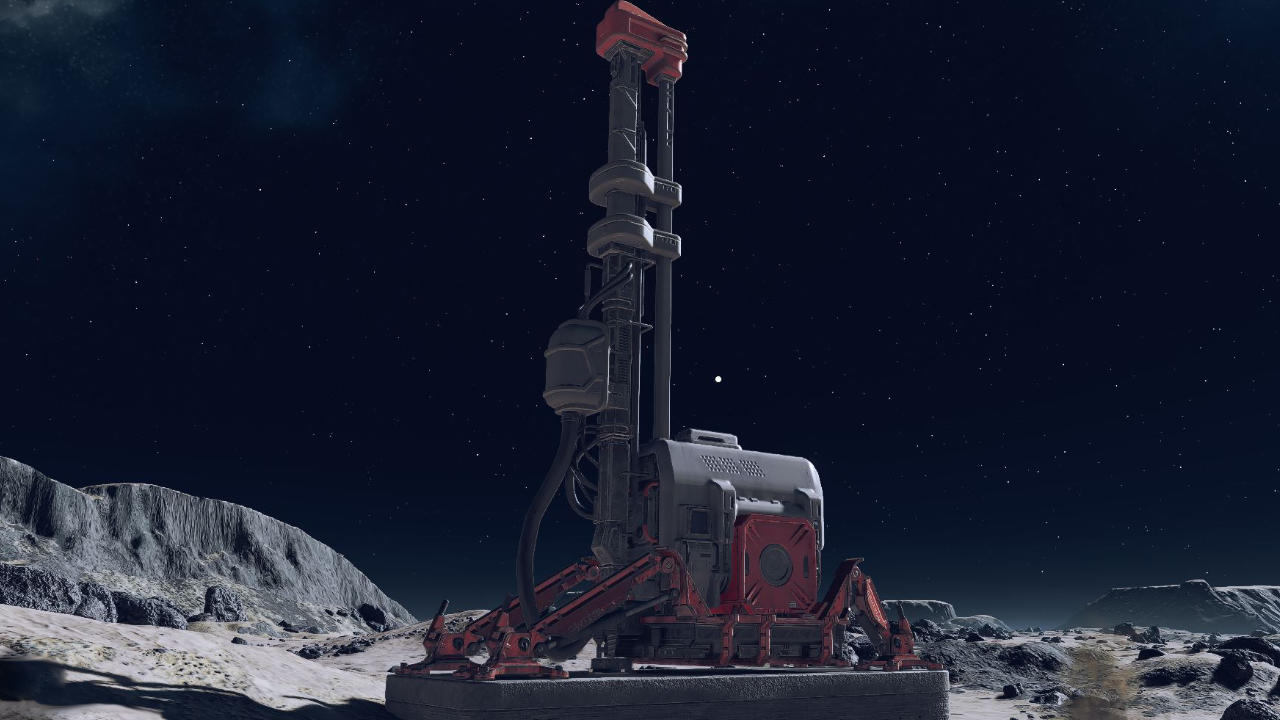
- Fuel Generator
- Extractor Helium-3
- Extractor Aluminum
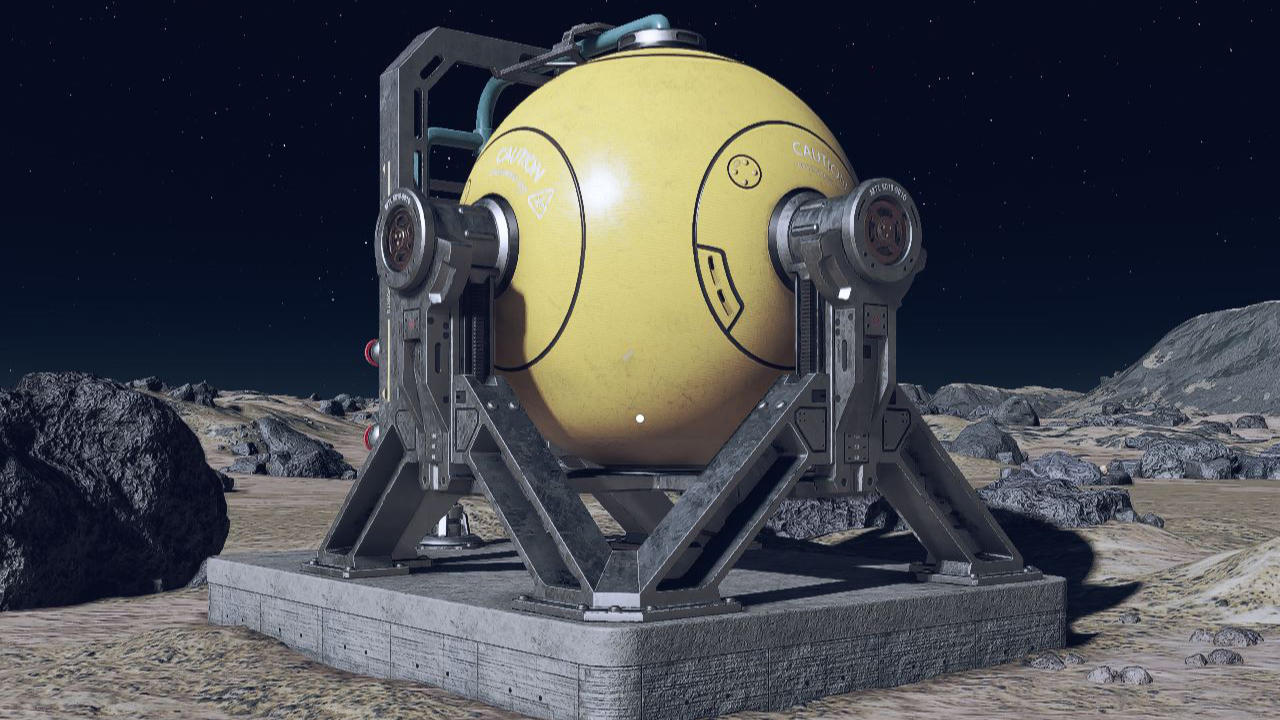
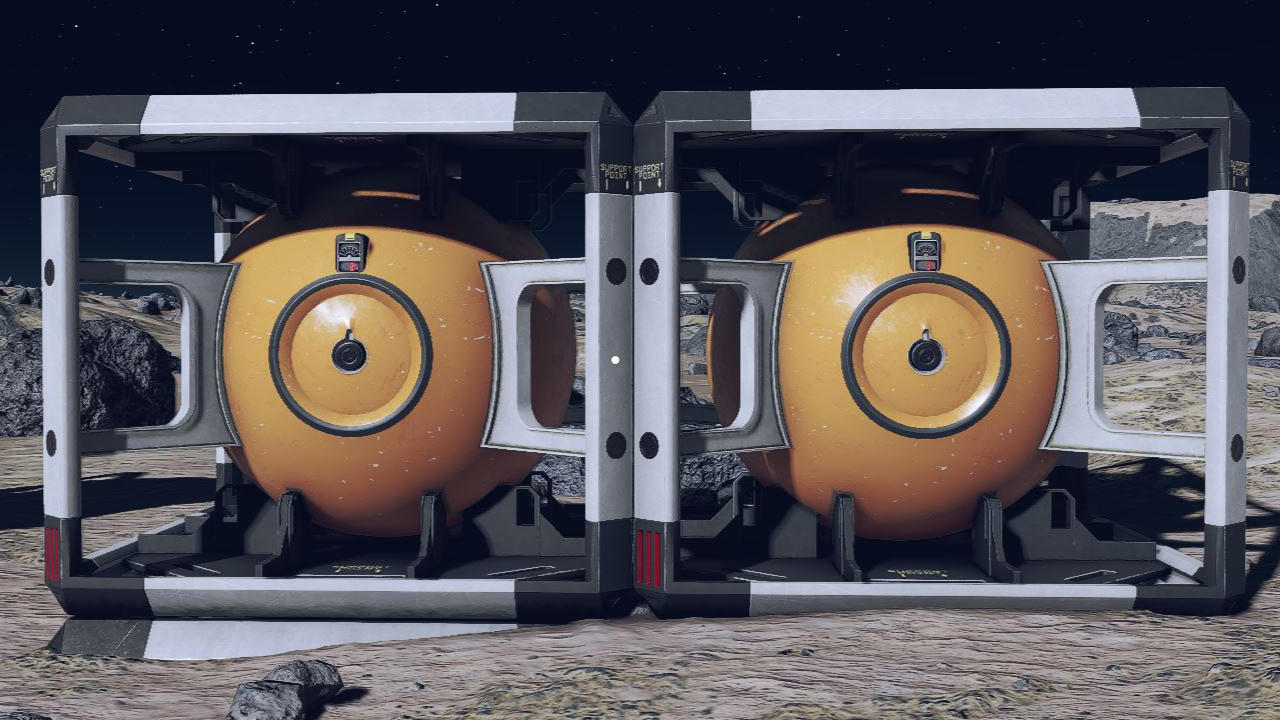
- Small Gas Storage
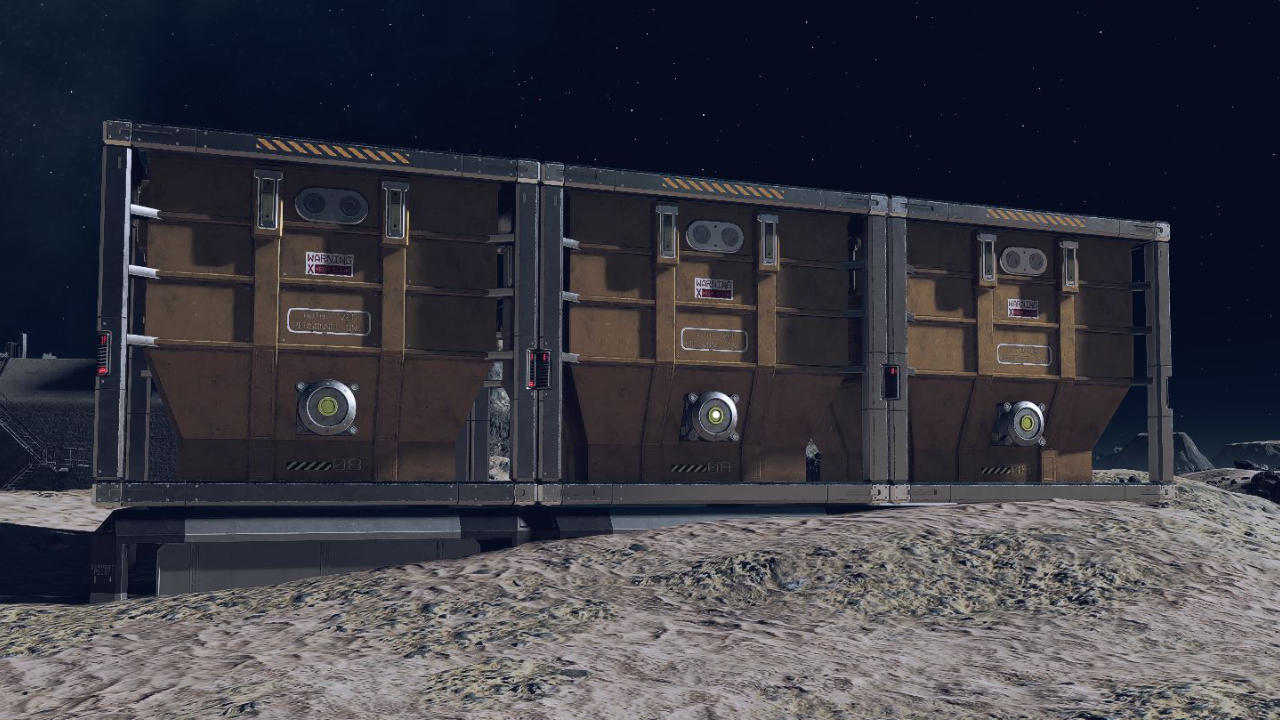
- Small Solid Container
If you have already unlocked larger stores or advanced apparatus, you can of course also use these.
Now you need to run a cable from your fuel generator to both the aluminum and Helium-3 extractor to power them. Approach the generator, hold E on your keyboard, and select “Cable” in the menu that opens. Instead of a generator, you can also use a solar array to store solar energy on planets with plenty of sunlight.
Next, go to your extractors, open the menu again, and click on “Output Link”. The output link transfers your harvested resources to a destination container. Connect the aluminum extractor to the “Small Solid Container” via the output link and the Helium-3 extractor to the “Small Gas Storage”.
Finally, connect the gas storage to your fuel generator via an output link. This is because the generator requires Helium-3. By connecting it to the gas storage, the generator can power the extractors without you having to manually refill Helium-3. You only need to provide Helium-3 once for initial operation.


To ensure that your automated mining system runs smoothly, you should make sure that your generator produces enough energy to power all the extractors and consumes less Helium per in-game hour than the extractors produce.
Ideally, you should build the Helium extractors first and let them run for a while before connecting the aluminum extractors to your generators. If you have already built a bed, you can also skip a few hours while sleeping and create a basic supply of Helium-3.
A functioning mining farm that may even produce significantly more valuable resources than aluminum or iron is an excellent way to quickly gather XP and earn credits in Starfield:
Starfield: 4 ways to earn money quickly – Here’s how to get plenty of credits

Your opinion is important to us!
Do you like the article? Then let us know!
Comments