In Destiny 2, the second raid area “The Beloved” is now live. Here is our raid guide with solutions for all phases. This is how you defeat Val Ca’uor and secure valuable loot.
On May 11, 2018, the second raid area “The Beloved” opened its doors for the Guardians. In our guide, we will take you through the individual sections of the new raid passage. We explain all the important mechanics and provide you with some valuable tips along the way.
Requirements: For this new raid section, a power level of 370 is recommended. To master the raid area completely, you should at least meet this requirement. The final boss phase in “The Beloved” is set at a power level of 380.
How to start the raid: You can select the second raid area through the Navigator. Click on the Leviathan and then select “The Beloved”.
Phase 1 – Statue Garden
Where do you start? You begin the new raid area in a room with four pillars and a central bonfire in the middle. Assign one team member to each pillar. The remaining two Guardians will act as runners and also take care of the adds.
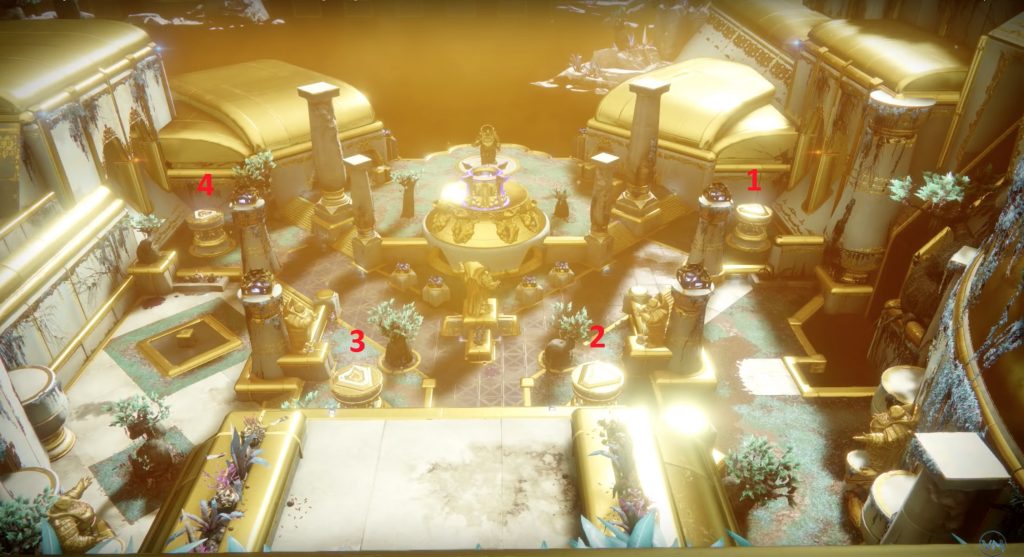
How do you start the first phase? A sphere will spawn at the back of the bonfire. Pick it up by touching it. Then jump on a pillar and throw the sphere into the fire in the middle of the room. This grants the bonfire a shield. At the same time, the first phase begins.
There are two debuffs that are important during this section:
- Sunk: If you stand too long without a sphere on one of the pillars, you die after 14 seconds. If you pick up the sphere, you are rid of the debuff. Try to never jump on a pillar without a sphere. This saves a lot of trouble.
- Greed: If you hold the sphere too long, the greed will continue to increase. If this debuff stacks higher than 10, you die immediately. Once you’re rid of the sphere, greed gradually decreases.
What do you need to do in this section? During this phase, it’s basically about rotating the sphere and using it to raise the four pillars. At the same time, players need to manage the two debuffs and fight off the incoming enemies.
When you are on a pillar with the sphere, it rises. Once the pillar is fully raised, it locks in place. Then you jump down and throw the sphere to the next person. The next pillar player must then raise their pillar and pass the sphere to the next Guardian responsible for a pillar.
As soon as you jump off a pillar with the sphere, it starts to slowly lower. Once it has fully lowered, a corresponding flame turns red. By then, the sphere’s rotation should have returned to that pillar, and the responsible player with the sphere should jump onto the pillar. Otherwise, everyone will die shortly after. If you stand on it in time, the pillar will rotate back up.
If you manage to do this often enough, the shield of the bonfire disappears. The last player with the sphere then throws it into the central fire. Then the whole process starts over. If you accomplish this three times in total, the first phase of the raid area ends.
What else should you pay attention to? As if this mechanic alone weren’t challenging enough, you will also have plenty to do otherwise. Because alongside the rotation, you also need to fend off a lot of incoming Cabal. As long as you as a pillar player are not occupied with the sphere and the pillar, your primary goal is to take care of the spawning adds. The two runners help pass the sphere and also deal with the enemy masses.
Any tips?
- Use your supers and power weapons as often as possible to eliminate the adds. This will save you and your team a lot of stress.
- Avoid hitting enemies when throwing the sphere. Otherwise, it will explode and you have to get a new one.
- Throws should be as precise as possible. This saves a lot of time.
- If the sphere is not directly thrown to the next player, it should be picked up again relatively quickly. The sphere only stays on the ground for a limited time. After a while, it will disappear, and you’ll need to get a new one.
- There are various strategies for the rotation. You can pass the sphere with more intermediaries precisely. However, it is also possible to throw it directly over the fire from the last to the first pillar. Experiment with different approaches. Depending on the team, different paths can lead to success.
In the following video by Venero TV, this phase is explained visually:
Phase 2 – Jump Passage
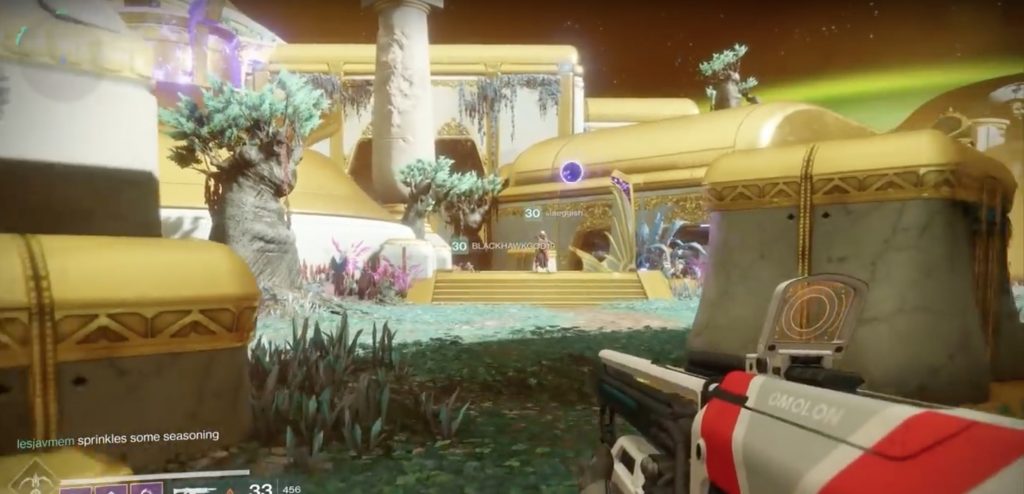
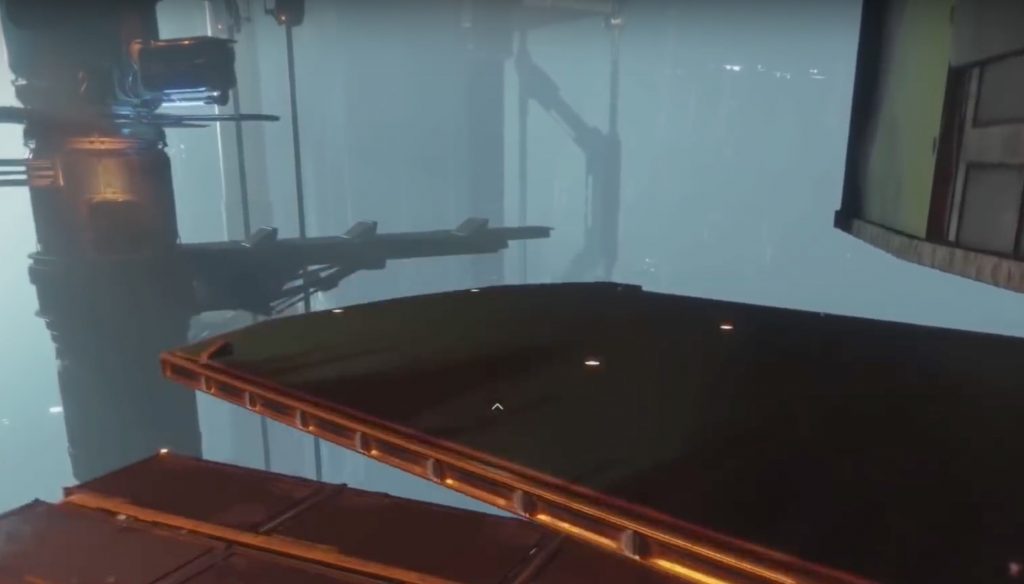
How do you get there? Once you have successfully completed the Statue Garden, a route to the interior of the Leviathan opens up. Jump down and just follow the corridors and hallways. This will lead you to the area “Power Lines”. Here, you will face a classic jumping passage that will test your jump’n’run skills.
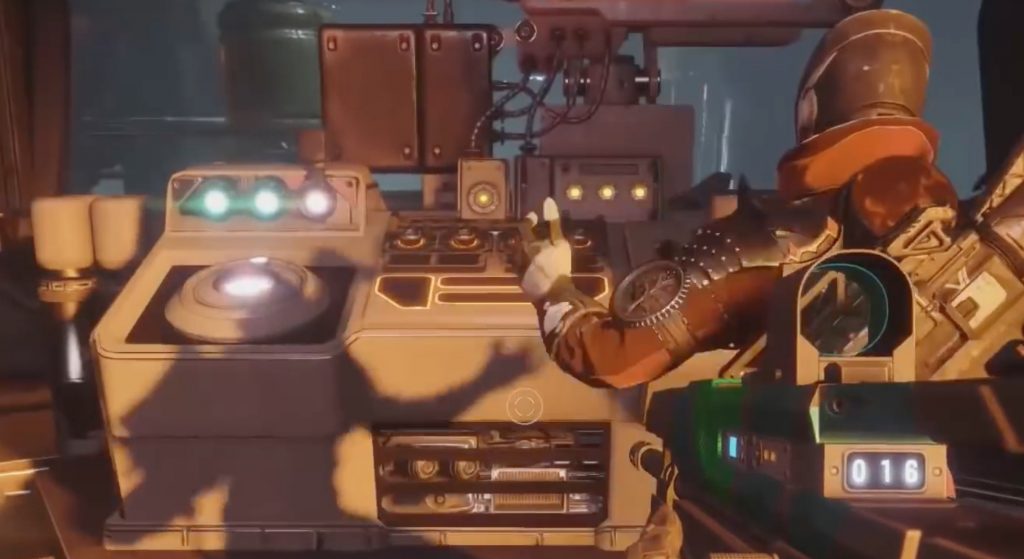
How does the jump puzzle work? Run right into the control room and activate the switch at the terminal. This will unlock a bridge, and the jumping can begin. Work your way from platform to platform. The path is self-explanatory – the game clearly indicates the correct direction.
About halfway through the jump passage, you will enter another small control room with a switch. This requires two players to activate. This unlocks additional platforms that make jumping to this point a bit easier for latecomers.
However, at least two people must stay near the switch, otherwise the helper platforms will retract. Once even the worst jumpers among you have caught up with the team, you can proceed.
At the end of the jumping puzzle, you will find a third switch, which requires three Guardians to activate. Once all the lights are green, new platforms will appear, granting you access to the next area.
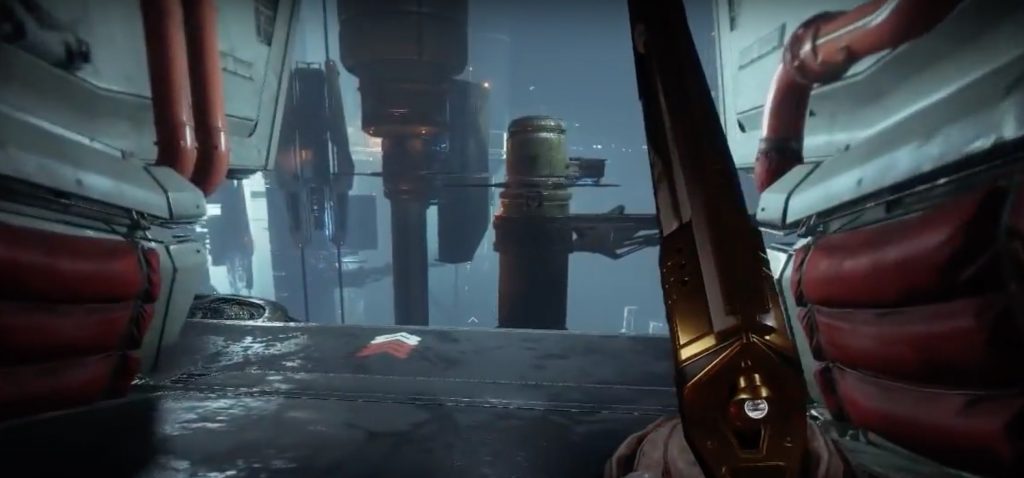
Continue down the illuminated corridor to the right. At the end, you will enter a room with a thick red tube in the center. Destroy the blinking boxes attached at eye level around the tube. This will lead you to the next section of the raid area.
Hidden Chest: In the jump passage, there are two hidden chests. One of them is really worth finding. Because it contains full raid loot – high-level weapons and armor.
One chest can be found relatively easily throughout the jump passage. The other is located behind a locked door at the end of the jump puzzle.
This door can be opened with the help of a sphere that you have already used in the Statue Garden. It involves transporting the sphere through the jump puzzle to several switches as a team, with the last switch then opening the door to the chest.
In this video from Nexxoss Gaming, you can see the exact procedure and the locations of the two chests:
Phase 3 – Hold Off the Fleet
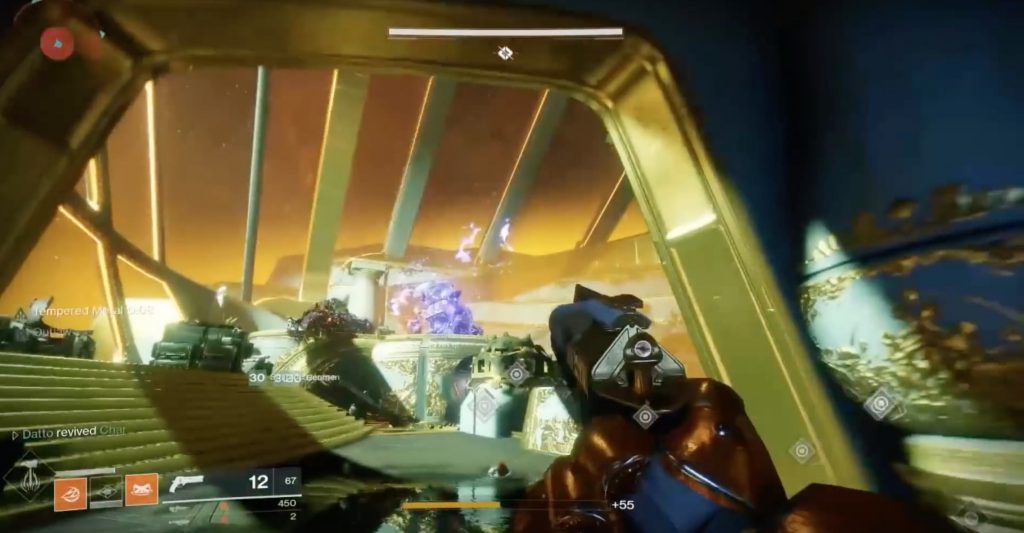
What is this about? In the next phase, you need to destroy three Cabal ships that are positioned around the Heavenly Observatory of the Leviathan, where you currently are. If you fail to do so in time, they will bombard this room with rockets and your team will be wiped out.
Build the Teleport Beam: In the observatory, you will find four circular ground plates – two on the right and two on the left. These plates light up when you step on them. Once a team member stands on each plate, an orange teleport beam shoots up in the middle of the room. At the same time, three Guardians receive the buff “Supreme Subject.” This buff allows you to jump into the teleport beam unharmed and beam yourself virtually into space.
Recognize the Symbol: Send one player with this buff into the beam. Another person should immediately take their position on the corresponding ground plate until the teleportation process is complete.
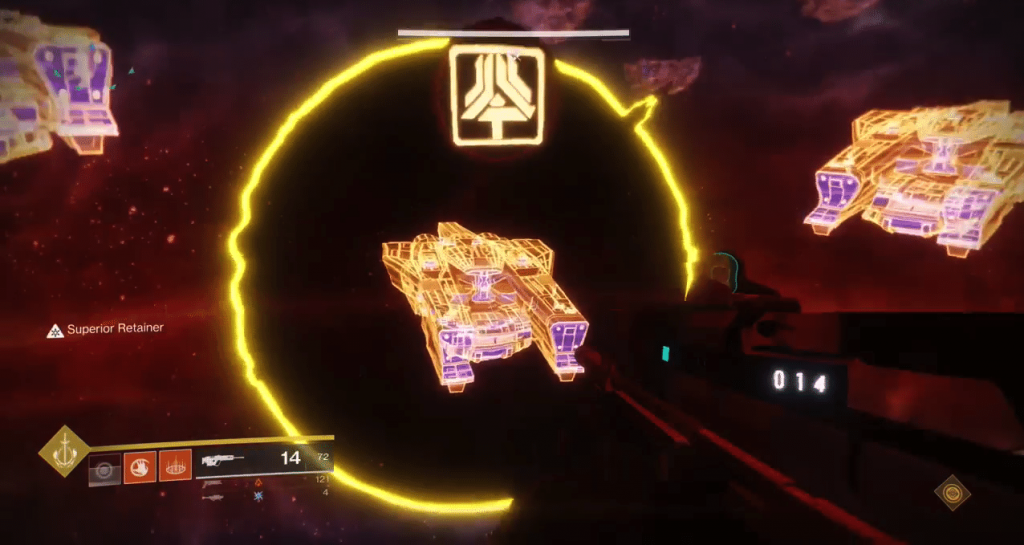
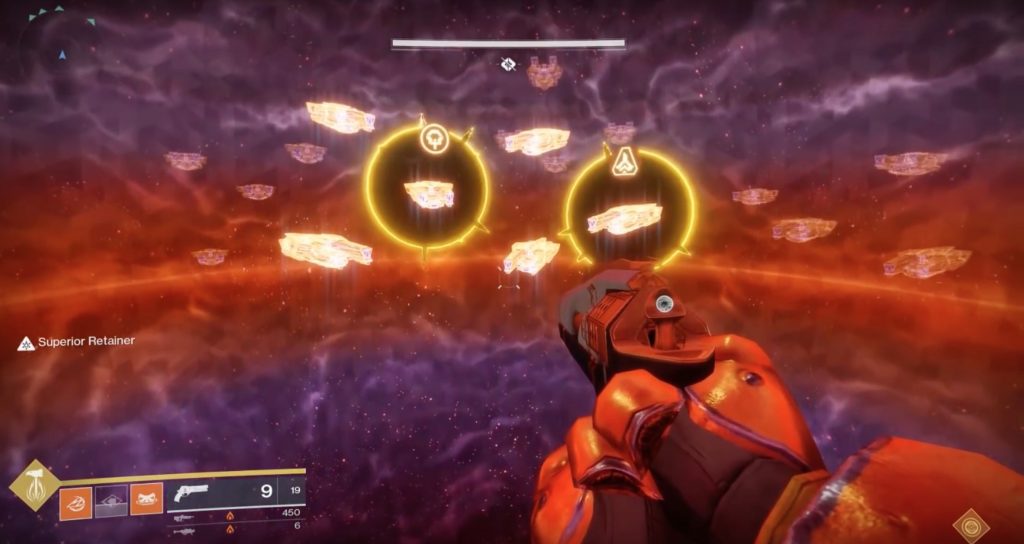
The Guardian who is now in virtual space sees holograms of the three ships waiting outside to launch their attack. One of the ships is marked with a circle and a symbol.
This symbol should be communicated to the other players in the observatory. Make sure to come up with fixed names for the symbols beforehand, so you don’t waste time describing them in the heat of battle.
The symbols of the ship holograms correspond to the markings on three other ground plates located in the observatory – right, left, and in the middle of the room. Once the symbol has been communicated, you can leave the round ground plates. Now you need to occupy the three symbol plates. You will know it worked if three lights light up. If, for example, only two are lit, one of the symbol plates is not occupied.
Load the Weapon: After the team has left the round plates, the space player automatically falls back into the observatory. At the same time, a sphere will spawn that should be familiar from the Statue Garden. The space player should grab this sphere.
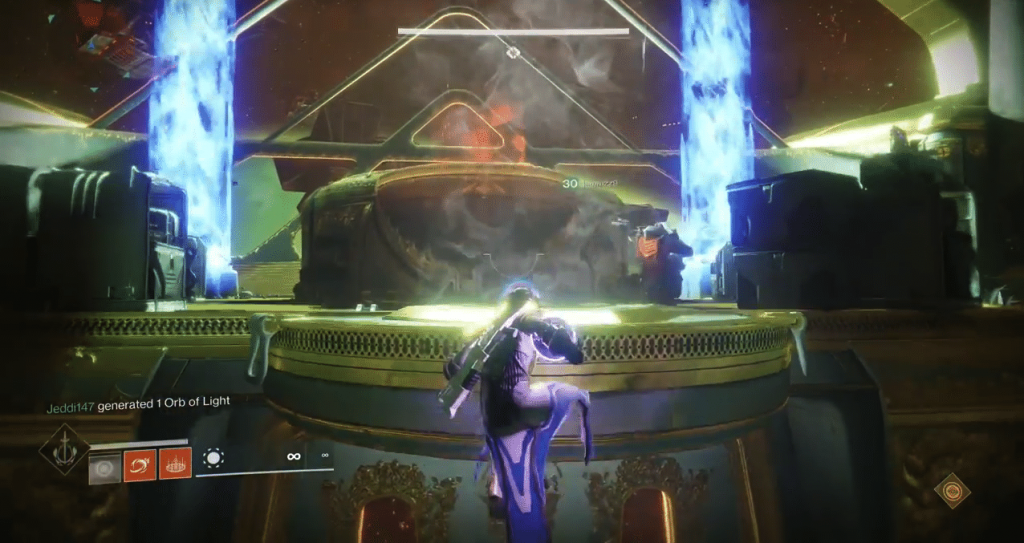
In the next step, this sphere must be charged. To do this, the sphere carrier must walk into the white steam that flows out of one of the three ground openings on the central platform.
Once the sphere is charged, the carrier brings it to the ground plate with the symbol of the marked ship. When the team has occupied the three symbol plates, the three doors in front of the symbol plates will open. Now throw the sphere at the switch in the room behind the corresponding door. This will charge the weapon of the Leviathan.
Mark the Ship: Now you need to try to eliminate as many enemies as quickly as possible. Once you have made some space, the four round ground plates must be occupied again to form the teleport beam.

Now, the space player must once again aim at the marked ship for the weapon of the Leviathan. New spheres will spawn again. One of them is grabbed by the space player, charged again at one of the three ground openings with the white smoke, and jumps into the teleport beam. In virtual space, they must now throw the sphere at the marked ship.
This will cause the Leviathan to fire its weapon at that ship, destroying it. Repeat this entire process for the two remaining ships, and you will have mastered this section as well.
Important: There is another wipe mechanic that makes your life difficult. Flame towers will build up in the room and eventually turn red. Shortly thereafter, the team will die. To prevent this, you must charge the spheres in the white smoke of the active ground openings in time.
Additionally, you need to manage greed. Just like in the first section, holding the sphere too long will cause greed to increase. If this debuff stacks higher than 10, you die immediately. Once you’re rid of the sphere, greed gradually decreases.
Tips:
- The already complex mechanics of this section are significantly complicated by the spawning enemies. Therefore, use long-lasting supers and the shadow shot as often as possible.
- In this phase, there is no boss you need to deal damage to. However, you are constantly very close to the individual enemies in tight spaces. Shotguns are particularly useful here.
This phase is very complicated and takes some practice. We have linked a suitable video from Nexxoss Gaming for you, where you can review the processes:
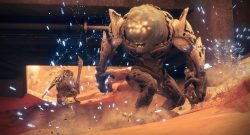
Phase 4 – Val Ca’uor
The final fight takes place in the same room as in Phase 3. Now you are up against the Cabal leader Val Ca’uor. This boss encounter is really tough. A power level of at least 370 is therefore strongly recommended.
How do you start the fight? Start by killing adds until you have full power ammo. You can also split up in the room for this. After a minute or once you have eliminated enough enemies, the boss’s shield will turn purple, and he will begin to charge.
Once this happens, a sphere will appear on one of the outer plates. One should grab the ball, and then you group up. Everyone except the sphere carrier will shimmer blue, and a debuff timer will start. Quickly pass the sphere from player to player before the Engulfed debuff timer runs out. If you do it correctly, the whole team will be cleansed. Don’t take too long, the cleansing must be really fast.
The last player then throws the sphere at the boss. This starts the next step.
After that, Cabal drop pods will fall onto the outer 4 plates – so don’t stand on them too soon. Because like in the previous phase, the teleport beam must be built again.
The Teleport Beam: Occupy the four ground plates. Again, three players will receive the buff “Supreme Subject.” This buff allows you to jump into the teleport beam unharmed and beam yourself virtually into space. One Guardian with this buff must now jump into the formed teleport beam. If they were standing on a plate, their position must be filled.
The Symbols: In virtual space, the space player will see two marked ships and two symbols. These symbols must now be communicated to the team in the observatory. Two spheres will spawn there now.
After the symbols have been communicated, the team can leave the round plates. The space player automatically falls back into the observatory. Now, two Guardians need to take the two spawned spheres and charge them in the white smoke flowing out of the ground openings on the central platform.
Load Weapons: Once the spheres are charged, the carriers bring them to the corresponding ground plate with the symbol of the marked ship and occupy it. A third team member should occupy the remaining symbol plate. Who occupies which symbol and who brings their sphere to which symbol should be discussed beforehand or clearly communicated during the process.
If the team has occupied the three symbol plates, the three doors in front of the symbol plates will open. Now throw the spheres at the switch in the room behind the corresponding doors. This will charge the weapon of the Leviathan. The throws do not need to be simultaneous, but there is a timer to consider.

Destroy the Ships: If everything worked, more spheres will now appear on the outer plates. Then the four round ground plates must again be occupied to form the teleport beam. Now, two players with the “Supreme Subject” buff must charge two spheres with the white smoke and then jump into the teleport beam. They need to throw the sphere at the marked ships. Coordinate who throws at which ship. The remaining players should take out as many enemies as possible in the meantime.
Destroy the Shield: Now the next phase begins. A sphere will spawn again. One player should pick it up and charge it in the white smoke. Then the sphere must be quickly passed around the team to remove the debuff before the timer runs out.
Behind Val Ca’uor, Calus will then appear and charge. More spheres will spawn. Charge these spheres in the smoke and pass them around to manage greed. Do this until Calus begins to glow purple. Then throw the three spheres at Calus. This will destroy Ca’uor’s shield.
Damage the Boss: Now you can fight the final boss. It is best to retreat into the side rooms and use your supers and power weapons to inflict as much damage as possible. Remember that there is only a short time window for this damage phase. Meanwhile, Ca’uor will bombard you with rockets (which can be shot down), and additional adds will spawn. So it is not easy at all to focus fire on the Cabal leader at the right time.
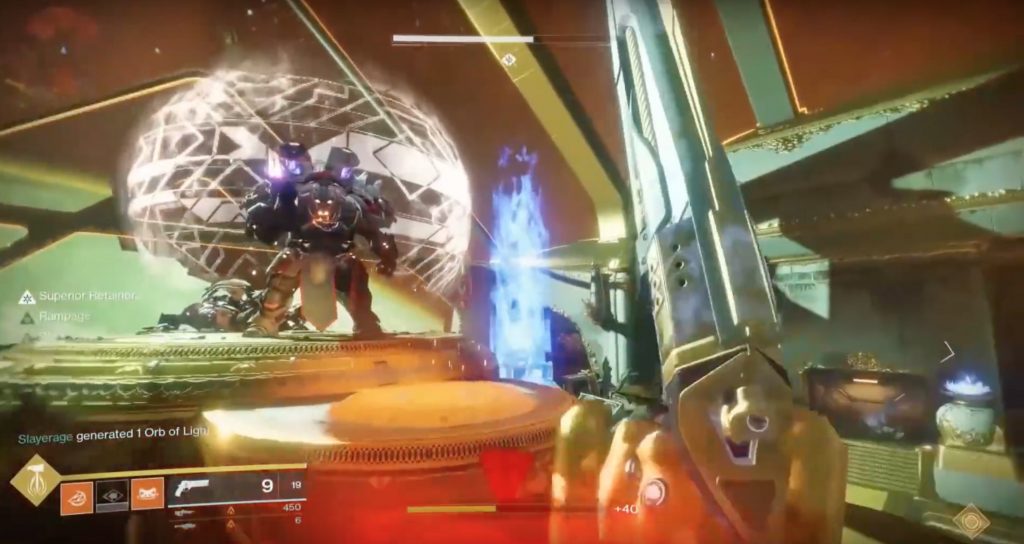
This is how you end the fight: After that, Val Ca’uor’s shield activates again and a sphere appears. The whole process starts over again. You must now repeat this process until his health is drained. Then he kneels and gets a shield. Many spheres will spawn from him.
Now use power weapons, your supers, and throw Val Ca’uor with the spheres to destroy his shield. If you succeed in this, you have defeated the final boss and the fight is over. However, you only have a maximum of three damage phases available. If you do not force the boss down by then, a wipe will occur. As a reward, there will once again be high-level loot.
Important: As in the third phase of this raid passage, you need to manage the greed debuff during the fights and charge the spheres in the white smoke of the active ground openings in time, as a wipe is threatened otherwise.
If you have difficulties internalizing the process, you can visually follow it in this video: