With the Black Armory, the new raid “Scourge of the Past” has arrived in Destiny 2. In this guide, we explain how you can successfully master the first two phases of the new raid on your way to the final boss.
Since December 7, 2018, all owners of the Annual Pass have access to the new raid “Scourge of the Past“. It is a full-fledged raid set in the ruins of the Last City on Earth. There lies the most valuable treasure of the Black Armory, which is now besieged by Fallen.
The power level requirements: There is no minimum requirement to enter the new raid. However, a power level of 640 is recommended.
The first enemies you encounter are already at level 640. Moreover, the raid is quite demanding in places. You should therefore bring a power level as close to the recommended value as possible.

How to start the new raid? Scourge of the Past is launched via the planet map of Earth. The corresponding marker is located at the far right edge of the EDZ.
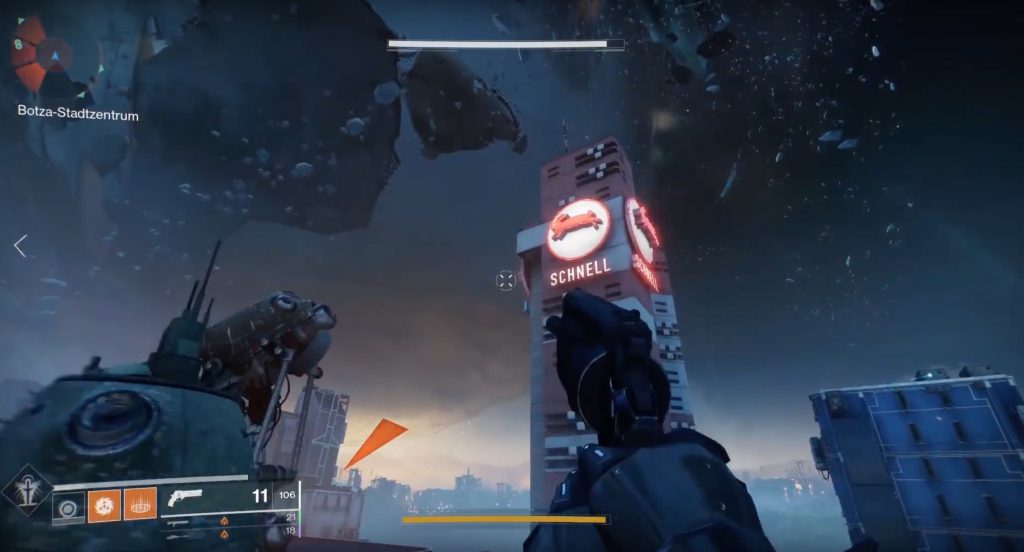
Phase 1 – The Botza City Center
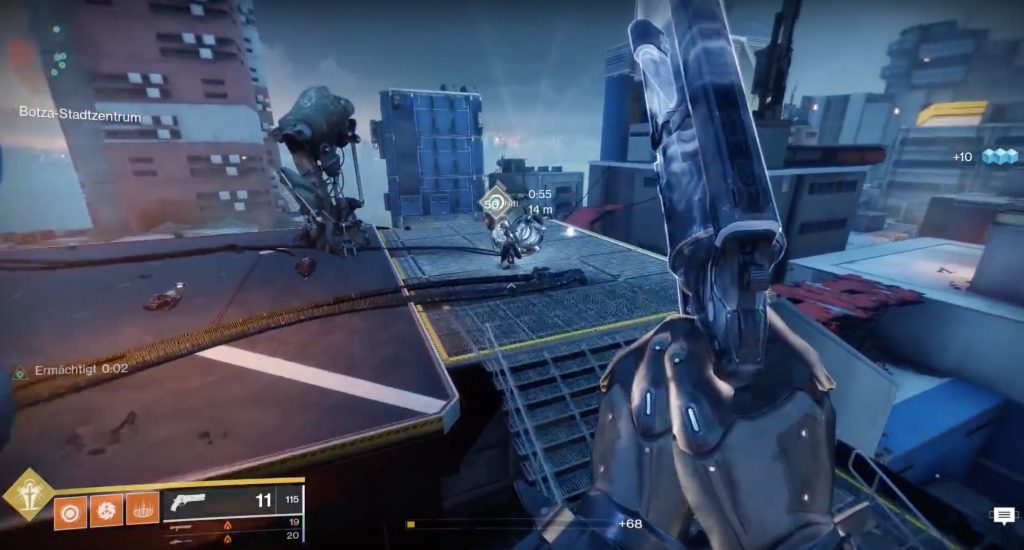
The starting situation: You start in a large area in the middle of the ruins of the city. The area includes narrow alleys, open spaces, and the roofs of numerous houses. Here, the goal is to gain access to the tunnels beneath this zone.
Instructions for the City Center
Activate the map:
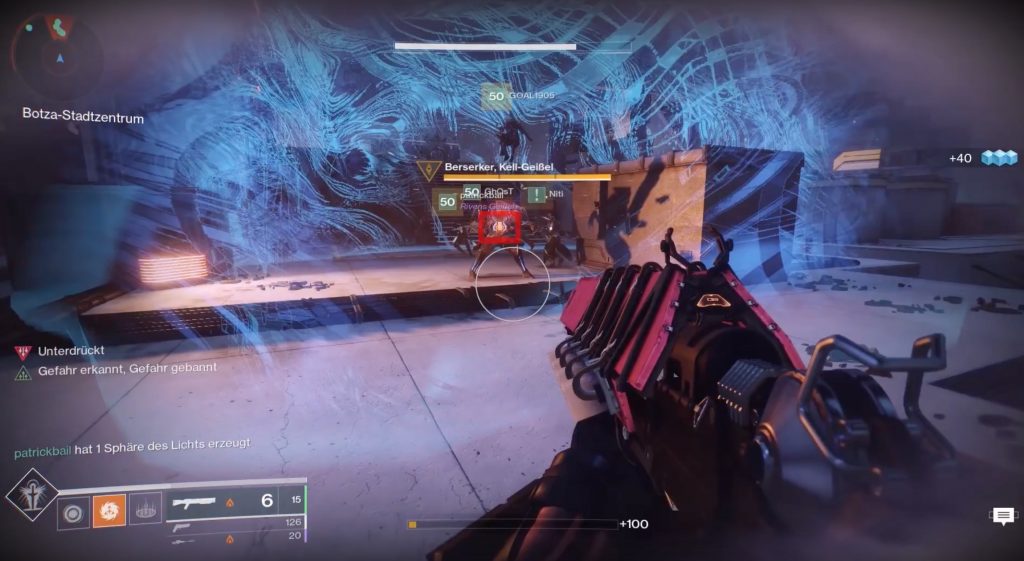
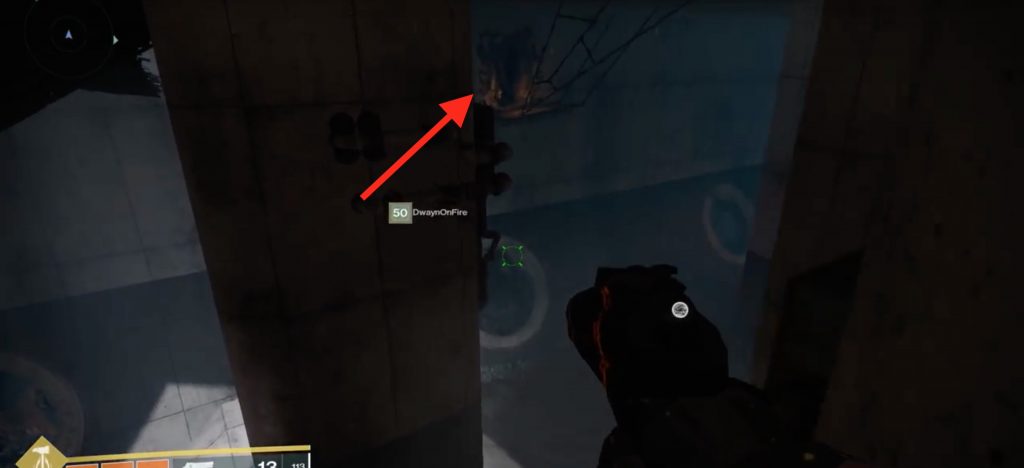
- Make your way to the center of this area. On a roof, you will encounter a Berserker. This is a powerful Fallen enemy with a yellow health bar.
The battery does not last forever and may need to be recharged. Nearby, there is a display that indicates how long the map will still be shown to you.
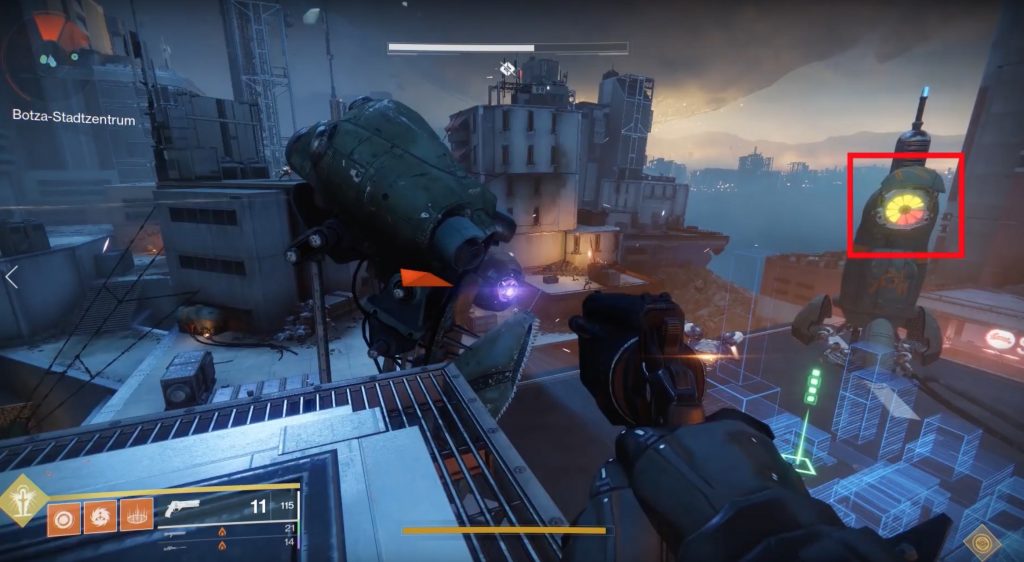
Additionally, enemies will spawn at the map that you should eliminate. The Servitor can temporarily disable the charging station with a force field. Just kill him, and then continue.
Here’s how to read the map: The holographic map shows you several things:

- The yellow circles represent the players, i.e., you.
- The green squares with dots above them are the charging stations that need to be recharged. The dots essentially represent a number. 4 dots would be charging station 4.
- The red triangles indicate other Berserkers from whom you will receive a battery. The Berserker with a thick glowing point drops two batteries.
- If you kill a Berserker and pick up a battery, the player also gets points—essentially a number. If the player has 2 points, they must bring their battery to charging station 2 accordingly.
These strategies are recommended:
- One player can stay permanently at the map and guide their teammates to the Berserkers and then to the charging stations from there. Another player can support them and deal with the enemies.
- Name the charging stations top, bottom, left, right, and middle. Use the tall tower marked “Fast” as a reference. That’s the top. The station on the roof is the middle. The rest should be named according to their position relative to the house.
Remember that you can use your Sparrow in the streets—unless you are carrying a battery. This way, you can move faster to the Berserkers and the charging stations to clean up there.
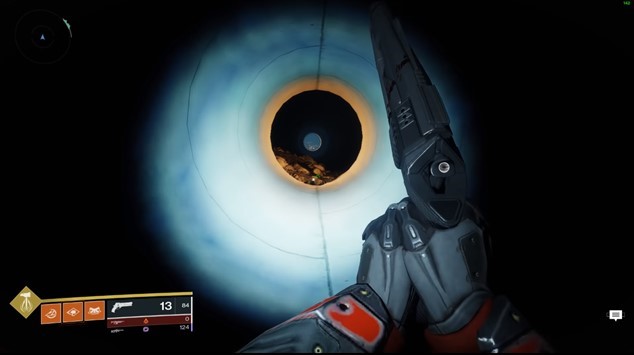
Once you’ve inserted enough batteries and fully charged a station, the protective bubble at the station will open, completing the phase. Grab the loot and make your way through the hole into the sewage channels beneath the ruins.
Phase 1 in the video: A detailed explanation of the city phase can be found in this video by Nexxoss Gaming:
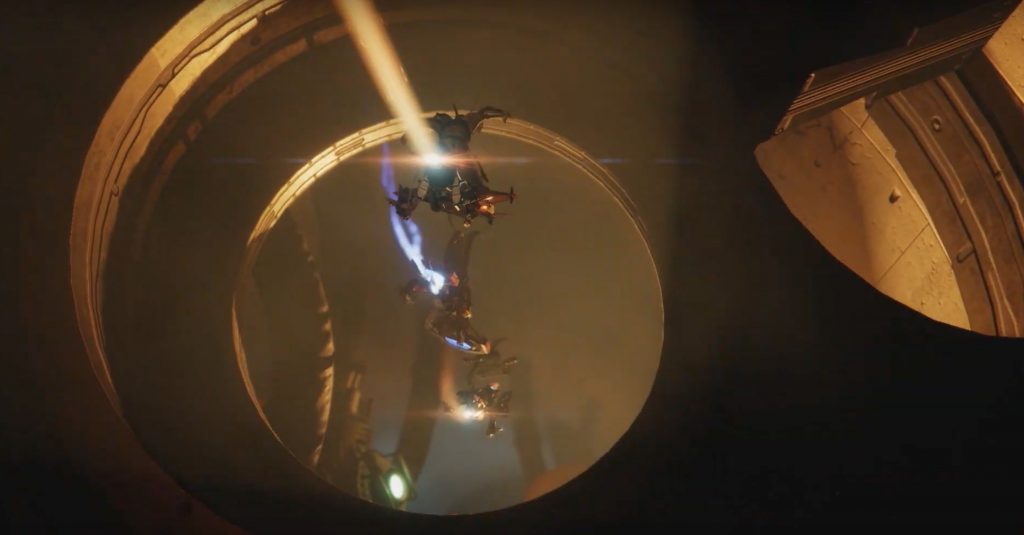
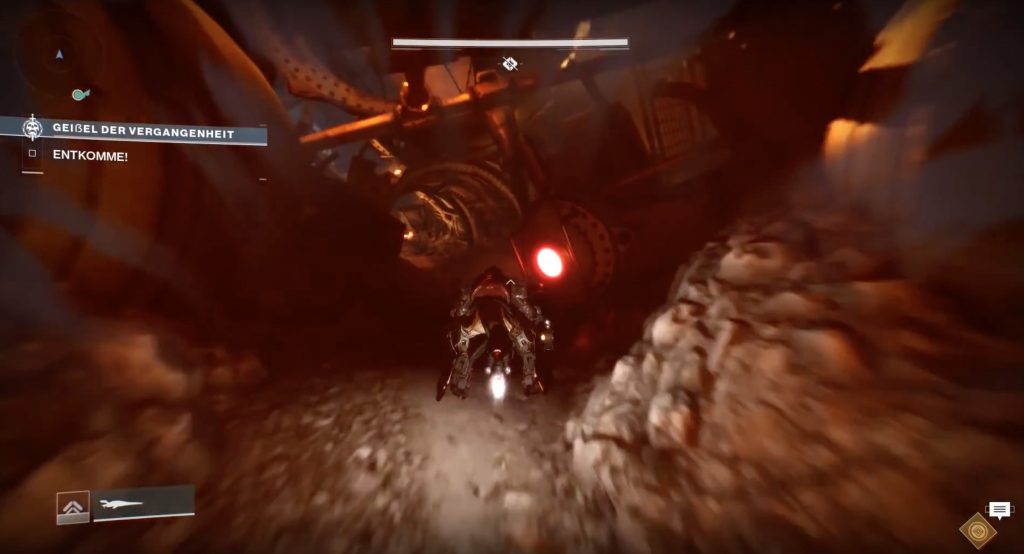
Phase 2 – On the Way with the Sparrow
The way through the tunnels: The canals are like a small labyrinth with a lighting system that you can activate and use to your advantage.
So spread out and work with the lights. This way you can mark areas that lead to the exit and your teammates can follow you more easily. Follow the path through the tunnels until you find a destroyed Fallen walker. Then you are in the right place.
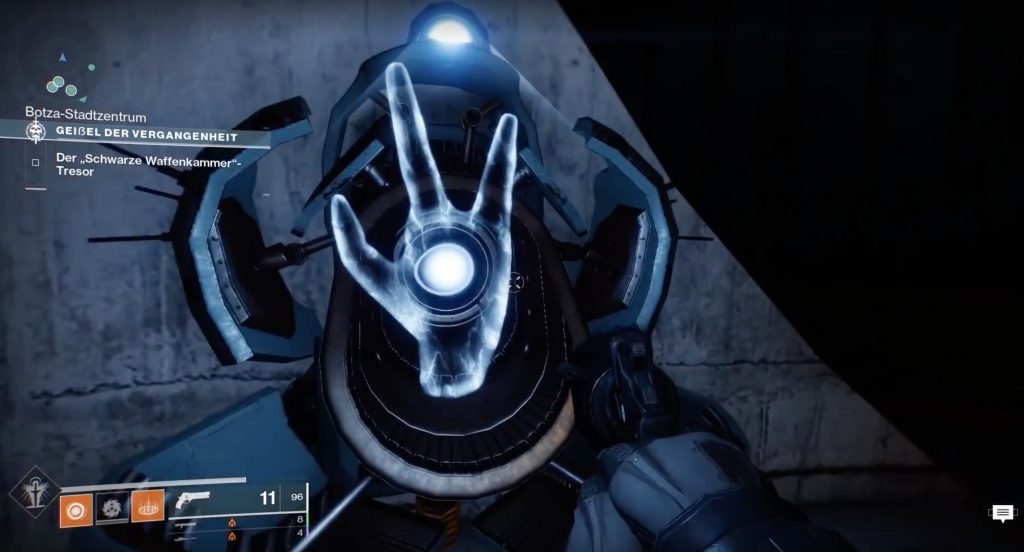
The instructions for the Sparrow phase
- There, you will find two terminals with a hand hologram that two players must activate simultaneously using their melee attack.
How to get the hidden chest in the Sparrow passage of the raid
This is what you need to do: You can get the hidden chest in the Sparrow section by activating a total of 8 buttons along the Sparrow route.
By driving close enough to them, their lighting will change from red to green. This indicates that the respective area has been activated. This task can be completed as a team; it does not have to be just one person taking care of the switches.
Once you have activated all areas, the message “A door opens somewhere” will appear in the bottom left. Then you just need to complete the remaining distance before you can look forward to more raid loot.
By the way, the chest does not contain any powerful rewards. However, the items come from the raid’s loot pool.
Phase 2 and the hidden chest in the video: You can see the complete Sparrow passage as well as the exact position of all switches and the hidden chest in detail in this video by Nexxoss Gaming:
This is how it continues: How the two phases of the boss fight against Ravager-Primus unfold can be found in the second part of our raid guide to Scourge of the Past: Raid guide to Scourge of the Past – The Boss Fight