Second Encounter: Herald
Division: Three teams of two Guardians each – Team Left, Team Right, Team Spawn.
How does the encounter work? The new area is divided into four sections:
- The arena where the boss is located
- The left area
- The right area
- The spawn area
Now, you split into three teams of two Guardians each and take over one area. The boss’s arena remains untouched for now. In the areas, you will again play the game with the plates and the Monoliths. The important thing now is that you can collect two types of resonances – Pyramid and Sphere.
To know which type of resonance you need to pick up, you must clear your area of enemies and defeat a special boss in your area. The boss can be a Witch, a Phalanx, or an Ogre. After defeating one of them, one of the players receives the buff “Call to Account.”
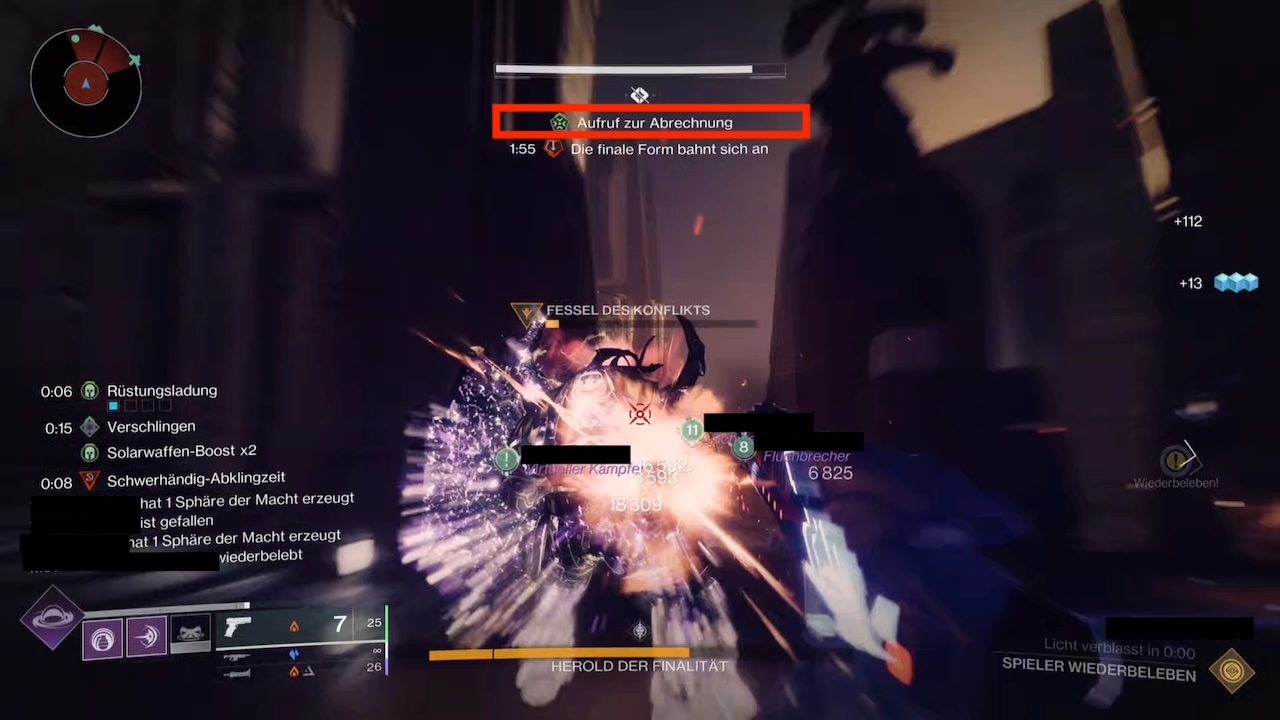
Now, the player with the buff must go to the center in the boss arena and shoot its head or back to convert this buff into “Stolen Favor.” Meanwhile, your teammate holds the position and defeats another boss in your area that is interfering with the connection between your plates.
Now each player in their respective area can see which resonance can close their Monolith.
Stock up with enough resonances of the right type (maximum three), close the Monolith, and go into the arena to place the resonances into the box there. Now the damage phase begins. Repeat this as often as needed until the boss is dead.
Tips for the Encounter:
- You don’t necessarily need to collect the “correct” resonance. The last resonance you pick up is the one that counts. So you can collect two spheres and then use a third pyramid to get a pyramid buff x3. This way, you can trick the system a bit.
- The boss protects its head and back with rot. This rots at the same spots in the respective areas. Destroy these to gain a clear shot at his weak points.
- Swords work very well as damage weapons here.
- It’s best to bring a Warlock for the well, so you don’t die during DPS.
- It is important to survive the phase before the DPS – as the boss can be taken down quickly.
This was the second encounter. On page 3, the third encounter will come your way.