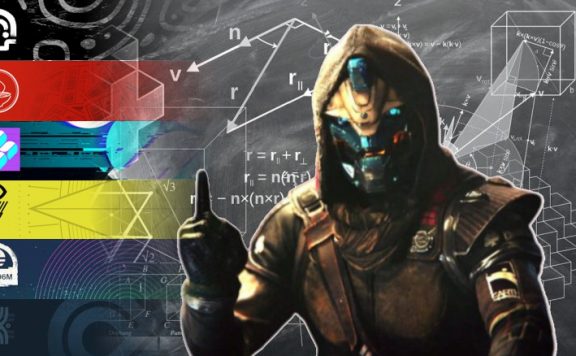
In Destiny 2, you can play the raid “Edge of Salvation” since the release of “The Final Shape.” It is one of the most complicated raids in all of Destiny, but with our explanations, you too will be able to master the raid.
What kind of guide is this? In our guide, we will go through all phases of the raid “Edge of Salvation”. We explain each phase in detail, show you the best division, and also give you tips and tricks that can make your run smoother. The raid has the following five phases:
With our provided directory, you can quickly jump to the individual phases you need at the moment. So let’s move on to the first phase: The Monoliths.
You can find the trailer for the new raid “Edge of Salvation” here:
First Encounter: Monoliths
Division: Two teams of three Guardians each – Team Left and Team Right.
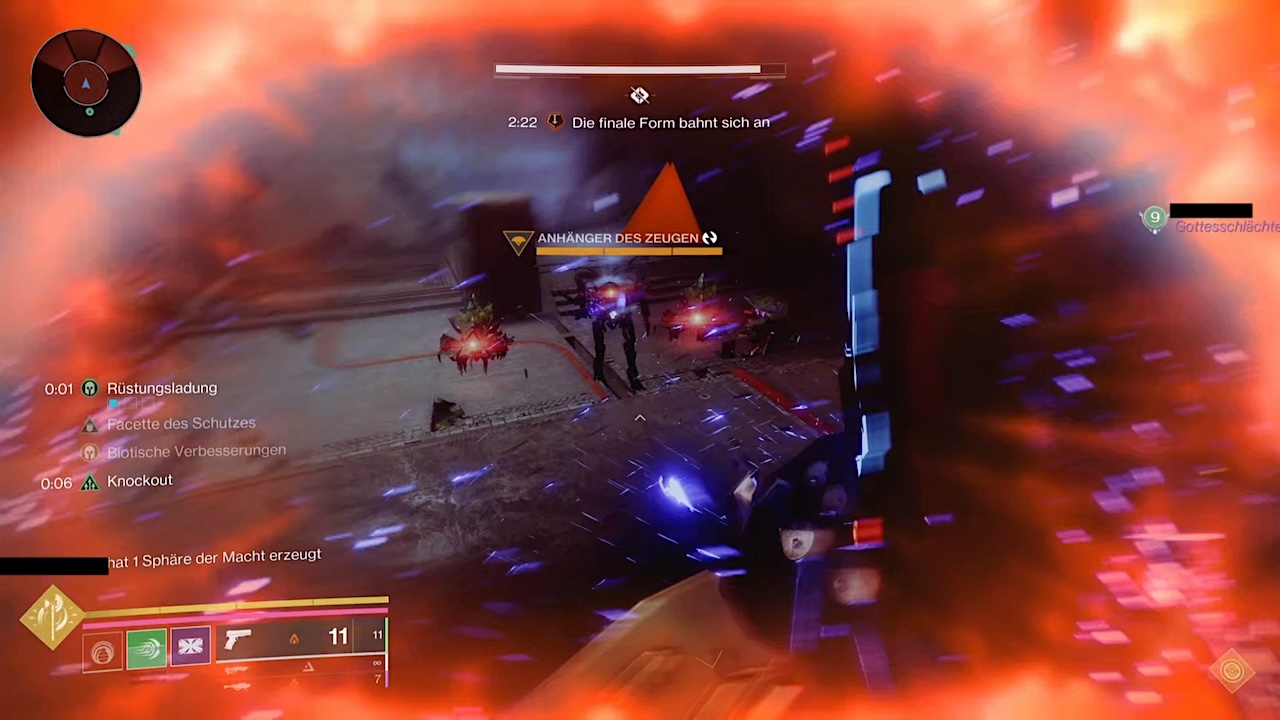
How does the encounter work? In the first encounter, there is a main room in the center and eight side rooms around the main room. When one of the players picks up the resonance (hologram pyramid) in the main room and puts it in the box, two passages that are next to each other open up, and the encounter begins.
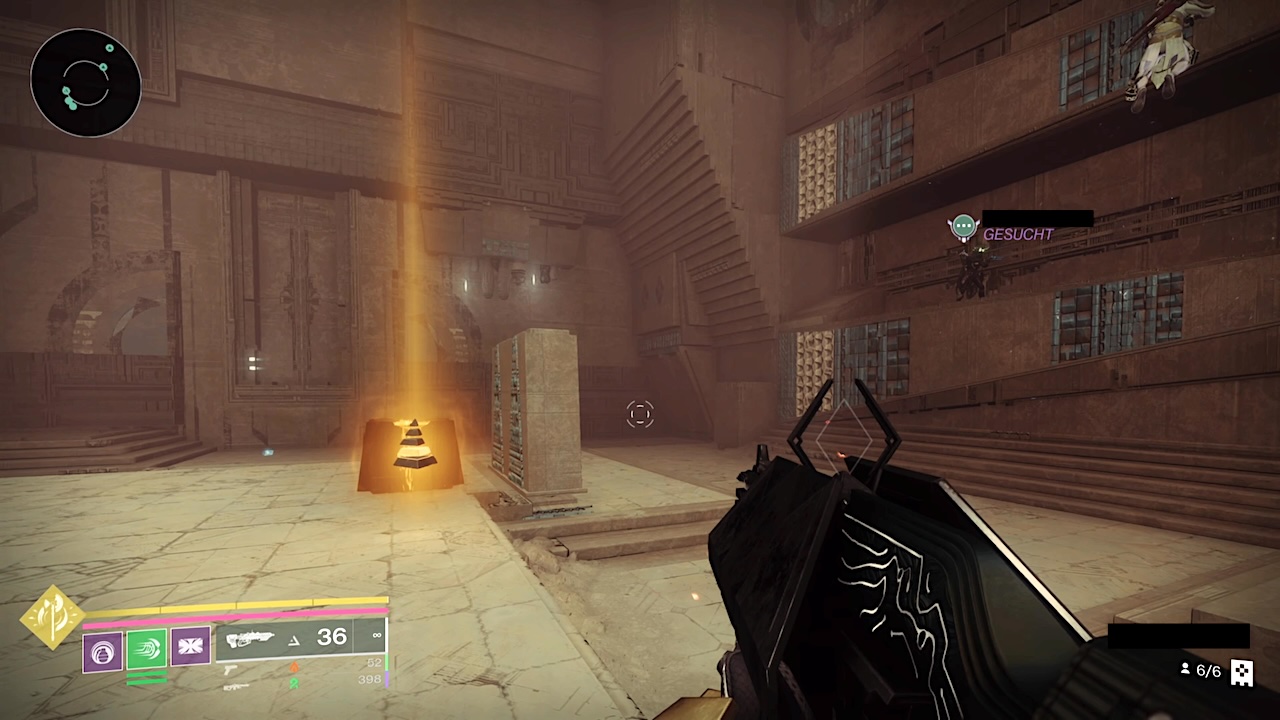
Both teams (right and left) take the passage designated for their team and stay in their respective directions. Now, the important thing is to clear the side rooms of enemies as quickly as possible and destroy the Hydras – as they block the progress of the other team.
Eventually, you will encounter an Overload Minotaur. Both teams must defeat their Minotaur to then meet in the main room and fight a Tormentor. Once you’ve accomplished that, you need to repeat the process until you can again take down a Tormentor in the main room.
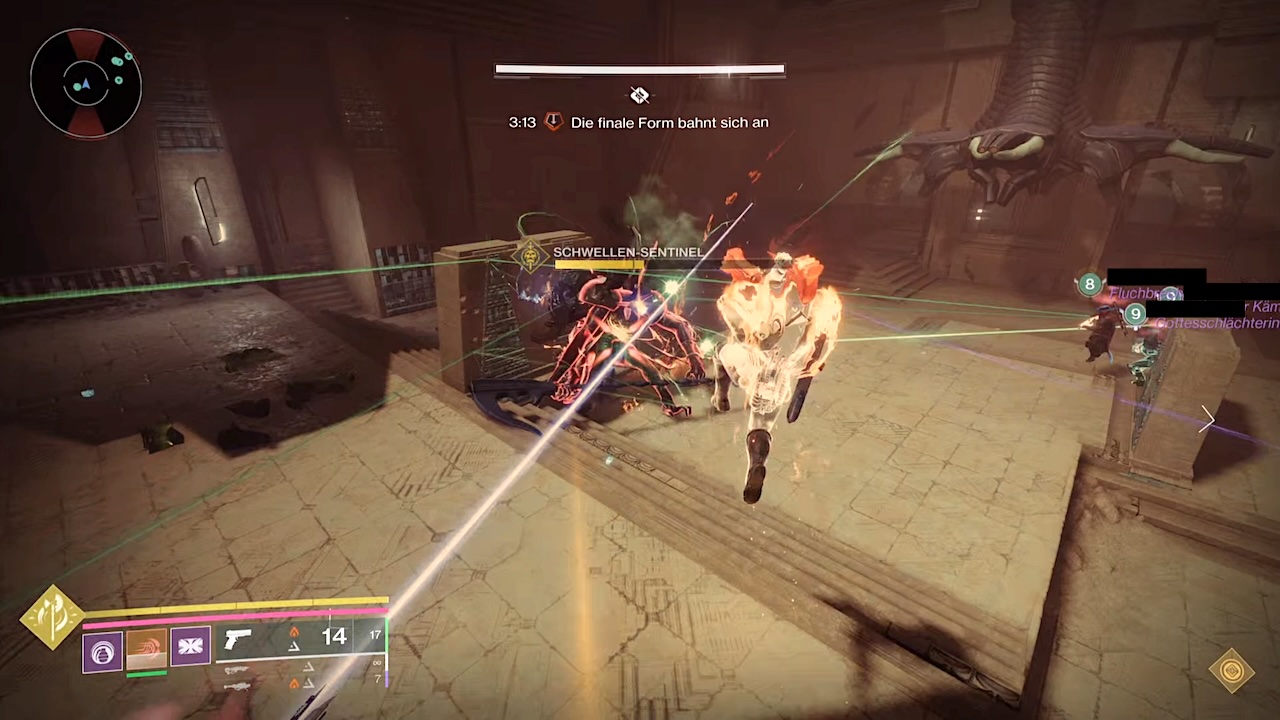
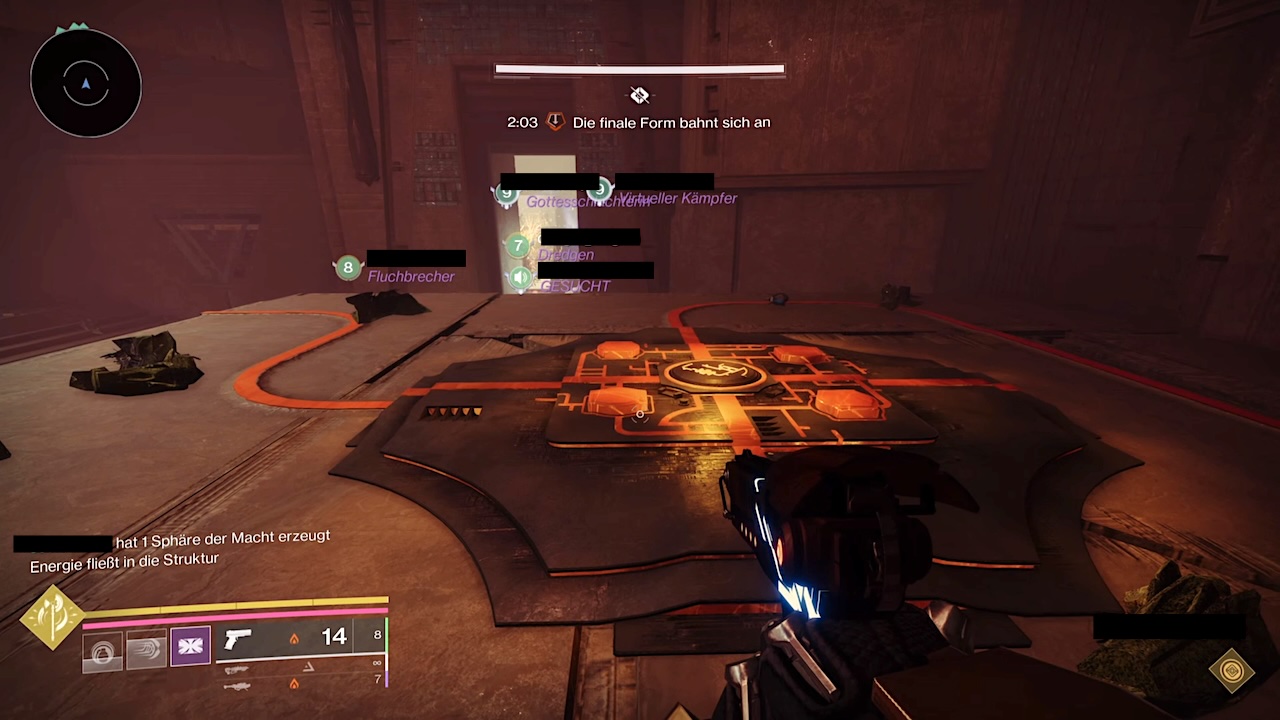
Once defeated, the teams must now find a glowing plate on their sides. One member of each team now stays at the glowing plate, while the other two members must find the connected plate with the Monolith. Once that’s done, the glowing plate sends a signal to the non-glowing one.
The third player of each team helps by destroying enemies and collecting resonances that spawn in the main room. Note that each player can carry up to three resonances. If you pick up more, you will die. Communication between the players at the plates is particularly important.
When a player wants to activate the glowing plate, they do so by briefly standing on it and then stepping off again. Communicate this with your partner so they can activate their plate at the right moment. The right moment comes when the signal has transferred to your plate. The glowing, pulsing circle represents the last moment you should not miss.
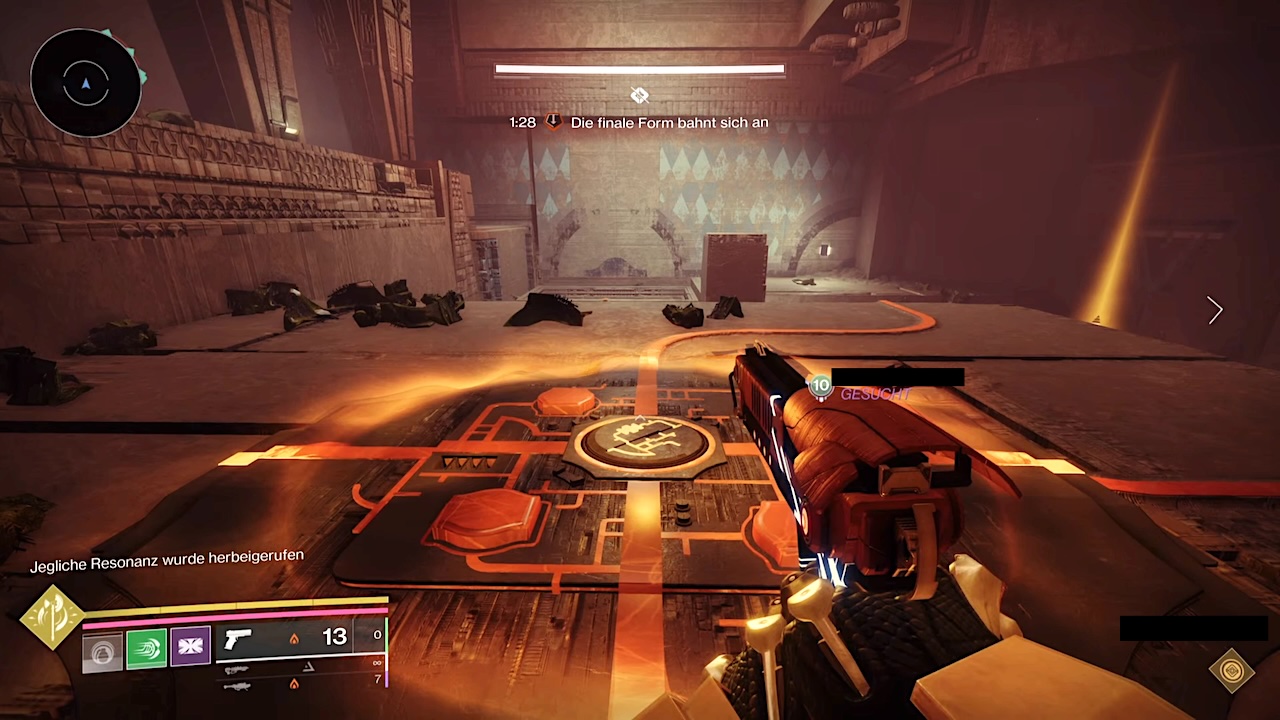
If you miss the timing, an Underling will spawn in the main room that you need to defeat – so stay alert. As you send your signals back and forth, a resonance will appear after each successful transmission that you can collect. Once each player has collected enough resonances, you need to close the Monolith.
To close the Monolith, the player in the same room must shoot the plate while waiting for their last plate signal to be sent. Activate the plate one last time, and the Monolith will close. All players now meet in the main room to defeat an Underling and then put all the resonances collected during the process into the box.
By storing the resonances, your timer extends so that you do not get wiped. You will need to go through this phase up to three times to succeed.
Tips for the Encounter:
- Use builds that can defeat enemy groups quickly.
- Bring weapons that can stun overload champions.
- Communication is important, so especially the plate guardians should talk to each other.
- Only close the Monoliths when you have collected enough resonances.
- Pay attention to high resilience and the right mods to withstand heavy fire.
This was the first encounter. On page 2, the second encounter will come your way.