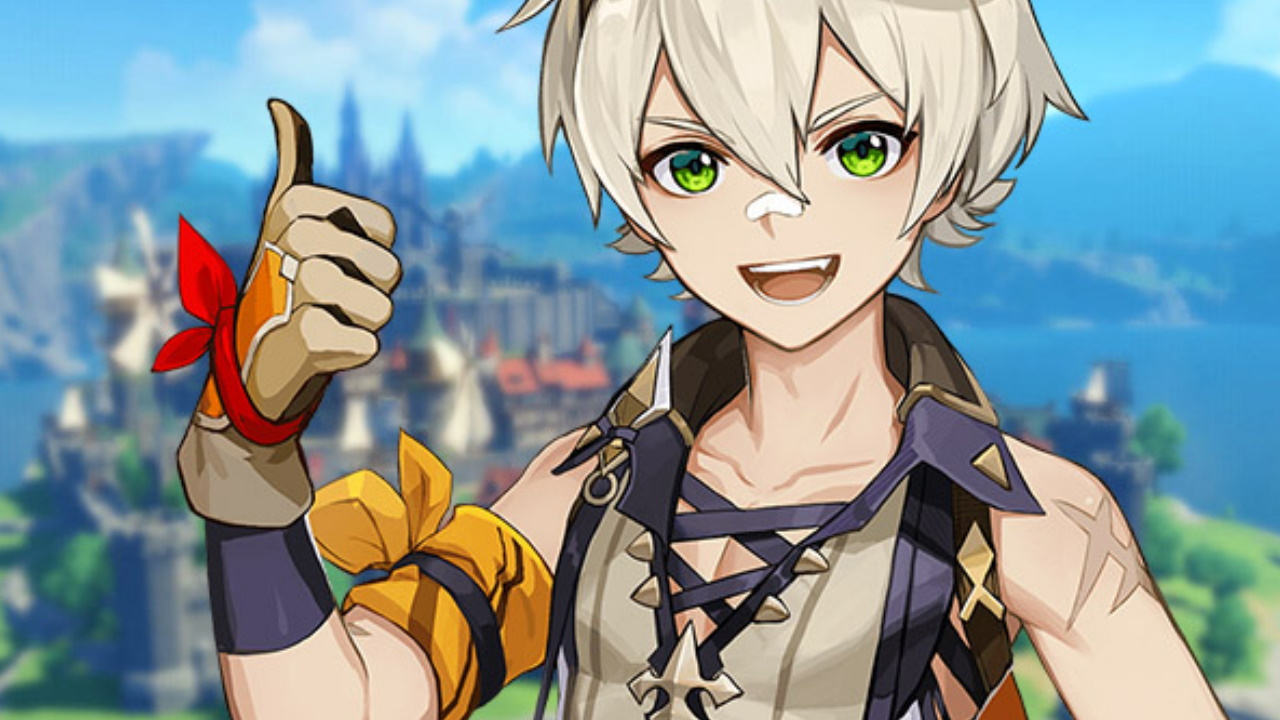
Sayu is the first playable 4-star character from Inazuma in Genshin Impact, available since August 10, 2021. We at MeinMMO show you how to play her correctly.
Who is Sayu actually? The little ninja girl Sayu belongs to the rather unknown Shiyuumatsuban organization, to which she has been loyal since childhood.
However, what she does best is lounging around. When asked about it, she reluctantly denies this with excuses. Sayu mainly masters the ninja arts, which allow her to lounge even more.
For example, she can summon the Mujimuji-Daruma, which helps her do things she does not want to do. It also supports her in battle, which we will discuss further in the next section.
Furthermore, Sayu’s stature and height are concerning. While all the people around her are growing up and getting older, she still has the appearance of a little girl. She is convinced that sleep helps her grow.
The Anemo ninja wields a claymore as a weapon despite her size. You can gather first impressions of Sayu in this video:
Sayu – The attacking healer
What are Sayu’s abilities? As a standard attack, she performs 4 swings with her claymore.
As already known from other claymore users, Sayu also spins around with the weapon, which consumes stamina. At the end, she strikes even harder.
Sayu’s elemental skill “Yuhu Style – Fuuin Strike” consists of switching to “windmill mode,” charging at the opponent and triggering Anemo damage. The subsequent windmill kick causes additional Anemo area damage.
If you hold the elemental skill button while using the skill, Sayu stays in windmill mode for a maximum of 10 seconds, increasing her interruption resistance. If you press the button again, a stronger windmill kick will be triggered.
Additionally, she can absorb Pyro, Hydro, Cryo, or Electro elements by holding down the skill button, inflicting extra damage with them during kicking and rolling. This is only possible once within the 10 seconds.
The longer you let Sayu roll around, the higher the cooldown will be. It varies from 6 to 11 seconds.
Sayu’s special ability is called “Yuhu Style – Mujina Confusion.” When you activate this ability, Sayu summons the previously mentioned Mujimuji-Daruma for 12 seconds, which performs different actions depending on the situation:
- If characters within the Mujimuji-Daruma’s range have more than 70% HP, it attacks nearby enemies and causes Anemo damage.
- Restores the HP of the character with the least HP on the field up to 70%. The HP restoration is based on Sayu’s attack. If there are no enemies nearby, the 70% HP cap is ignored, and the character continues to heal. The cooldown for this skill is 20 seconds.
Which talents have priority for Sayu? Even though the Mujimuji-Daruma catches your eye with its healing and attacks, you should by no means overlook the Fuuin Strike. At maximum level, it can deal 516.8% damage when held down.
If you want to primarily use Sayu as a healer, you should prioritize leveling her special ability.
Sayu’s passive talents are also very useful. With the “Yuhu Style – Quiet Steps” talent, animals will no longer run away. This also applies to the crystal butterflies, which are usually difficult to collect.
Furthermore, the talent “Better Choice” brings even more healing. Each time Sayu triggers a swirl, 300 HP will be restored to the character and teammates. For every point of Sayu’s elemental mastery, an additional 1.2 HP will be restored.
This talent has a cooldown of 2 seconds. The last passive talent, “Evening Off,” only relates to Sayu’s special ability. This talent heals characters near the initially healed character by 20%. Additionally, it increases the damage range of Mujimuji-Daruma.
What do the constellations bring? This list shows you the most important constellations and what bonuses they provide.
- 1st Constellation, “Concentration Technique”: The HP cap of 70% is ignored. The enemies are attacked by the Mujimuji-Daruma while you are healed at the same time.
- 2nd Constellation, “Escape Route”: The Fuuin Strike deals 3.3% more damage when pressed. When held down, it deals 3.3% more damage every 0.5 seconds. A maximum damage increase of 66% can be achieved.
- 4th Constellation, “Professional Tails”: 1.2 elemental energy is restored with every swirl triggered by Sayu. With a 2-second cooldown. This ensures a faster use of Sayu’s special ability.
- 6th Constellation, “Sleep Time”: Increases the attack damage and healing of Mujimuji-Daruma based on Sayu’s elemental mastery.
Each point of elemental mastery increases damage by an additional 0.2% and healing by 3 HP. A maximum of 400% additional damage and 6000 HP healing is possible in this way. This corresponds to a maximum elemental mastery of 2000. To make Mujimuji-Daruma even more useful, the first constellation is very worthwhile for you, as it attacks at all times and also heals you.
Weapons for Sayu
Which weapons do we recommend for Sayu? Since Sayu’s healing scales with her attack value and elemental mastery comes into play with her passive talent, she has several options for weapon selection.
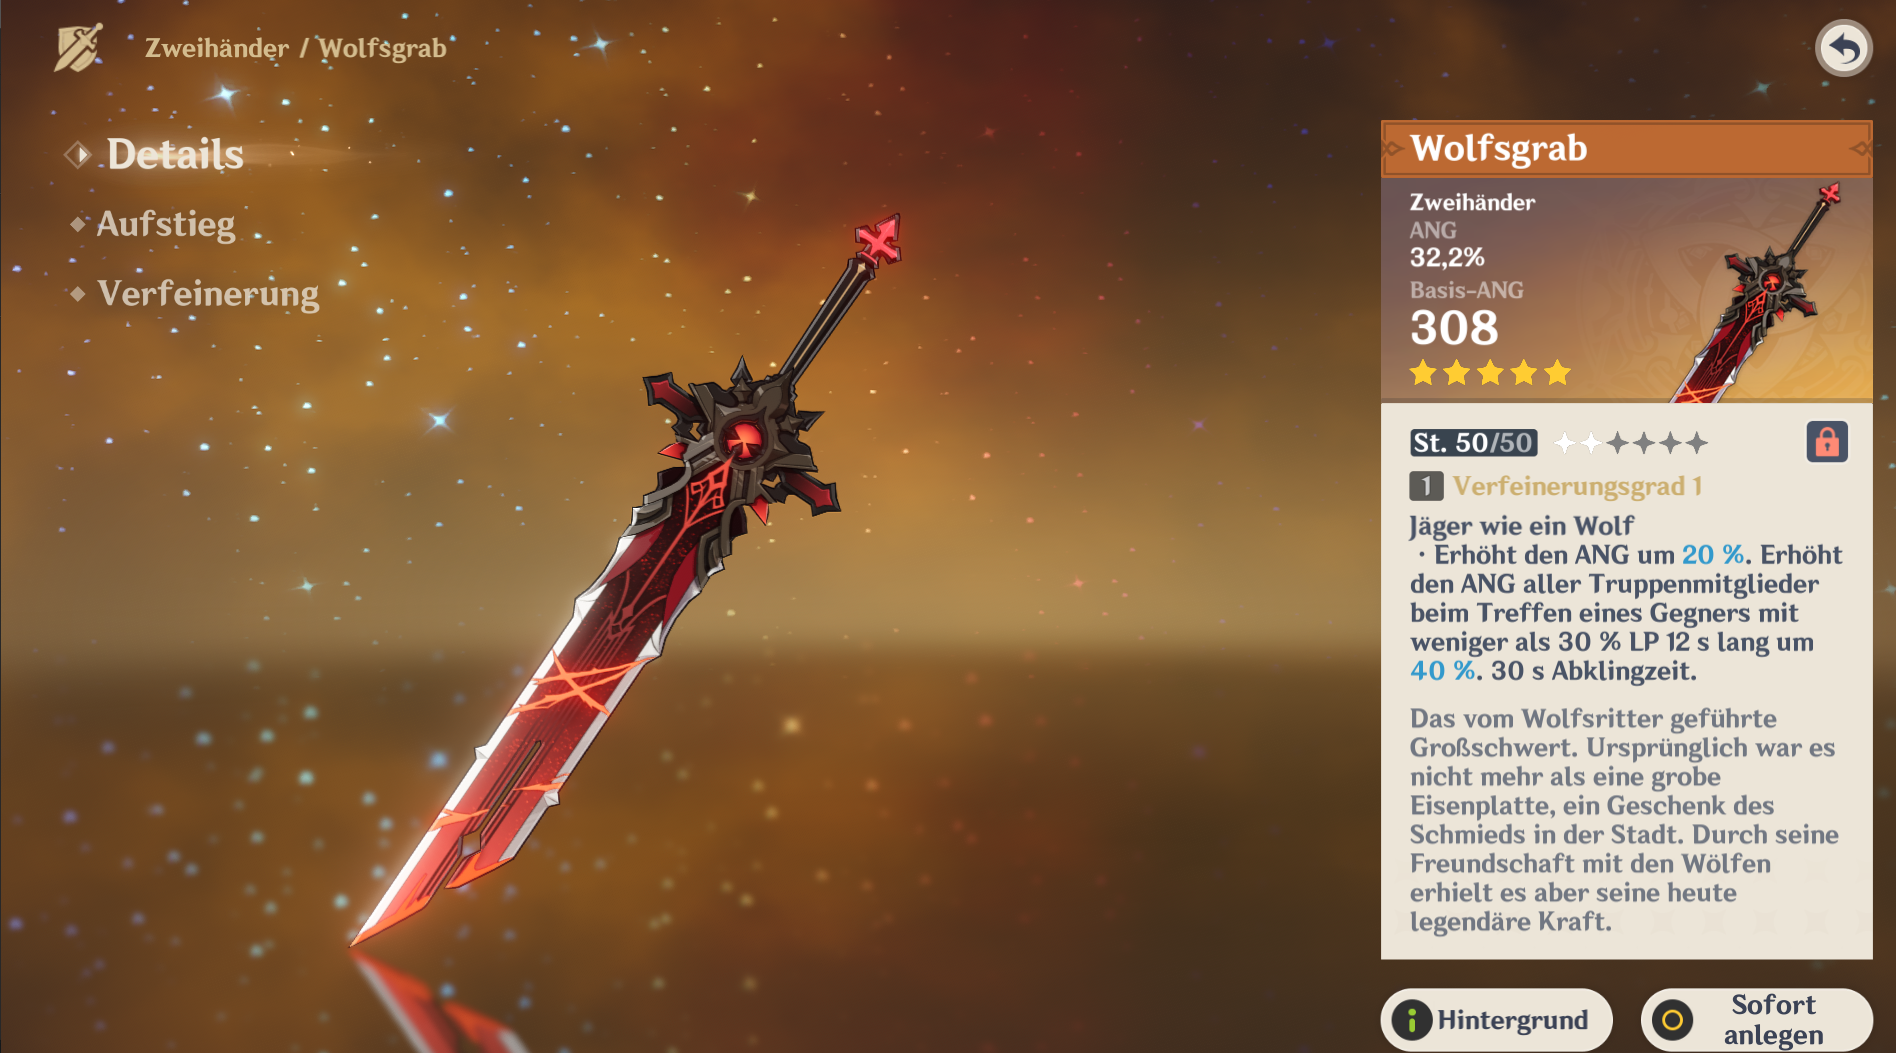
If you want to play Sayu as both main DPS and support, the claymore “Wolf’s Gravestone” is recommended. Wolf’s Gravestone increases attack by 20% and also gains additional attack bonuses upon leveling up. Additionally, it increases the attacks of all team members by 40% for 12 seconds when an enemy is attacked at 30% HP.
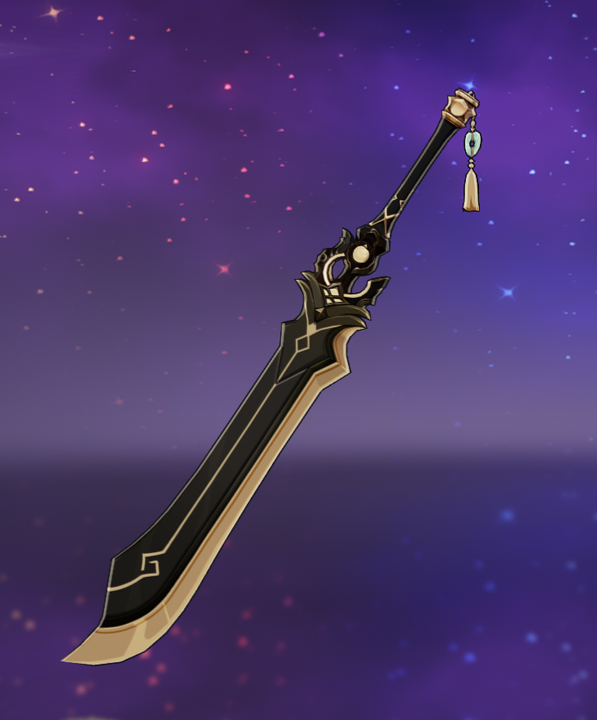
Moreover, the claymore “Skyward Pride” is recommended. This increases the charge rate when leveling up, allowing for faster use of Sayu’s special ability. Additionally, it increases damage by 8% and creates a vacuum blade with hits, which accounts for 80% of the attack value.
As a four-star alternative, the “Sacrificial Greatsword” is available. This also increases the charge rate and provides a 40% chance to skip the cooldown of the elemental skill.
If you want to boost your elemental mastery, the “Raincutter” is recommended. However, its ability becomes truly worthwhile only if you also have a Hydro or Electro character on the team. It increases damage to enemies affected by Hydro or Electro effects by 20%.
Which free-to-play swords are worthwhile? The claymore “Guhua Prototype” is the most worthwhile. This increases the attack sub-stat when leveling up and has a 50% chance to deal additional damage of 240% attack to enemies.
If you have progressed further in Inazuma, you can also choose the sword “Katsuragikiri Nagamasa” as an alternative to the Sacrificial Greatsword or Skyward Pride.
If you are still at the very beginning of the game, you can rely on weapons like “Solid Argument” or the “Dragonblood Sword“.
All values mentioned in the text refer to the weapon at refinement level 1.
Guhua Prototype 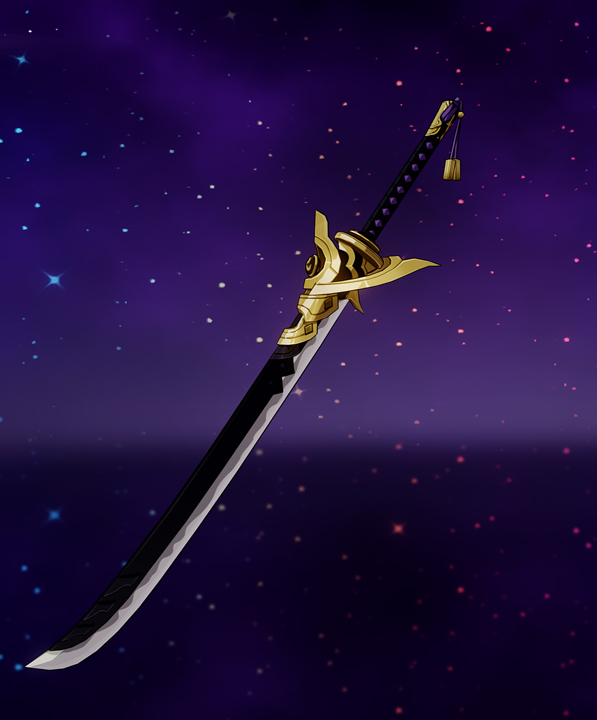
Katsuragikiri Nagamasa 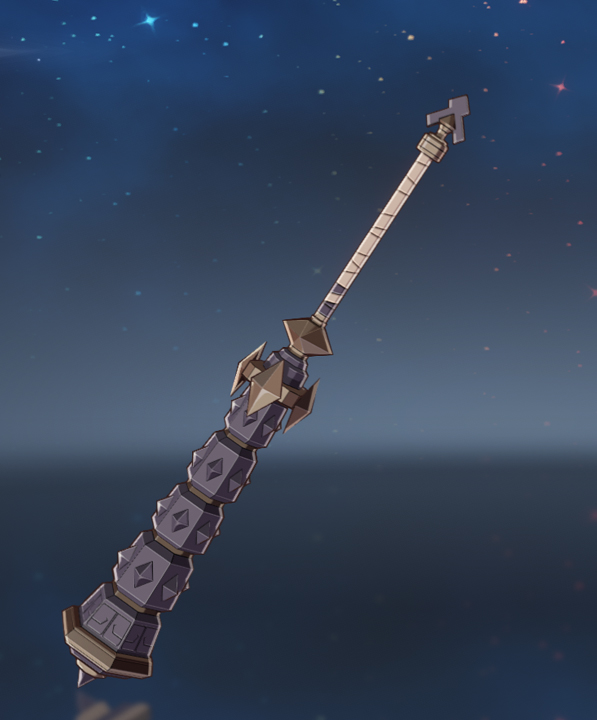
Solid Argument 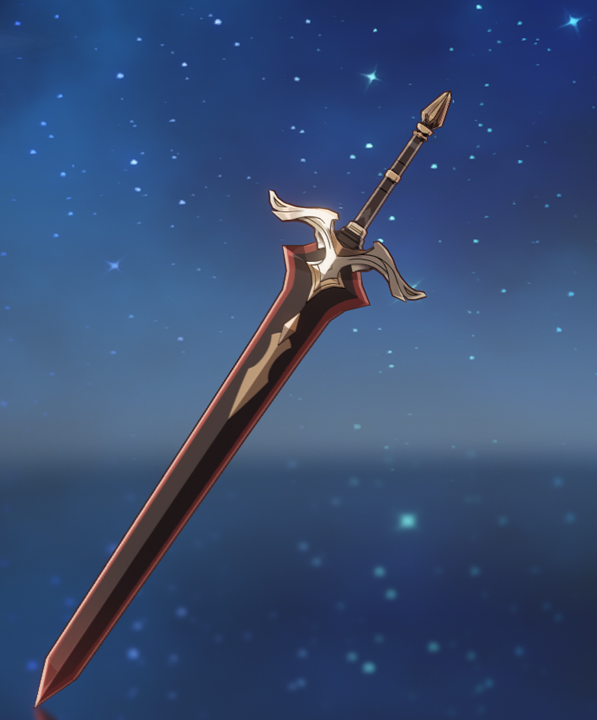
Dragonblood Sword
These artifacts fit Sayu best
What artifacts benefit Sayu the most? This depends on the path you want to take with Sayu. If you want to mainly play her as a healer, the following set combination is recommended:
- 2-piece bonus “Gladiator’s Finale” / “Shimenawa’s Reminiscence”: Increases attack by 18%
- with 2-piece bonus “Wanderer’s Troupe“: Increases elemental mastery by 80 points
- or 2-piece bonus “Maiden Beloved”: Increases the active healing effect of the character by 15%
Make sure that the hourglass has attack%, the cup attack% or elemental mastery, and the crown healing bonus, elemental mastery, or critical damage (CD) and critical rate (CR). The other artifacts should also include sub-stats of attack, elemental mastery, charge rate, CD, and CR.
Additionally, you can play Sayu as a sub-DPS by equipping the set “Old Court Ritual” or “Talisman of the Faded Path“.
- 2-piece bonus Old Court Ritual: Special skill damage increased by 20%.
- 4-piece bonus Old Court Ritual: After using a special skill, all team members’ attack is increased by 20% for 12 seconds.
This variant is advisable if you want to support your entire team with Sayu.
- 2-piece bonus Talisman of the Faded Path: Increases the charge rate by 20%.
- 4-piece bonus Talisman of the Faded Path: Increases damage caused by special skills based on 25% of the charge rate. A bonus of up to 75% can be achieved this way.
In this way, your Sayu deals more damage with her special ability.
If you choose Sayu as sub-DPS, focus on attack%, charge rate, or Anemo damage and CD or CR.
Additionally, Sayu is also available as a main-DPS variant. The artifact set “Viridescent Venerer” is the best choice. However, you can also choose the set as a supporter and sub-DPS since the resistance reduction against swirls is very useful.
- 2-piece bonus: Increases Anemo damage by 15%
- 4-piece bonus: Increases the damage of swirls by 60% and reduces elemental resistance against the swirl’s element by 40% for 10 seconds.
The main stats in this case should be attack%, Anemo damage, and CD or CR. Elemental mastery and charge rate as sub-stats should not be overlooked either.
Gladiator’s Finale 
Shimenawa’s Reminiscence 
Wanderer’s Troupe 
Maiden Beloved 
Old Court Ritual 
Talisman of the Faded Path 
Viridescent Venerer
Sayu is suitable for every role and can support you in many different ways. However, this is also strongly dependent on which constellation you have for Sayu. If you have unlocked Sayu’s 6th constellation, it might be worth investing more in elemental mastery than in attack and CD/CR stats.
This is how Sayu perfectly fits into your team
Which characters harmonize with Sayu? Since Sayu has many different build options, we at MeinMMO have compiled a few team suggestions from the many effective teams.
Anemo/Pyro Build:
- Bennett, for the attack buff from his special ability
- Kazuha or Sucrose, as both have crowd control on the ground and passive talents that can boost Sayu’s elemental mastery
- Klee for additional damage. Her bombs are also attracted by the crowd control
- or Xiangling as Klee and Free-to-Play alternative, due to her special ability
2 Anemo characters and 2 Pyro characters also trigger team bonuses. One provides a 25% attack boost, and the cooldown of skills is reduced by 5%.
Team centered around Sayu as Main-DPS:
- Zhongli/Noelle, for the protective shield
- Albedo, for additional damage, without necessarily needing to be on the field
- Jean as an Anemo battery to charge Sayu’s special ability
Or better:
- Bennett
- Mona, for her special ability and thus more damage through the vaporize reaction
- Xiangling
Four star teams:
- Bennett
- Xiangling
- Sucrose
or alternatively
- Xingqiu together with
- Kaeya or Chongyun, to trigger the freeze effect
- Xiangling, for the additional melt combo while her special ability is active
Additionally, you can replace your current healer with Sayu to support your Main-DPS.
Diluc, Ganyu, Keqing, Eula, Xiao, Ayaka and Razor primarily need a healer by their side.
What do you think of these builds? Who would you combine Sayu with? Will you try to get her or are you saving for other characters? Feel free to write it in the comments!
Leaks in Genshin Impact promise that you will soon be able to fish and reveal new characters