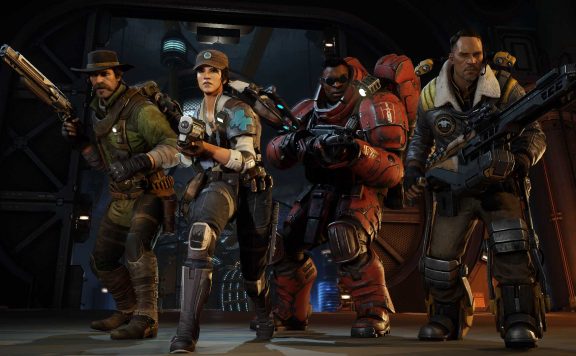
The long-awaited game “Evolve” is just around the corner, and in a few days the official launch will finally kick off. So that you can dive straight into the first online matches, we’ve put together a guide to introduce you to the 4 starting hunters.
Before each match, you can choose what you would like to play, but there’s no guarantee for that. To ensure you perform well even in roles you may not prefer, you should keep reading!
First: The tips mentioned here mainly apply to the “Hunting” mode, but can largely be transferred to all other game modes – usually, only the aspect of monster hunting is omitted. Additionally, these tips are meant to be beginner’s aids. There are surely countless other ways to play the characters more effectively! However, for a somewhat successful start, this hunter guide should suffice.
General about the Hunters
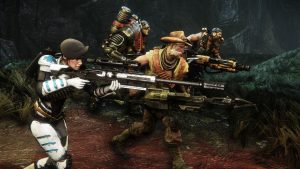
No matter which of the four hunters you get assigned: You are a team! Your only and decisive advantage lies in your numbers! Never waste this circumstance by distancing yourself from the group and going off solo, no matter how “incompetent” you think your teammates are!
Individual hunters can jump on the monster and kill it without any possibility of resistance. If you really want to split up, make sure to always have at least one other teammate with you – otherwise, you’ll quickly become a victim of the monster or the environment.
All hunters have three different weapons or equipment items as well as a “special” ability with a relatively long cooldown.
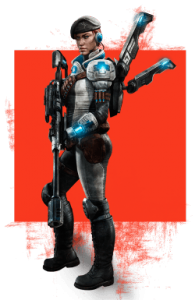
Class: The Medic, Val
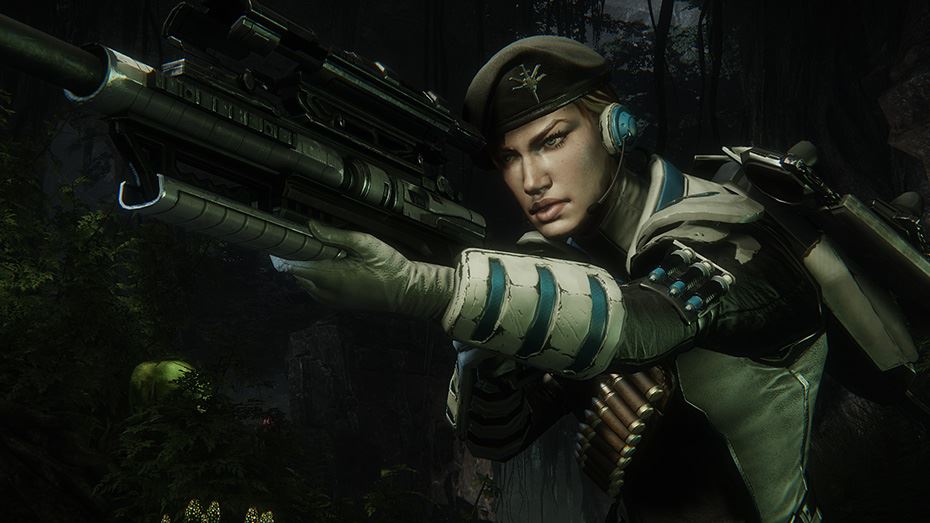
- Revive downed teammates with the Medi-Gun
- Slow and mark the monster with tranquilizer arrows
- Target weak points with the sniper rifle
- Heal allies
Although Val is the group’s medic, healing with the Medi-Gun is only a small part of your responsibilities. You should primarily use the Medi-Gun between encounters with the monster to keep your group alive, as healing during encounters is usually too minimal. While your sniper rifle sounds tempting, the damage is negligible – use it only to target weak points on the monster where your teammates can inflict additional wounds.
Most of the time, you will spend using the tranquilizer gun. This weapon doesn’t inflict damage, but it slows the monster down, making it move only very slowly. As if that weren’t cruel enough, you can even see the beast for a short time through walls while using it. Try to maintain the stun as long as possible; a permanently incapacitated monster has little chance to escape and is a much lesser threat.
Only when a teammate goes down should you switch to the Medi-Gun and try to revive him – ideally, coordinate with the support, when they protect the downed teammate with a shield, your friend will be back on his feet quickly. You should keep the healing burst (Key 4) on cooldown as soon as you take damage yourself – because without you, the team loses not only the healer, but also the incapacity of the monster becomes impossible.
Always position yourself on higher ground from where you can see the entire battlefield. When the monster climbs up to you, it usually exposes itself to your teammates’ line of fire, and you can escape using the jetpack.
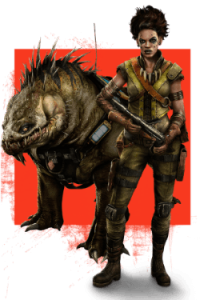
Class: The Trapper, Maggie (and Daisy)
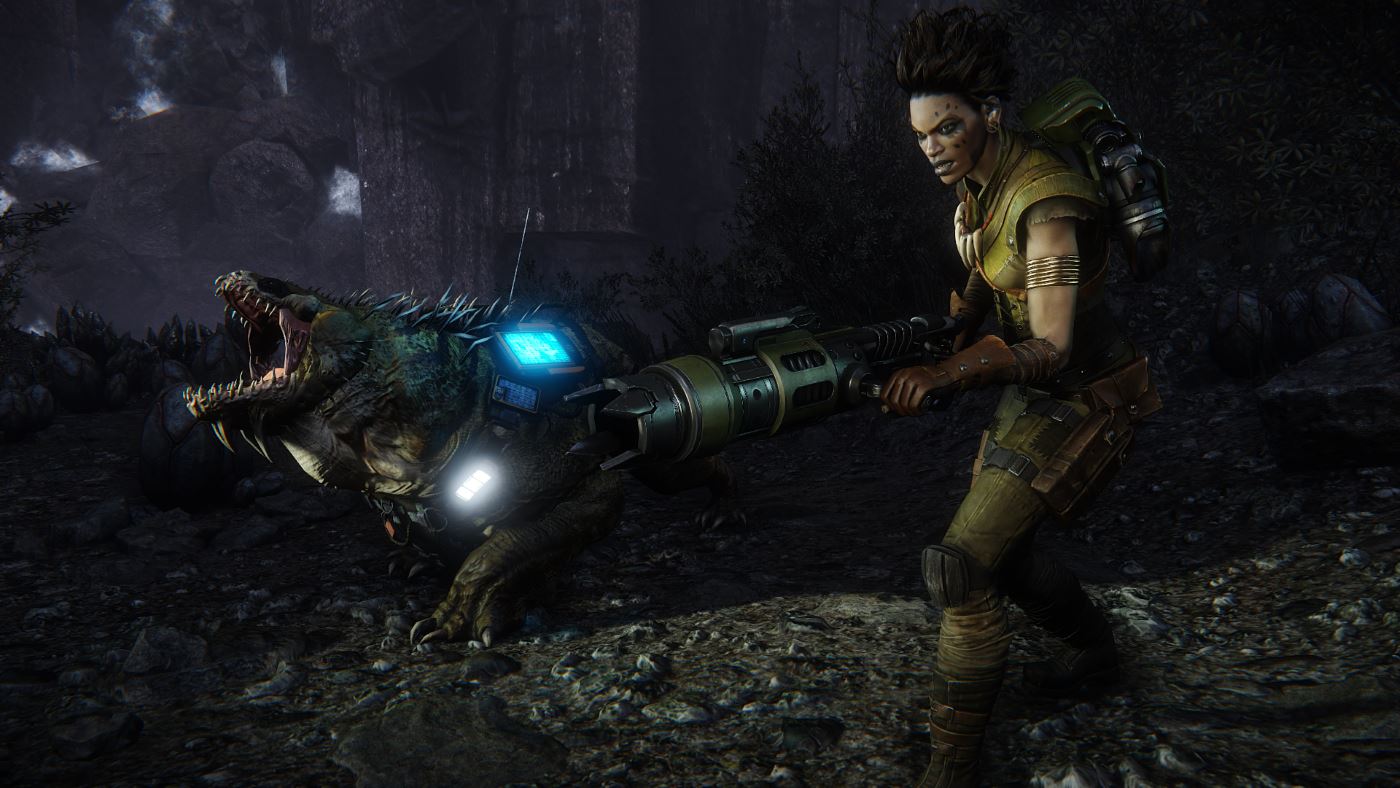
- Trap the monster in the dome
- Restrict the monster’s movement with harpoon mines
- Inflict damage with the submachine gun
As Maggie, your main task is to track and hold the monster in one place. Instead of a third weapon, she has her snapping companion “Daisy,” who I will dedicate a separate section to below.
You should either cleverly place harpoon mines near other teammates or at a choke point through which the monster might escape, but never all in one place! The monster can destroy the mines with a single hit, but this won’t happen if they are spread out.
Like all trappers, you also have access to the “Dome”. Once activated, it captures all creatures in an artificial arena. Every being can enter the arena voluntarily, but cannot leave! If the monster is successfully trapped, stay alive at all costs! As soon as Maggie goes down, the dome collapses – making her the main target for every monster player. If the arena has not captured the monster, it can be manually dismantled by holding the “4” key long – but the cooldown is still active.
When the monster is trapped in the dome and all harpoon mines are placed, you can comfortably switch to the submachine gun and deal some damage. If there are weak points on the enemy, it’s best to use short, controlled bursts since the weapon has a massive recoil.
Daisy: Maggie’s “dog” is controlled by AI and cannot inflict any damage, yet she will decide many matches in favor of the hunters. If the hunters cannot find a trace of the monster, Daisy will point them in the correct direction. When she follows the monster’s trail, she has a yellow symbol over her head. Once the symbol turns red, the monster is sneaking nearby – exactly the right time for a dome!
Most of the time, it won’t help to follow Daisy blindly; sometimes you need to lead and guide her to startled birds so she can find a new trail. Aside from this behavior, Daisy counts as a full-fledged hunter: She can help injured hunters back on their feet, and even if all others have died – as long as Daisy lives, the hunters are still in the game.
Class: The Support, Hank
- Protect teammates with the shield generator
- Rescue allies with an orbital strike
- Use group cloak to revive/escape
- Deal damage with the laser cutter
Hank’s role as “Support” is relatively straightforward. With his shield generator, he can prevent all damage a hunter would suffer. The battery is limited, but begins to recharge in less than a second – so if you activate the shield at just the right moment, you can theoretically keep a single teammate safe from damage indefinitely – but be careful! A somewhat clever monster player will naturally trace the shield beam back to its source, and you cannot use it on yourself.
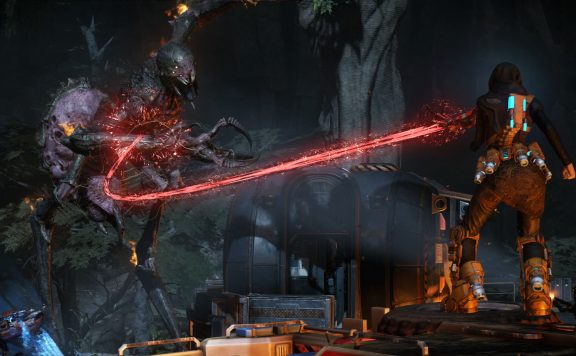
The orbital strike can be used defensively or offensively. If a teammate is down, you can force the monster to leave that player alone. If the monster’s movement is restricted (through traps or stuns), you can also use the orbital strike for offense. No weapon in the game inflicts more damage! If all the rockets hit their target, even a level 3 monster loses half its health.
When the situation seems hopeless, use the group cloak. In stealth mode, you can revive comrades or escape to bridge the last few seconds until the next ship arrives. Only when the monster is at a distance and all hunters are relatively safely positioned should you switch to the laser cutter with Hank. This weapon is incredibly precise and can inflict devastating damage on exposed weak points. However, damage is never more important than protecting teammates!
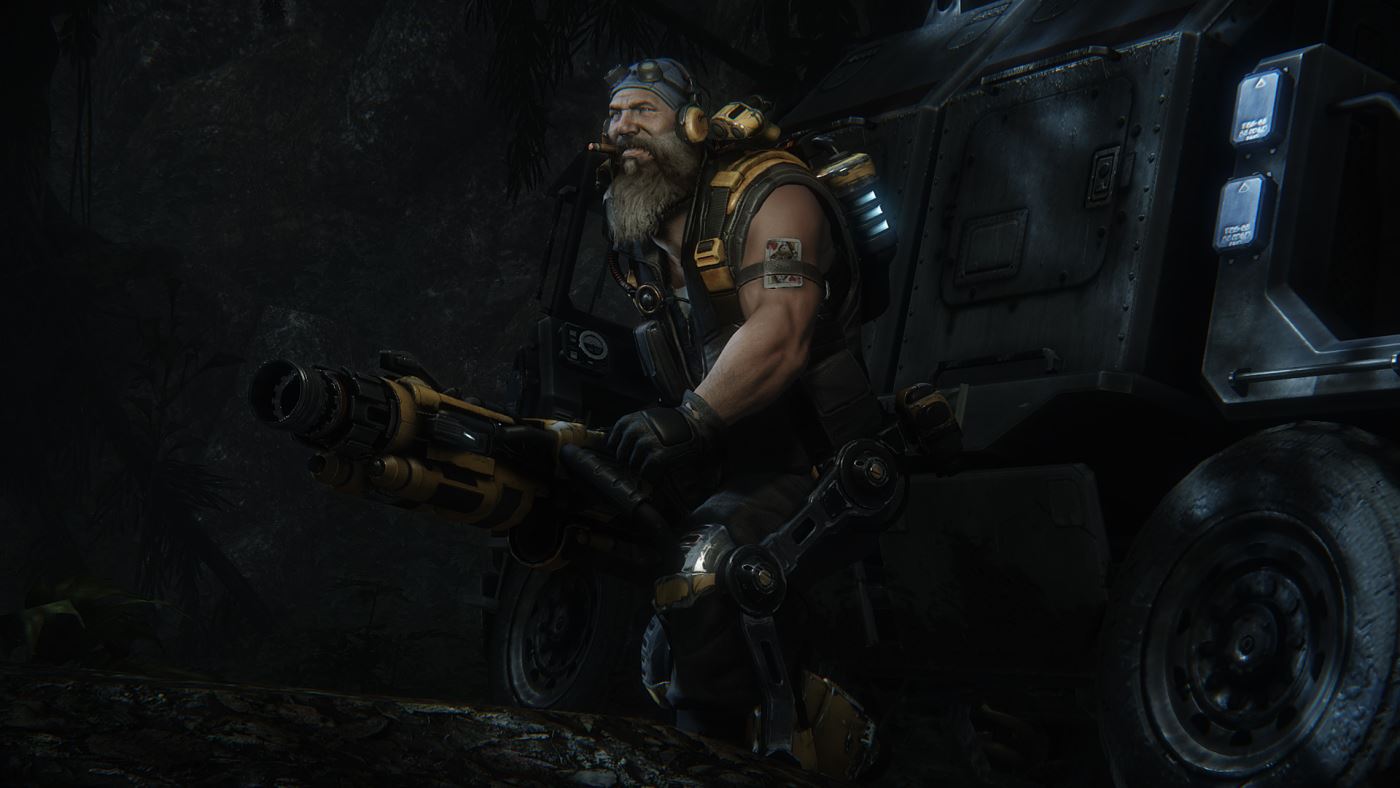
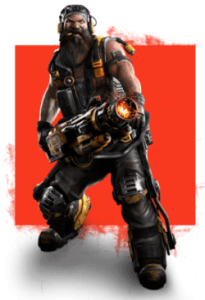
Class: The Assault, Markov

- Place bow mines
- Unload the lightning gun, switch to the submachine gun during cooldown
Markov is the Assault and thus the primary damage dealer of the group. As soon as the fight begins (ideally even before, if you can set it up), you should place all five bow mines – preferably near an important team member, such as the trapper or medic. The mines deal massive damage and can effectively keep a monster at bay or force it to disable the mines first.
Once you are at close range to the monster, switch to the lightning gun. It deals constant damage and doesn’t even need precise aiming; as long as you are roughly aiming at the monster, it inflicts damage. Important: The lightning gun does not benefit from weak points and headshots! If there are many weak points on the monster (or the battery of the lightning gun is depleted), you should immediately switch to the submachine gun and aim for headshots.
Save your personal shield generator (Key 4) for emergencies, as soon as you catch the monster’s attention or if it surprises you with a sneak attack. This often gives your teammates enough time to rescue you or allows you to inflict heavy damage on the enemy for a few more seconds.
Especially important: Do not desperately shoot at a distant monster that is fleeing! As long as the monster is considered “in combat,” it receives bonuses to its travel abilities – if you cannot deal significant damage, it is better not to inflict any!
Conclusion
I hope this little beginner’s guide has pleased you (it has turned out longer than planned) and helps some readers to have an easier start in the game. If you have criticism, suggestions, or additional tips for the individual hunters, please let me know.
If desired, I can also gladly write further guides, where I address specific game situations or take a closer look at the monsters. Let me know in the comments!
However, if you want to eat hunters instead, I can recommend another guide: The Goliath Guide.