CoD Cold War: Zombies – “Die Maschine” Guide to Pack-a-Punch
Call of Duty: Black Ops Cold War plans to release more zombie maps, but at launch, you only have access to one map: “Die Maschine”.
To survive on the map, it’s not enough to just be a good zombie killer. You need to upgrade your weapons, acquire perks, and build the Pack-a-Punch machine to keep the zombie horde under control.
This guide shows you how to become strong enough to fend off many waves and explore the story.
Step 1 – Turn on the Power
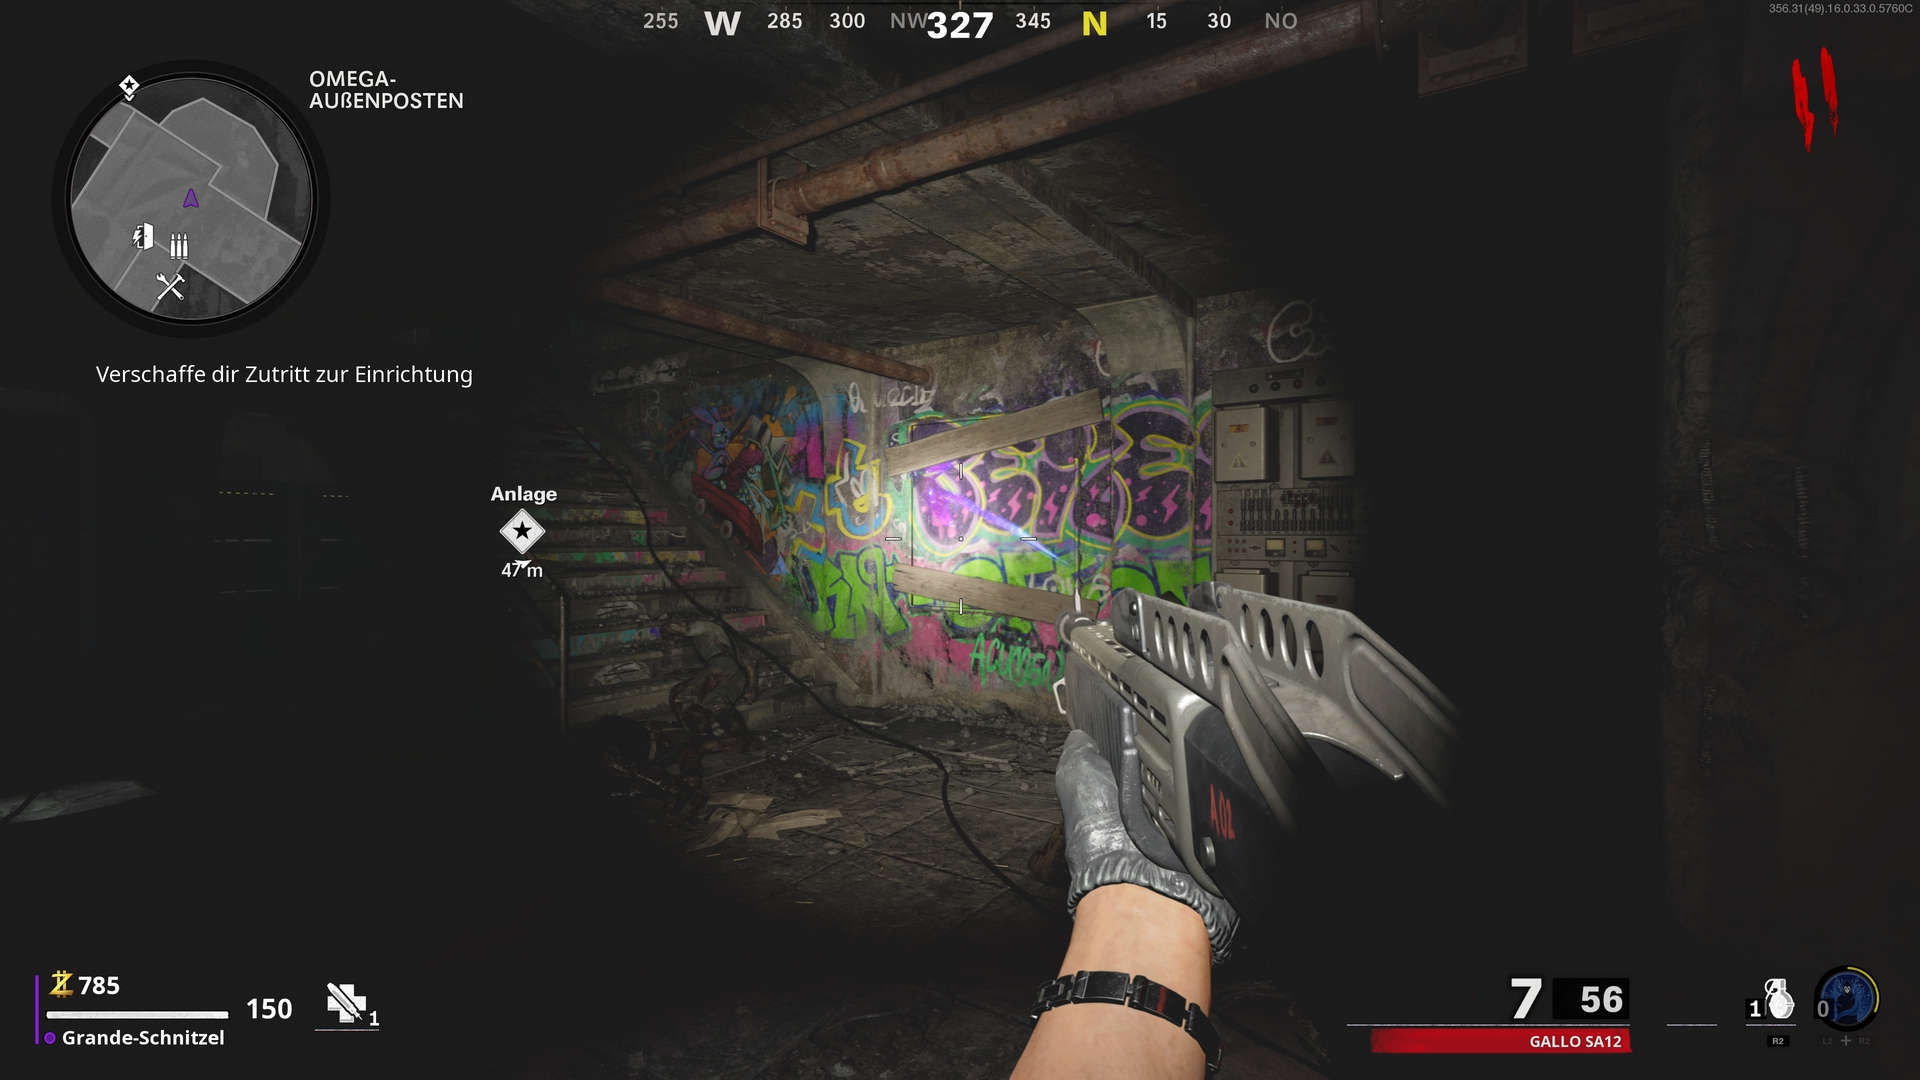
Your first quest leads you to the bunker facility, and then it’s straight to turn on the power at the “Die Maschine”. As soon as you flip the power switch, the map really comes to life, offers more light, and makes certain areas accessible.
You start in the courtyard in front of the facility and must make your way through barricade after barricade into the bunker. Go through the door in the wall on your right and follow the glowing arrows, which are usually found on the walls.
Collect points and materials along the way, but move quickly to complete this part swiftly. If you are new to the map, take your time in the first matches and explore the areas a bit.
After following the arrows, you will find yourself in front of the bunker facility, which opens automatically. Buy the barricade immediately to the left in the bunker, run through the hallway, and in the next room, you will find a door in the back right that you also need to unlock. Stick to the quest marker, and you’ll find the way.
When entering the large room with the “Die Maschine”, you will see a terminal with a figure to the left – this is the arsenal. Remember this location, as it will be important later.
Run completely through the room towards the quest marker and unlock the last door you need for power. Into the chamber, let the juice flow, and onto the next step.
Step 2 – Enter the Aether Tunnel / Activate Pack-a-Punch
With the Pack-a-Punch mechanic, you have the option to upgrade your weapons in the nastiest ways to make them deadlier for zombies and zombie-like enemies. No matter which gun you want to improve, Pack-a-Punch can even turn lame pistols into powerful anti-zombie tools.
The power gives you access to two terminals. Activate both and pass through the dimension portal at the bottom in the middle. You will see the points displayed as a quest marker.
The next quest marker directs you to the “Aether Tunnels”. You will see several of them, and you need one that is located outside the bunker at the top of the map. For a bit of essence, the tunnel will send you back down into the facility to a secret room with the Pack-a-Punch machine. You should do all this fairly quickly, as you only have a limited time in the other dimension.
Once you teleport, look around for the machine in the room. The remains of an inconspicuous Pack-a-Punch machine are lying here, which you must carry back to the portal. After collecting it, follow your quest marker again.
Once you are back at “Die Maschine”, you’ll see the outlines of the Pack-a-Punch machine directly beneath the large device where you need to place the part. Once the thing is set, return to the regular room. As normal as a room full of zombies can be. Now you have activated the Pack-a-Punch mechanic and completed an important part of the preparations.
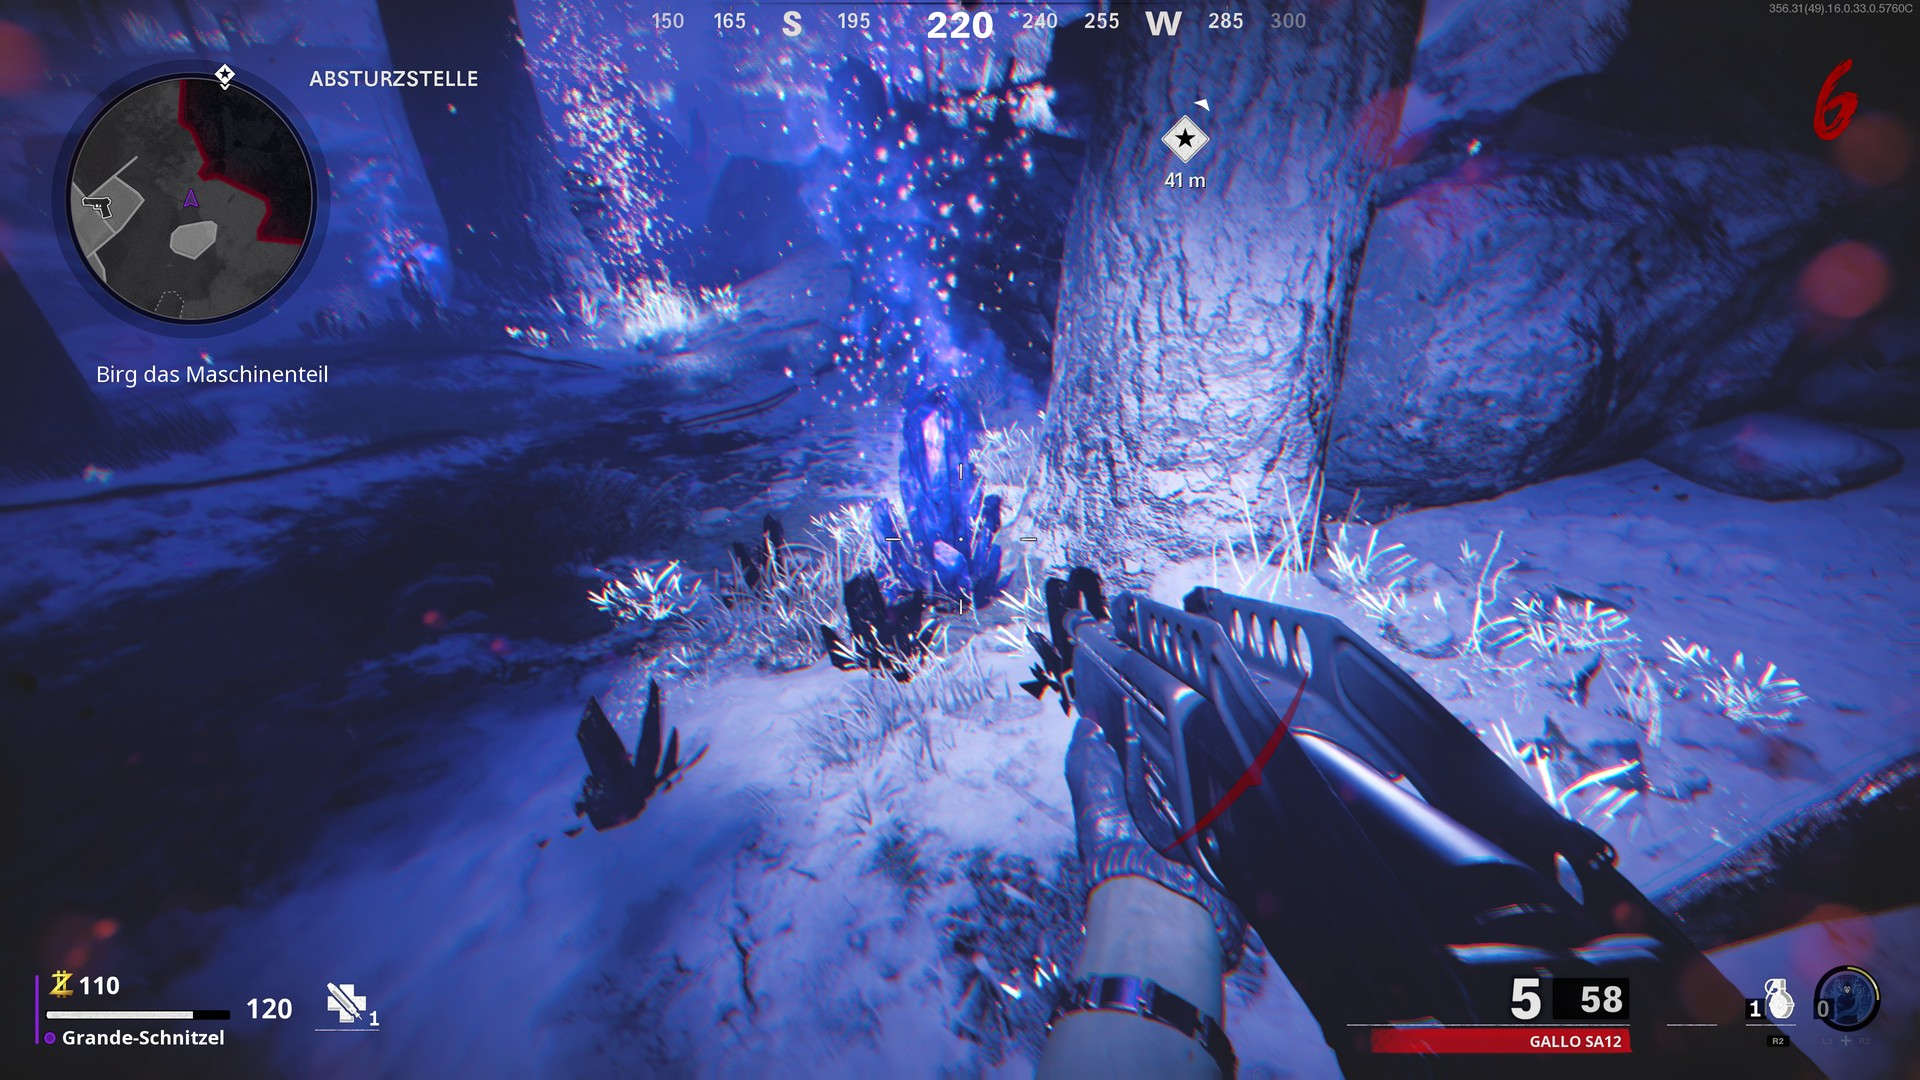
On your way to the tunnel, you can look for crystals that, for example, grow on the tree roots. Shoot the pieces to obtain materials, essence, and items. This can give you a significant boost. However, do not take large detours for the crystals. It’s more important to get to the Aether tunnel fairly quickly.
Step 3 – Improve Weapons, Armor & Perks
After setting up the Pack-a-Punch machine, zombies may slowly become a problem for your weapons. Before upgrading the guns at the crazy new workshop, find better weapons or upgrade your current weapon. The damage of weapons in Zombie mode is directly tied to their rarity. This is why your standard loadout weapon quickly becomes a squirt gun.
Get weapons from the mystery boxes, which can be found scattered across the map, or upgrade your loadout weapon. As you dive deeper into the zombie experience, you can also specifically seek out strong and crazy weapons. However, for your first experiences with “Die Maschine”, it’s advisable to stick with normal weapons.
To upgrade, go to the workshop with the human doll at the entrance to the “Die Maschine” room. The arsenal offers upgrades for your armor and the rarity level of your weapons. However, you will need plenty of scrap and premium scrap to buy the enhancements.
In this case, be sure to obtain armor. For weapons, however, it’s better to go to the mystery boxes scattered all over the map first. If you later want to upgrade your loadout weapon, keep it as a secondary weapon. But to skip the first rarity levels and save scrap, it’s better to buy weapons from the mystery boxes with essence. The higher your wave level, the better the random weapons you receive.
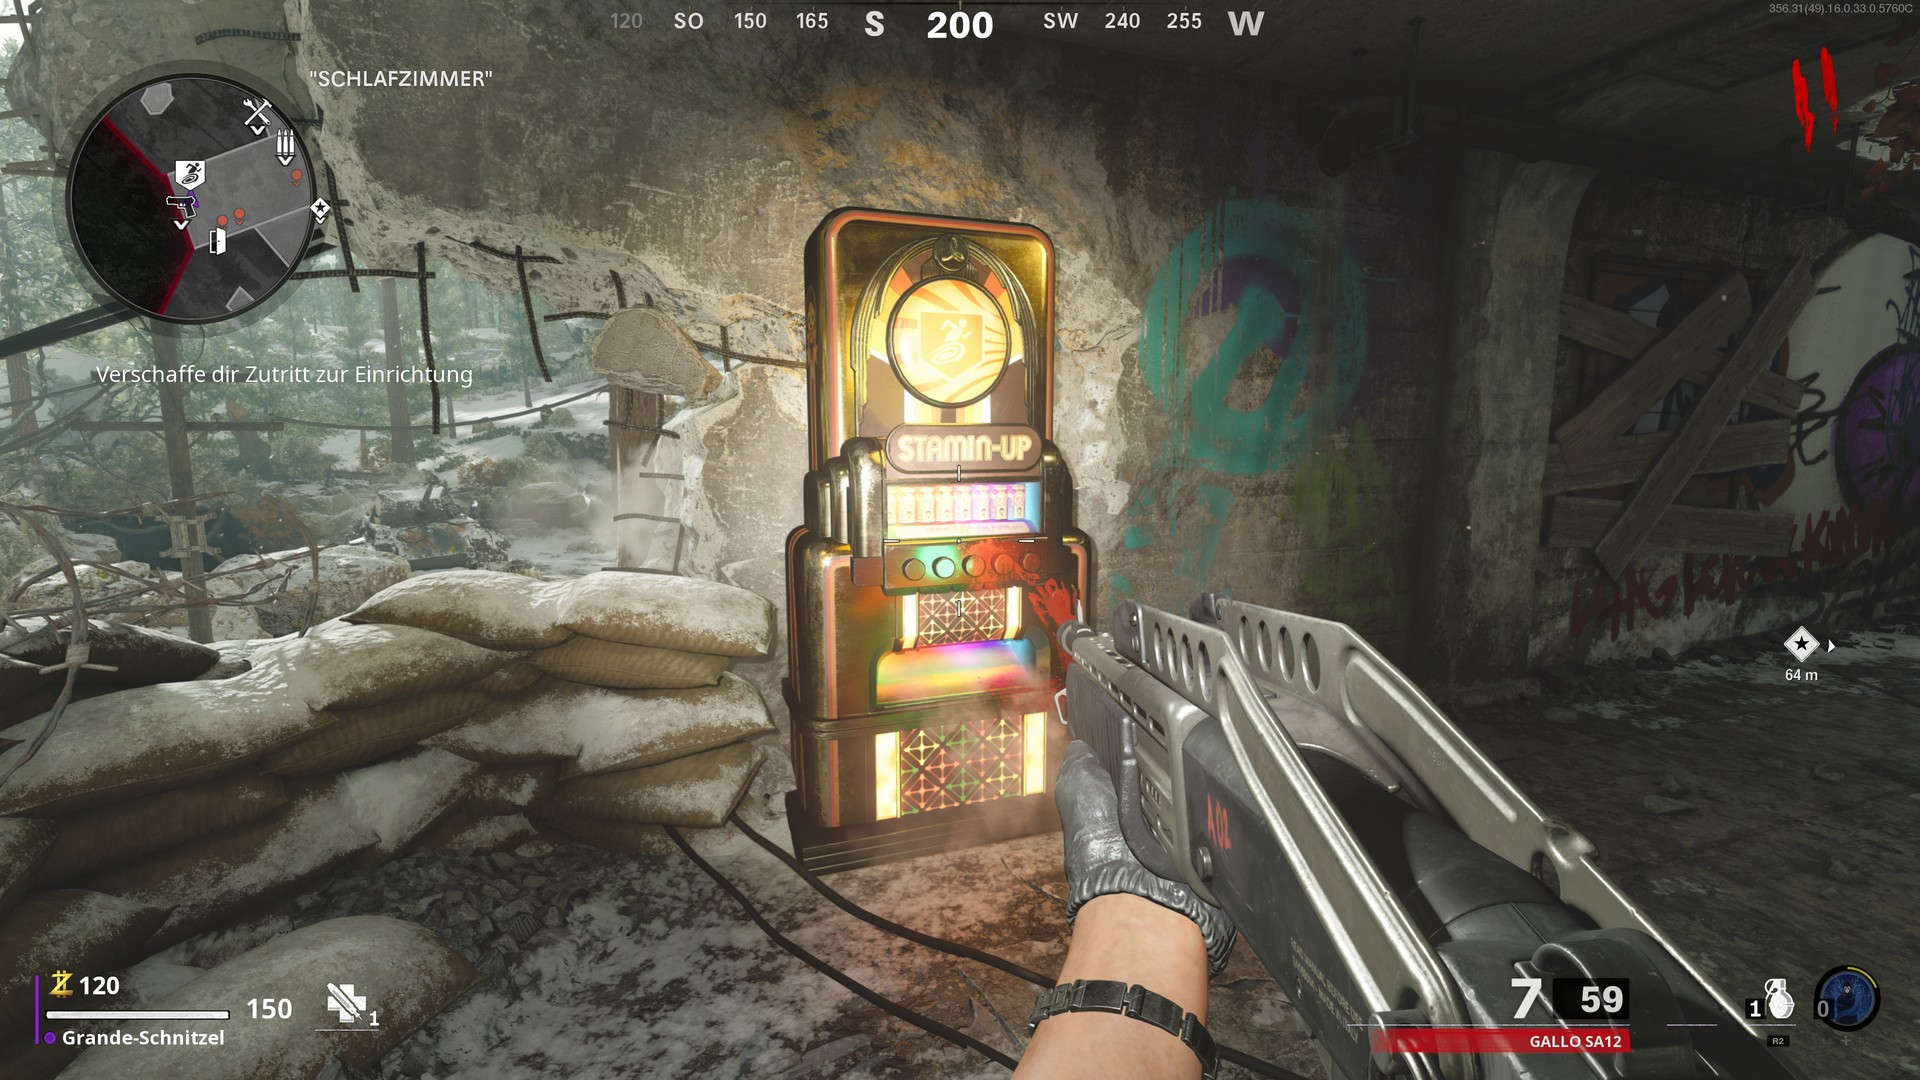
Also, keep in mind the perks you draw from the drink machines and the equipment at the workbench. The further you want to go, the more planned you should be about this. Think of a plan regarding which upgrade is most important at which phase of gameplay. However, for the start, it’s enough if you only focus on weapons and armor for now.
Step 4 – Upgrade Pack-a-Punch Weapons
Once you have obtained a strong weapon of high rarity and a bit of essence saved up, give the firearm a touch of mysterious Aether power. Go to the Pack-a-Punch machine and you can upgrade the current weapon in your hand with 5,000 essence.
This gives you a significant bonus in damage and strength. More damage, more ammunition, better handling, more vibrant colors – the ultimate zombie weapon upgrade. Additionally, you can equip your guns with ammunition upgrades at the workbench, making them even stronger.
There are a total of 3 levels for Pack-a-Punch weapons, and each is more expensive but significantly better than the previous level. Upgrade 2 costs 15,000, and upgrade 3 costs 30,000 essence.
Step 5 – Easter Eggs / Story / Evacuation
Once you’ve upgraded your armor and obtained strong weapons, the Zombie mode actually begins. Now you have the option of what you want to do.
You can explore the map to discover secrets or follow the main quest. You can also go on the hunt for even better equipment to shred through as many zombie waves as possible.
If you’ve had enough for the moment, the evacuation option is also available. After surviving the first 10 rounds, you can request a chopper in round 11 to pick you up, which is located on the right side of the first door. After that, you will have the chance to request the chopper again every 5 rounds.
The Zombie mode of Call of Duty is a complex and exciting co-op experience that offers a lot of replay value and can engage you for hours.
With this guide, you are ready to uncover the secrets of “Die Maschine”, but it only scratches the surface of what you can experience on the map.
If you are fresh to Black Ops Cold War, you can find a guide for creating loadouts in multiplayer here. This mode also offers potentially many hours of fun and challenge.
- 1
- 2