

The first rounds in Zombie mode of Call of Duty: Black Ops Cold War can be shockingly confusing. MeinMMO shows and explains the most important mechanics for starting on the Zombie map “Die Maschine”.

The co-op mode in Call of Duty: Black Ops Cold War sends you to a spooky facility in Poland that is completely infested with zombies. Your task here: Uncover the dark secrets of the map “Die Maschine”.
But before you can solve any of the crazy Easter eggs on the map, you must gear up for the fight against increasingly stronger zombie hordes. MeinMMO shows you the basics of the Zombie mode and how to gather enough firepower to survive many rounds in this guide.
If you’re already familiar with the basics, you can head straight to the Guide for “Die Maschine” on page 2.
To create the guide, we watched beginner videos from CoD Zombie YouTubers and played a few rounds ourselves to better understand the mechanics. You can find the links in the sources at the end of a page.
Cold War Zombies: Beginner’s Guide with Tips for Survival
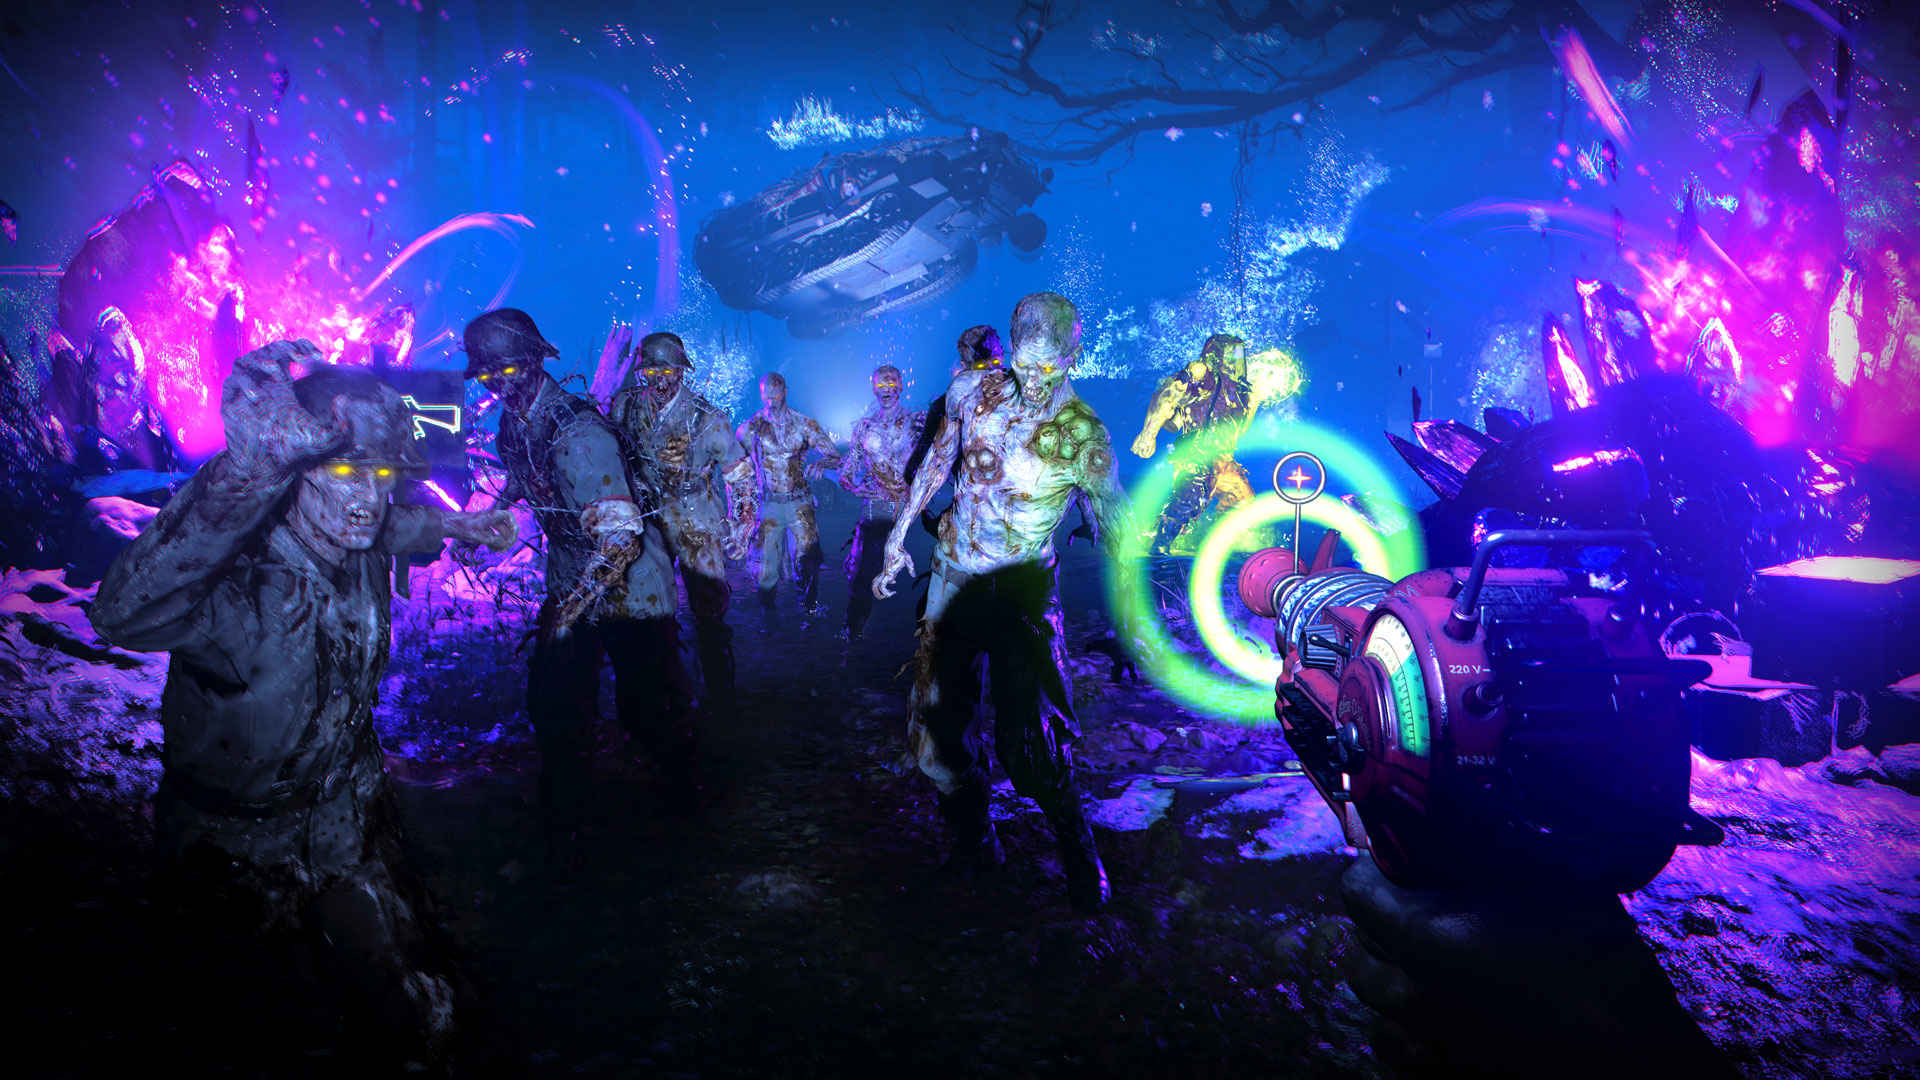
In the co-op mode of Black Ops Cold War, you should uncover the secrets of an old bunker facility hidden in the zombie-infested depths. The story is not linear, but hidden in puzzles and Easter eggs that you explore deeper with each new match.
The zombies come at you in waves, and with each new wave, a greater challenge awaits. You can follow the story while also dealing with the undead or try to destroy as many waves as possible.
To be able to follow the story, you need a certain base strength that you obtain through mechanics in the match. Without these upgrades, you will only survive a few rounds, as the zombies get stronger over time. The guide shows you the basics of the mechanics, how to get strong equipment, and the first quest steps up to the Pack-a-Punch machine.
Mechanics in Zombie Mode
The mechanics in Zombie mode differ fundamentally from those in multiplayer. The weapon damage depends on rarity, and zombies bring their own field upgrades and perks. Here are a few explanations of the basics:
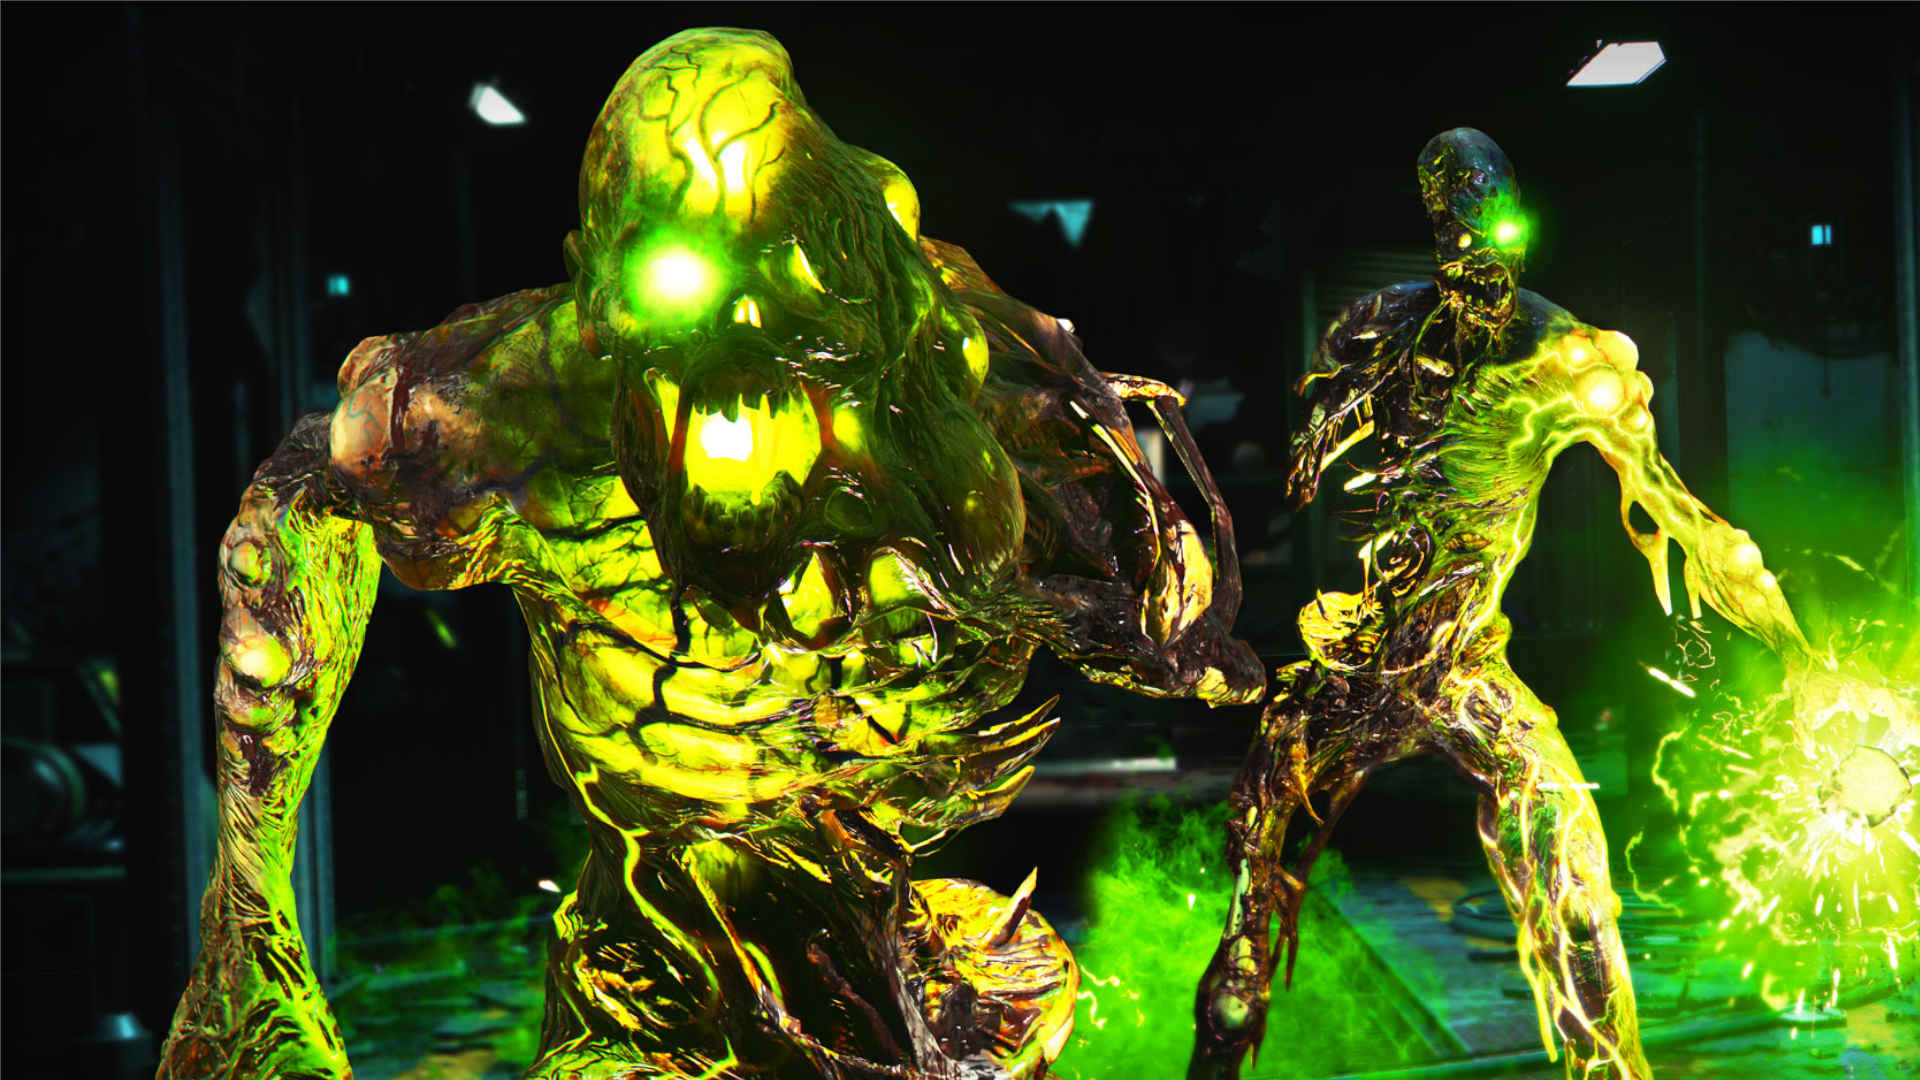
Zombies
All enemies on the map are zombies and represent the main source of your currencies. They are not only in your way but also your source for progress.
During a match, you will encounter various types of undead, some more humanoid than others, and some also bring their own attacks and mechanics. With each round, the zombies gain more health and increase their damage over time:
- Round 1 to 10: 30 damage
- Round 11 to 30: 50 damage
- from Round 51: 80 damage
This makes it increasingly difficult to withstand the hordes, and you need upgrades to stay alive while keeping the zombie horde dead.
Currencies & Materials
There are 3 currencies in the match that are important for you to fight zombies more effectively:
- Essence
- Scrap
- Premium Scrap
Essence is the main currency in Zombie mode, which you also earn with every zombie kill. You can use it to remove barricades, buy weapons, procure ammunition, or upgrade your weapons with Pack-a-Punch upgrades.
Scrap provides you with some items at the workbench, including tactical and explosive equipment. You also need the material to upgrade your weapons and armor.
Premium Scrap gives you access to supports that you can use in Zombie mode. These items provide a strong bonus, including a powerful combat bow, a lifesaving self-revive kit, or the zombie-slaying helicopter shooter that can even temporarily remove you from the map. You also need premium scrap to upgrade your weapons and armor to the highest levels.
How to obtain Aetherium Crystals?
You obtain the crystals by completing a certain number of waves in Zombie mode. After 10 rounds, you’ll receive the first crystal, and then another after every 5 rounds. If you let yourself be evacuated, you get one more on top of that. At higher waves, you can collect even more crystals.
With this currency, you can permanently improve your equipment outside the match:
- Weapon classes
- Field upgrades
- Perks
- Ammunition modifications
Go to the upgrade menu in the Zombie tab and select “Abilities”.
Weapon Rarity & Upgrades
In Zombie mode, you can use all weapons from multiplayer. However, your loadout weapons only help you in the first few rounds, as their damage is directly dependent on their rarity. There are a total of 5 rarities in the following order:
- Red
- Green
- Blue
- Purple
- Orange
To improve your firepower, you have several options during the match:
- Upgrade for scrap or premium scrap in the arsenal
- Buy weapons with essence that are hanging on the walls (outline color indicates rarity)
- Activate the Mystery Box to receive a random weapon
- Complete quests to unlock specific weapons
The further you progress in the waves, the better weapons you’ll receive from the walls and the Mystery Box. The weapons also have attachments that improve the weapon’s stats. You can roll them again at the arsenal.
You receive the ultimate upgrades through the upgrades at the Pack-a-Punch machine and by adding ammunition modifications.
Field Upgrades
Field upgrades are active abilities that trigger strong effects. You select them before the match in your loadout. After use, they become available again after a certain cooldown:
- Frost Shot: Spreads damage, makes zombies more susceptible and slower
- Energy Mine: Proximity mine that deals high damage
- Aether Veil: Zombies do not attack you for a few seconds
- Heal Aura: Heals you and your teammates in the vicinity
- Fire Ring: Creates a ring that boosts your damage and deals damage to zombies
All upgrades can be further enhanced with Aetherium crystals, receiving additional bonuses.
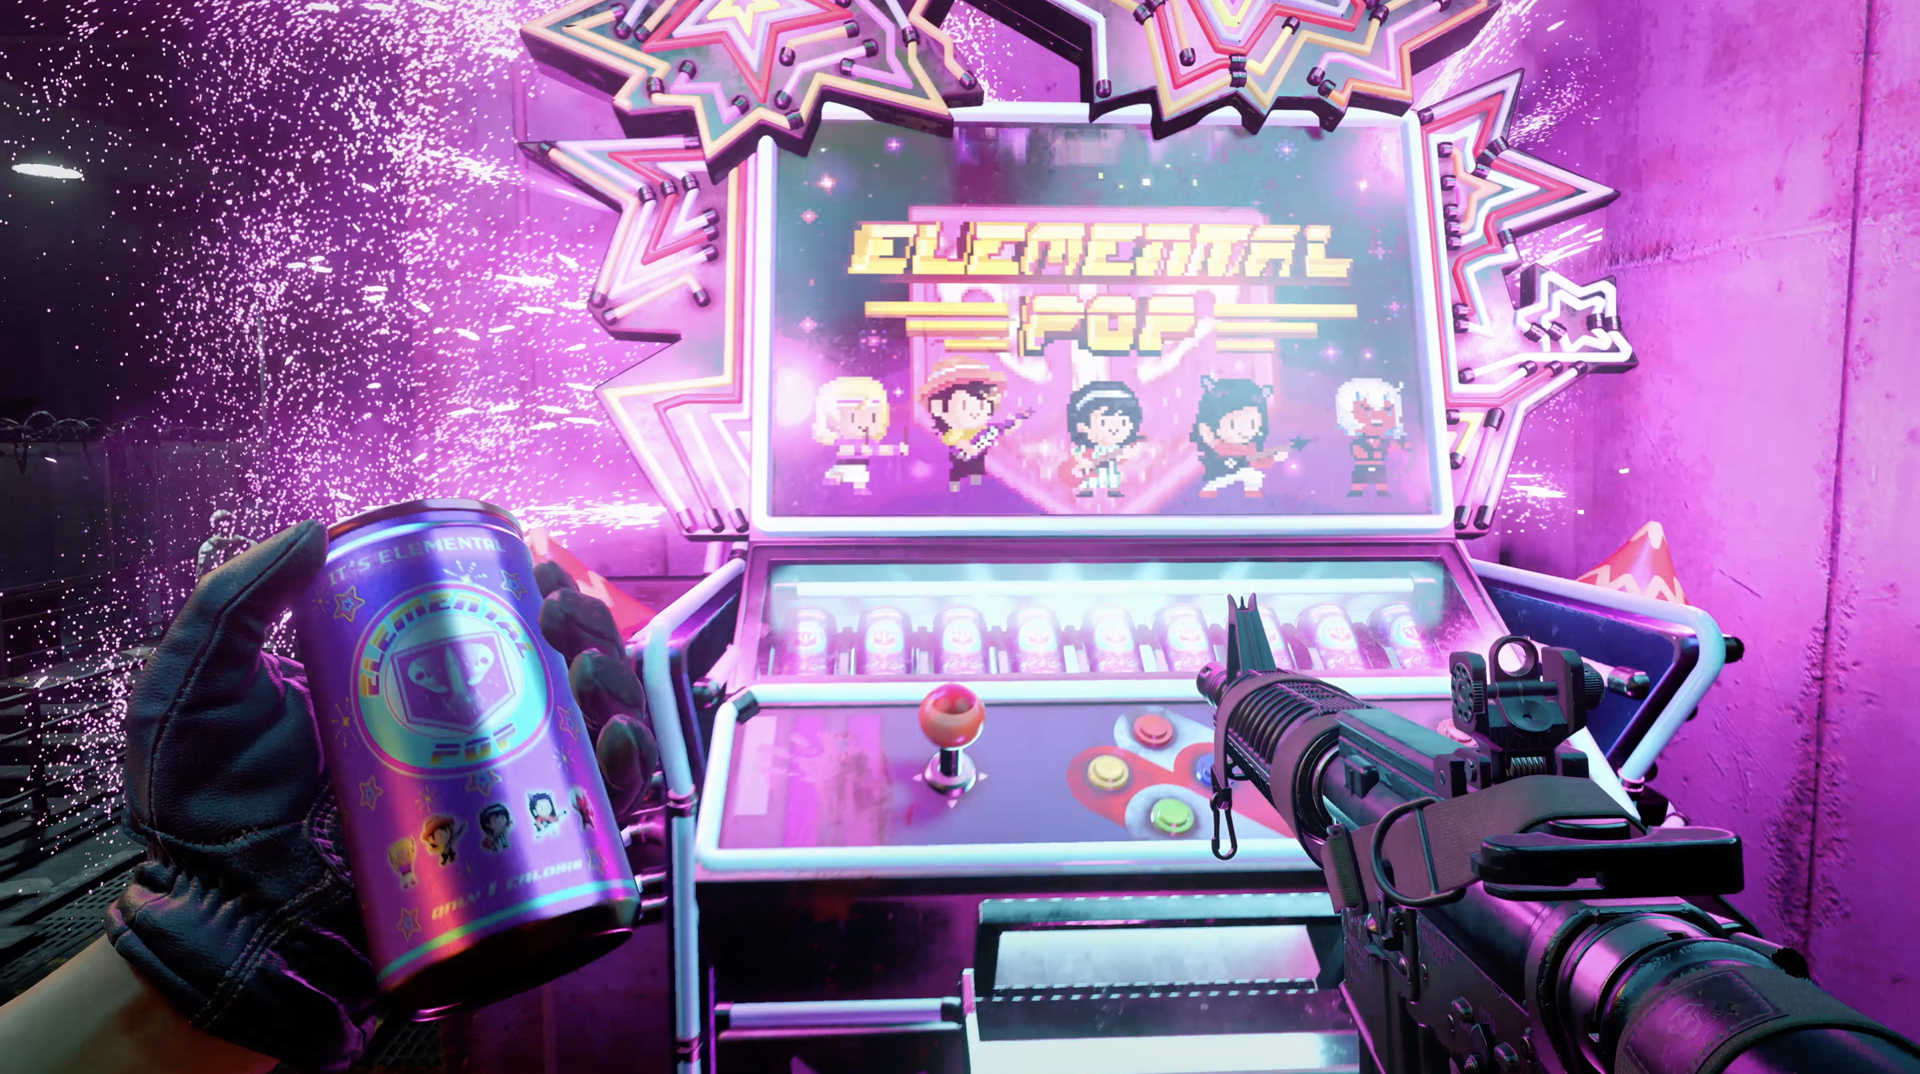
Perks
The perks in Zombie mode are not selected beforehand; you have to buy them in the match – in the form of refreshment drinks. Scattered all over the map are 6 machines where you can buy the strengthening drinks for essence:
- Jugger-Nog: Better health
- Speed Cola: Faster reloading
- Quick Revive: Faster healing
- Stamin-Up: Increases speed
- Elemental Limo: Shots can deal elemental damage
- Deadshot Daiquiri: Aim assist for critical hits
The perks can also be significantly improved with Aetherium crystals. Every perk you draw from the machines within the match increases the cost of the next perk purchase. However, you keep the extras and can equip all perks in one match at once.
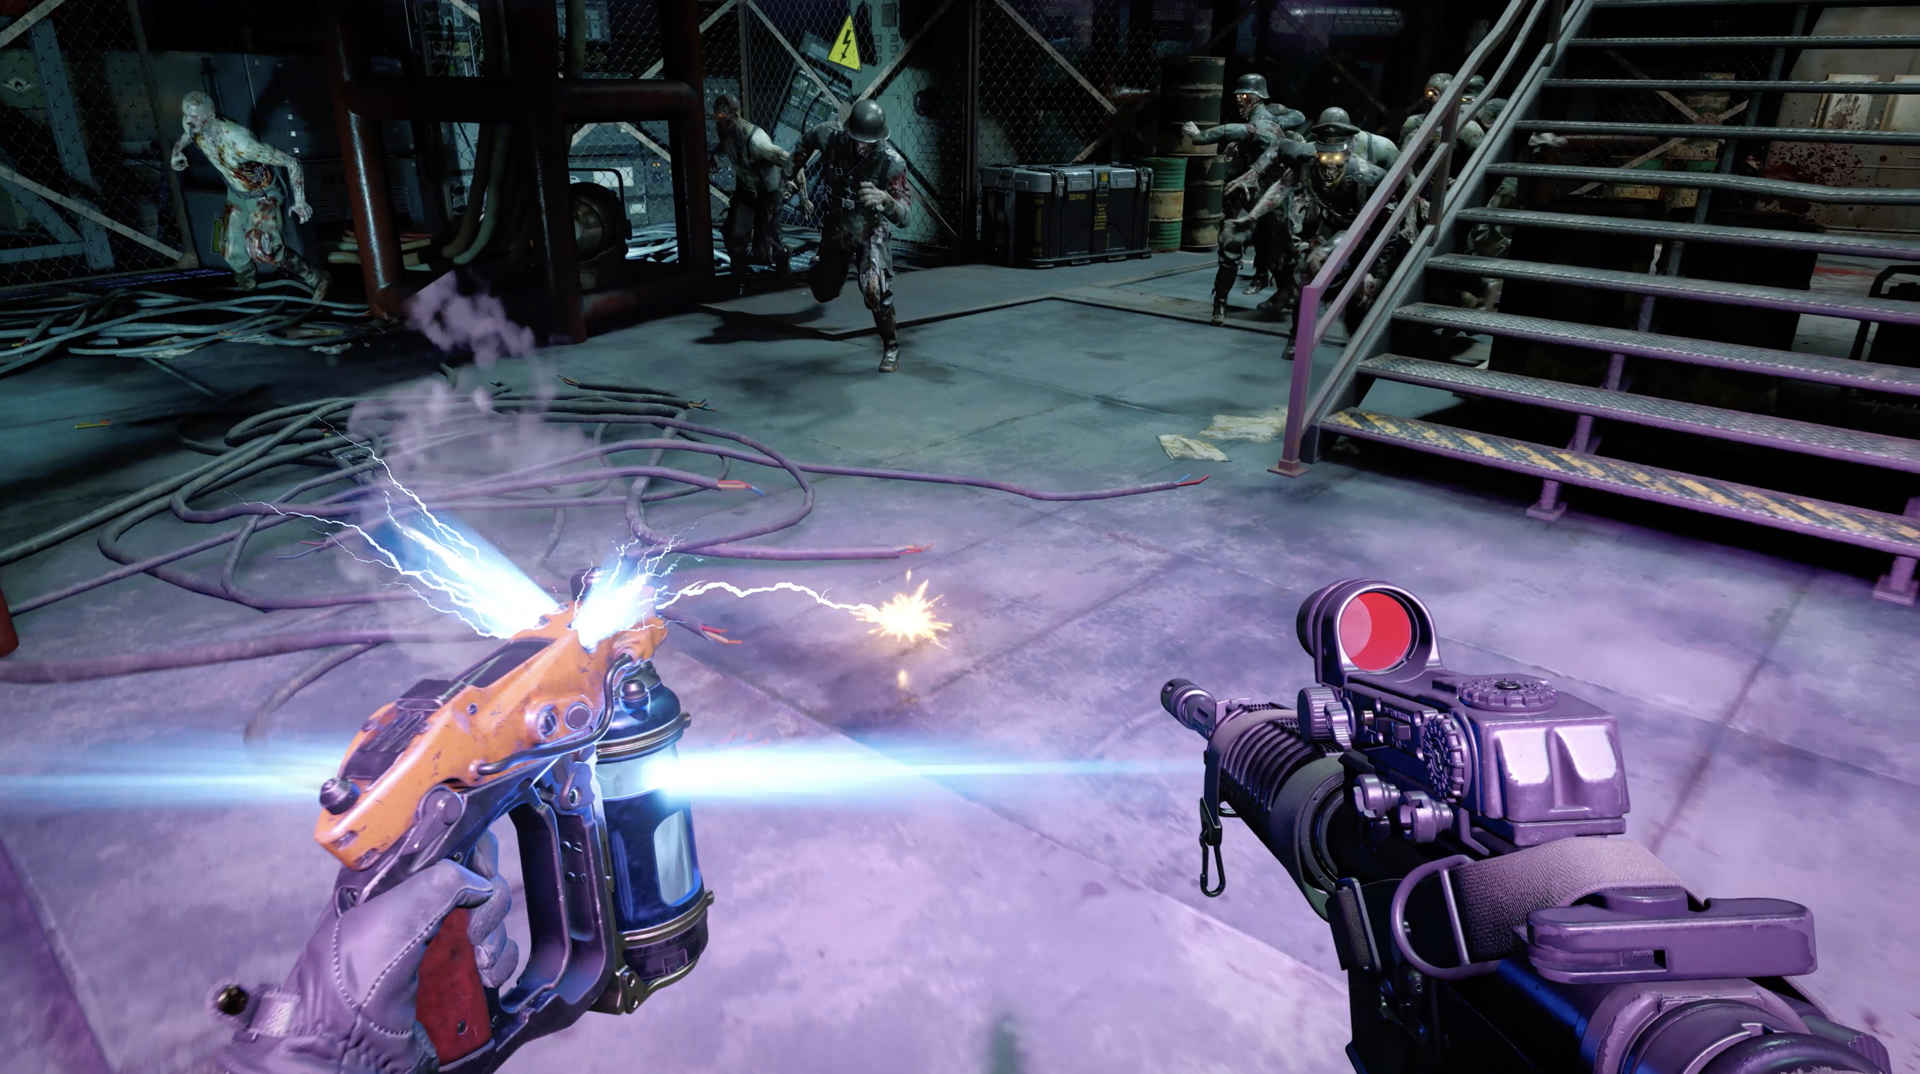
Ammunition Modifications
In the Zombie mode of Cold War, you have access to 4 different ammunition elements. Once you have activated the Pack-a-Punch machine, you can give your weapons an element at the device using essence:
- Napalm Salve (Fire): Chance for more damage over time
- Dead Wire (Electric): Can stun zombies
- Kryo Freeze (Ice): Can slow zombies down
- Brain Rot (Poison): Can briefly turn zombies into allies
With Aetherium crystals, you improve the elemental ammunition to cause more damage or enhance the effects’ potency.
Evacuation
At the end of your matches, you don’t always have to lie on the ground bitten. By being picked up, you earn a decent amount of bonus experience points and an additional Aetherium crystal.
Once you’ve completed round 10, you can request an evacuation at the start of round 11. After that, you can start it every 5 rounds from round 16 onwards. The terminal for evacuation is located in the first area, to the right of the door.
Only start the evacuation if you really want to end the match.
Once you’ve activated the request, the quest marker will guide you to a pickup zone that must be completely cleared of zombies within the specified time. If you don’t succeed, the pickup helicopter will explode, and the bonus rewards will be lost.
Workbench
Scattered around the map are workbenches where you can craft equipment from your scrap and premium scrap:
- Tactical equipment that heals or distracts zombies
- Primary equipment that deals high damage to zombies
- Support equipment, including a revival kit and heavy weapons
The gadgets help you in the fight against the zombies and are some of the strongest items you can obtain. The revival kit acts as a respawn since zombies do not attack you in the KO mode. A well-placed C4 charge can clear a dozen zombies with the press of a button. As the cherry on top, you have the helicopter shooter that lets you terrorize the map with a minigun from a safe height for a time.

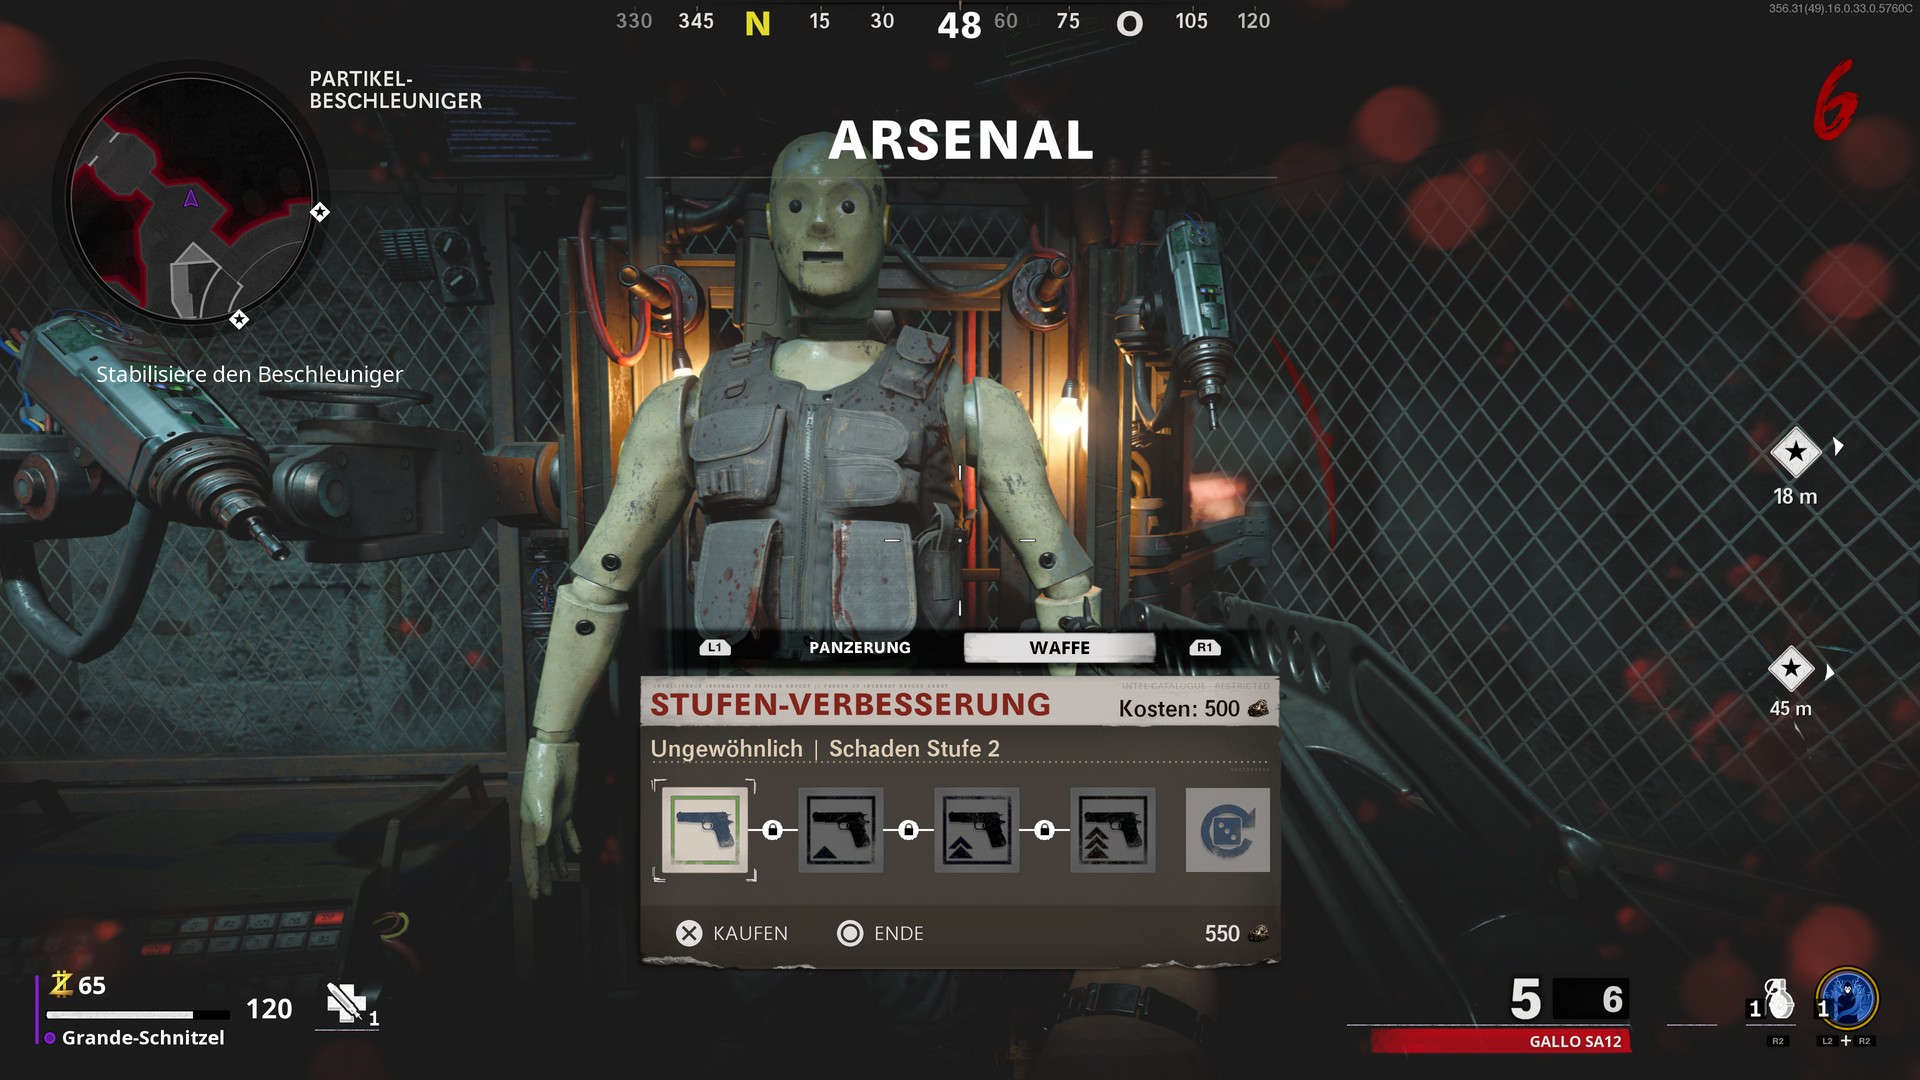
Arsenal for Armor and Weapon Upgrades
At the entrance to the “Die Maschine” room, there is a workbench that comes to life after you turn on the power. A friendly doll smiles at you and offers weapon and armor upgrades in exchange for the scrap and premium scrap you collect during matches.
Here you can get upgrades and repairs for your armor. Through the upgrades, you can install up to 3 armor plates to your vest, significantly increasing your health. However, the plates do not regenerate automatically; you’ll need to refill them with items from fallen zombies or here at the arsenal.
You can also upgrade your weapons to higher rarity levels and re-roll the attachments on the weapons.
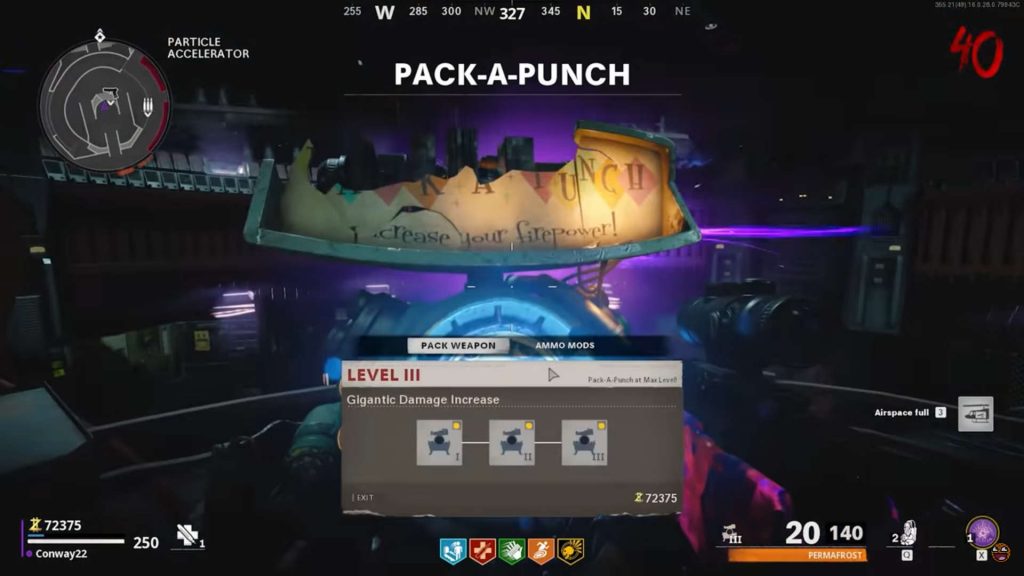
Pack-a-Punch
To build your powerful firearms into the perfect anti-zombie weapons, you need to activate the Pack-a-Punch machine and spend your essence to purchase a weapon upgrade. With each upgrade, you must dig deeper into your pockets, and you can upgrade all weapons in the game up to level 3:
- 5,000 essence for level 1
- 15,000 essence for level 2
- 30,000 essence for level 3
Your weapons become significantly stronger and more effective against zombies with the tuning, and the effect stacks with the rarity of your weapons. Therefore, spend the cash on upgrades only for weapons you want to upgrade or those that already have a high rarity level.
Other Mechanics
The following mechanics should also be known right from the start.
Ammunition Boxes
Here you can refill your ammunition reserves, which can quickly run out under the onslaught of countless zombies. Watch your ammunition and remember the positions of the ammo boxes, which you can also see on the mini-map.
Power-Ups
During a match, collectible bonuses appear every now and then that give you a powerful boost. “Carpenter” repairs all obstacles in front of barricades, or a “Nuke” fries all zombies currently on the map. Collect them before they disappear.

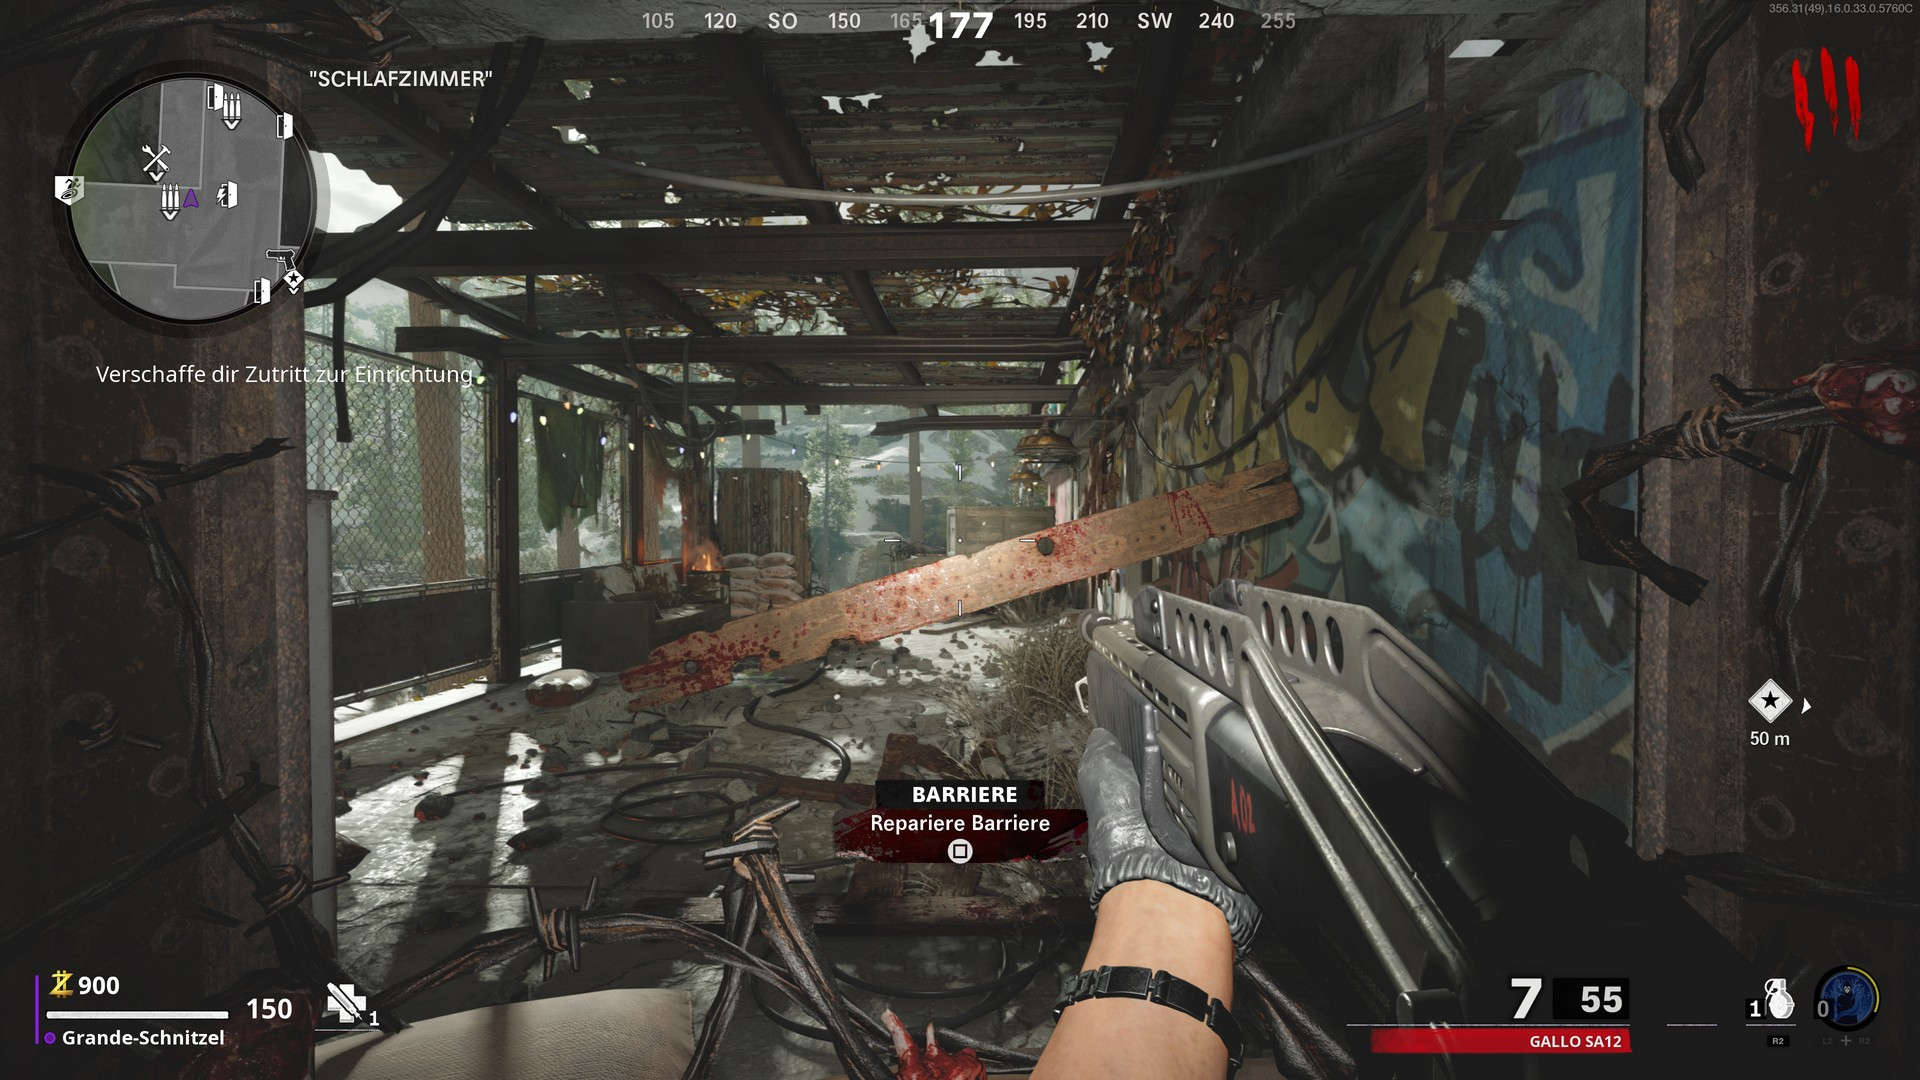
Barricades
Your progress in the game is initially hindered by barricades. These are sometimes doors, but often debris that is in the way. With essence, you can remove these barricades and access a new area of the map.
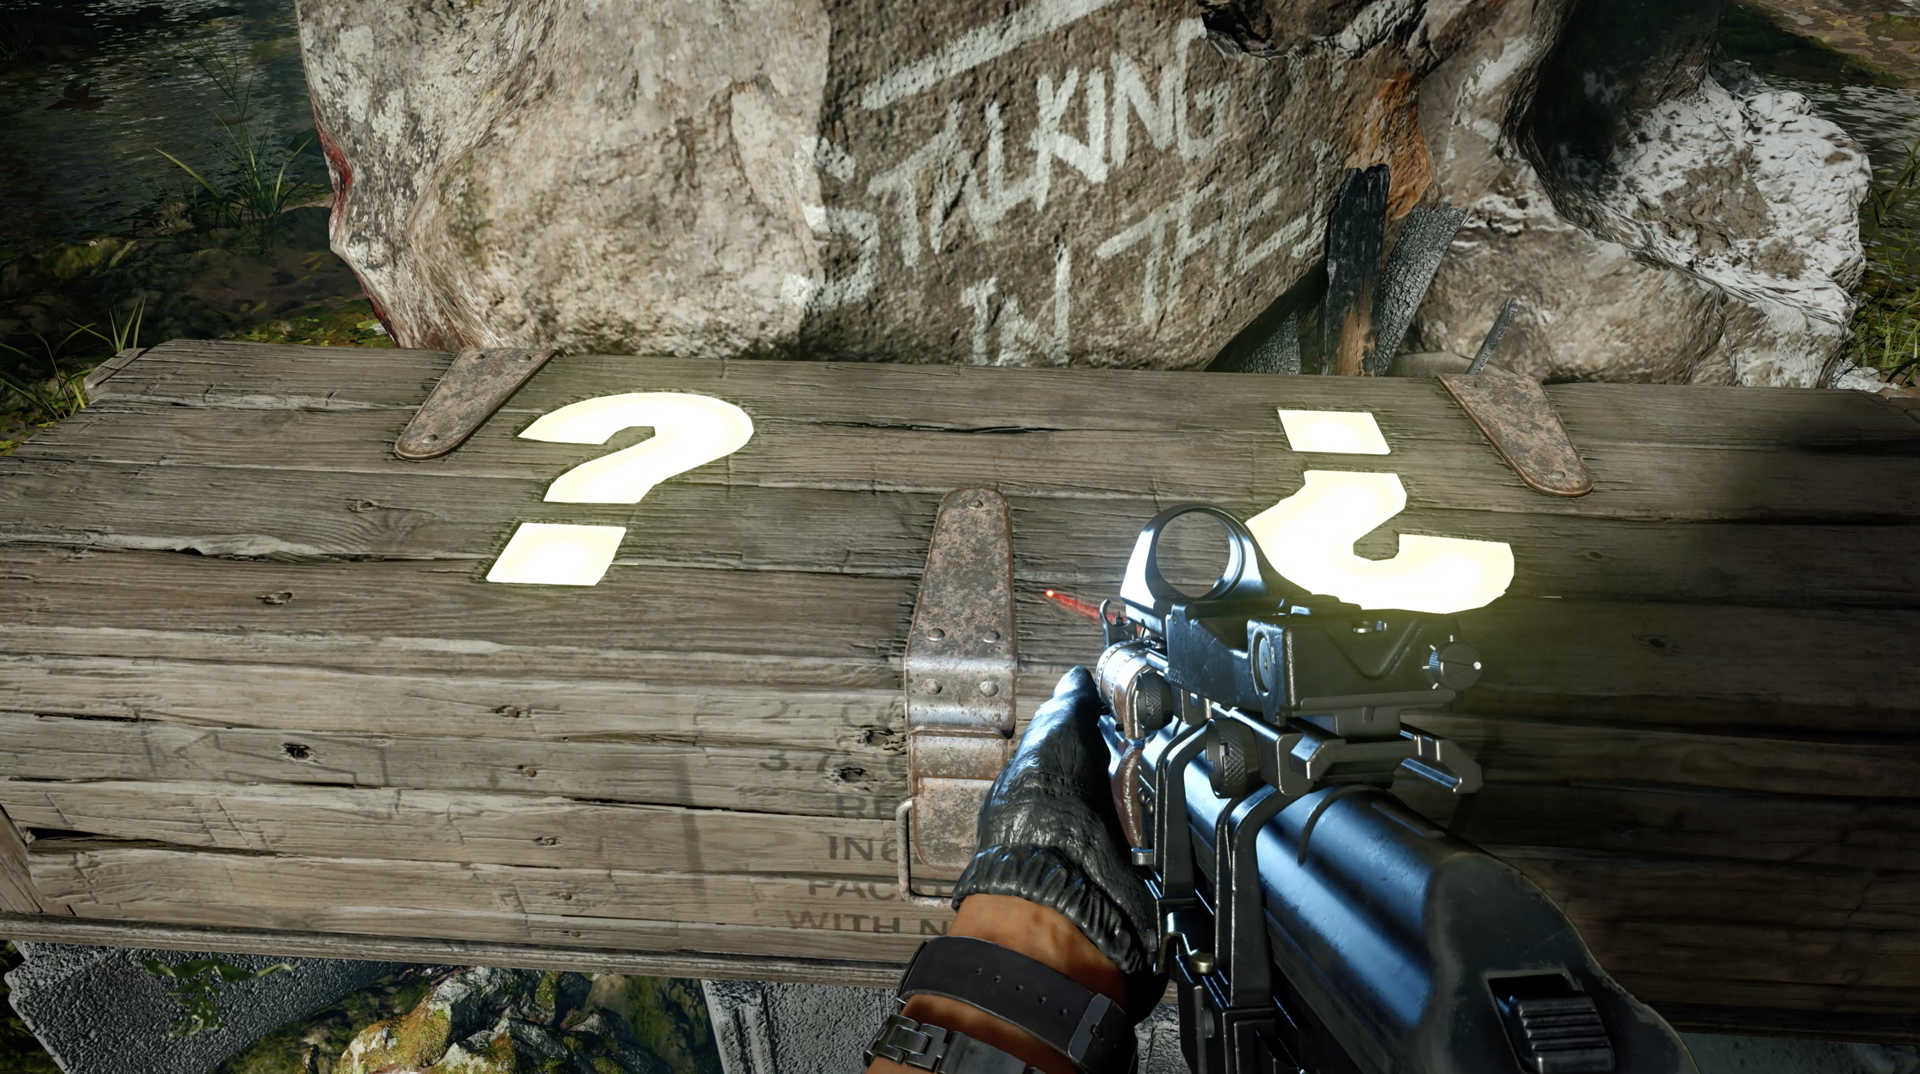
Mystery Boxes
Scattered throughout the map, you will find these mystery boxes that give you a random weapon for essence. The higher your current wave number, the better your chances for strong weapons from the boxes. They are a good source for guns with higher rarity, but it remains random what you get.
Zombie Loadout – Strong Weapons & Field Upgrades
Even before going into battle, you craft a loadout. Here you pack a weapon and choose a special zombie field upgrade.
Cold War – Zombie Mode: Strong Loadout Weapons
- Gallo 12 / Hauer 77 – Shotguns work well against zombies
- Light machine guns – Plenty of ammunition & damage, but slow reloading
- AUG / M16 – The precise 3-shot bursts save ammunition and increase the headshot ratio
Cold War – Zombie Mode: Strong Field Upgrades
- Aether Veil – You have a brief moment of complete peace from the zombies
- Heal Aura – Several upgrades make it very strong for team healing
- Fire Ring – Provides a significant bonus on weapon damage
However, you only have access to the weapons and gadgets that you have already unlocked through your military rank. If you are fresh to Cold War, you will need to unlock a lot first. Your level is not separated from your multiplayer level. With the start of Season 1, you can even increase your ranks in Warzone.
Once you have the right loadout and the important settings of Cold War set, the slaughter can finally begin.
On page 2, you will find the guide for the map “Die Maschine”, with which you can activate the Pack-a-Punch machine to prepare for the story and the Easter eggs.

Your opinion is important to us!
Do you like the article? Then let us know!
Comments