
WoW Antorus Raid Guide: Imonar, the Soulhunter – Bridge Troll ahoy!
Imonar, the Soulhunter is fought on two platforms connected by a bridge. He consists of three phases in which Imonar switches the platforms and uses the area itself as a weapon against you by littering the bridge with traps.
Phase 1: Forces to Attack

Positioning: The boss is tanked at the edge of the platform, with the melee group gathered behind him. The ranged players stand on the opposite side, also grouped.
- Shock Lance: A stronger hit that deals damage to the active tank and leaves a debuff. This debuff increases the physical damage taken by 10% per stack. Additionally, the tank and one target per stack takes nature damage every 3 seconds. At 3-4 stacks, a tank switch should be performed to prevent the damage from getting too high.
- Impulse Grenade: At regular intervals, Imonar throws an impulse grenade at a random player (does not affect tanks). These deal damage, push back (even off the platform), and increase nature damage taken by 50% for 20 seconds.
- The grenades persist until the boss is defeated or triggered. Therefore, it is important to distribute them at the edges of the platform to have enough space in phase 3. The groups should move collected clockwise or counter-clockwise and keep the access to the bridge clear.
- If necessary, individual players may intentionally trigger traps. However, immunizations do not prevent the 50% damage increase from being applied!
- Sleep Canister: A random player is put to sleep for 20 seconds. When this effect ends or is removed, all players within 10 meters are stunned for 8 seconds – this effect cannot be removed.
- Affected players will see a few seconds before the effect that they are affected and must remove themselves from their group. If this does not happen in time, camps must move away from them immediately so that the canister can be removed promptly by a healer.
- Inferno Rockets: If a player is not on the same platform as Imonar, they take high damage and increase the fire damage taken by 25%. This kills any distant player in a short time and prevents you from standing on another platform.
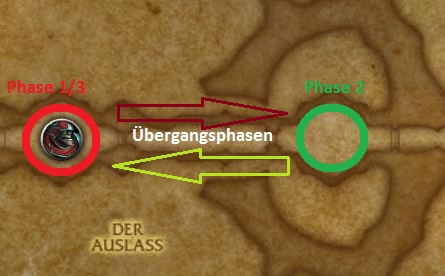
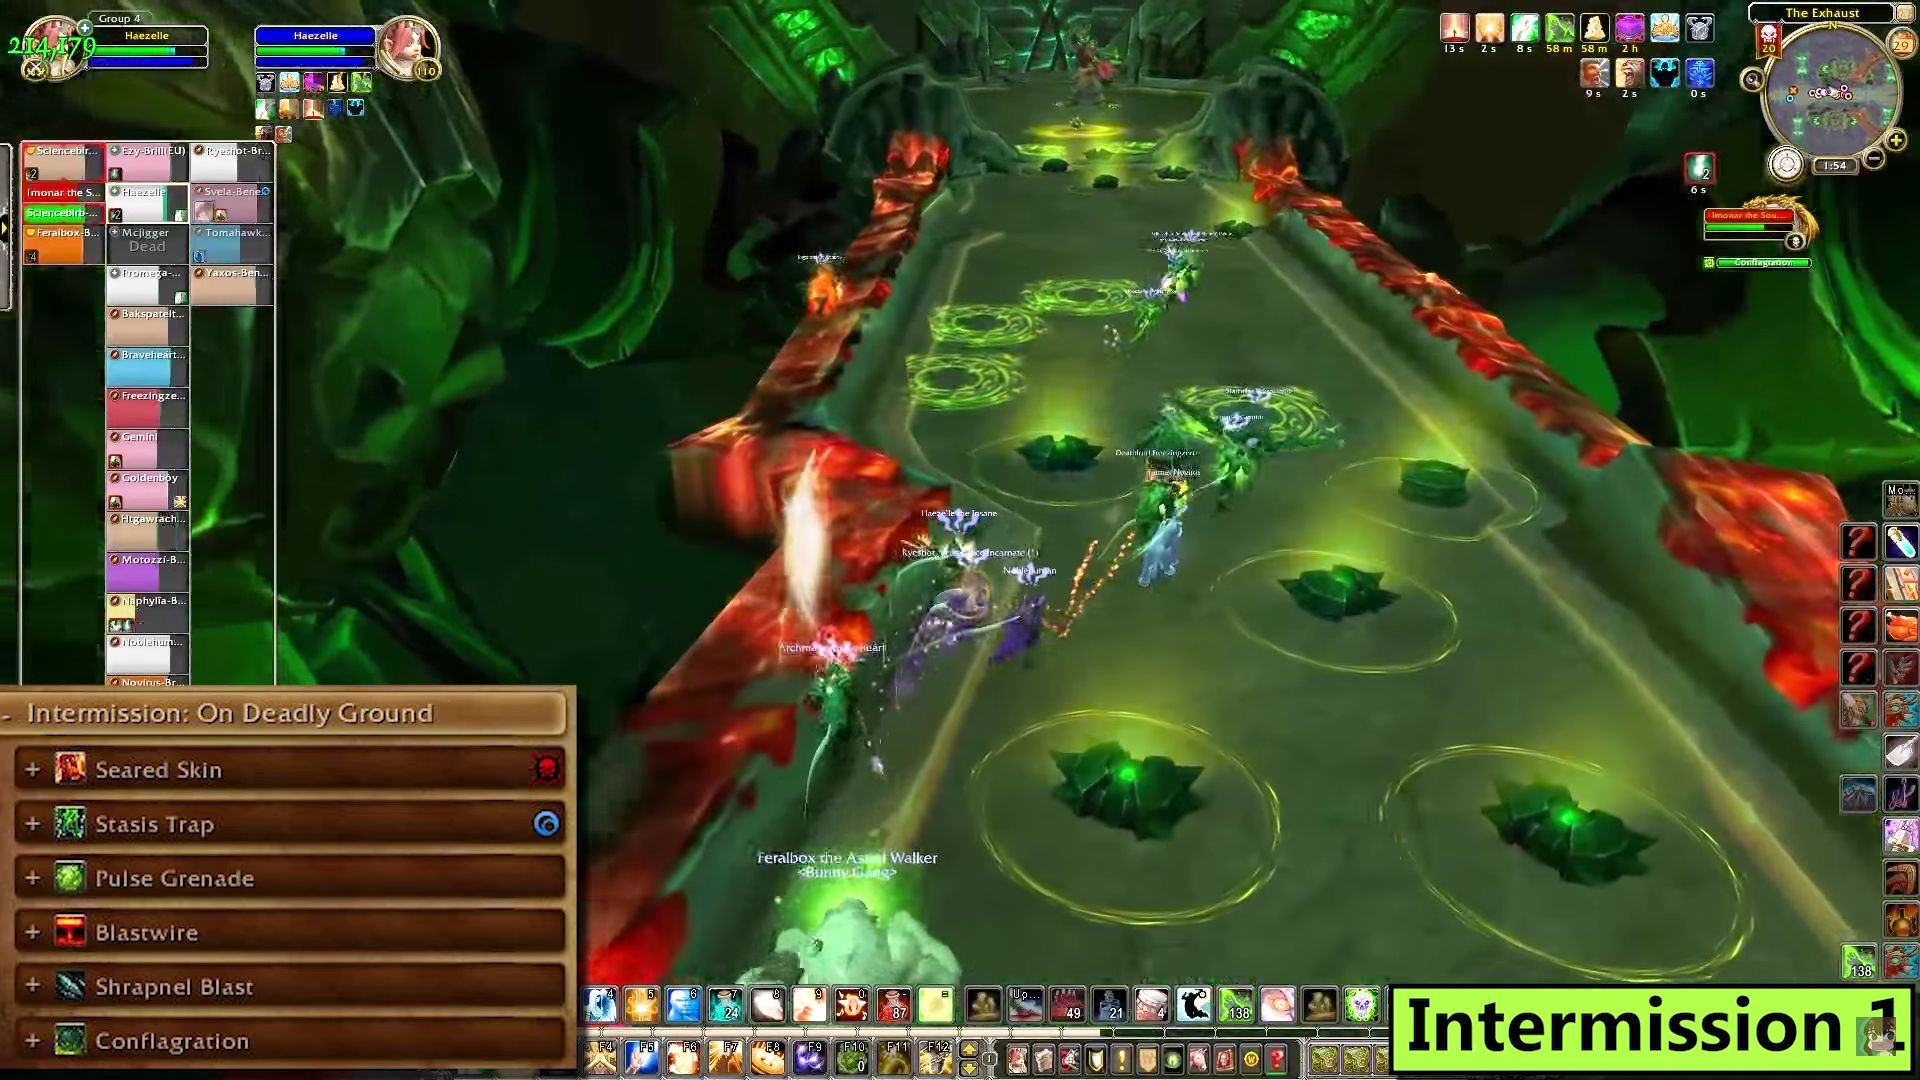
1st Transition Phase: On Lethal Ground
Once Imonar’s health drops to 66%, he moves away from the first platform and hovers over the bridge to the second. While doing so, he leaves traps on the way that must be avoided. During this phase, he loses his Inferno Rockets ability.
- Impulse Grenades: Imonar leaves impulse grenades on the bridge, which function the same way as in phase 1.
- Stasis Trap: Green runes on the ground that deal moderate fire damage and stun nearby players for 8 seconds when triggered. This effect can be dispelled.
- Scorched Skin: The edges of the bridge are on fire and deal damage upon contact every second. The fire leaves a debuff that increases damage taken for 10 seconds by 50% (1 minute and 75% in heroic mode). The effect is stackable.
- Great Fire: Imonar channels Great Fire while waiting on the other platform for his opponents.
- In heroic mode, Imonar also constantly deals fire damage to all players and increases his own damage dealt by 3%. This effect increases until Great Fire is interrupted. He also shoots green, burning spheres onto the bridge that roll toward the raid and takes 99% less damage until the casting is interrupted.
- Contact with the spheres causes high fire damage and reduces movement speed by 50% for 8 seconds.
It is important that the entire raid moves quickly through the labyrinth and reaches the other platform since Imonar will use Inferno Rockets again as soon as he is interrupted. Traps can be triggered by individual players in this phase to clear a path and facilitate the second transition, but it is not necessary.
Phase 2: Kill Order
Imonar has a different set of abilities in this phase, except for the Inferno Rockets.
Positioning: Just like in phase 1, a melee and a ranged camp positioned at opposite edges of the platform. Depending on group composition, it is also possible to operate with only one camp as long as mines are avoided.
- Severing: Deals extremely high damage to the active tank and leaves a damage-over-time effect that deals moderate bleeding damage every 2 seconds. This effect is stackable. Active mitigation is required for the hits and a tank switch should occur after 3 stacks.
- Shrapnel Explosion: Shrapnel mines appear under random players. These deal high damage upon triggering and leave a raid-wide damage-over-time effect for 30 seconds. This effect is stackable.
- Players must move together in this tactic as mistakes can trigger multiple mines at once and possibly wipe the raid.
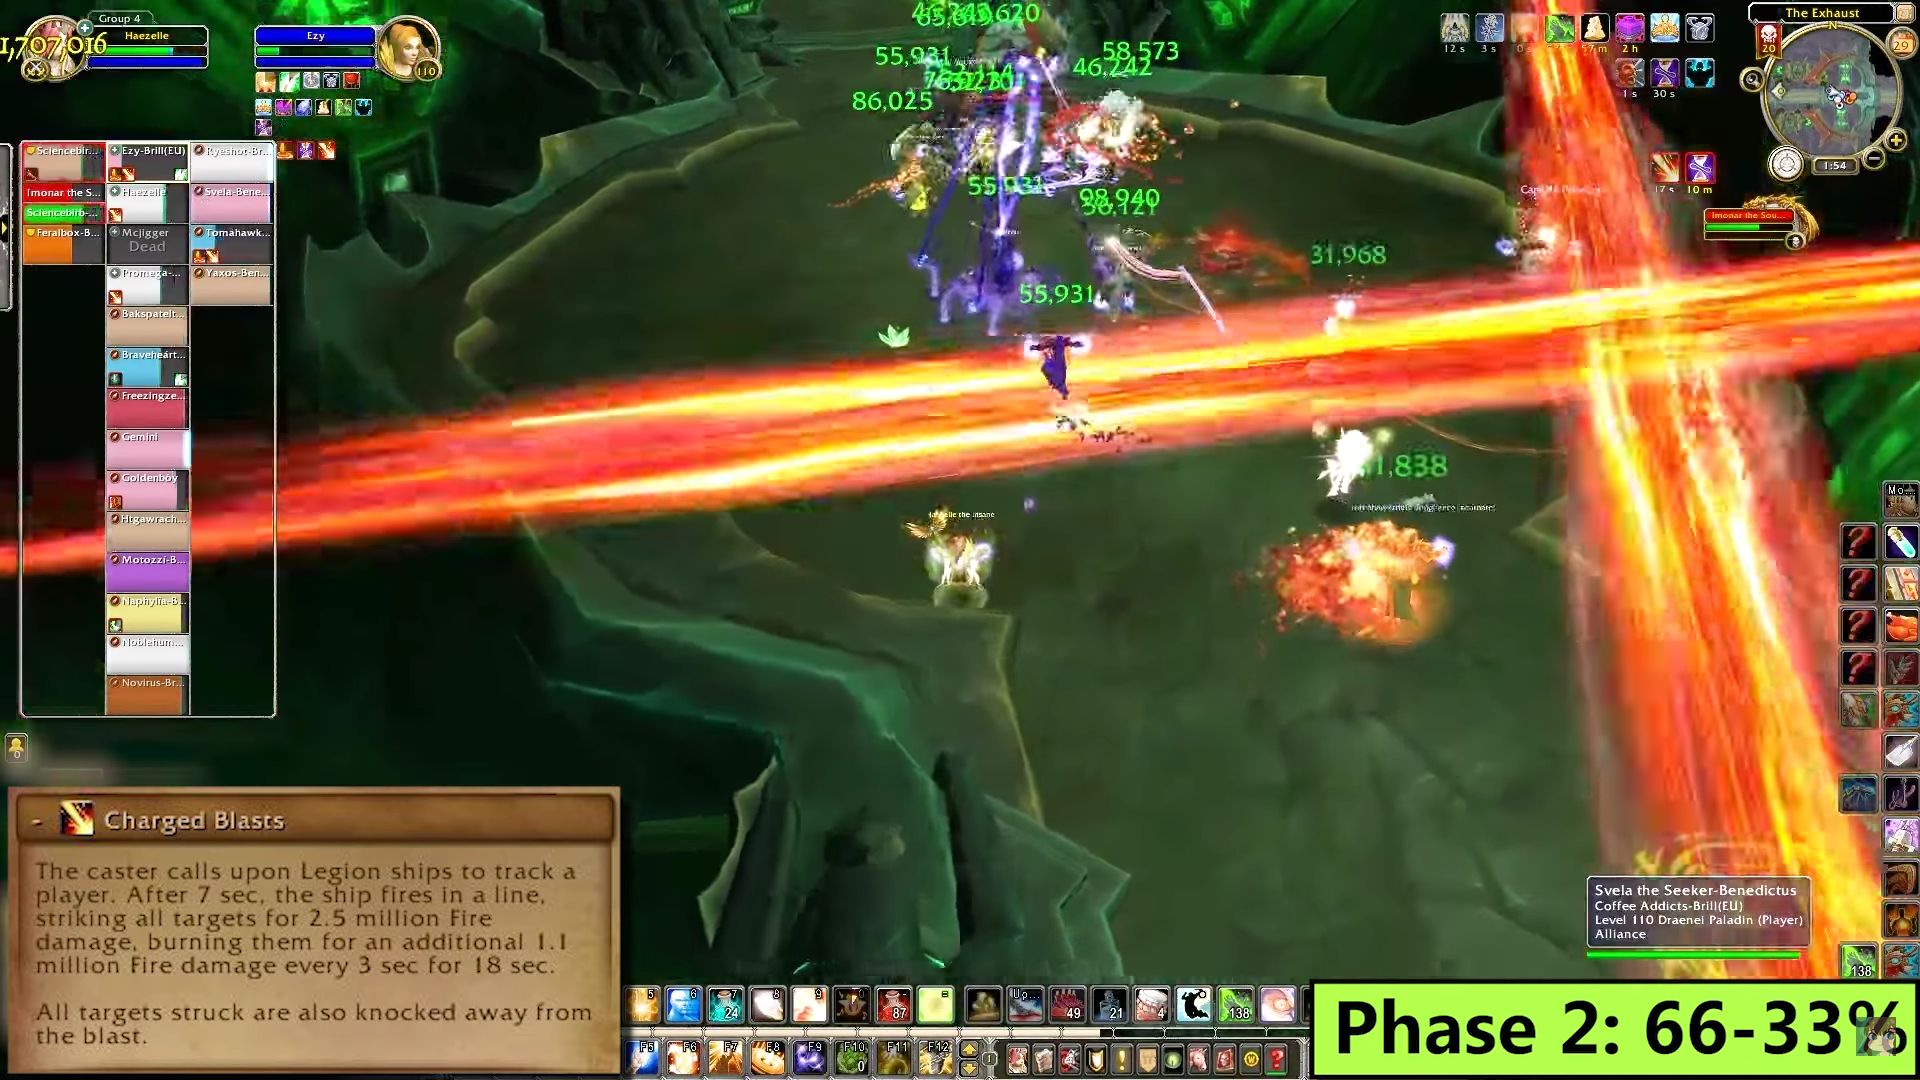
- Charged Shots: At regular intervals, two ships appear outside the platform, targeting two players, visible by a beam to them. After a short time, the ship fires a shot that deals damage to all players in the firing line and knocks them back (only heroic).
- Affected players must remove themselves from the group and make sure they aren’t knocked off the platform and triggering mines on the way out.
2nd Transition Phase: On Lethal Ground
Upon reaching 33% health, Imonar switches platforms a second time. In addition to the already existing traps and abilities from the first transition phase on the bridge, further ones are now added.
- Tripwire: Red beams cross the path, dealing moderate damage to any character upon contact.
- Shrapnel Mines: The same mines left behind by Shrapnel Explosion are scattered across the bridge.
Due to the sheer amount of traps making it virtually impossible to navigate without mistakes as a group, it makes sense to have individual players clear a path. Hunters, Paladins, or Rogues are particularly suitable for this. Healers must pay special attention to these players to remove debuffs like stuns immediately.
Healer cooldowns can be best utilized here. The damage the raid takes on the way can otherwise be lethal, and the transition is harder than the remainder of the fight.
Phase 3: The Perfect Weapon
Imonar does not gain any new abilities here but instead enhances all abilities from previous phases.

- Powerful Shock Lance: Functions the same way as in Phase 1, but the debuff does not expire anymore. To distribute the damage, tanks should change every 2 stacks.
- Powerful Impulse Grenade: No longer leaves a grenade on the ground, but sticks to the target for 30 seconds. During this time, the player deals damage to all characters within 5 meters. Affected players should spread to the edges while the rest of the raid is gathered in the center.
- Powerful Shrapnel Explosion: No longer leaves mines but instead leaves a damage-over-time effect upon impact on affected players that persists until death.
Since this phase is a pure race against the continuously increasing damage from Imonar, the beginning of the phase is best suited for Bloodlust/Heroism.
Congratulations! You have now mastered the second wing.

Your opinion is important to us!
Do you like the article? Then let us know!