

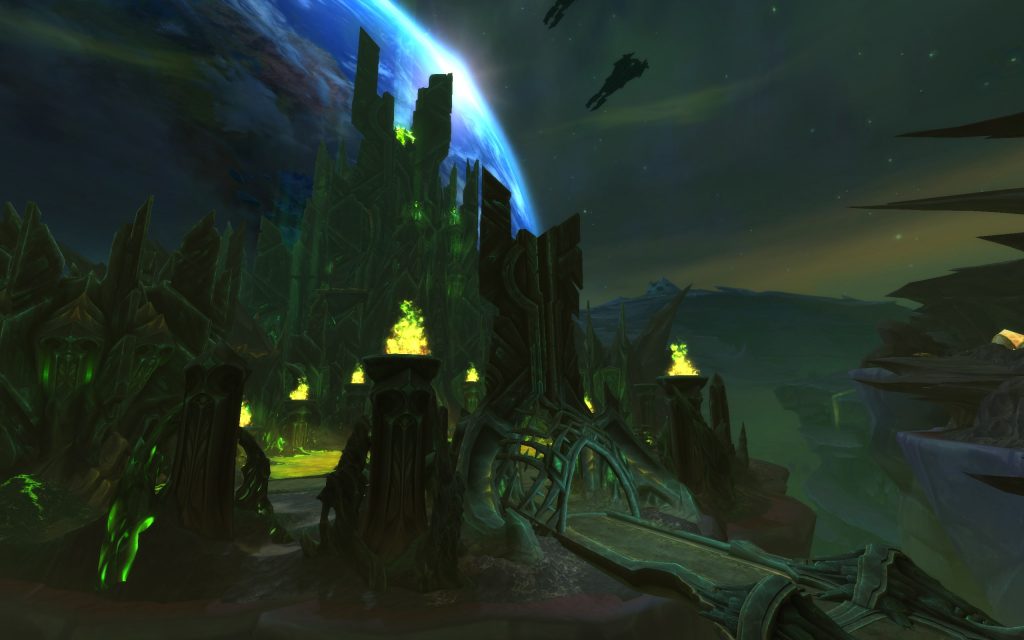
Antorus, the Burning Throne is ready for you in World of Warcraft with many bosses to be conquered – and thus the final raid in WoW: Legion! With this short guide overview, you can prepare for what to expect in Sargeras’ power center!

[toc]
Mounts, Titles, and Transmog in Antorus
One of the most important reasons to attend a raid is, of course, loot. But in Antorus, more awaits you than just mundane epics.
Upgrading Legendaries with Awakening Essences!
With the Antorus patch, you now also have the opportunity to upgrade your legendary items to item level 1000! For this, you need Awakening Essences.
- In our article, you will learn how this works and where to find these essences.
- Farming legendaries the right way – here’s how!
Changes, Patch Notes, and Miscellaneous for Antorus, the Burning Throne
- All Tier 21 sets from Antorus, the Burning Throne.
- LFR is coming: Find out in our news when the individual wings of the LFR will open their doors.
- The opening cinematic of Antorus, the Burning Throne.
- The closing cinematic of WoW: Legion.
- The highest DPS in Antorus is done by fury warriors! Or not?
- Hotfix rolls the balance before Antorus: Mythic chaos
- Are these the strongest classes in the DPS ranking for Antorus?
- Is Argus, the final boss of Antorus, mathematically unbeatable in mythic mode?
The Bosses of Antorus – Guides and Quick Overview
In Antorus, a total of 11 bosses await to drop their loot for you. Most of them just don’t know it yet, while some are also vehemently resisting. Anyone who wants to master the raid needs the knowledge for it. In our guides, you will learn everything in detail that you need to know for the boss fights in Antorus.
- This is how you defeat the Worldbreaker of Garothi, the hounds of Sargeras, and the Antoran High Command! The guide in detail
- This is how you defeat the Portalkeeper Hasabel, Eonar, the Lifebinder, and Imonar, the Soulhunter. The guide in detail
- This is how you defeat Kin’garoth, Varimathras, and the Circle of Shivarra. The guide in detail
- This is how you defeat Aggramar and Argus. The guide in detail
If you only need a quick start, you will find a brief overview below of the most important abilities relevant to your class for each boss.
The Worldbreaker of Garothi – Flashbacks from the Shattered World in style!
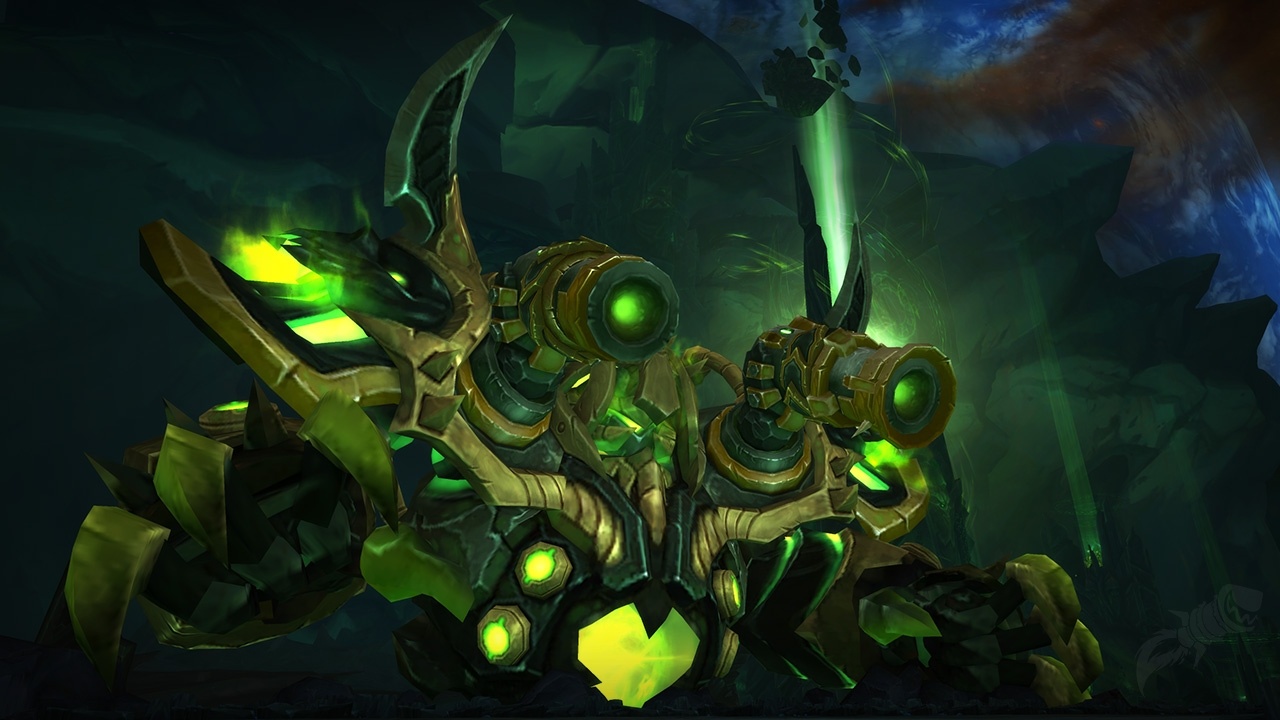
The Garothi Worldbreaker is a gigantic demon hunter. He is so large that you can only see and fight his upper body and shoulder cannons. He is stationary at the edge of a platform where the fight takes place.
Damage Dealers:
- At 65% and 25% health, the Worldbreaker casts Apocalyptic Unit. This spell instantly wipes the raid unless one of his shoulder cannons is destroyed: The Decimator or the Annihilator.
- Move into the green circles of Annihilation to prevent the entire raid from taking damage. 2-3 people per circle is sufficient.
- Carry Decimation out of the raid and to the edge of the platform. Every character within the area takes high damage.
Healers:
- Once one of the cannons has been destroyed, the Worldbreaker continuously casts Scorching Fire. Heal against this damage to prevent other abilities from costing lives.
- Move into the green circles of Annihilation to prevent the entire raid from taking damage. 2-3 people per circle is sufficient.
- Carry Decimation out of the raid and to the edge of the platform. Every character within the area takes high damage.
Tanks:
- If you are targeted by Demonic Bombardment, run in a straight line off the side of the platform away from the boss. After a brief flight, projectiles will strike behind you, causing damage and knocking you back. Alternate tanks once one is affected.
The Hounds of Sargeras – Two for the price of two
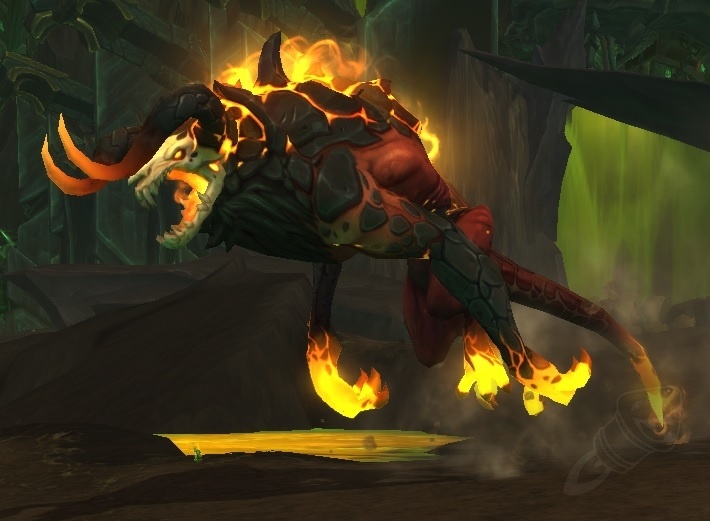
After the Worldbreaker, Sargeras’ hounds await you. These adorable demon hounds come in two varieties: burning and corrupted. Position the four-legged friends at opposite ends of the area and gather in the middle.
Damage Dealers:
- Take the Disheartening Gaze out of the group. This ability deals damage in a line from the boss to the target and should never hit more than the target itself. Avoid the areas if you’re not affected.
- Intercept Burden of Darkness. The damage from this spell is split among all affected targets, and if at least 3 targets are hit, the fear effect is negated.
- Absorb damage from Drain by gathering near affected players during Corruption Drain. Avoid damage from Inflamed by removing yourself from affected players during Corruption Inflame.
Healers:
- Targets of Molten Touch are briefly helpless and take enormous damage over time. Keep them alive before the DoT kills them.
- Avoid the areas of Disheartening Gaze or carry them away if you are affected. The ability deals high damage to each affected target.
- Absorb damage from Drain by gathering near affected players during Corruption Drain. Avoid damage from Inflamed by removing yourself from affected players during Corruption Inflame.
Tanks:
- Avoid the areas of Disheartening Gaze. These can also hit nearby targets directly under F’harg’s hitbox. Keep a close eye on this!
- Always turn the dogs away from the raid and never let them look at allies. Burning Maw and Corrupted Maw hit all players in front of the corresponding boss.
- Never let the dogs approach within 40 meters, as they will otherwise receive Blessing of the Destroyer. This buff increases their damage by 100%.
If you defeat F’harg and Shatug, with a bit of luck, one of the two dogs will drop as a mount in the loot!
The Antoran High Command – because all good things come in threes

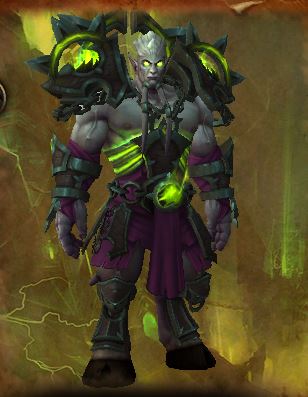
To complete the number series, you will encounter three opponents in the next boss room. However, you will only actively fight one, while the other two will pester you from their capsules.
Damage Dealers:
- Use the demon shield emitters to set up Demon Shields. You need these to reduce the damage from Fire Salvo, which will otherwise quickly bring you closer to the spirit healer.
- Interrupt the fanatic pyromancers when they cast Fire Blast. The fiery ladies will be summoned by Erodus’ capsule ability.
- Use the active commander’s capsule to your advantage! Jump in and use his abilities against him, but be careful not to stay too long.
Healers:
- Gather under the erected Demon Shields to take less damage from Fire Salvo.
- Keep allies alive who enter the command capsules. They continuously take increasing damage from Psychic Attack and require more healing.
- Heal and dispel targets of Chaos Pulse to minimize damage in the raid.
Tanks:
- Gather under the erected Demon Shields to take less damage from Fire Salvo.
- Always turn the active commander away from the group. Exploit Weakness is a cleave attack that hits all targets in front of the boss and increases their received physical damage by 50% per stack.
- Avoid too many stacks of Exploit Weakness by swapping at 2-3 stacks.
The bosses of the first wing welcome you only to Antorus, the Burning Throne! The next bosses will make your life a bit more difficult.
Read on the next page how to defeat them.

Your opinion is important to us!
Do you like the article? Then let us know!