
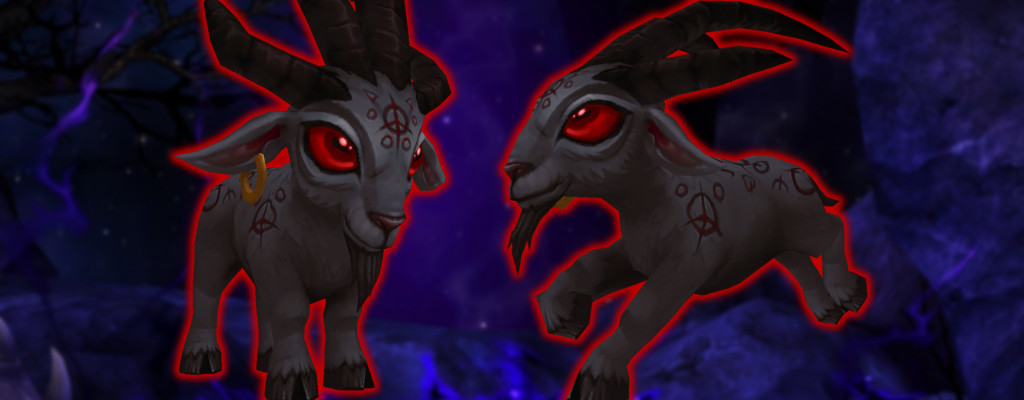
The first secret of World of Warcraft: Battle for Azeroth has been solved. We will tell you how to obtain this creepy pet – a goat from hell.

Actually, the community of “Secret Finding” servers thought they were on the trail of a puzzle in Battle for Azeroth that leads to a new mount. But they were mistaken. After days of searching, the first riddle was decrypted, rewarded with the secret pet Baa’l. We will guide you step by step on how to obtain this spooky pet.
WoW Guide: How to Obtain Baa’l
To effectively follow the guide, you need an addon that allows you to display coordinates on the map. We recommend the MapCoords addon, which you can download here on Curse.
The following steps must be completed in the correct order listed here.
A large part of the images used comes from wowhead (see sources).
Step 1: Nazmir

The journey begins in Nazmir at the great temple in the center. At the top of the citadel lies the first clue. You need to go up to the citadel (over the bridge) and then all the way to the edge at coordinates 51 / 59. Here lies the little note that you must click on. But beware! It’s easy to slip and fall down.
Step 2: Broken Shore
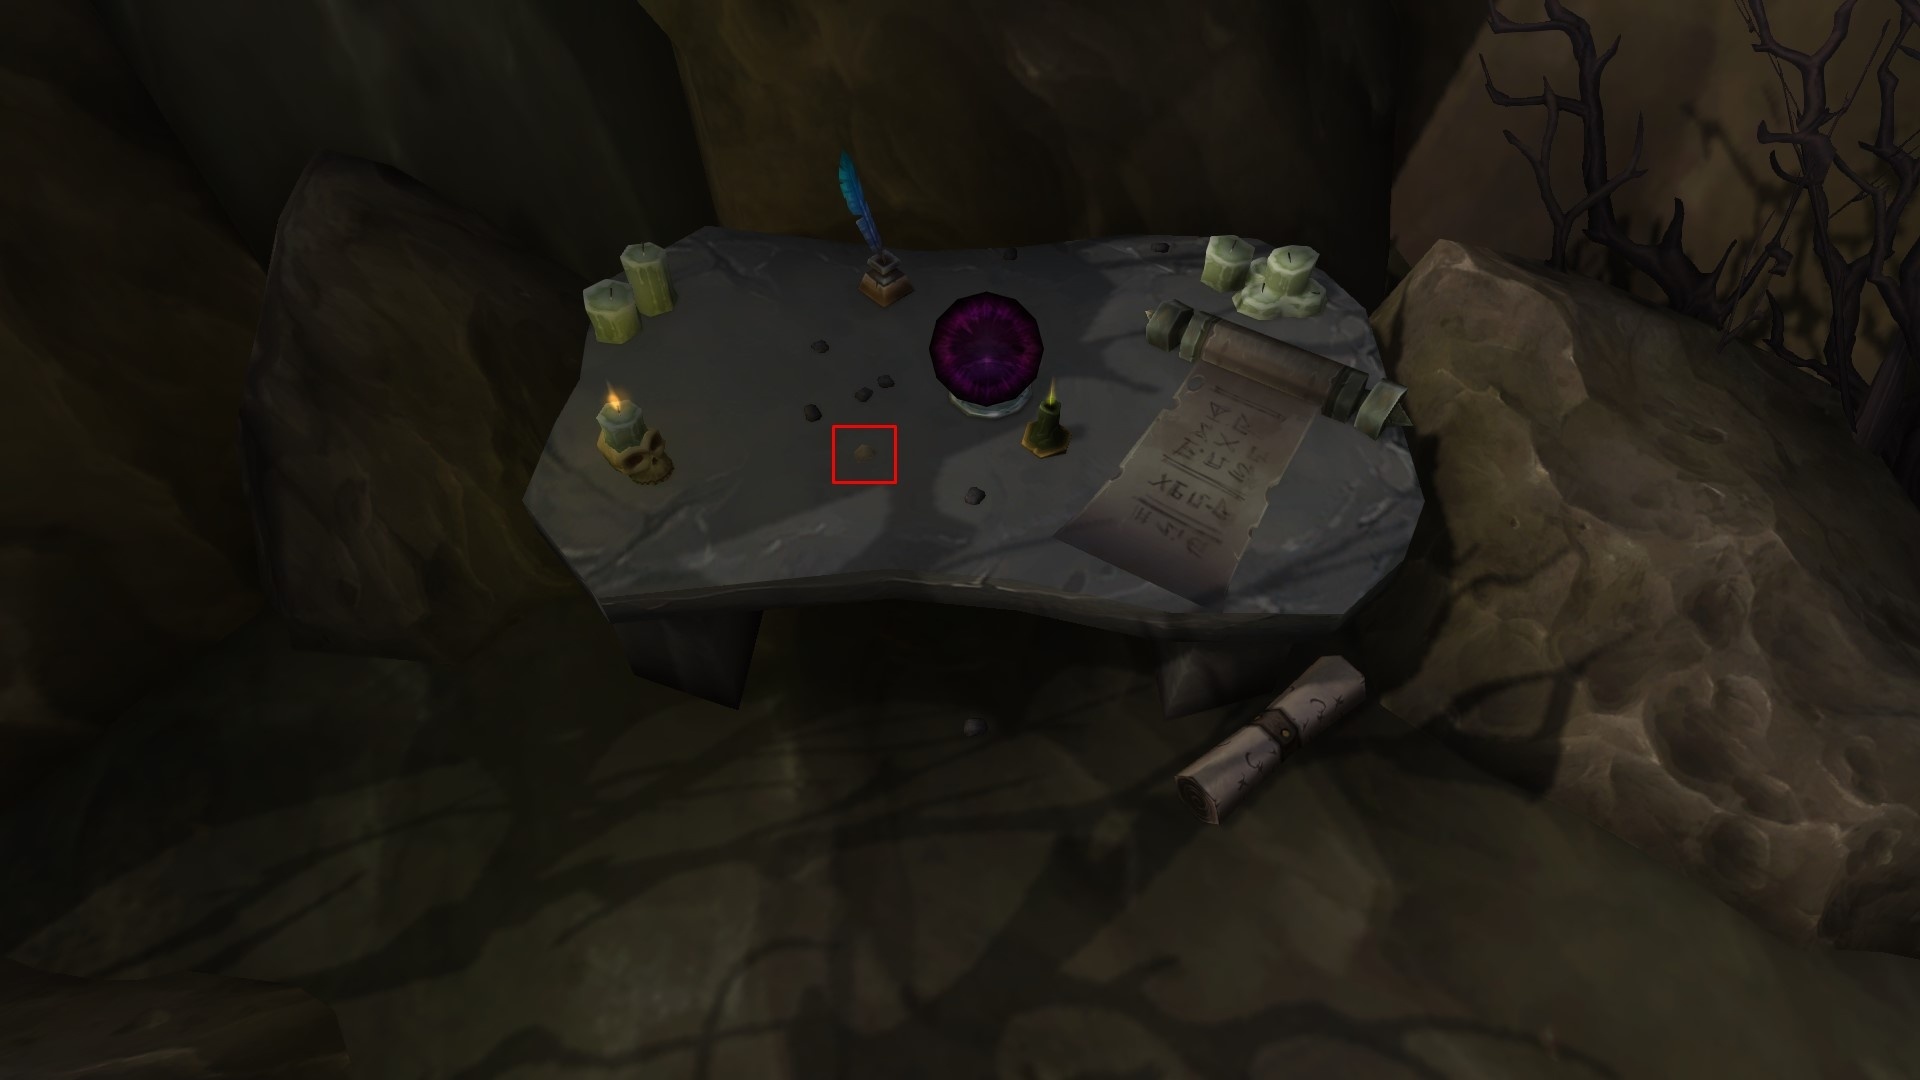
Travel to Orc Drak’thul at the Broken Shore on the Broken Isles (Old content from Legion). At coordinates 37 / 71, there is a stone table. On it lie several small stones. One of them is lighter than the others. Click the stone to complete this step. Sometimes the Orc blocks the table, so you may have to wait.
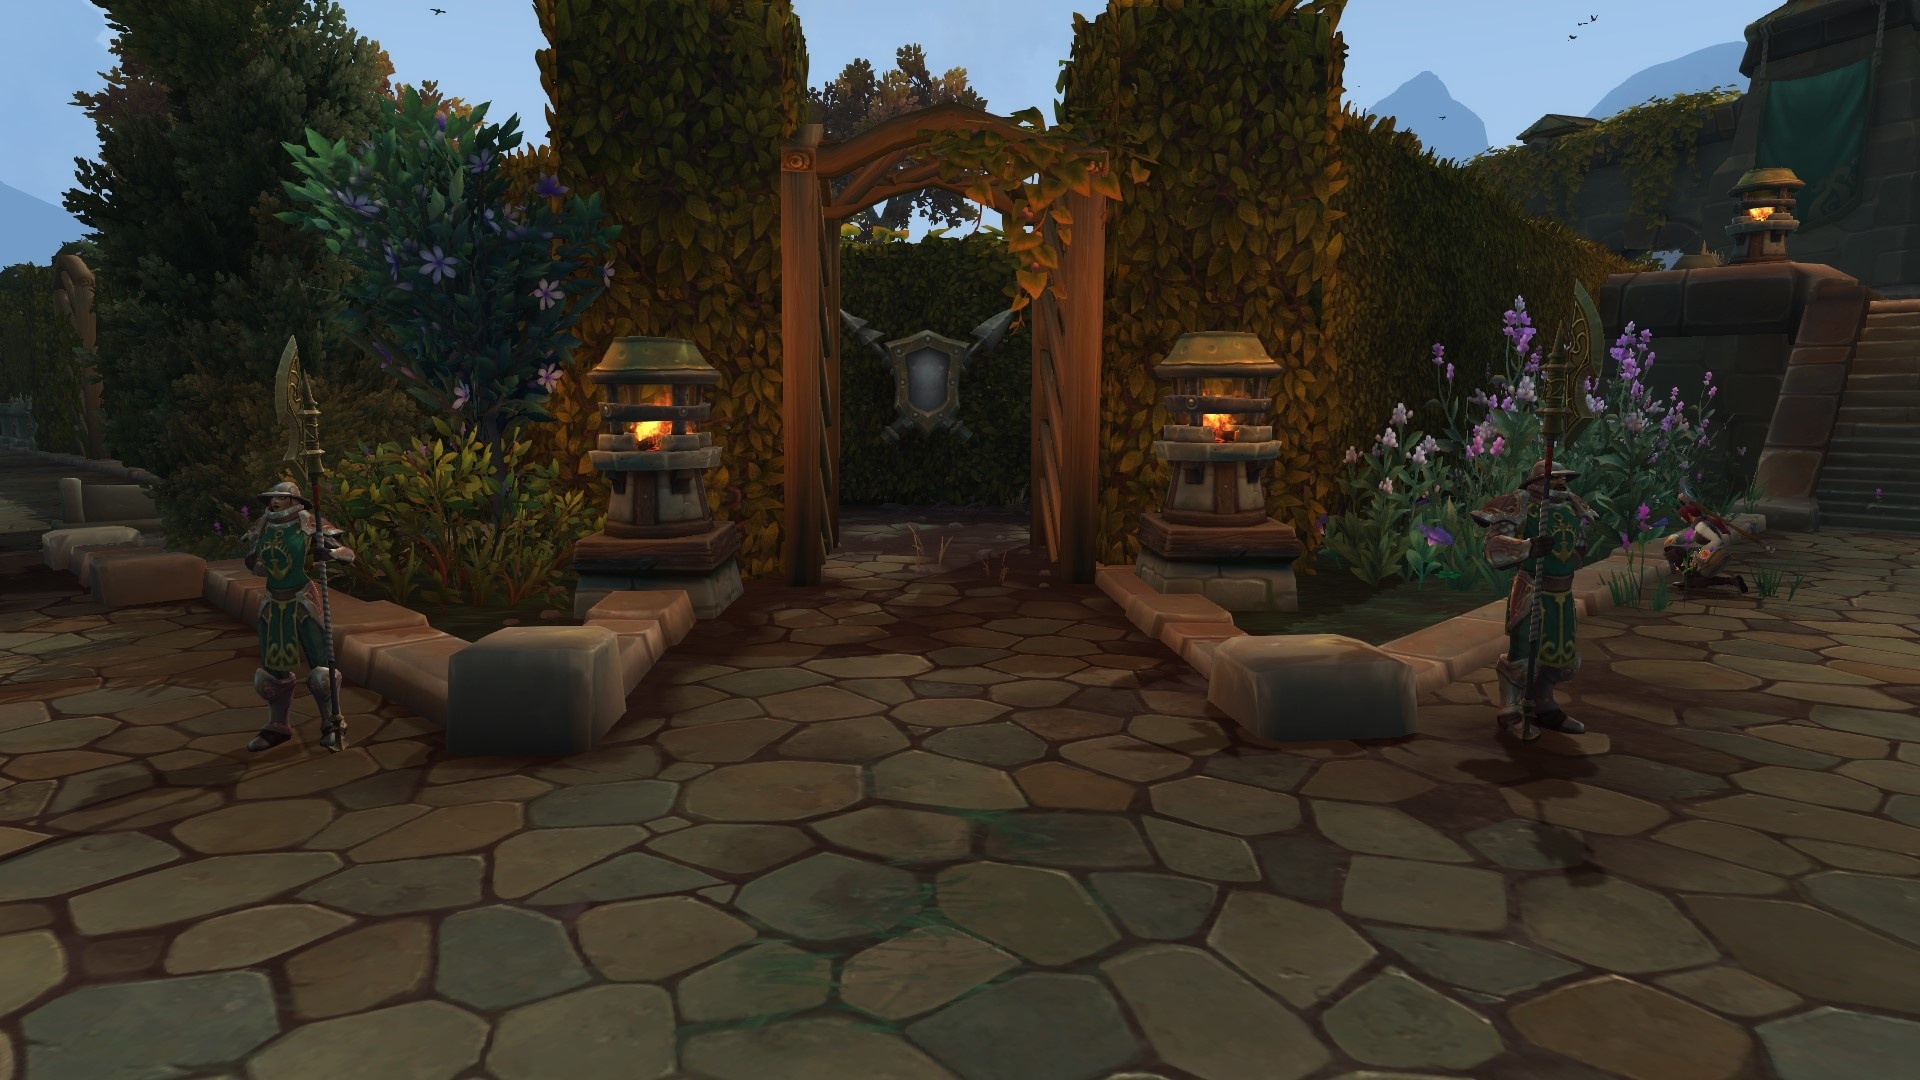
Step 3: Boralus
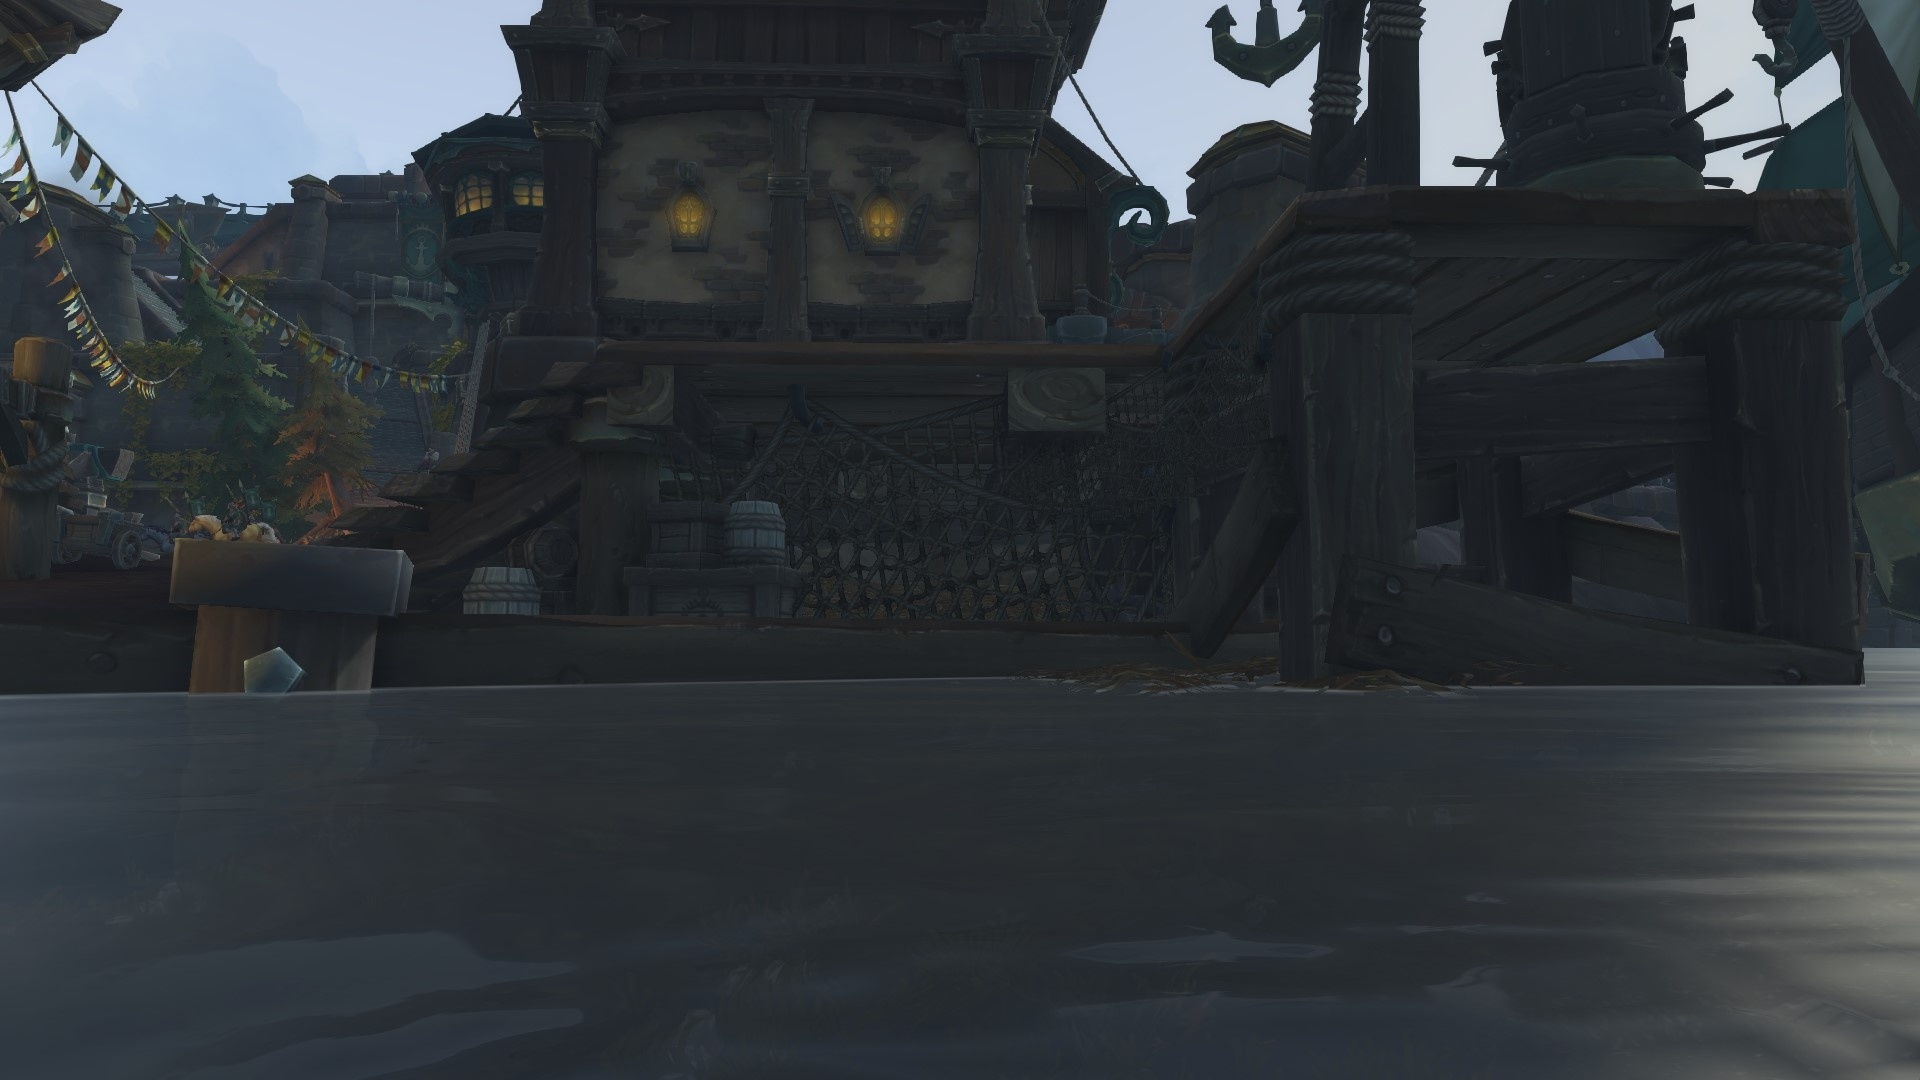
Next, you must go to the Alliance city Boralus. At coordinates 49 / 40, behind some nets (which you can simply run through) is the entrance to a secret cave. At the end of the cave lies another stone that you must click on.
Step 4: Atal’Dazar
The next step leads to Atal’dazar in Zuldazar. You must enter the non-instanced version (meaning NOT the dungeon). Ride around the portal on the right and head to the spot shown in this video and click the stone.
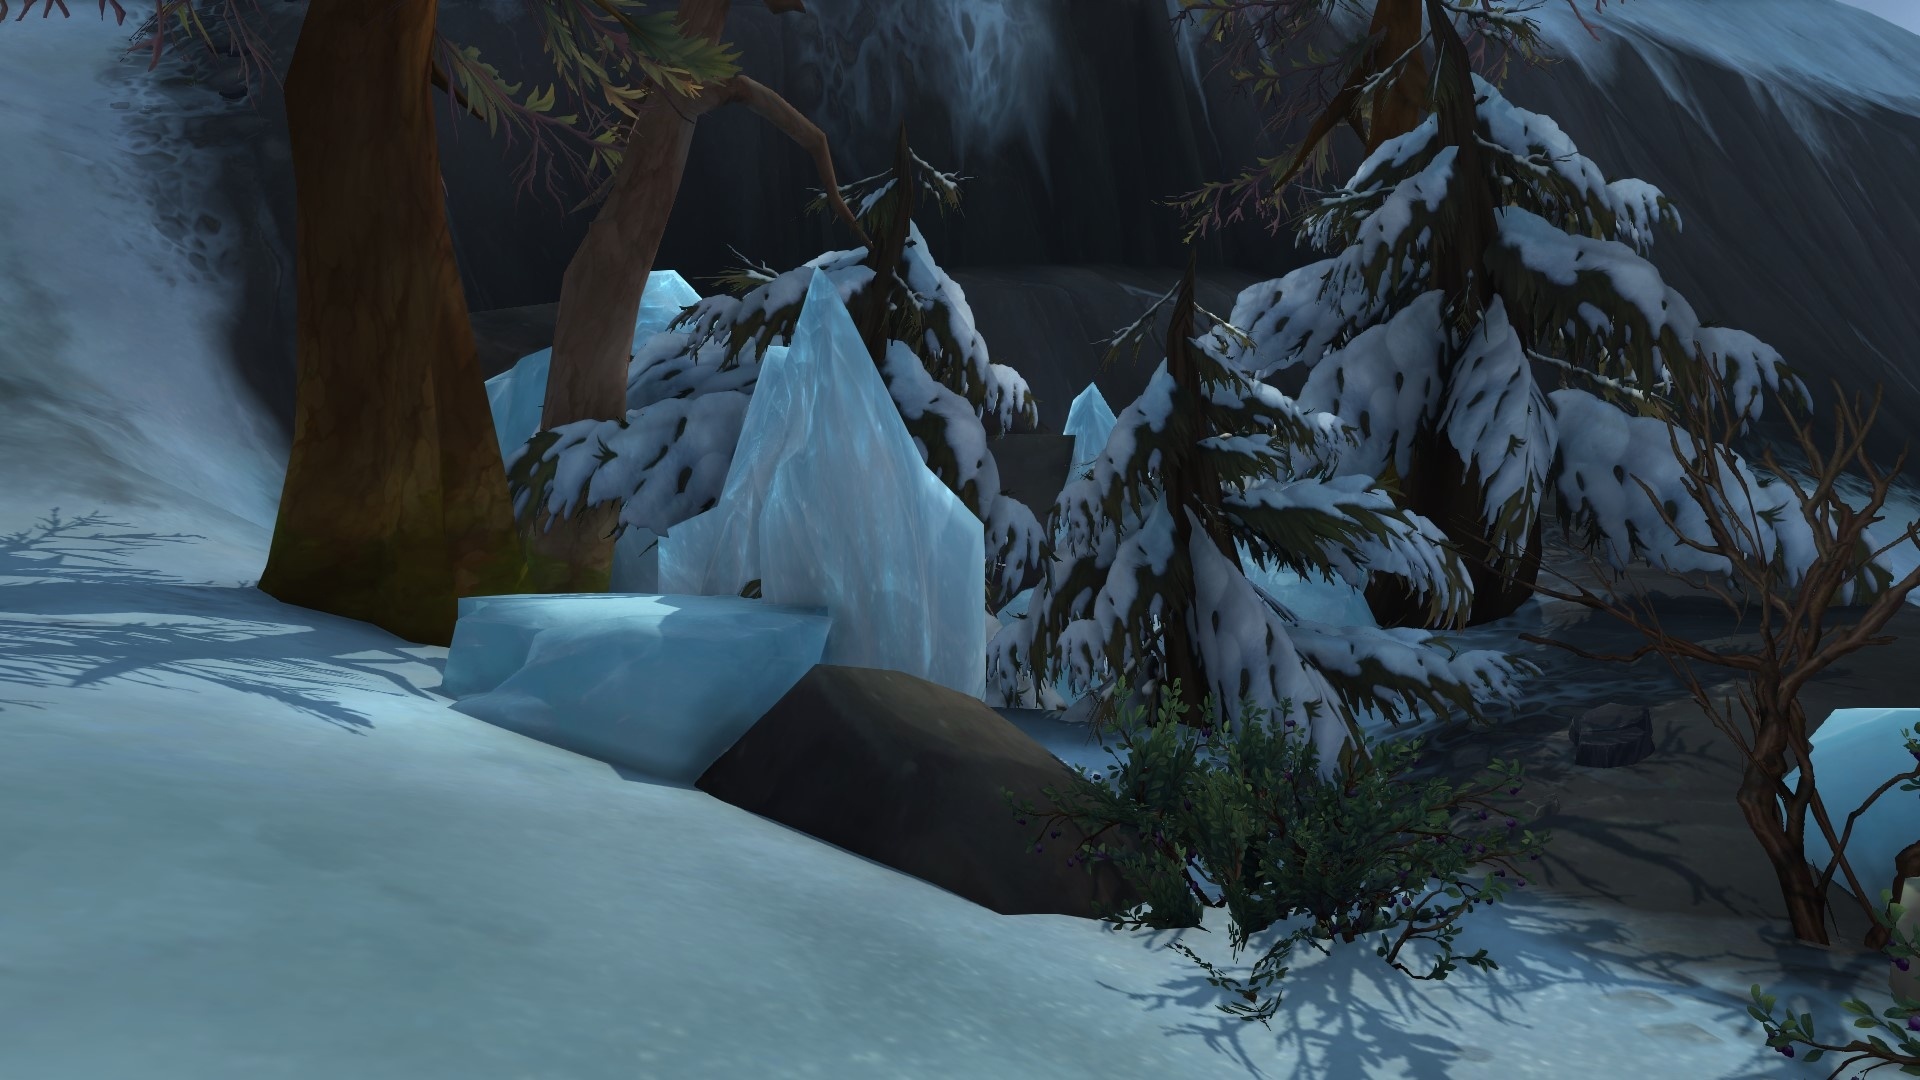
Step 5: Drustvar
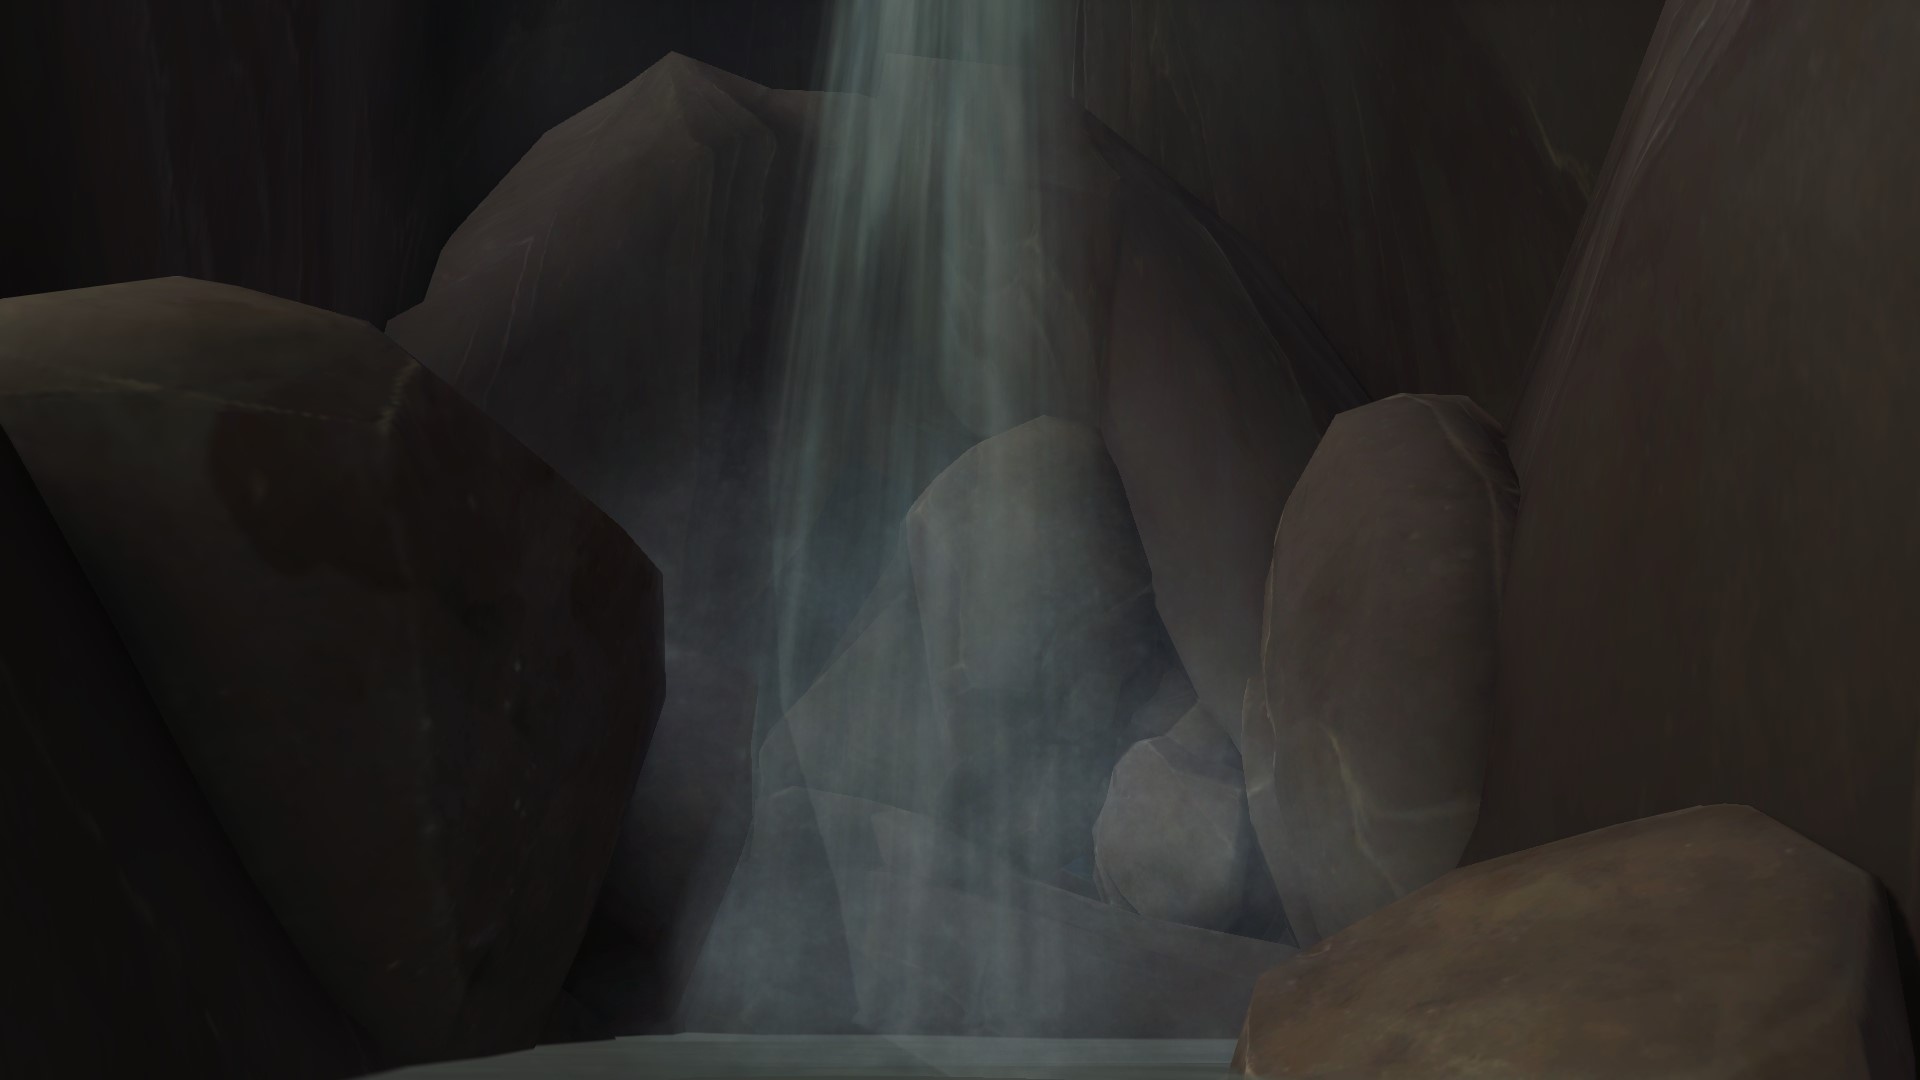
The next stone is in Drustvar behind a waterfall in Gol Osgir. Climb up the mountain from Arom’s Watch until you reach the waterfall at coordinates 36 / 53. Jump down one level from there. You will find a hidden cave, and the stone is in the “eye” of a statue located there. Click it again.
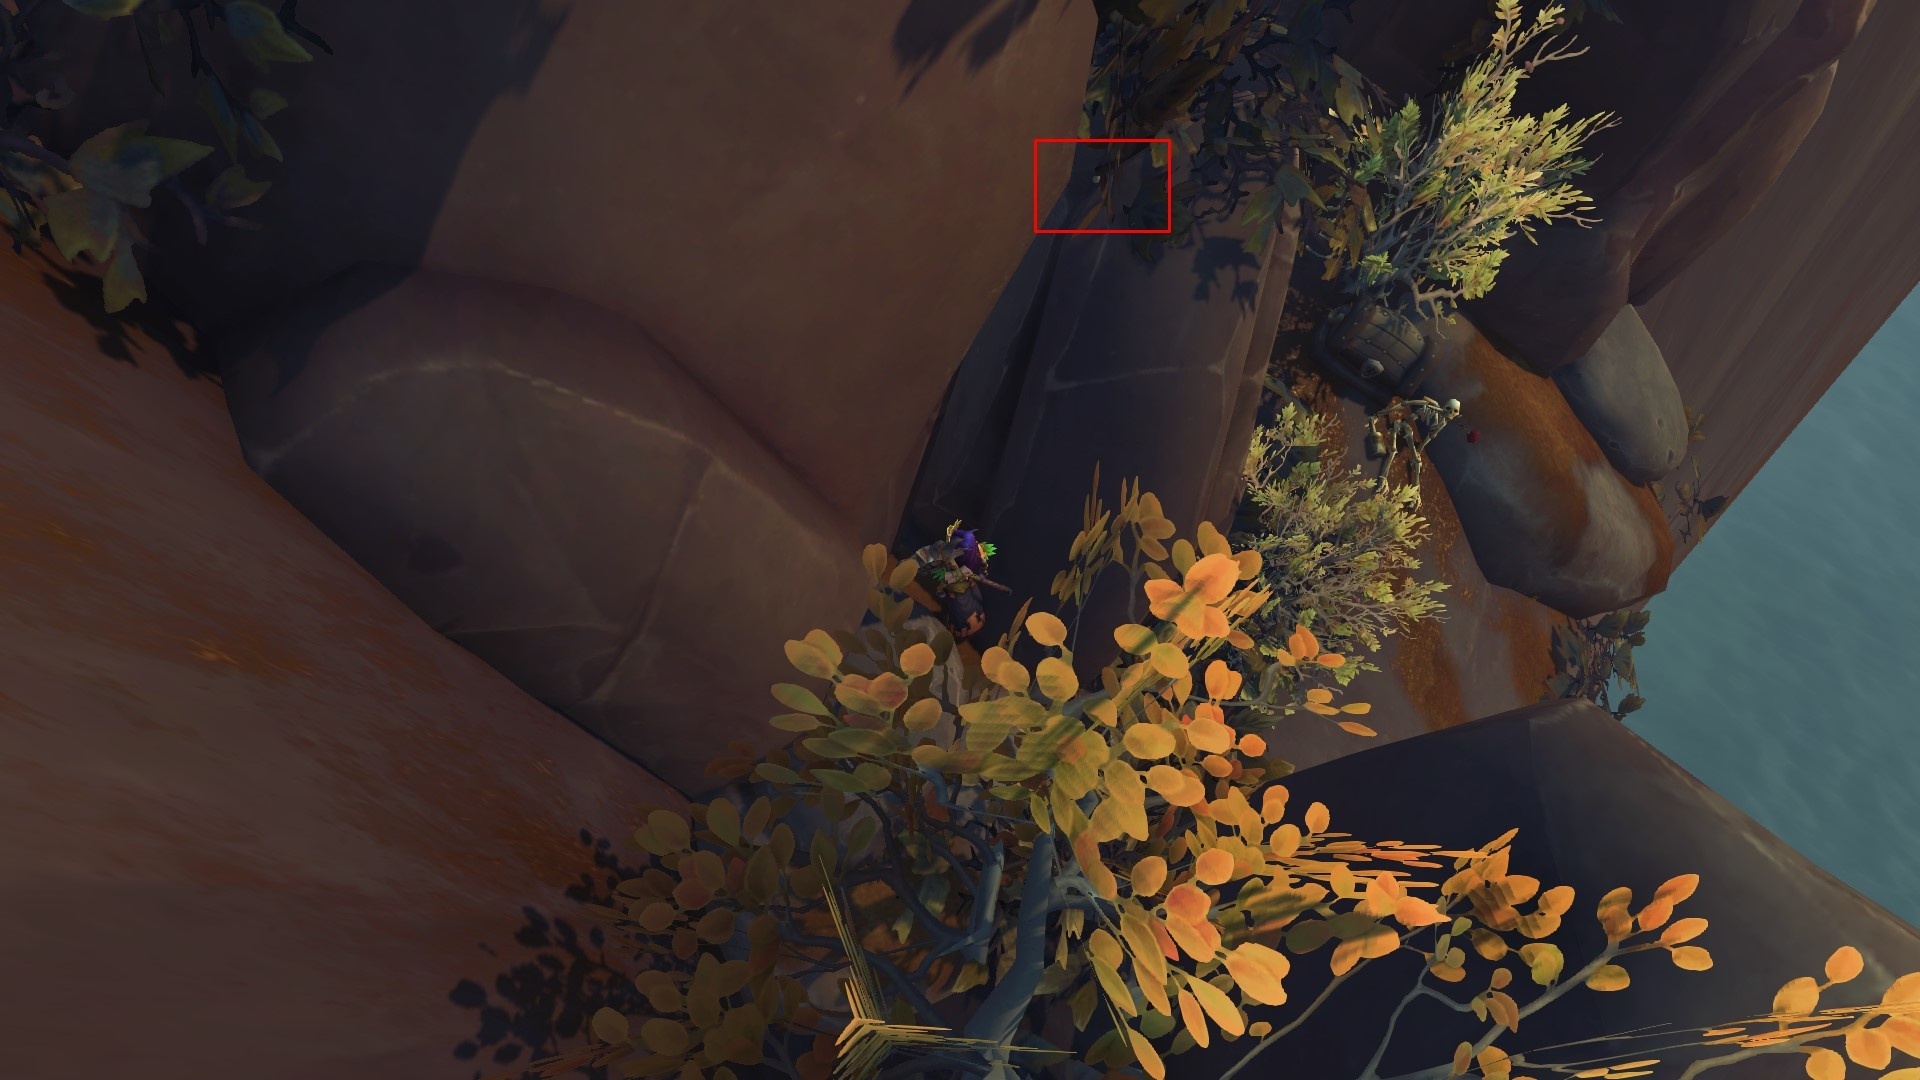
Step 6: Vol’dun
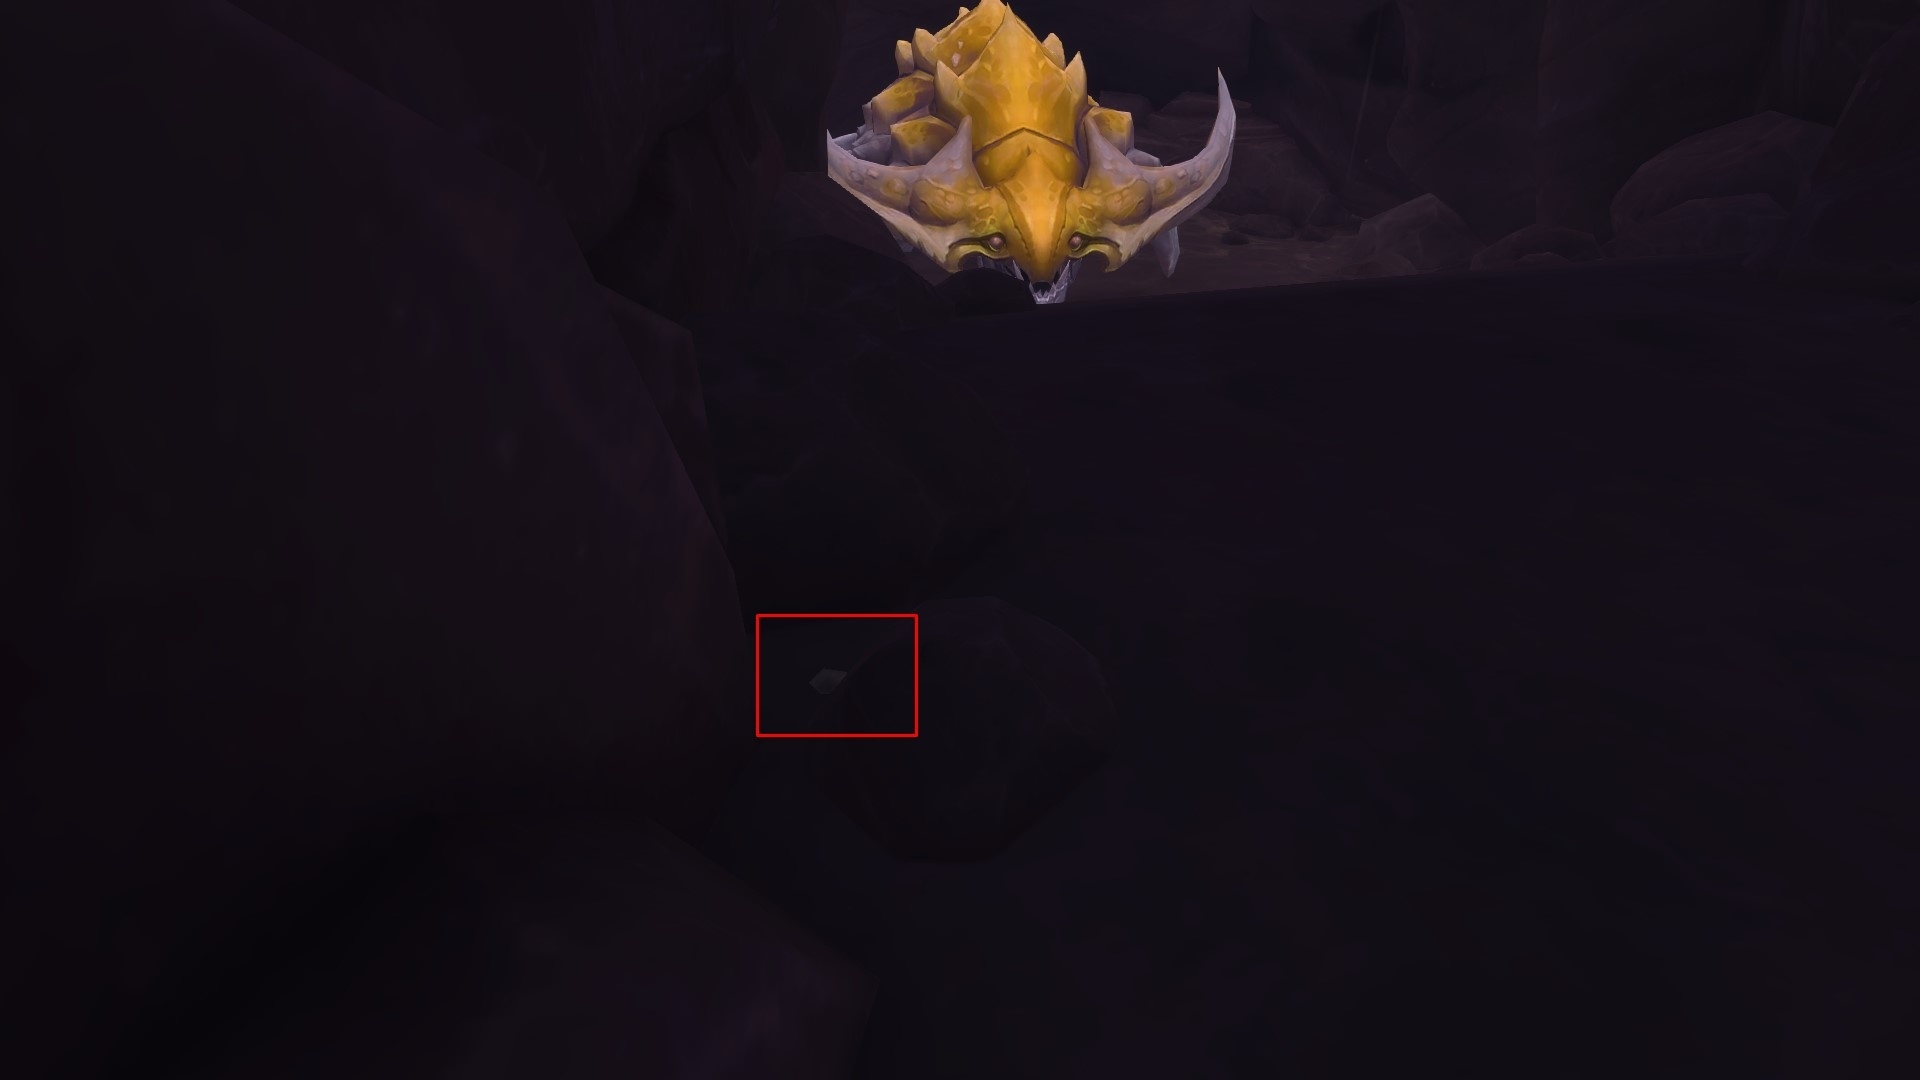
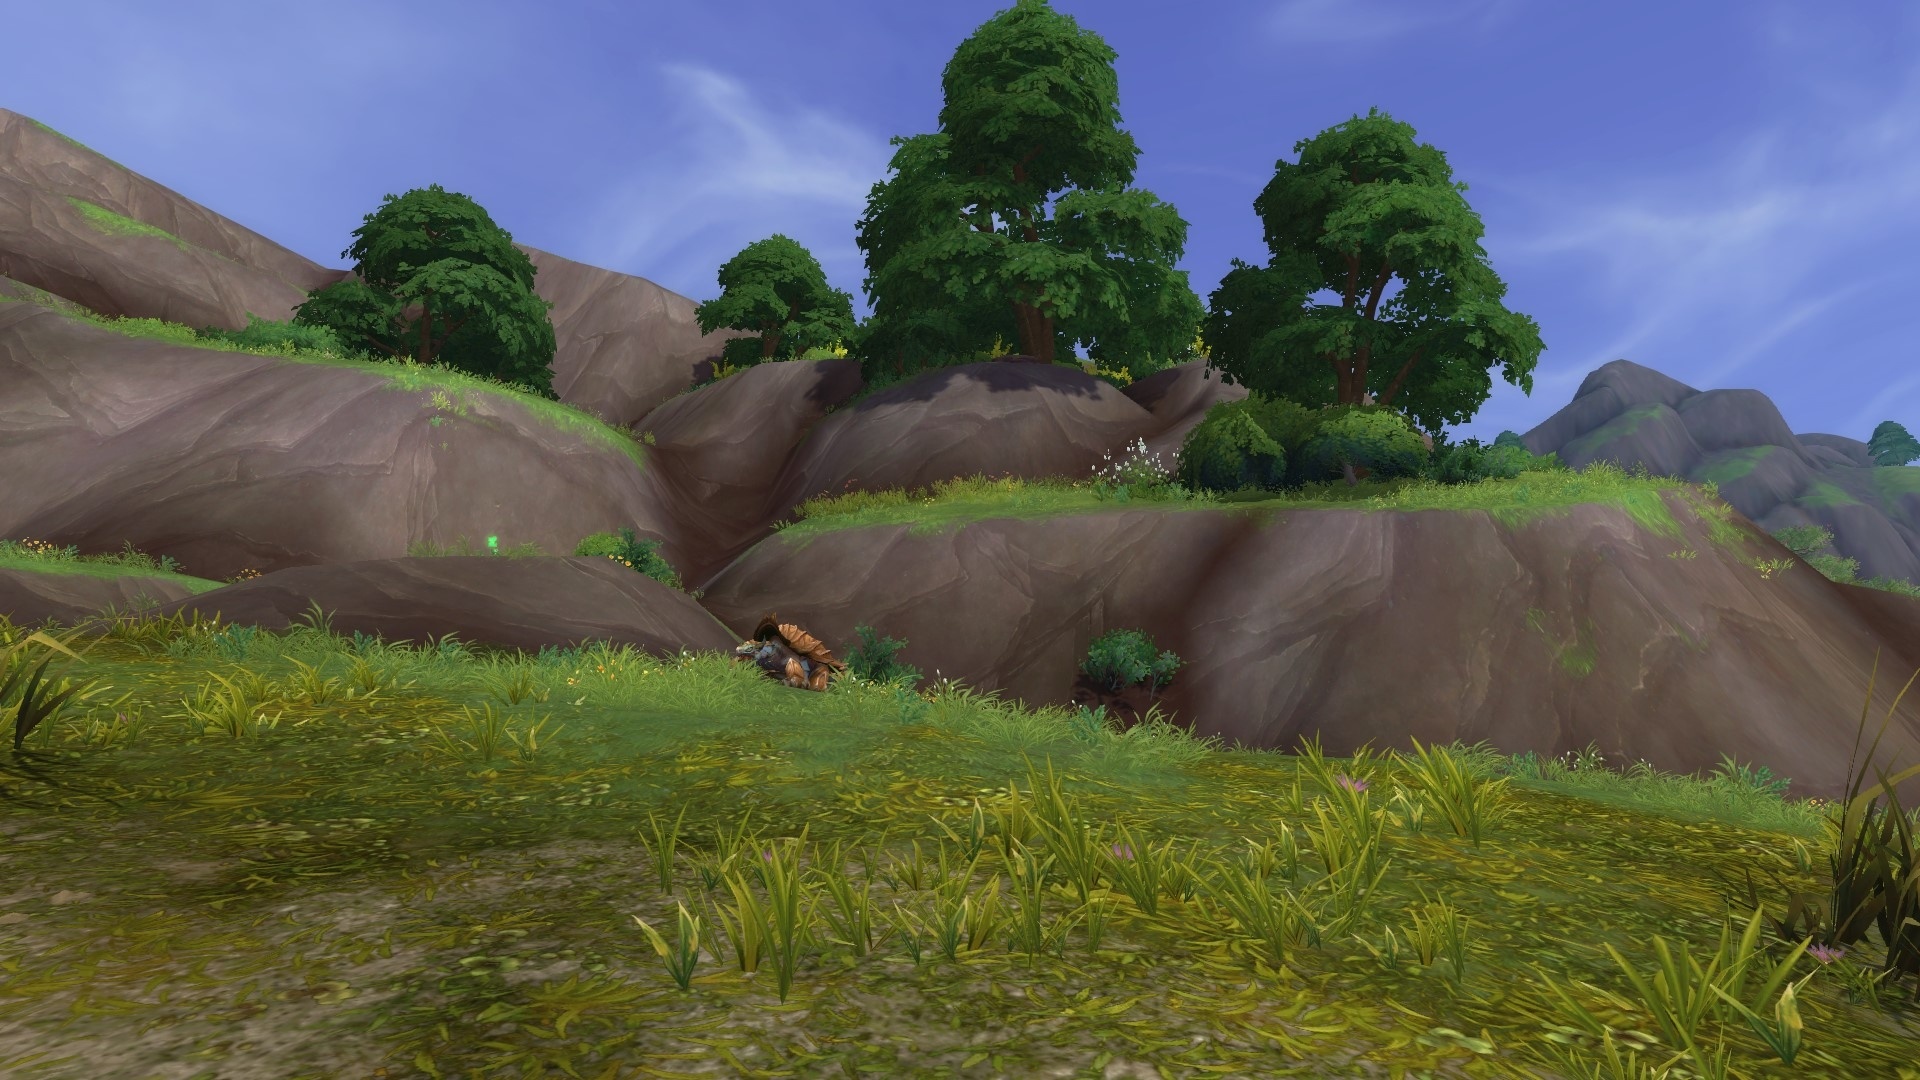
Next, head to Vol’dun. Fly to the Tortaka Refuge and jump down. Look for the tree at coordinates 63 / 21. At the tree, you can find a hidden cave. But be careful! In the cave is an extremely strong opponent that can kill you in one hit if you get too close. You need to stun him or simply dodge. The next stone is hidden between the rocks and you must click it again.
Step 7: Stormsong Valley
The next stone is in Stormsong Valley, on an island near the Shrine of the Storms. At coordinates 65 / 11, you will find the entrance to a cave, hidden under the bushes of some trees. Inside the cave, you can find a small lake with a cart parked. On the cart’s loading area is the next stone that you must click.
Step 8: The Open Sea
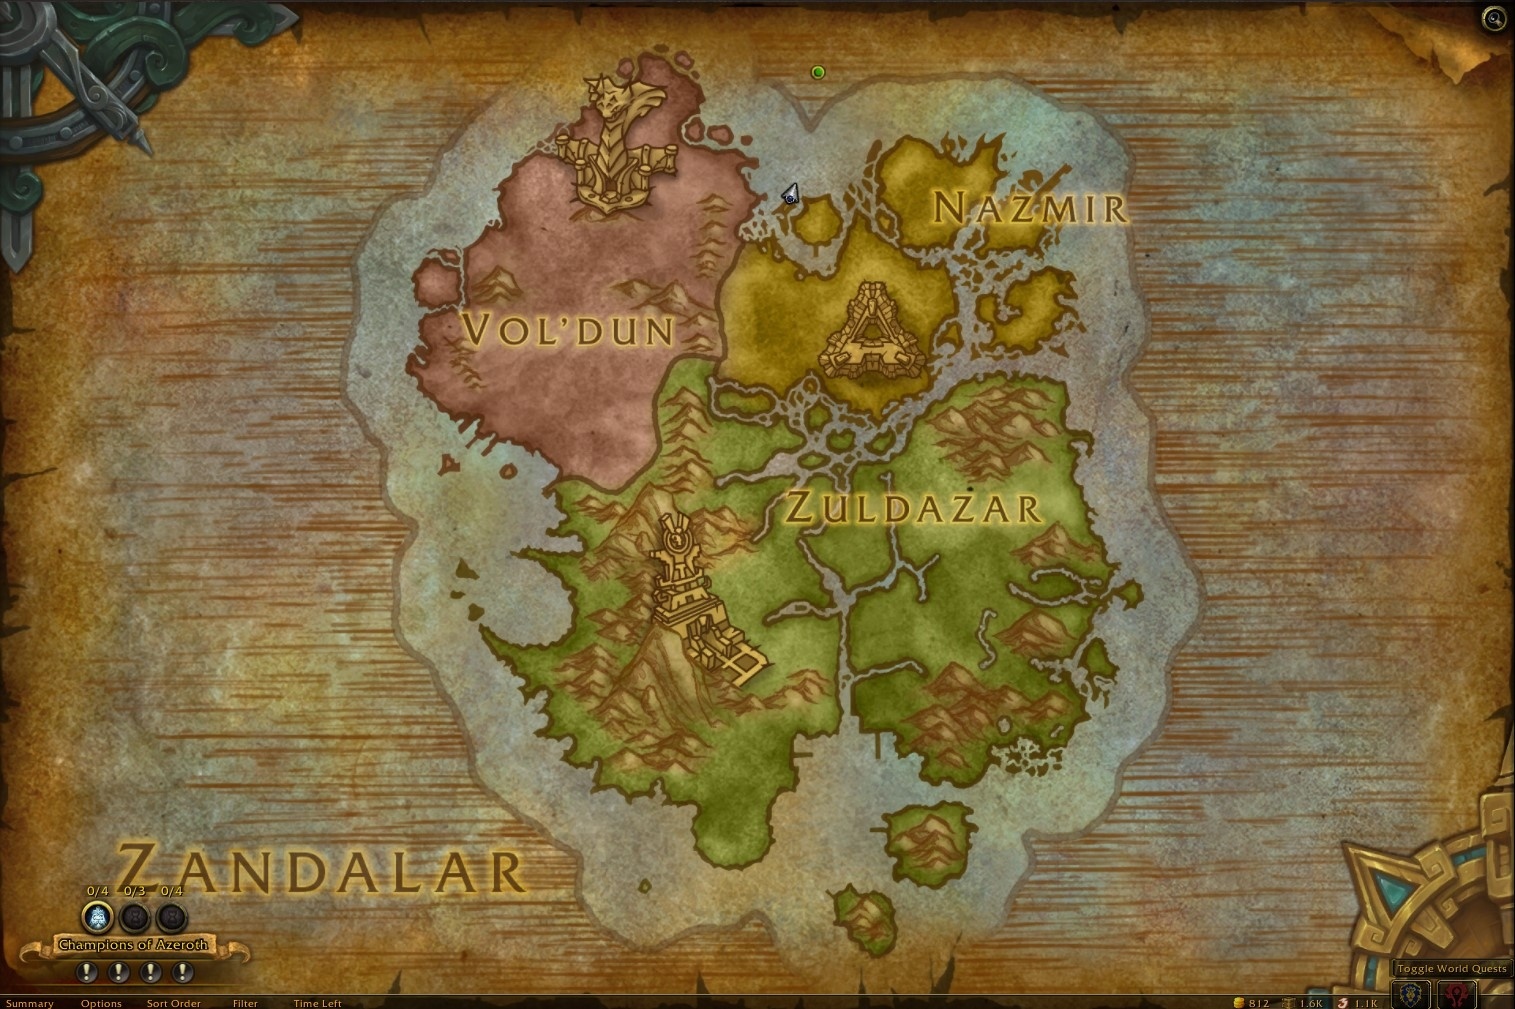
The next step is difficult and requires preparation. Grab the artifact fishing rod or potions that increase your swimming speed. You need to swim north from Nazmir and leave the area until deep into the exhaustion zone. At the coordinates 54 /7 on the general maps of Zandalar, you will find a sunken ship. The stone lies on a mosaic glass panel depicting a skull. Click the stone.
Step 9: Boralus
For the next step, you must again go to Boralus, in the hedge maze of the Proudmoore. At coordinates 37 / 80, you will find access hidden under some bushes (where the recruits are playing Pen&Paper). Behind some barrels lies the stone.
Step 10: Drustvar
Then continue to Drustvar. Find the lighthouse at Westwatch and climb the island. At coordinates 17 / 6 is a cave that is hard to reach, for which you need to jump very precisely. The stone is not in the cave but right in front of it – hidden between some bushes.
Step 11: Tiragard Sound
Next, go to Tiragard Sound at coordinates 75 / 70 where there is again a hidden cave. But beware! The cave is filled with invisible enemies that can kill you in one blow. Next to a piece of meat lies the stone. To reach the stone safely, use an invisibility potion or die your way through. Click this stone too.
Step 12: Boralus
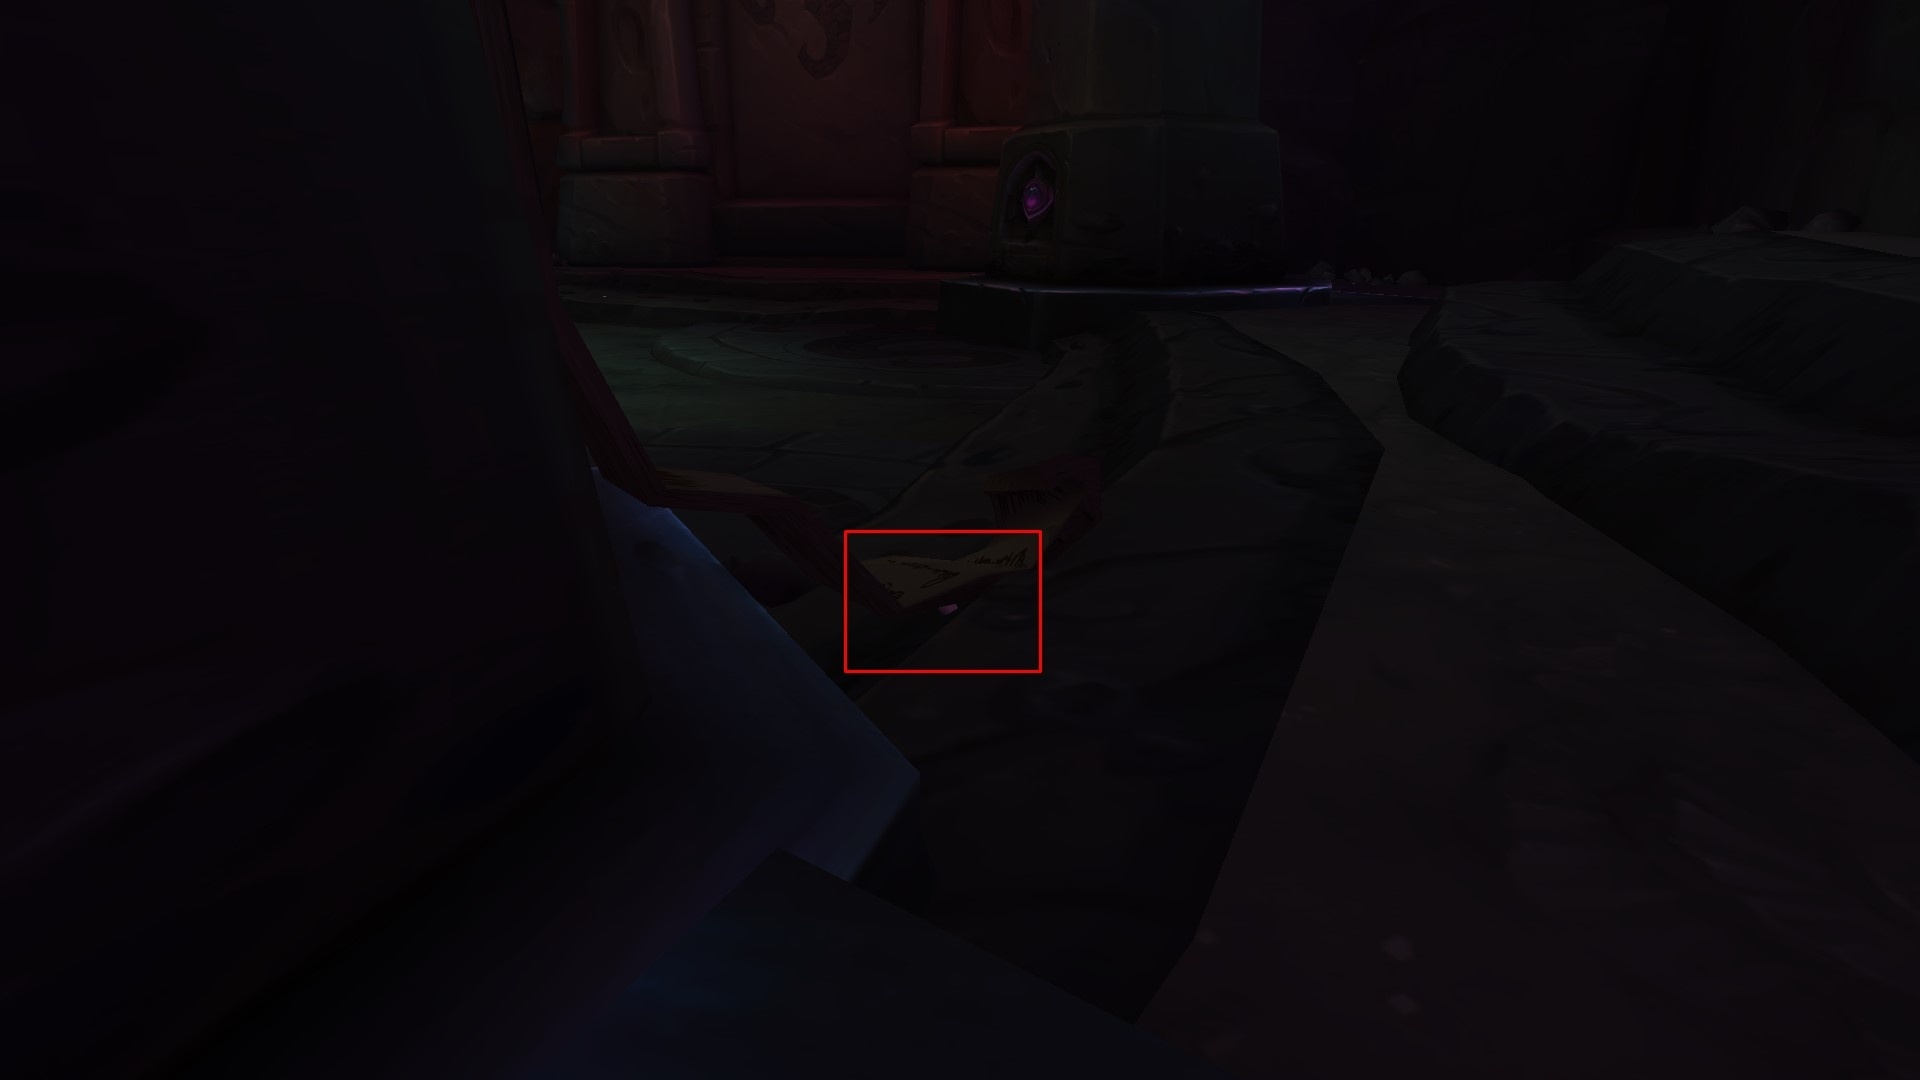
The next stone is in a cave, to the east of Boralus. The entrance is at a waterfall at coordinates 80 / 19. The cave has many stones, but only one is the correct one. The correct stone is under a long scroll that spreads from a pillar. Click the stone.
Step 13: Boralus
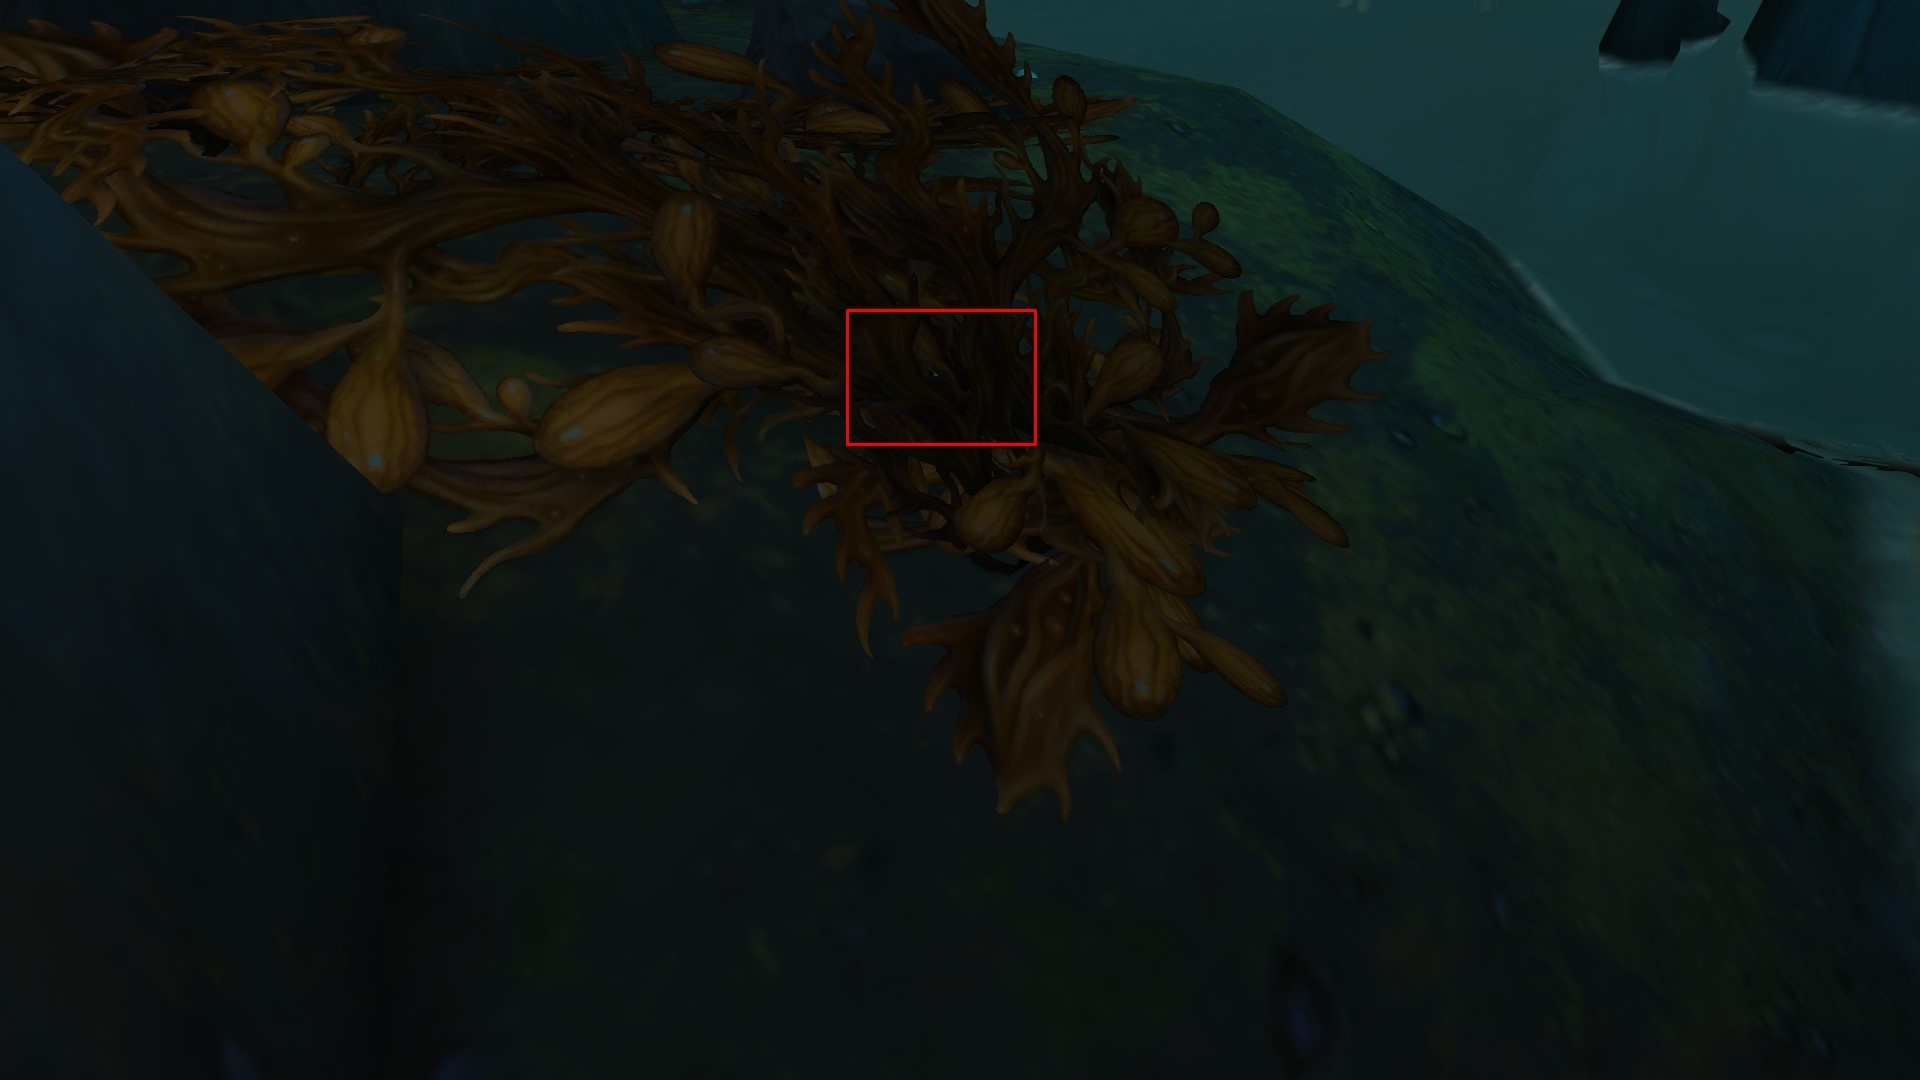
You stay in Boralus, because the next coordinates are 10 / 82. Hidden under the algae is another secret access to a cave. Again there are many stones and only one is the correct one, hidden under some algae.
Step 14: The Open Sea
The last stone is again far in the exhaustion zone, east of Vol’dun. The entrance is at the coordinates 55 / -10 on the map of Zandalar. The easiest way to reach it is shown in this video:
Step 15: Frostfire Ridge

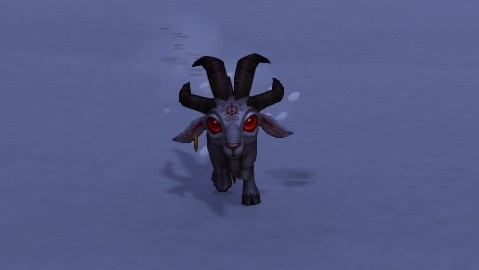
Finally, follow the last step. You need to travel to Draenor in Frostfire Ridge. At the coordinates 62 / 22, you will find a volcano. In the middle of the volcano is Baa’l. You must defeat him in a pet battle to obtain this pet.
Baa’l is practically unbeatable, but with a trick, he becomes significantly weaker. If you possess and summon the pet Uuna (or if another player is nearby), he loses much of his strength and is easier to defeat.
Congratulations, after the long journey you have earned Baa’l!
The community suspects that the riddle goes even further and that Baa’l is just the first step of a much larger puzzle. It remains exciting…

What do you think of Baa’l and these riddles? A damn cool thing? Or way too complicated?

Your opinion is important to us!
Do you like the article? Then let us know!