
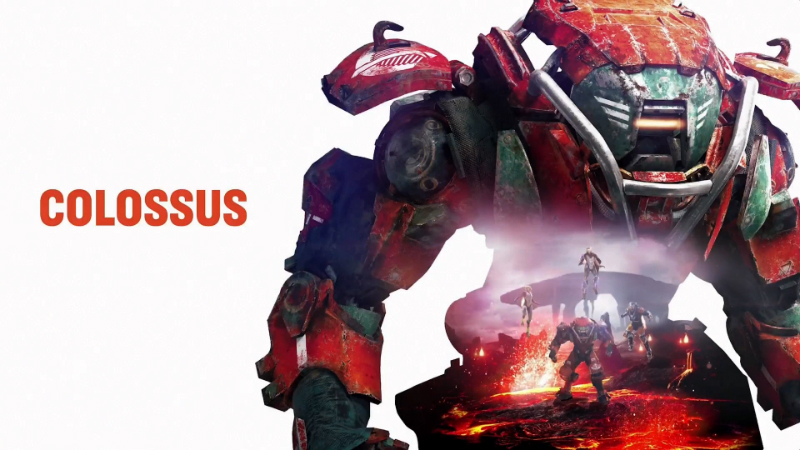
The bulky Colossus is the most heavily armored and armed in Anthem. With this build variant, you can hold off many enemies at once and clear the way for your team.

That’s why we recommend this build: With the destructive power of the Colossus’ abilities, you can control the entire battlefield. With this configuration, you are prepared for many situations and can dominate your enemies alone or as a team.
If you are already fit enough for the endgame in Anthem, we also have an alternative endgame build for you. There, we deal with masterful equipment and explain how you can use it correctly. This way, the Colossus can handle the Grandmaster difficulty levels without any issues.

Equipment
- Artillery Launch Pad: Fire Wall Mortar
- Heavy Launch Device: Siege Cannon
- Fortification System: Battle Cry
This is what the abilities do:
- Fire Wall Mortar (Primer): Fires a projectile that erects a wall of flames upon impact. Enemies that walk through it are burned.
- Siege Cannon (Detonator): Fires a highly explosive projectile that deals significant damage.
- Battle Cry: Marks all nearby enemies and forces them to attack the Colossus.
What a Primer and a Detonator are, you will learn in our combo guide for Anthem.
Components
- Component 1: Demolition Expert
- Component 2: Artillery Upgrade
- Component 3: Colossus Combo Upgrade
- Component 4: Melee Insignia
- Component 5: Guardian Insignia
- Component 6: Structural Reinforcement
How to play this build
Why is this build so good? With this build, you can control and eliminate many enemy masses. The high range of your explosive abilities allows you to effortlessly hold back large groups of enemies.
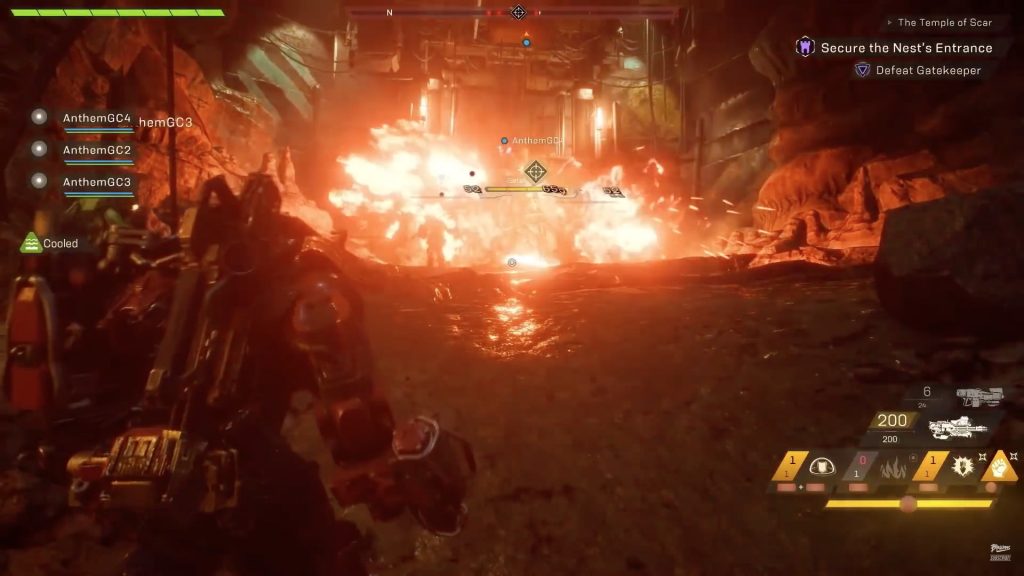
This is the approach: Your focus is on the Fire Wall Mortar. This ability erects a wall of flames that lasts for a short time and continuously deals damage. Furthermore, every enemy hit is made available for a combo attack. Depending on distance, you can jump into the burning mass with your melee ability or fire your Siege Cannon into it.
Note: The two subsequent screenshots were taken from a Youtube video by “Blessious”. You can find the link in the source reference.

In both approaches, you trigger a large-scale detonation and initiate a strong combo attack.
Make sure to use your Battle Cry as often as possible. This way, you draw the attention of enemies in your vicinity onto yourself and can hit and ignite the maximum number of enemies with your Fire Wall Mortar.
If your Siege Cannon is currently reloading, you can use the wide radius of your melee attack to detonate all the burning enemies. Alternatively, you can also use your shield to sprint through the fire wall and knock down the burning enemies.
Before you activate your ultimate ability, you should always fire a Fire Wall Mortar first to trigger combos and maximize your damage.
This is what the components do:
- Demolition Expert (1): Increases all explosive damage.
- Artillery Upgrade (2): Increases the damage of the artillery ability.
- Colossus Combo Upgrade (3): Increases combo damage.
- Melee Inscription (4): Increases melee ability damage.
- Guardian Insignia (5): Extends the duration of the fortification system.
- Structural Reinforcement (6): Significantly strengthens the Colossus armor and shield.
This is what the components bring in the build
The component Demolition Expert (1) increases all explosive damage and thus enhances your Fire Wall Mortar and your Siege Cannon. Both abilities become even more effective.
The Artillery Upgrade (2) further increases the damage of the Fire Wall Mortar. Since you should always start the fight with the artillery ability, this component is a core part of this setup.
The Colossus Combo Upgrade (3) boosts the effectiveness of your combos. This way, you deal additional damage, whether you detonate the enemies with your melee attack or your Siege Cannon.
The Melee Inscription (4) increases the damage of your slam attack. Since you will use it frequently, this component helps you to detonate multiple enemies with a devastating blow and eliminate them with greater certainty.
The Guardian Insignia (5) extends the duration of the Battle Cry and ensures that the burning enemies are focused on you while you sweep them away. With this component, you can better control the battlefield and hit as many enemies as possible with your abilities while protecting your remaining team.
The Structural Reinforcement (6) strengthens your armor and shield. This allows you to stay longer in the chaos and maintain better control over the battlefield.
These weapons are suitable
Which weapons should you use? For this build, you should consider weapons that perform well against many enemies or are strong against single targets. Weapons like the automatic cannon “Sky Ripper” or the grenade launcher “Aftershock” are excellent for this build.

This is why the Sky Ripper is recommended: With this heavy automatic cannon, you can easily shoot through hordes of enemies thanks to its high fire rate. With the large magazine (150 shots), you can keep many enemies at bay simultaneously without constantly needing to reload. Especially due to the Battle Cry, this weapon is a very good choice.
This weapon works best in combination with the Fire Wall Mortar. With the continuous damage effect of the fire wall and the sustained fire of the Sky Ripper, you deal tons of damage over time.
This is why the Aftershock is recommended: If you have drawn the attention of a heavy single target, you should be able to finish it off as quickly as possible. Since the automatic cannon is more effective against multiple enemies, you also need a quick response for single targets. That’s where the grenade launcher comes into play.
The Aftershock fires grenades that stick to your target. Once a grenade sticks to your target, it explodes and deals significant damage to the target. So if an armored or shielded enemy gets too close, you can pin them in the fire wall and stick grenade after grenade on them.
With this, you should be relatively good against shields and can deal a lot of damage against single targets without having to waste an entire magazine.
Here you can find out which of the 4 Javelins suits you best.


Your opinion is important to us!
Do you like the article? Then let us know!