
In Destiny 2, the new dungeon “The Deep of Greed” is currently the highlight for owners of the “30 Years of Bungie” anniversary DLC. Along with the best gear in the game, it hides a treasure hunt filled with nasty traps and the flair of a great adventure that began 7 years ago.

As a fan of 3-player activities, the new dungeon “The Deep of Greed” is the current highlight in Destiny 2. It is best explored like a space Indiana Jones. All dungeons in Destiny 2 have their own charm anyway.
- The first dungeon, “The Broken Throne”, was already a highlight. It is dark and pitch black, while hiding a story of loss and intrigue in the heart of Eleusinia.
- In the dungeon “The Pit of Heresy”, a miserable fate was revealed. A Hive Knight forever damned in the deepest moon pit that ever existed. The first jump into this depth makes you think: “How far does it go down?”
- The “Prophecy” dungeon, on the other hand, is the complete opposite. Neon colors, lots of sand, and an environment reminiscent of the film “Tron”. Additionally, the cube mechanics of the Nine are not for the faint-hearted.
The latest Destiny 2 dungeon tells the story of the world’s richest dead man “Wilhelm-7”, who was brought down by his pure greed. Destiny 1 veterans already know what this alludes to.
Even 7 years ago, Destiny players were after loot and leveling, and it was already tedious farming for items back then. There weren’t as many activities as in the current Destiny 2. The drop rates for legendary items were low. Those who managed to get a few Engrams had to have them decrypted by Master Rahool.
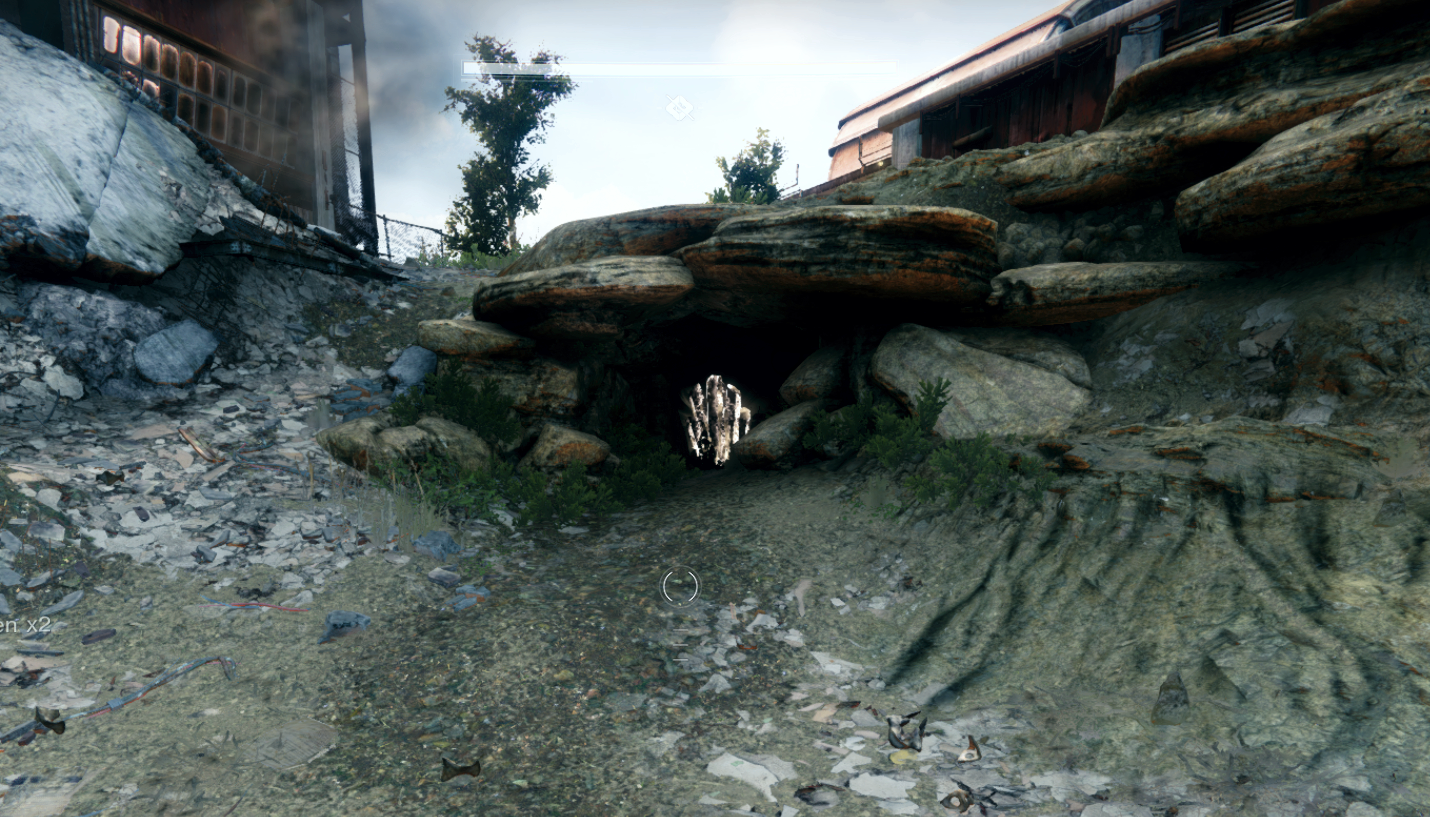
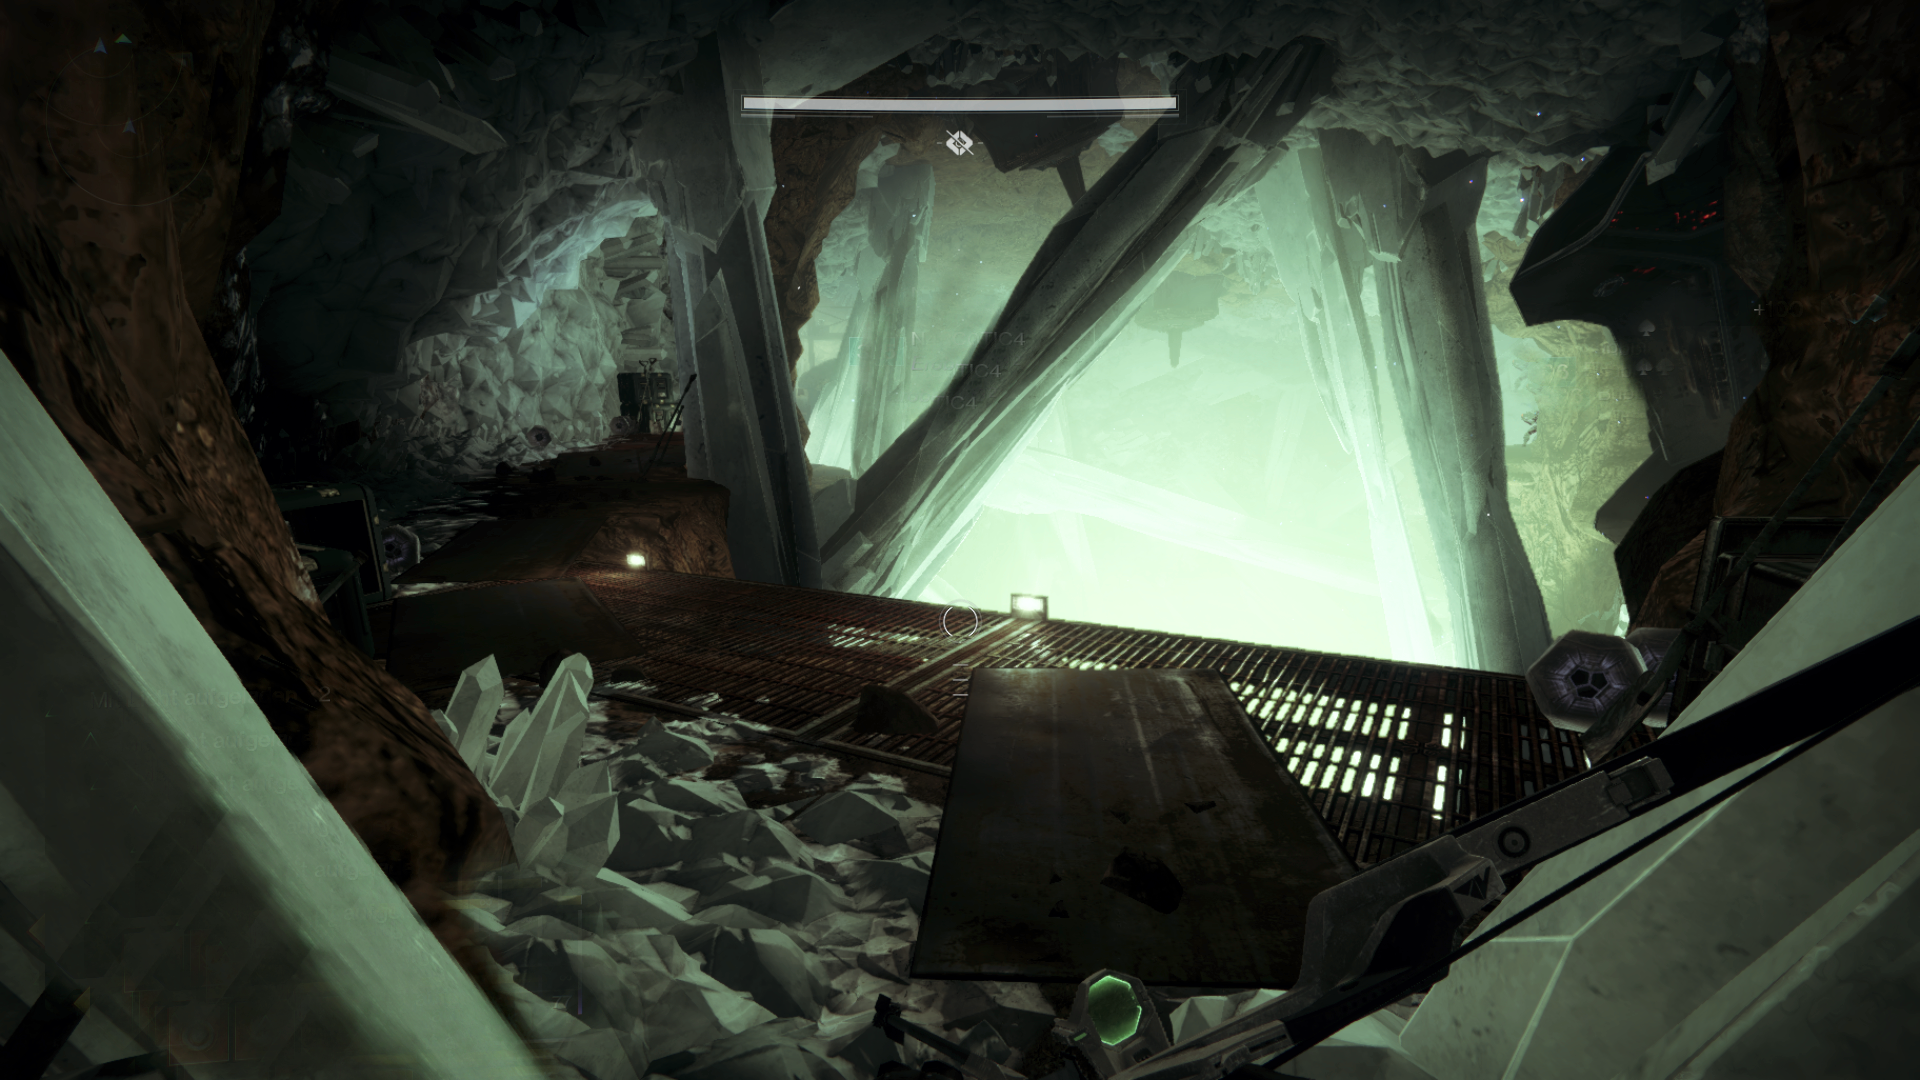
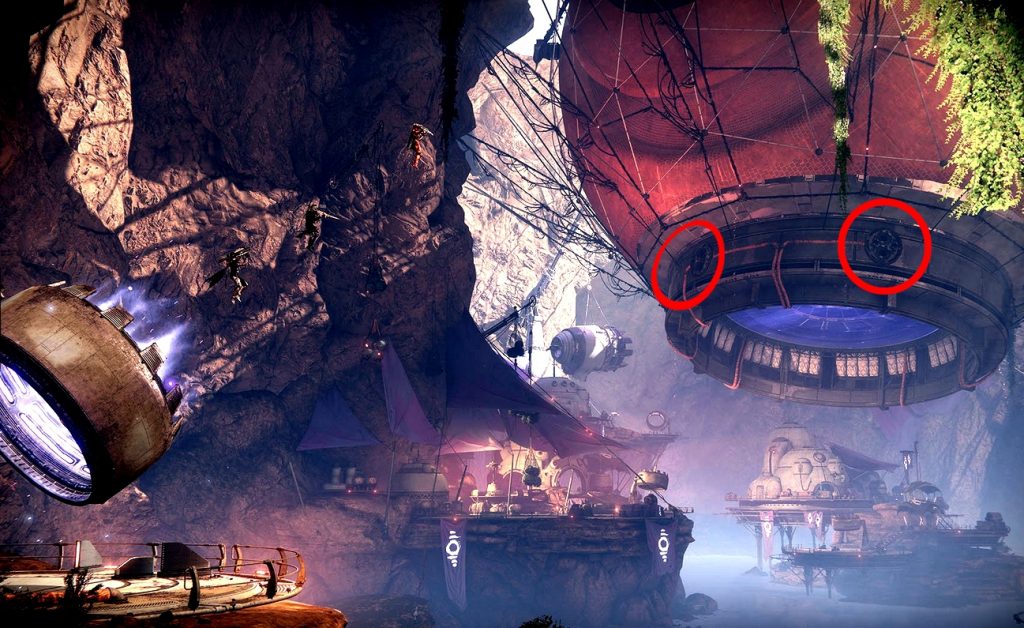
But then someone discovered a cave in the Cosmodrome. The cave where the new dungeon is now set.
Players shot for hours into a cave: From this small and inconspicuous cave flowed endless enemies with a constant spawn rate. They just needed to be dealt with. But the best part was they also dropped Engrams. Instead of doing strikes or playing Crucible, Destiny 1 veterans exploited the cave and mindlessly shot for hours for their loot and a better power level.
For the anniversary, Bungie has now designed a complete dungeon that takes up the theme of the former loot cave. It’s about incomparable treasures that blind with greed. And Bungie did not miss the chance to equip your path to loot with some really nasty traps.
The dungeon offers you many ways to bite the dust
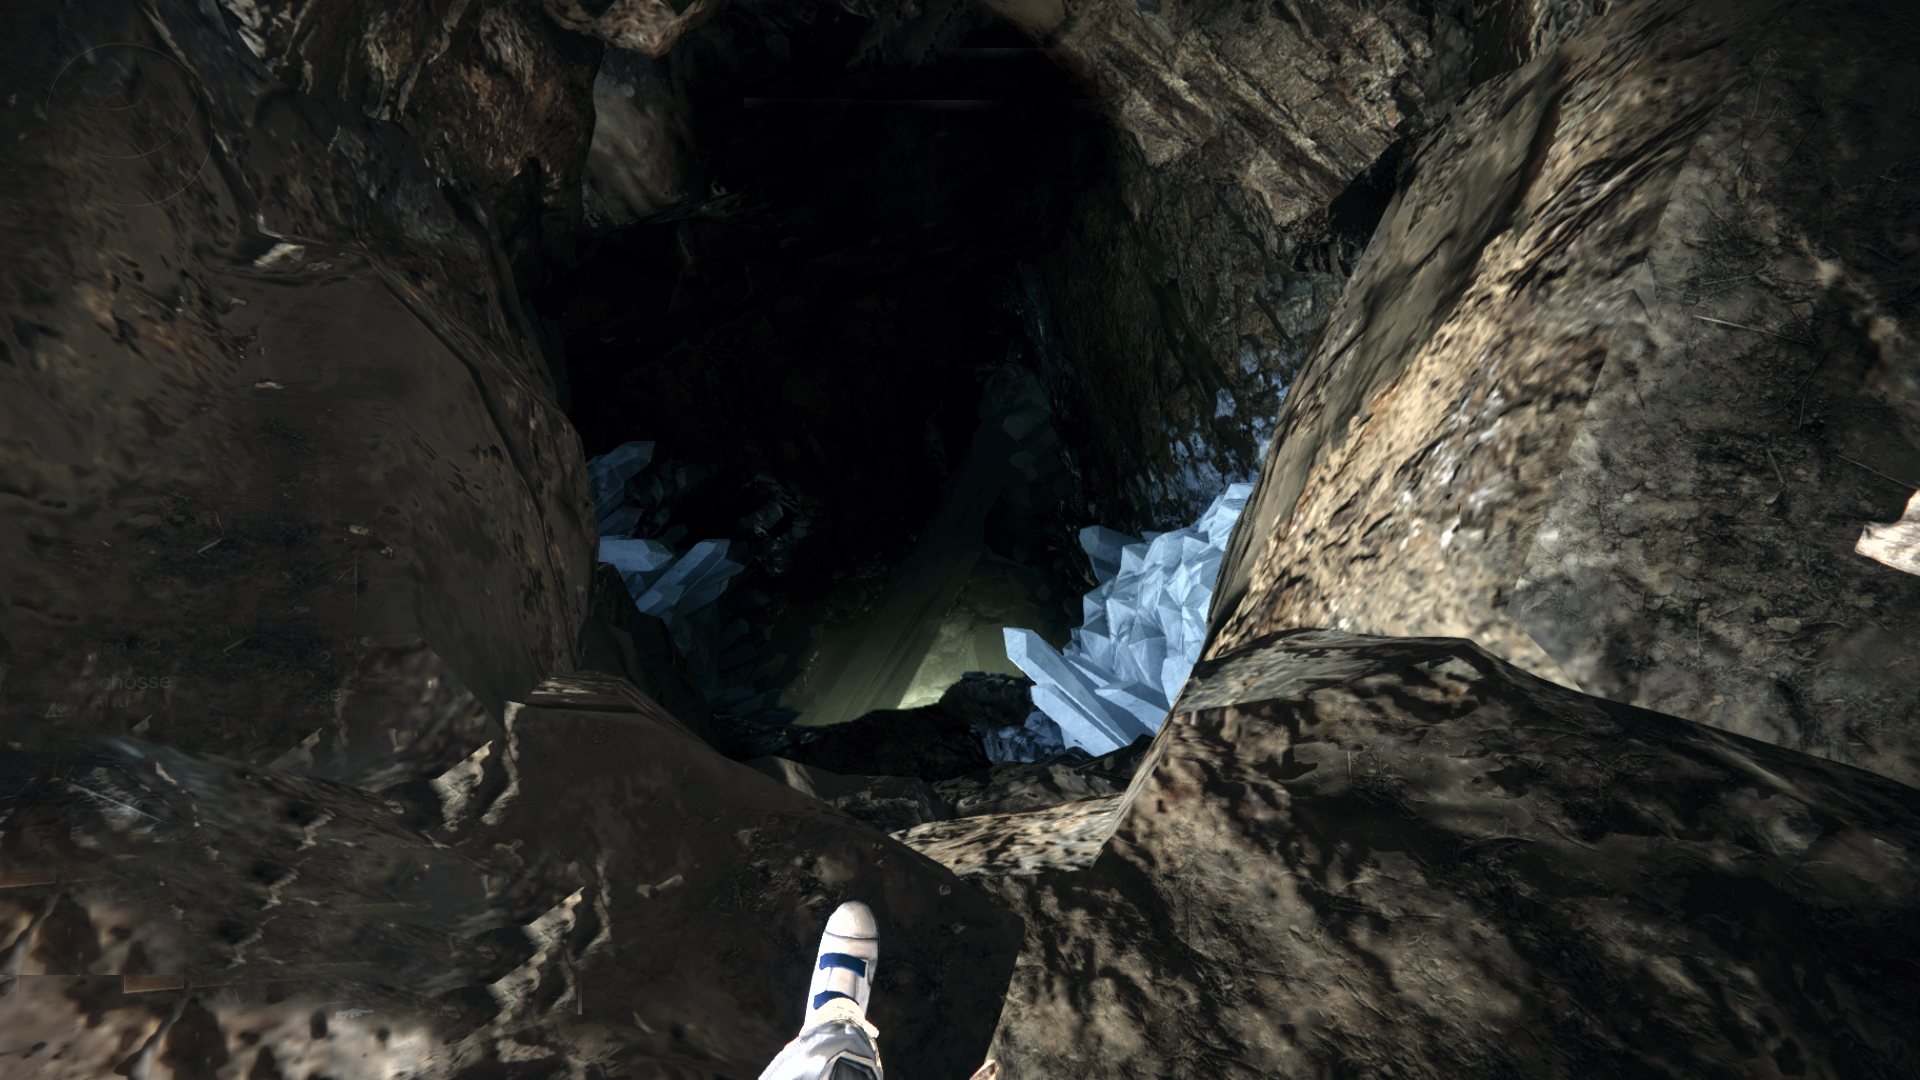
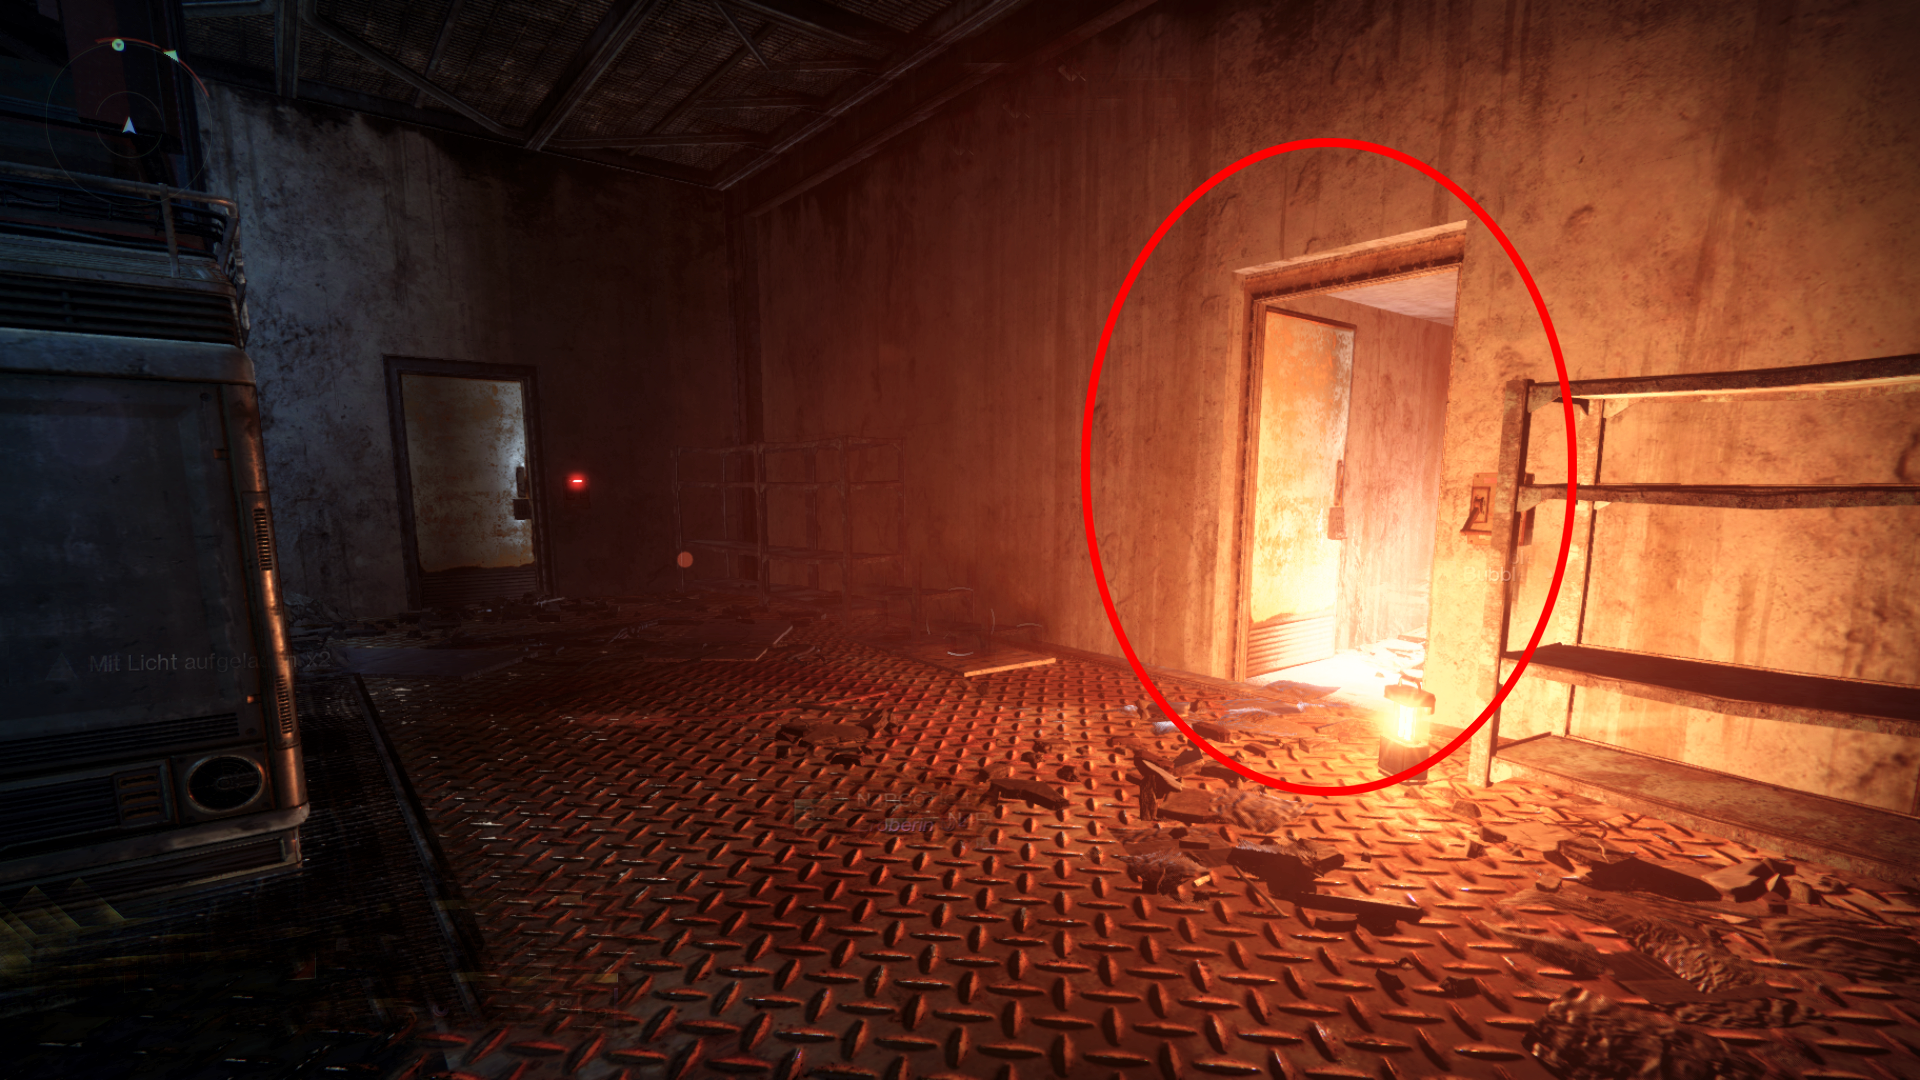
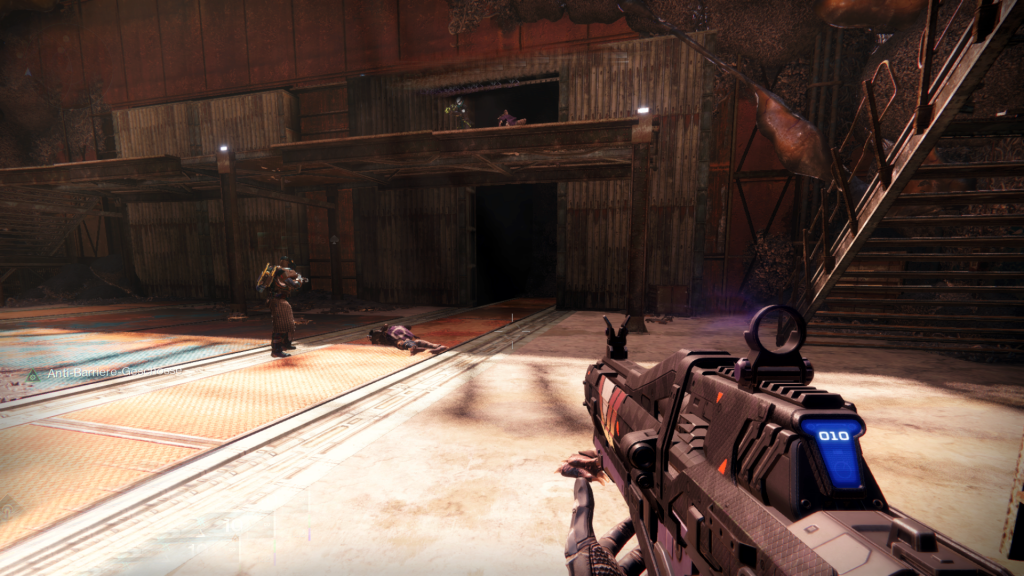
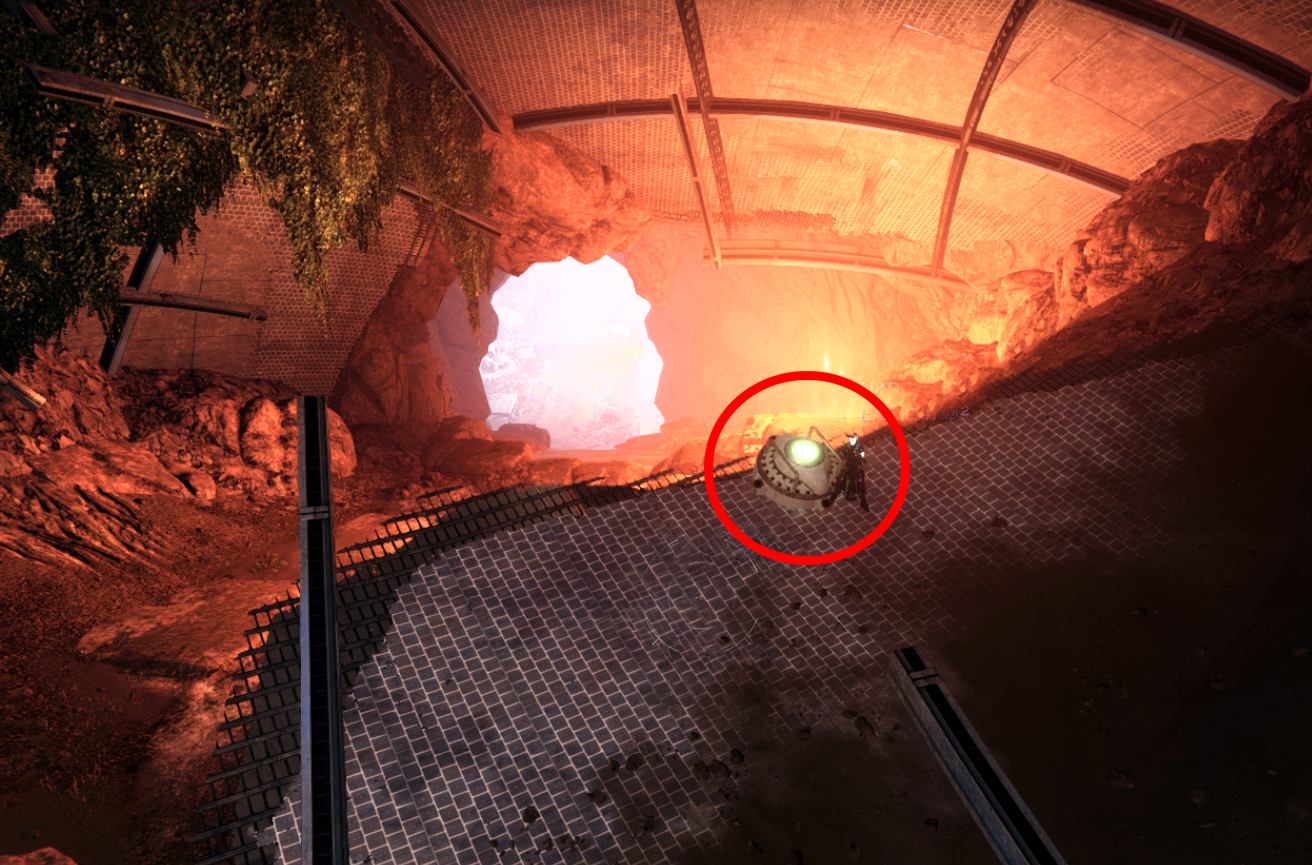
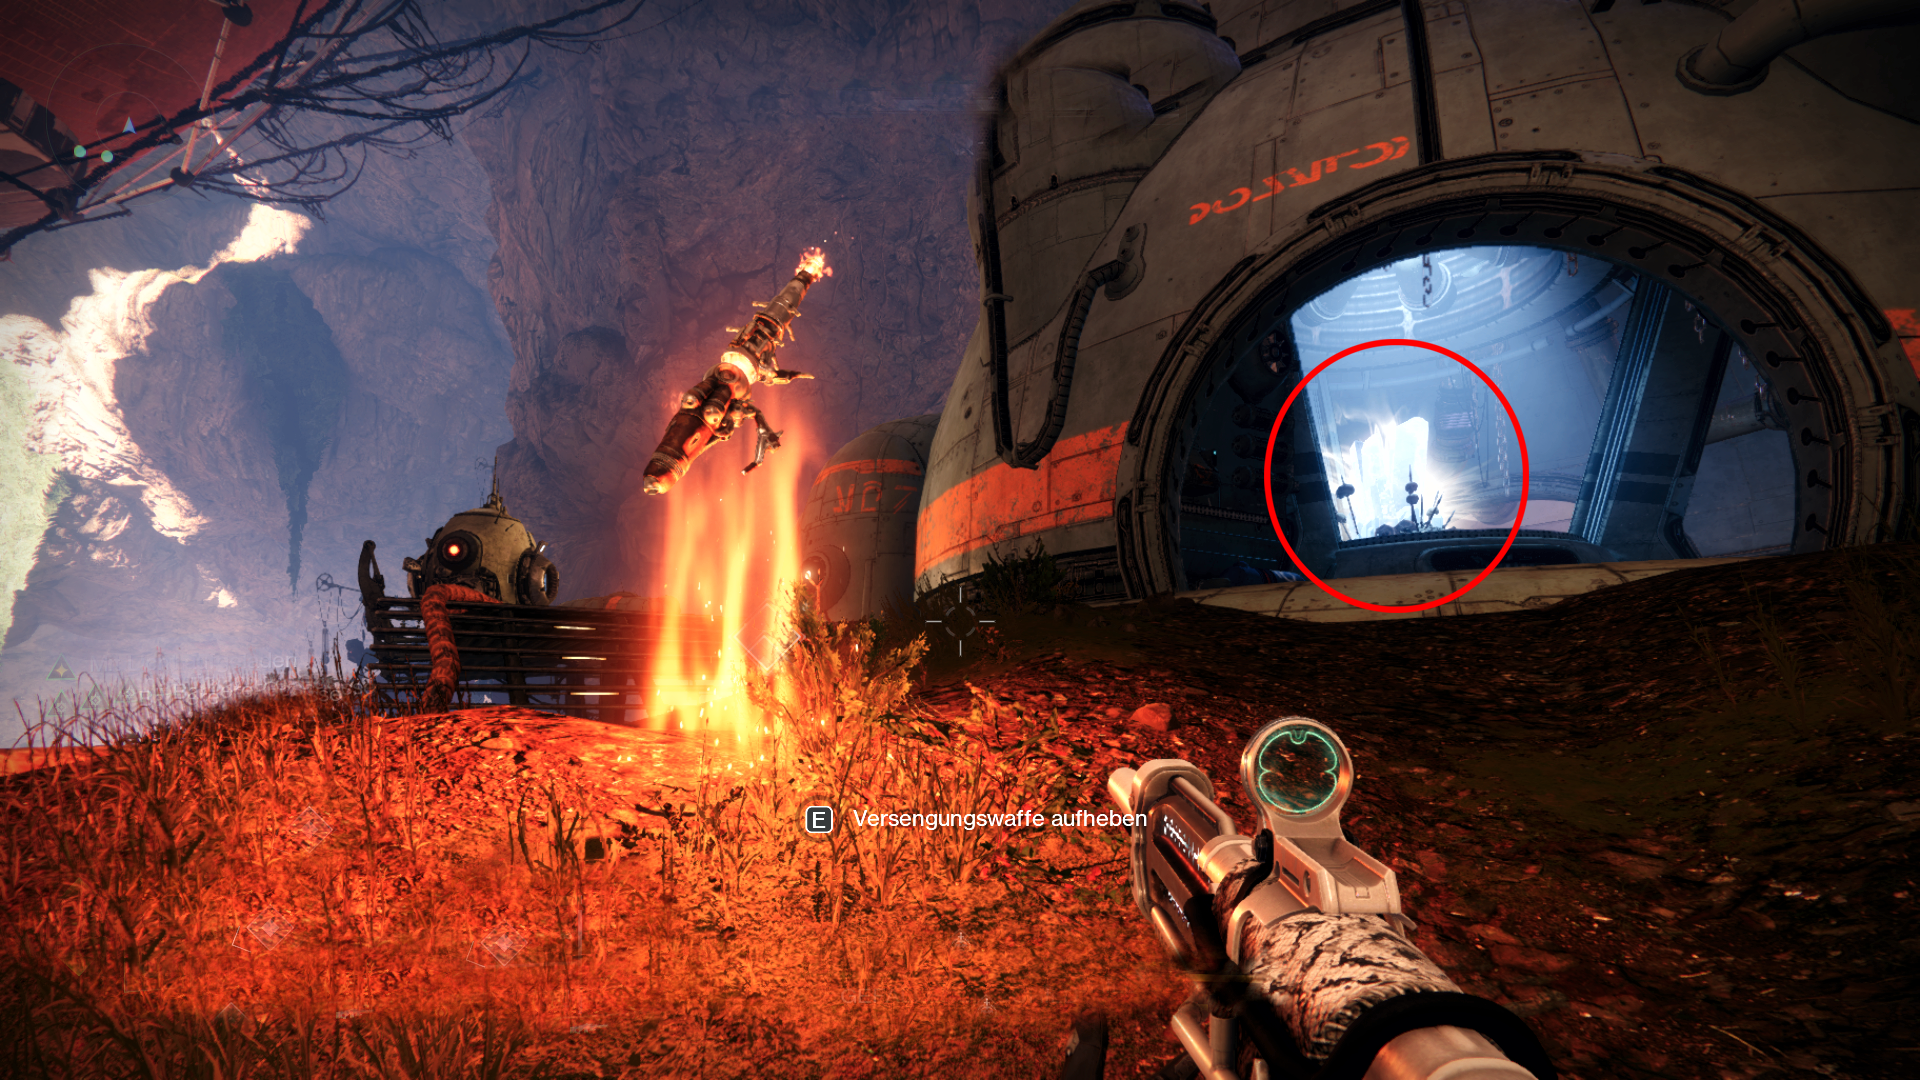
You spawn in the Cosmodrome, where the first enemies are already waiting. The entrance to the dungeon hides in the old loot cave and is almost invisible. Only a crystal at the back of the cave is visible. However, you cannot enter the cave unscathed immediately as many enemies like Witches, Bombers, and Acolytes will storm out of the cave. Just like with the original loot cave in Destiny 1.
When you kill them, nasty fake-Engrams fall to the ground. The sound resembles that of an Exo drop, which immediately perks up every player’s ears. Greedily, one collects all Engrams from the ground, but no loot drops.
Instead, you receive a debuff with the telling name “Burdened with Wealth”. A truly heavy burden that you won’t get rid of anytime soon. When the timer runs out, your Guardian explodes. Really mean.
The only way to extend the debuff: more Engrams! You must be as greedy as possible and collect every Engram you can get. No wonder that a few Destiny 1 veterans had to grin already at the entrance.
Open the entrance in the loot cave
To open the secret entrance, you must get rid of the debuff “Burdened with Wealth”. So collect as many Engrams as possible first and then fight your way into the loot cave. In the back of the cave, there is a crystal that can clear the debuff.
This mechanic will accompany you throughout the dungeon. From now on, you are slaves to greed and must constantly fight to rid yourself of this urge. Almost one can hear the developers chuckling off-screen.
After you’ve done this a few times, an entrance to the loot cave is revealed. Now you can enter the dungeon.
Lore Bottles from Wilhelm-7: In the first corridor, you will find a message in a bottle from Wilhelm-7. He was once searching for endless treasures just like you. You can collect the bottles and learn more about his story. There are a total of 12 lore entries to be found. As a reward, you get “HRÆSVELGR” an ornament for the Gjallarhorn.
All story in the dungeon “The Deep of Greed”: If you want to know exactly where all the lore entries are located, you can watch the video from lore expert AndyEdition.
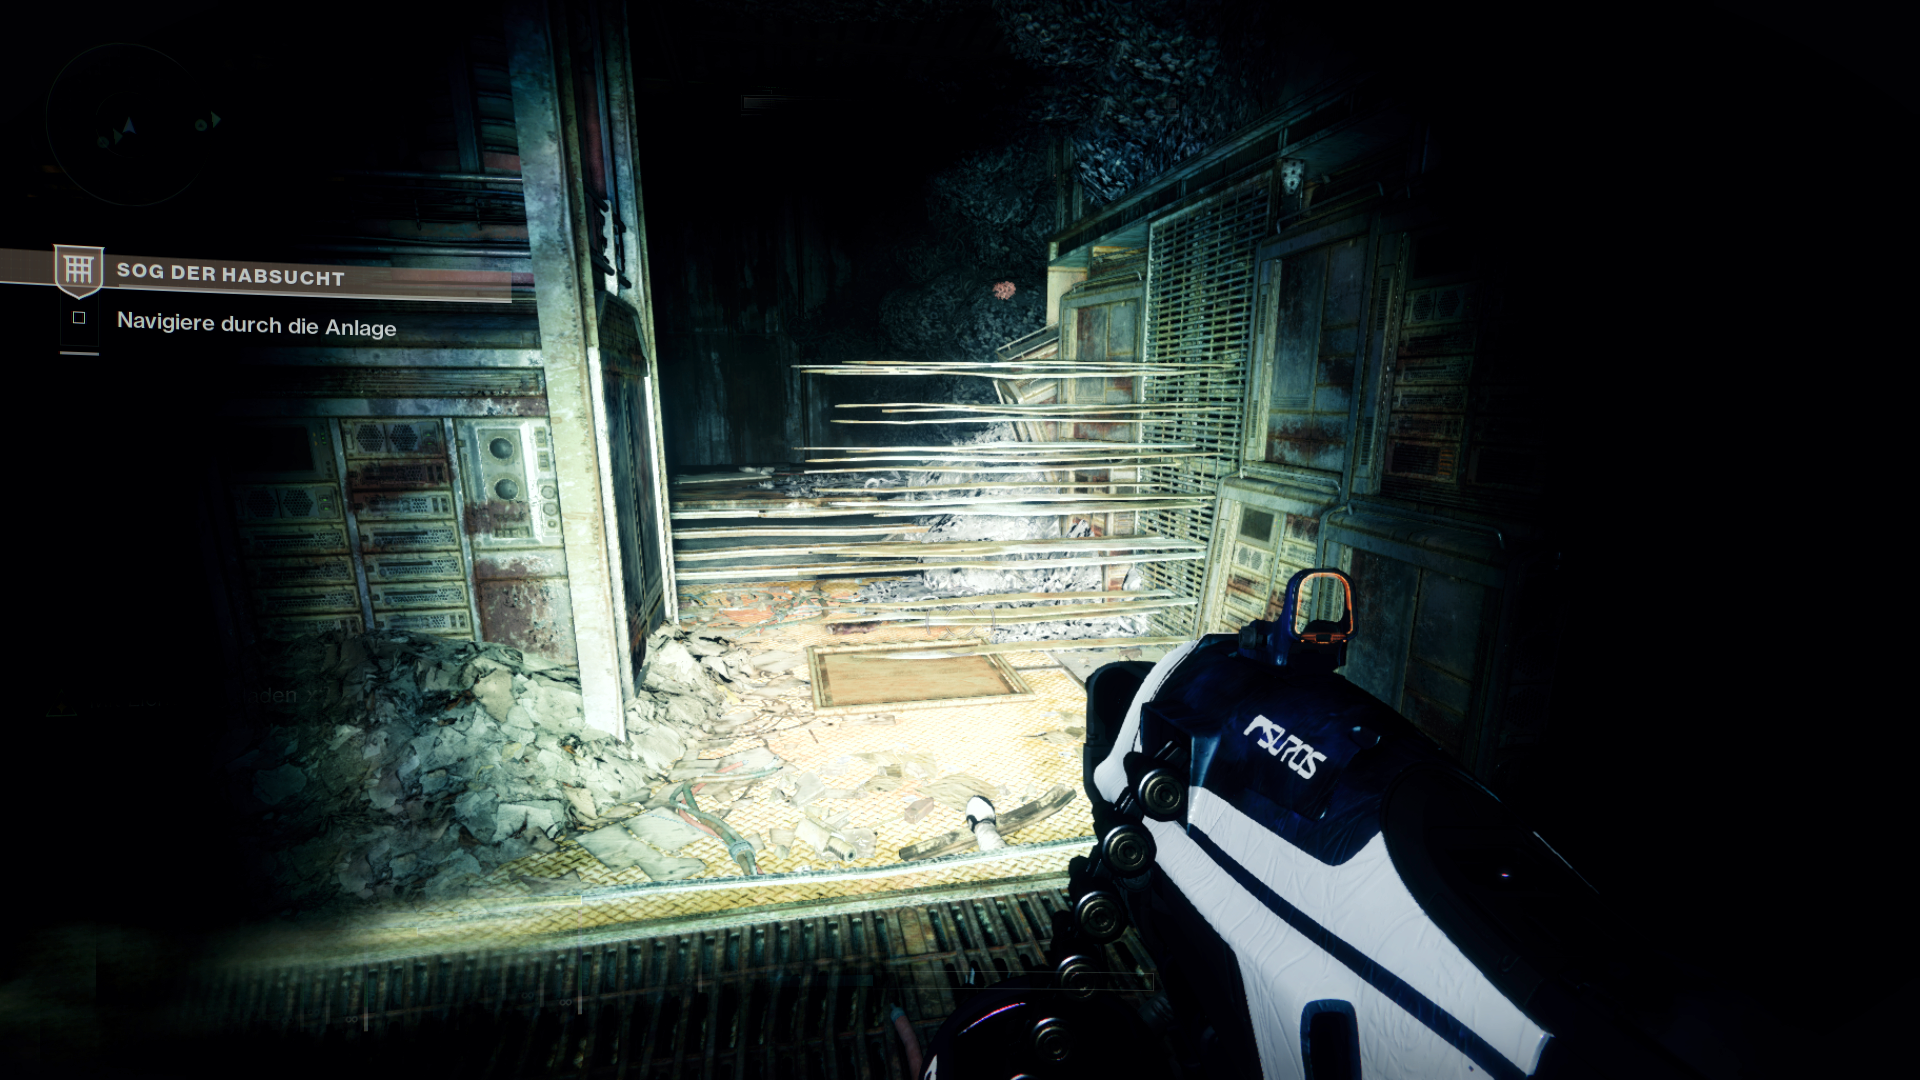
Your way through the dungeon is filled with nasty traps
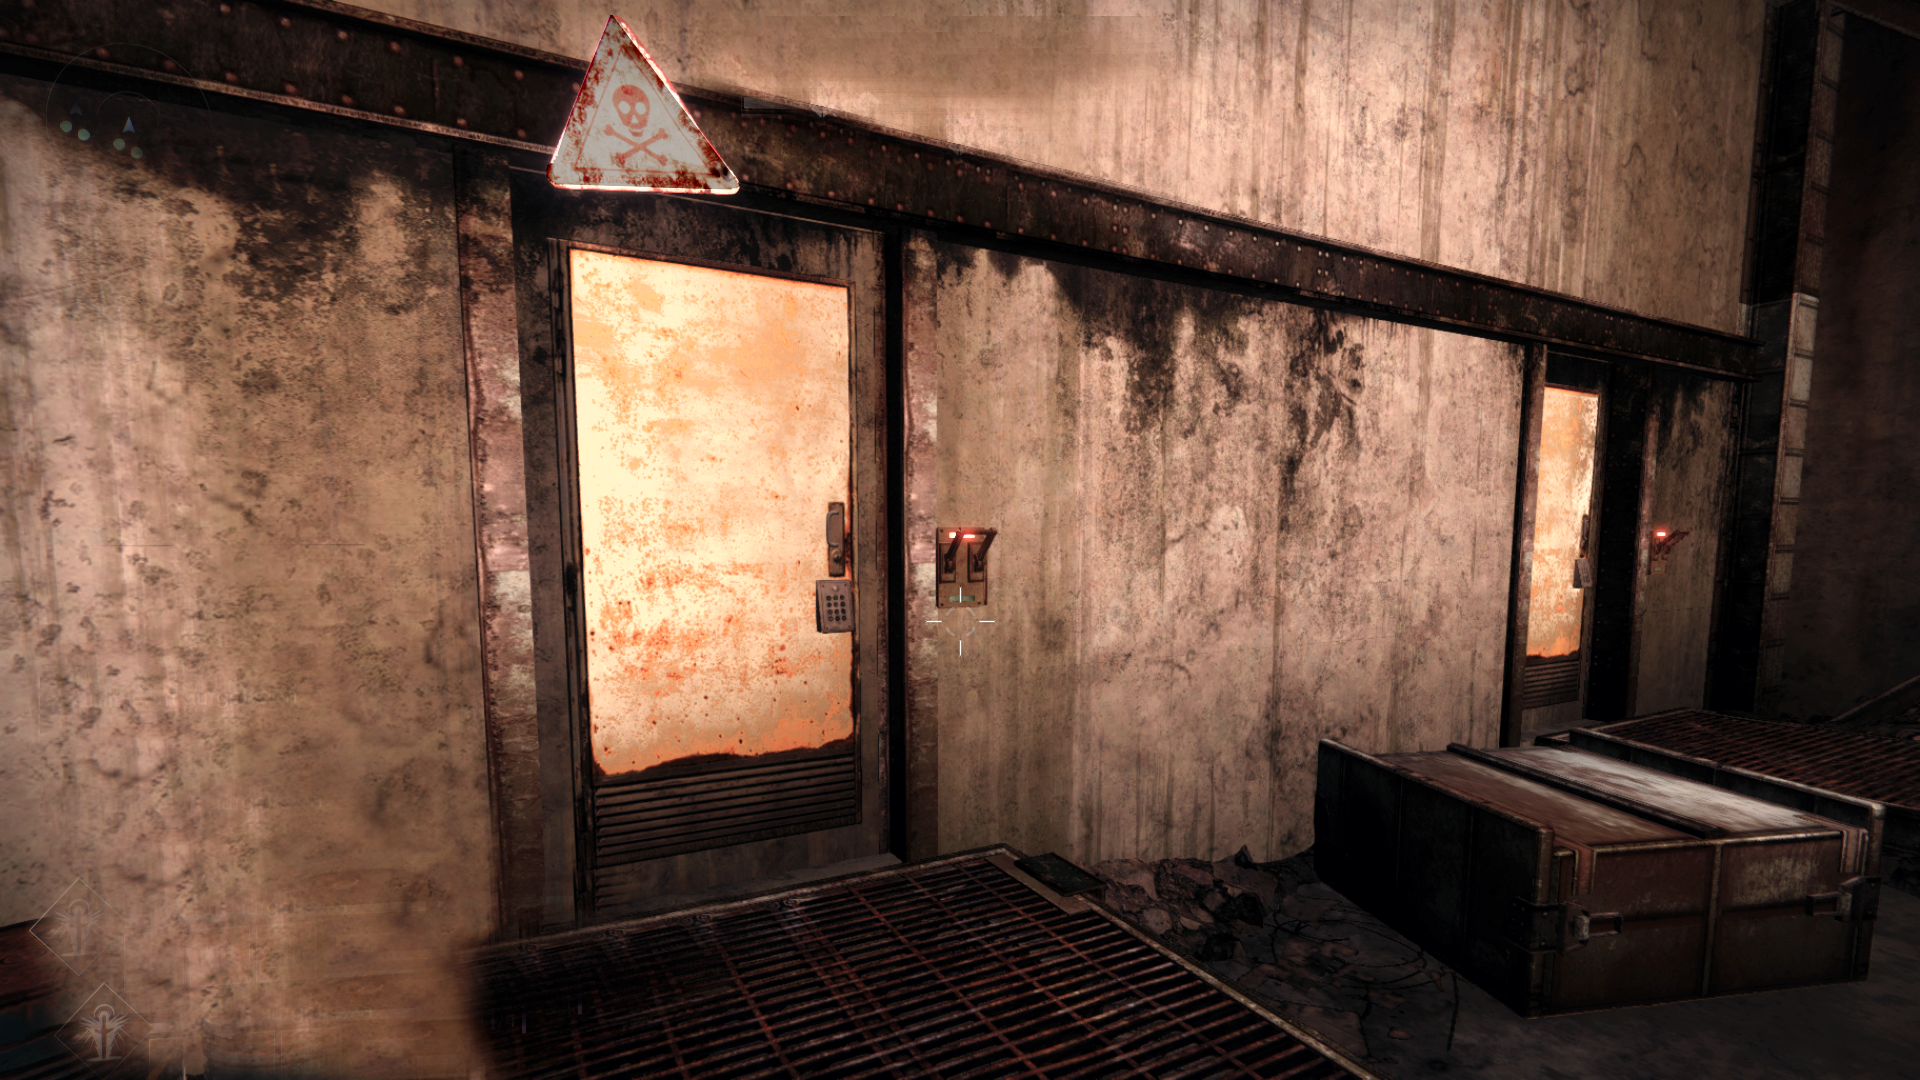
You are now under the Cosmodrome. Following the corridor, you will see several doors and must make a choice. Choose wisely!
Every Guardian in Destiny 2 can’t resist when a door says “Activate”. Click and – nothing happens. You feel safe, but the next step shows that this is not the case. A click and “Wham!” later, you get impaled by sharp spikes. Really mean when you miss such a tripwire on the floor.
You must find the right path: In front of you is a large round door and above you also hide six round doors, which you cannot access yet. Pay attention to the signs, as they partly reveal where one of the nasty traps is hidden.
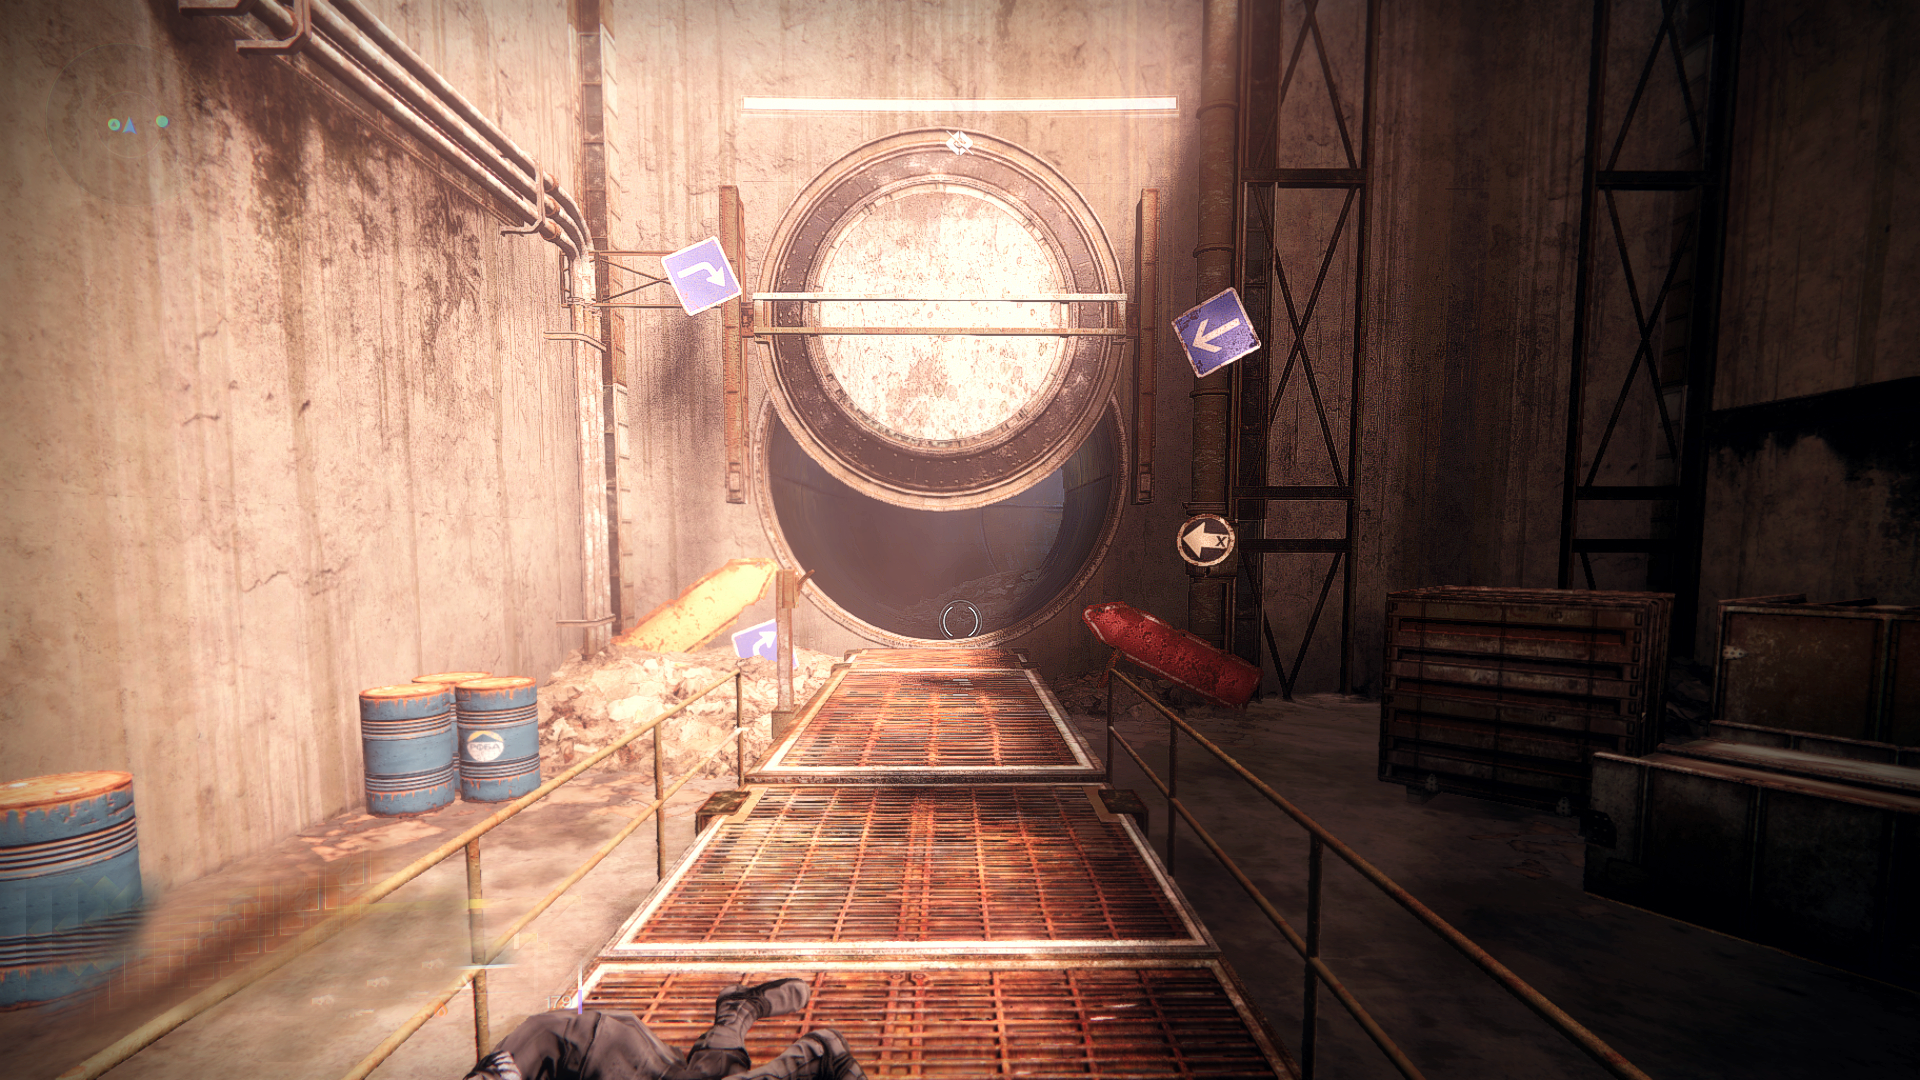

Behind the right door, you can activate a lever that initially opens the large round door in front of you. Behind it is a long corridor with a platform in the middle. Anyone who jumps right in will find out how trap doors feel. Those who succeed jump to the other side, where there is again a lever that can be activated. But instead of a mechanism, triggering it causes a dropping gate that squishes you. Ouch. Wrong lever.
The right lever is located under the trap door. Activating this lever opens the six round doors in the entrance area. So go back and jump up.
Five of the round doors have the familiar pressure plates and one is filled with rubble. By now, every Guardian has become more cautious and realizes: Small, square plates on the floor are evil.
Those who are not careful will get shot out like a cannonball, only to get stuck with their head in the wall, bobbing up and down like in a comic.
Overall, there are several interesting ways to die in the dungeon “The Deep of Greed”. You can get crushed, impaled, sliced, blasted away, rolled over, or blown up.
To avoid further ways to die, take the far right plate in the nearby tube. It opens a path upwards and allows you to reach the next area. However, “Watch where you step!” applies here as well.
Having mastered that, you now enter a green area with two large and four small square doors. Here, you can initially activate a lever in the entrance area. Don’t worry; it won’t explode, but only opens one of the square doors for you.
Which one exactly will be displayed blinking on the control panel above the lever.

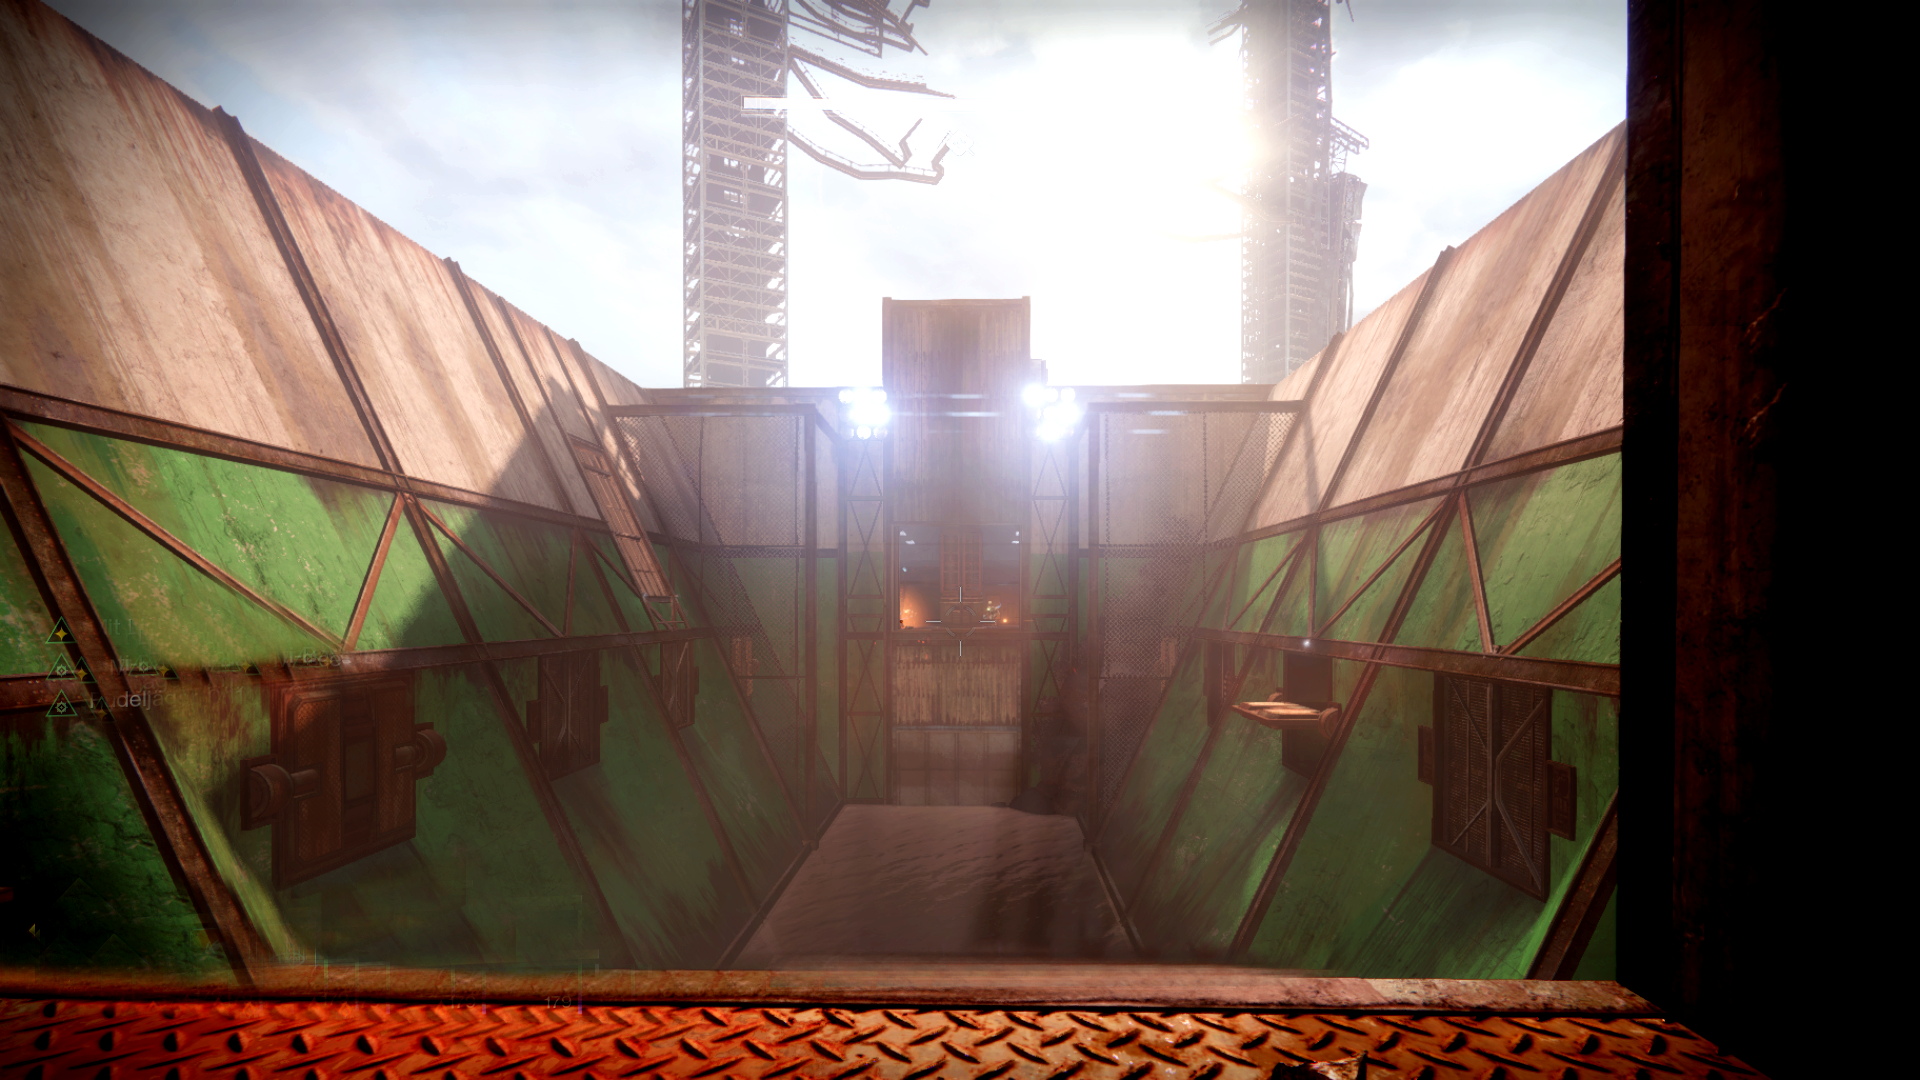
Jump in, kill all enemies, and find the next control panel, which is usually located in the back of the room. You now need to repeat this step multiple times to open further rectangular doors.
The last lever is a bit harder to find. For it, you must jump to the upper floor first. Through the window there, you can see that a howler has spawned. In the entrance area, one of the large square doors has also opened. Jump back again and kill all enemies there to reach the last lever. This will open you the second large door on the opposite side, where more enemies are waiting. Defeat them and go through the right door into the next area.
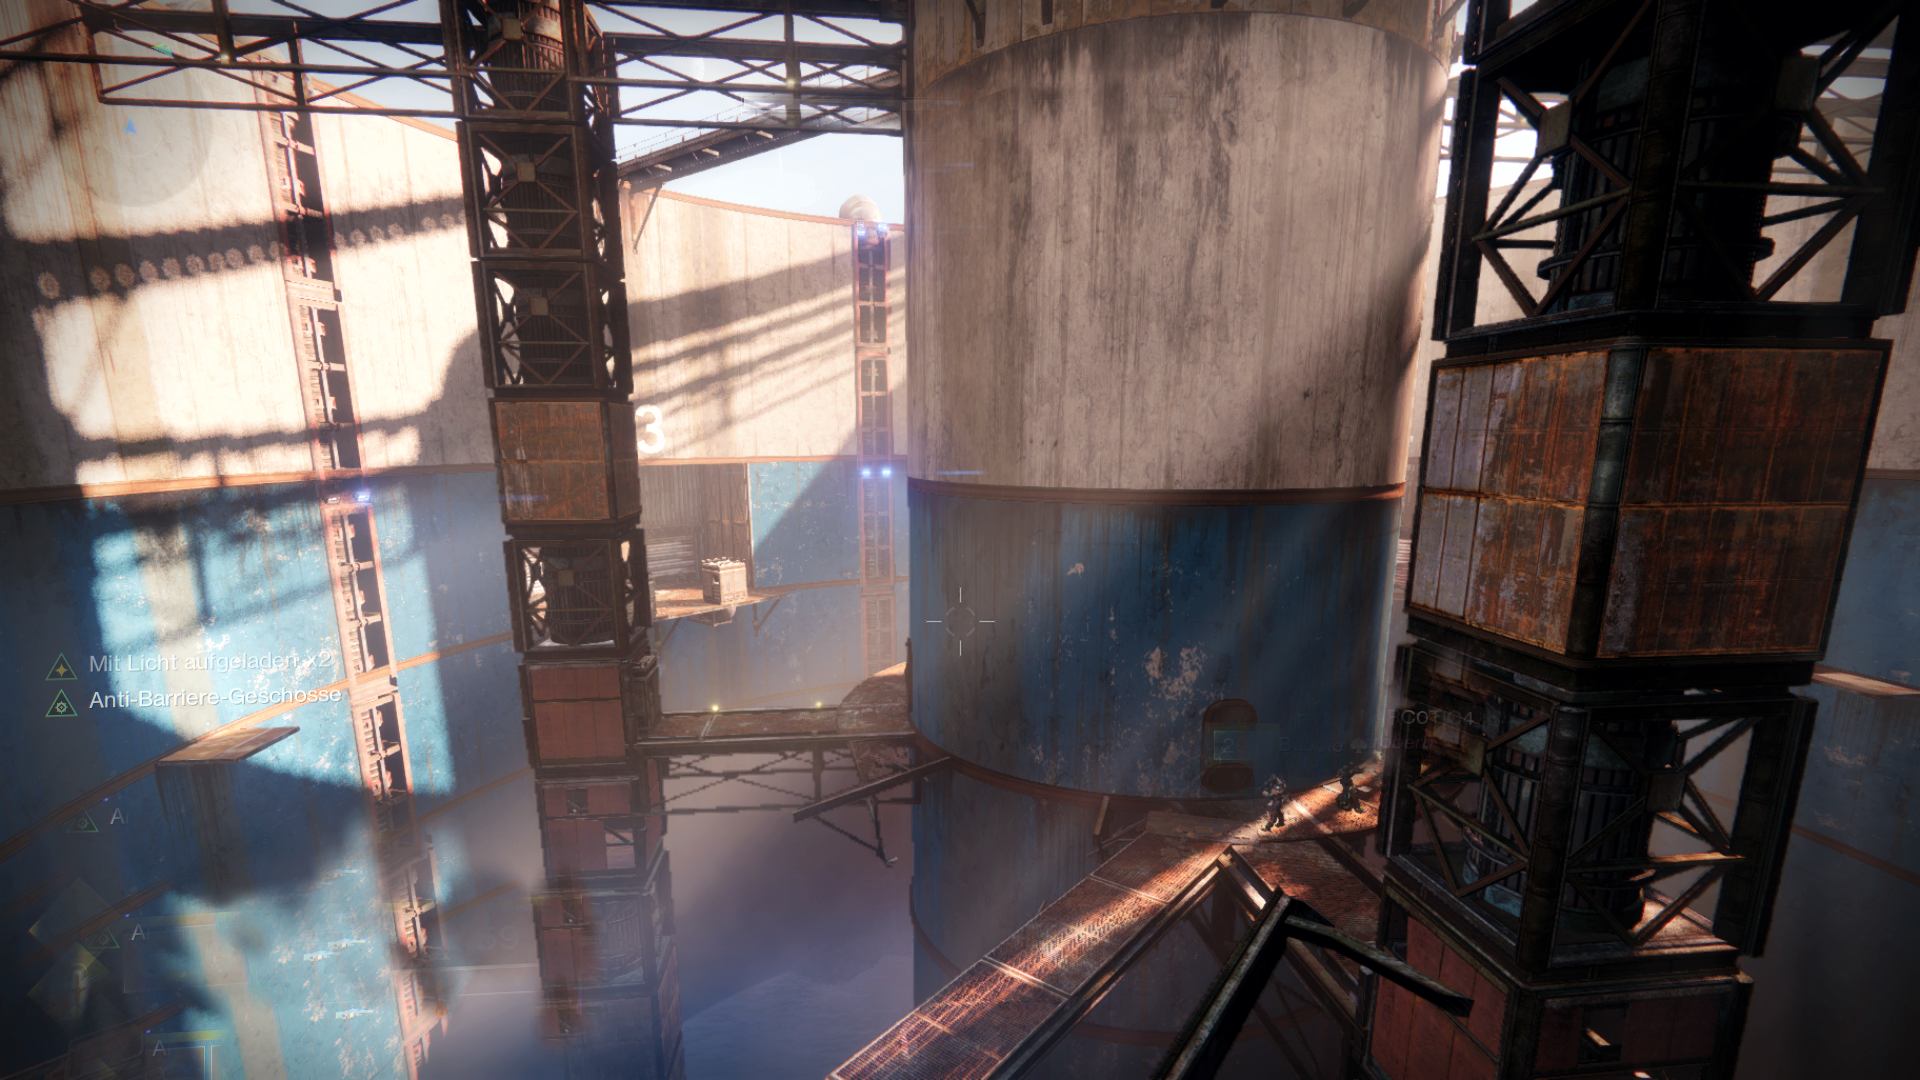
In the silo room hides the first secret loot chest
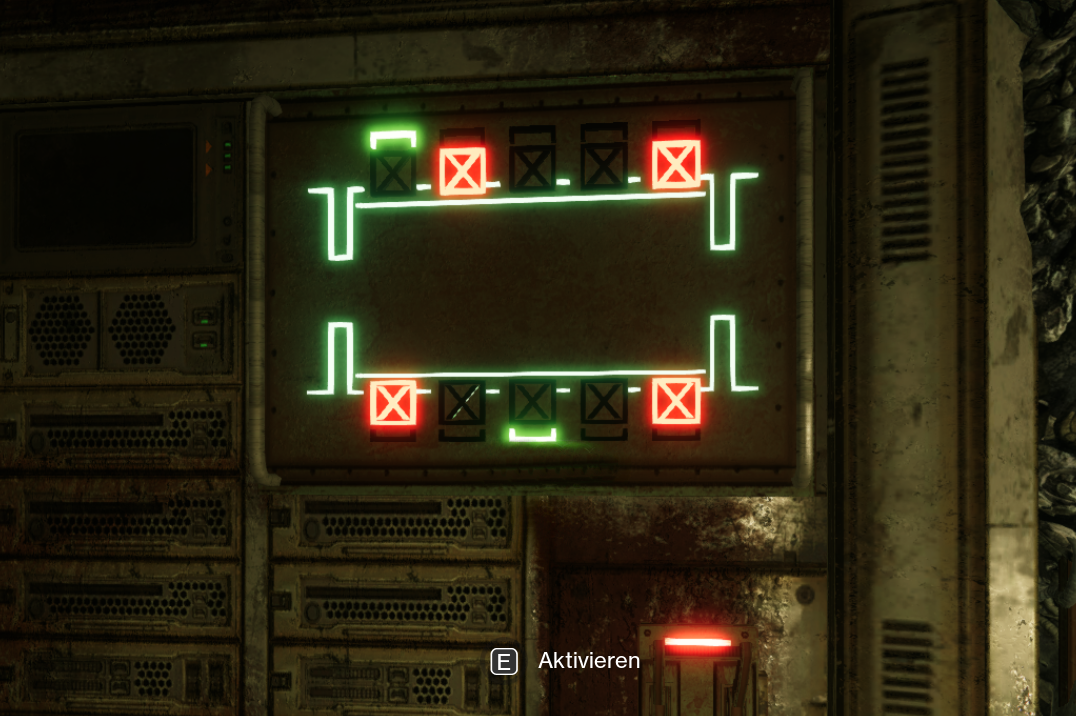
Arriving in the large silo, you see 4 doors closed by roll gates. All are numbered 01, 02, 03, and 04. There are a few enemies, like Witches, that you also must kill.
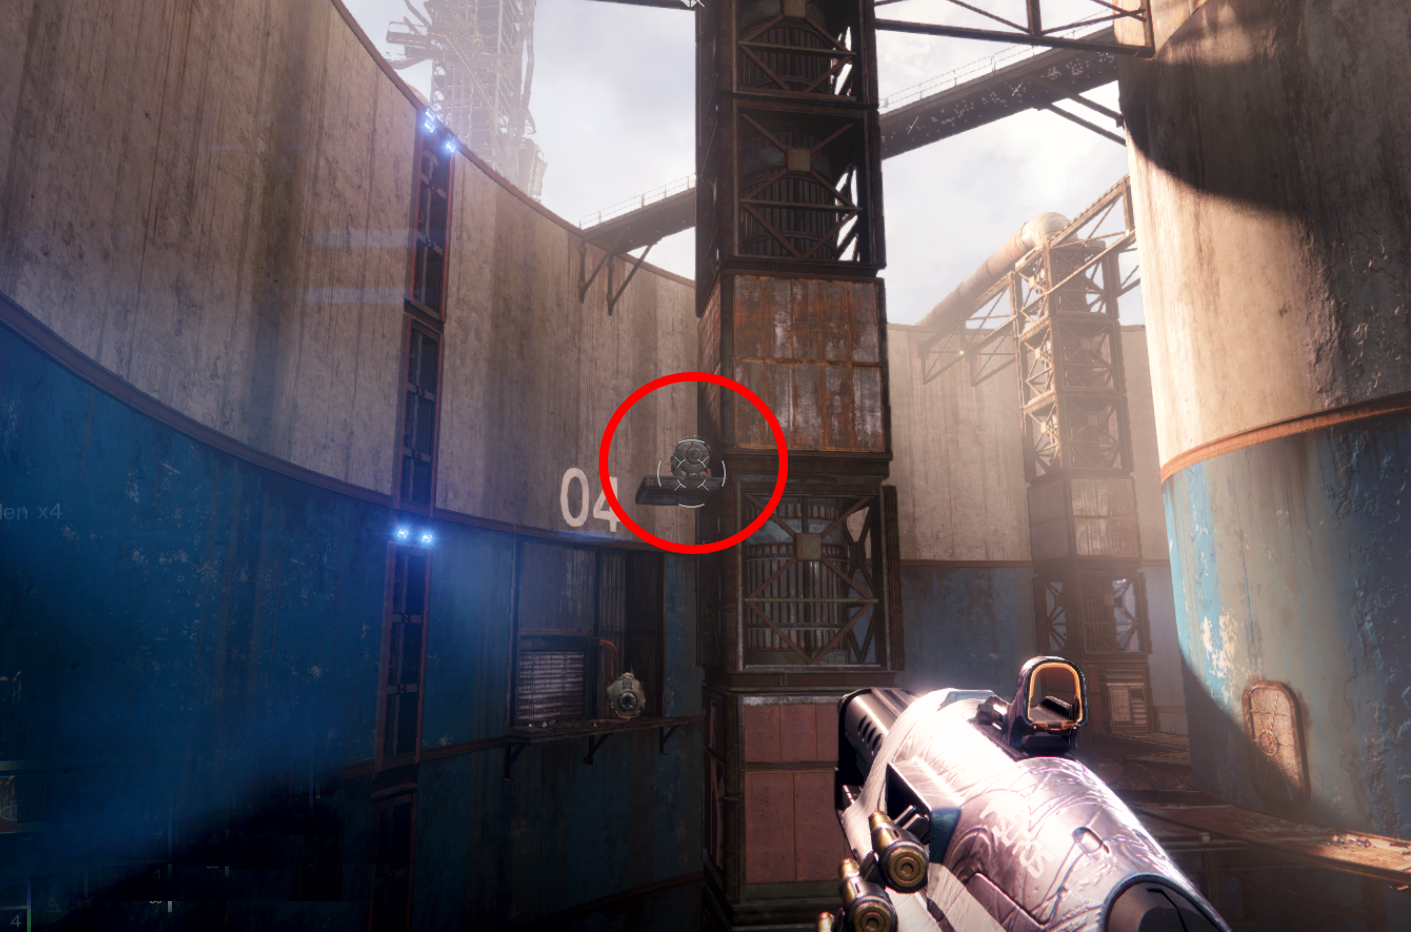
At number 01, you will find the first switch. Activating it opens the roll gates at number 03. Following this principle, you can now open all roll gates one after the other.
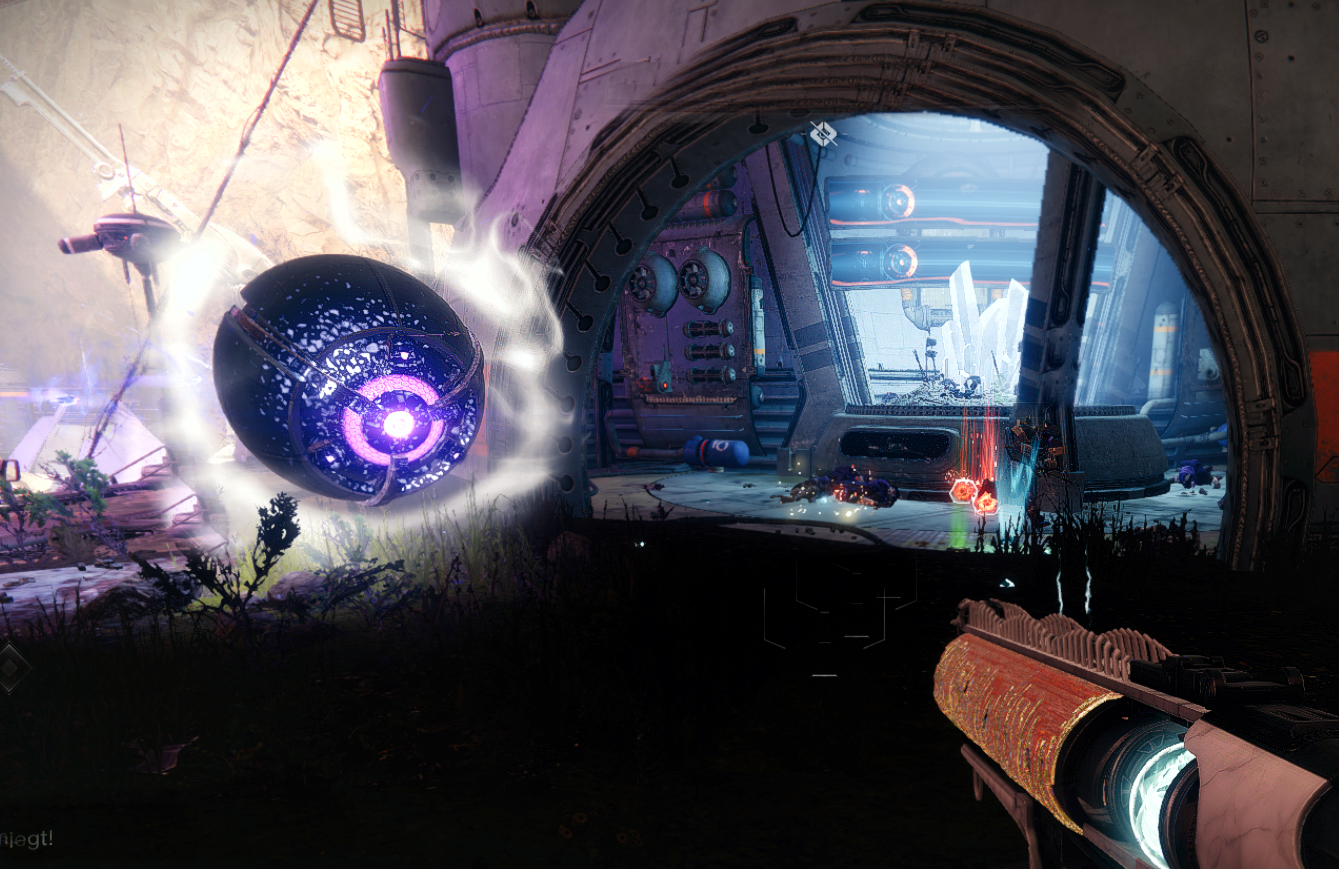
However, gate number 04 can only be opened with a special mechanism. When the other gates are open, a “Looting Vandale” appears. It drops a Scorching weapon that you need now.
At gate 04, there is a Fallen device that you must shoot with it. It will then power the gate and free the way to the first encounter. This is also the second mechanism that this dungeon has for you.
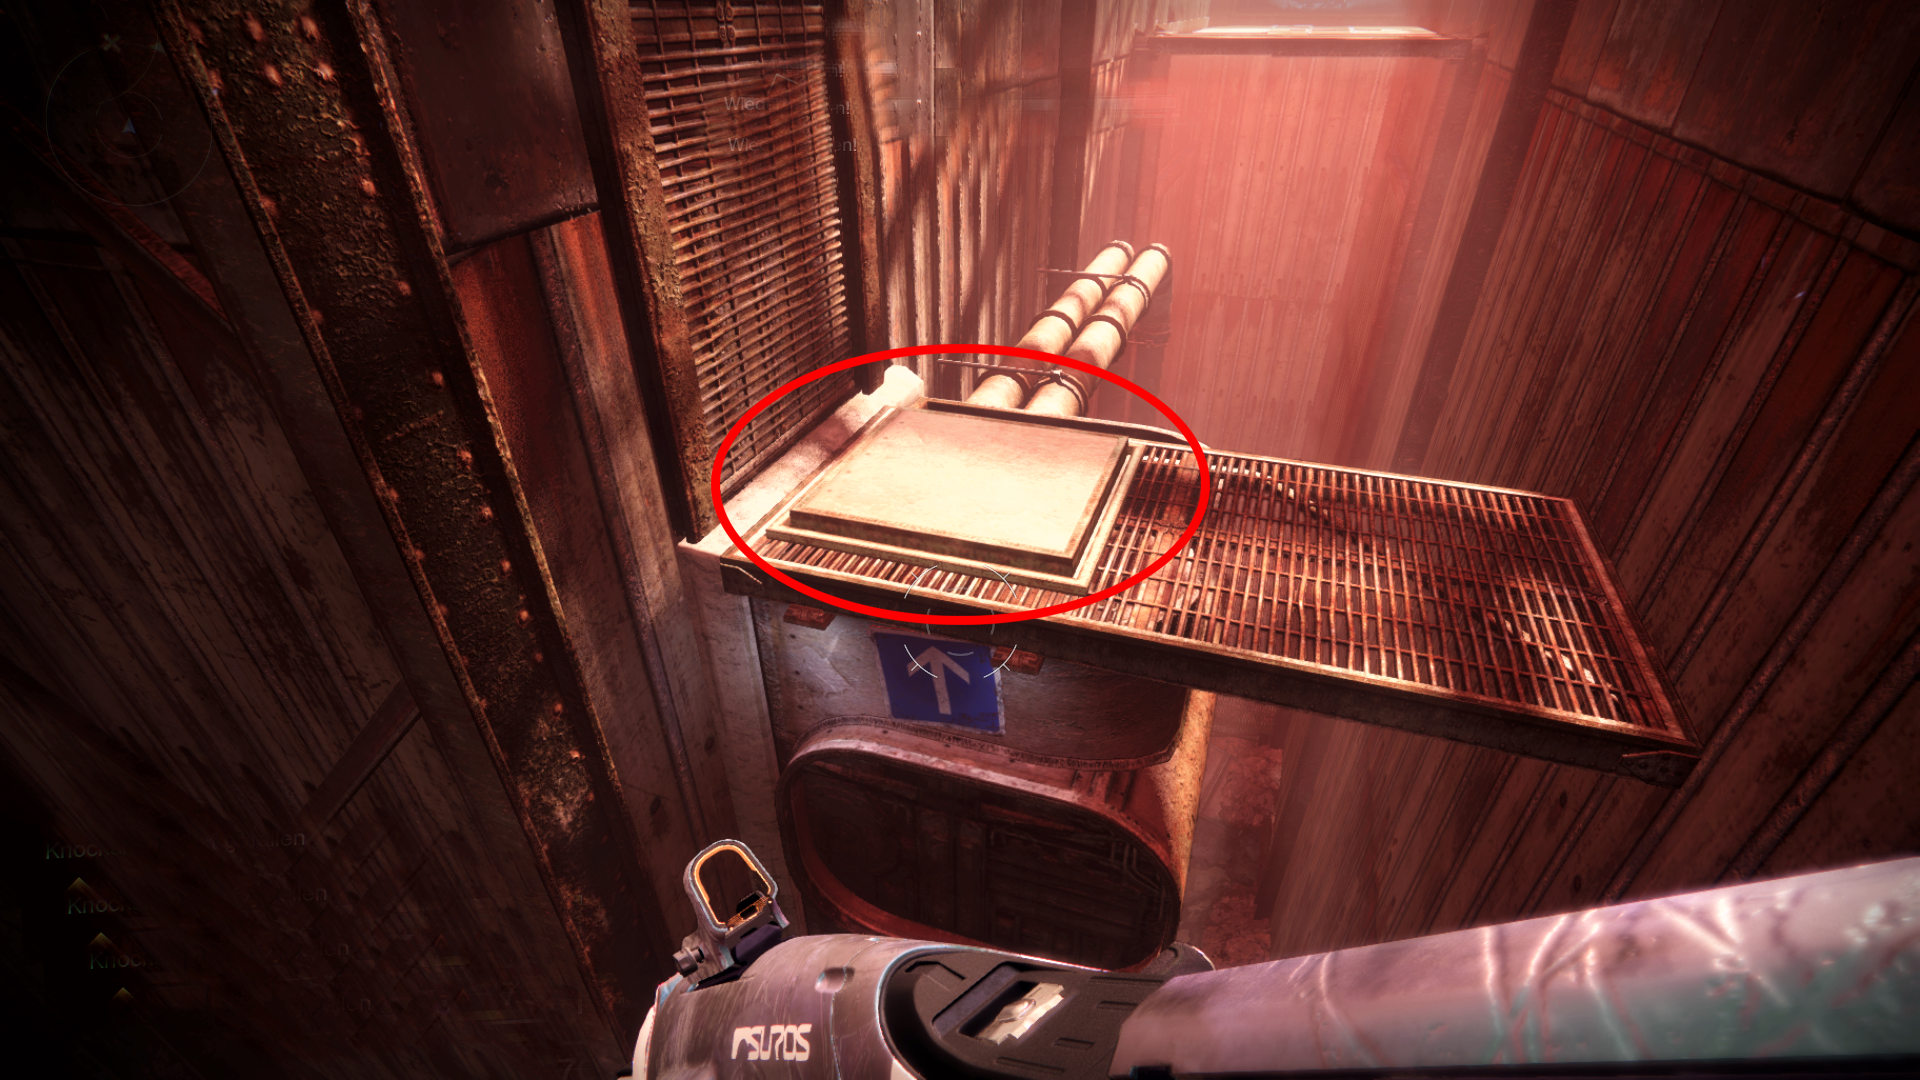
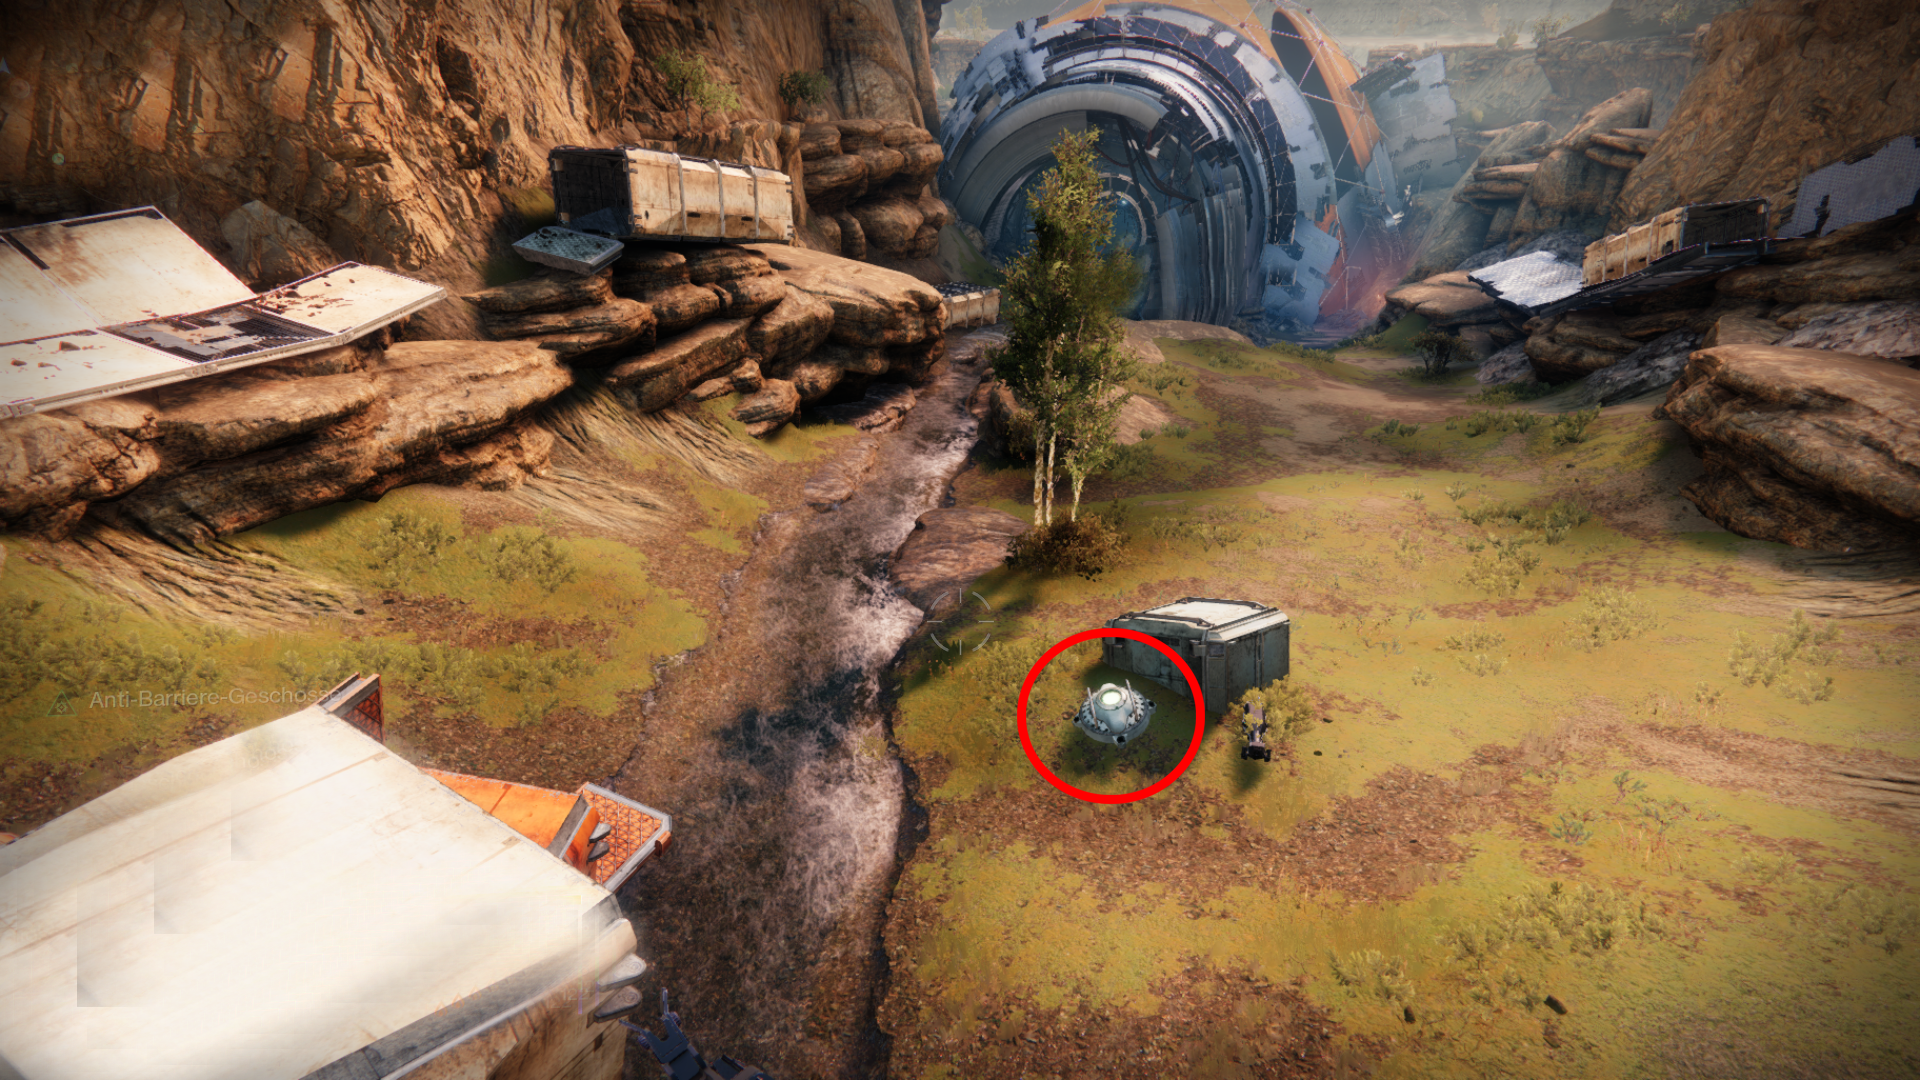
Don’t forget the secret loot chest: In the silo room, the first secret chest is also hidden. Before you go to the first encounter, turn around and collect this one too. It is located quite high up between gate 03 and gate 04. You can see exactly where it’s located in the picture.
If you proceed, an Indiana Jones surprise awaits you. Either you put on a mocking grin and send your teammates ahead at this point, or you use the side niches by the stairs.
The further path leads over a stack of boxes and a short jumping passage to the first end boss.
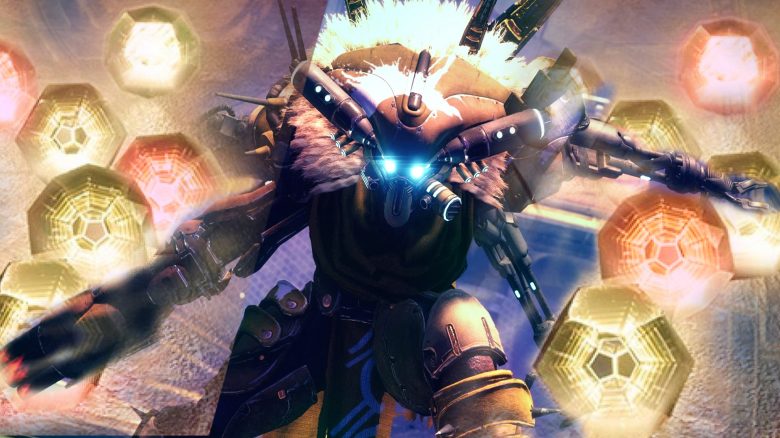
First Encounter: “Phry’zhia, the Insatiable”
This is how you defeat the giant ogre: The boss is initially immune, so you cannot deal damage. You need the mechanics of both the dungeon for the first encounter. The fake-Engrams and the Scorching weapon.

The boss arena is divided into four areas. Left (1) and right (2) are roll gates that can be opened with the Scorching weapon. To get this, Fallen spawn at the back of the room (3), including a “Looting Vandale” that drops the weapon when you kill it.
In the front area stands the crystal (4) you already know from the entrance in the loot cave. So grab the Scorching weapon and shoot one of the Fallen devices to the left and right of and above the roll gates. Only one side is active at a time.

When the doors are open, you can kill the enemies in the room and collect the fake-Engrams. To start the damage phase, keep bringing all Engrams back to the crystal until the Ogre’s shield breaks. Repeat this until the boss is dead.
You need a total of 25 fake-Engrams until the Ogre loses its immunity and the damage phase begins.
The “Artful Armor” is currently highly sought after by Guardians, and for good reason.

Explosive Sparrow Race Against Time
If you proceed, you will come to a large hangar with a huge door. To open the door, you need to activate one of the two switches. However, as soon as the door is open, it goes off.
Defuse mines, okay? In the strike “Guardians of Nothing”, the mechanics are similar. You must defuse mines. However, these mines are far apart. So pull your Sparrow and remember the way. There are a total of 4 mines, and each has a timer. If the timer runs out before you can take the mine, the entire fireteam dies, and you start again in the hangar.
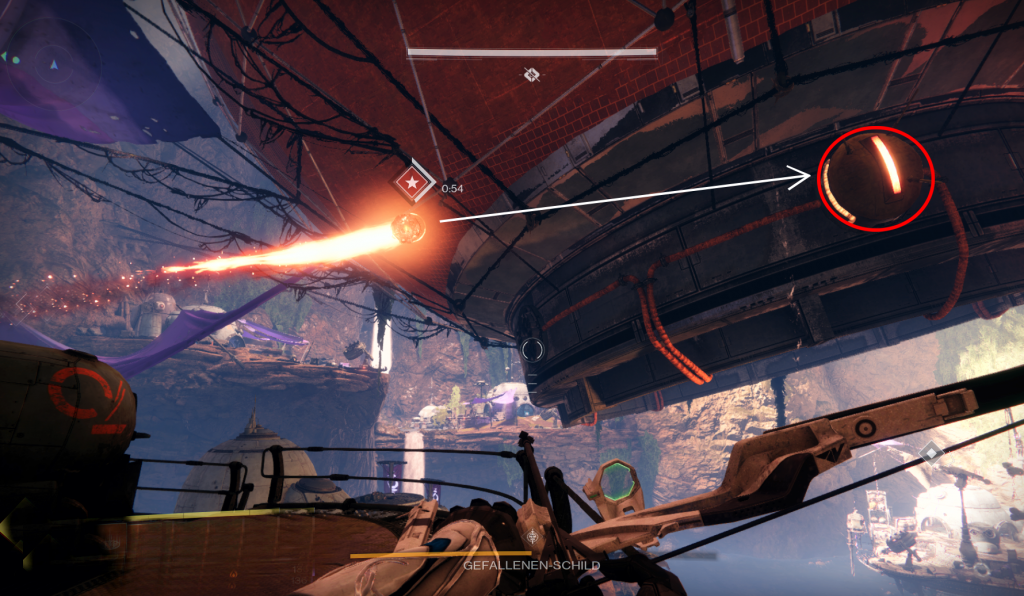
Along the way, there are many Fallen, who have only one goal: to shoot you off your Sparrow. To give you more time to reach the mines, Bungie has hidden several “switches” on the racetrack that you can activate.
We’ve marked exactly where you find these. The switches are sorted in the order you can drive to extend the time again and again.

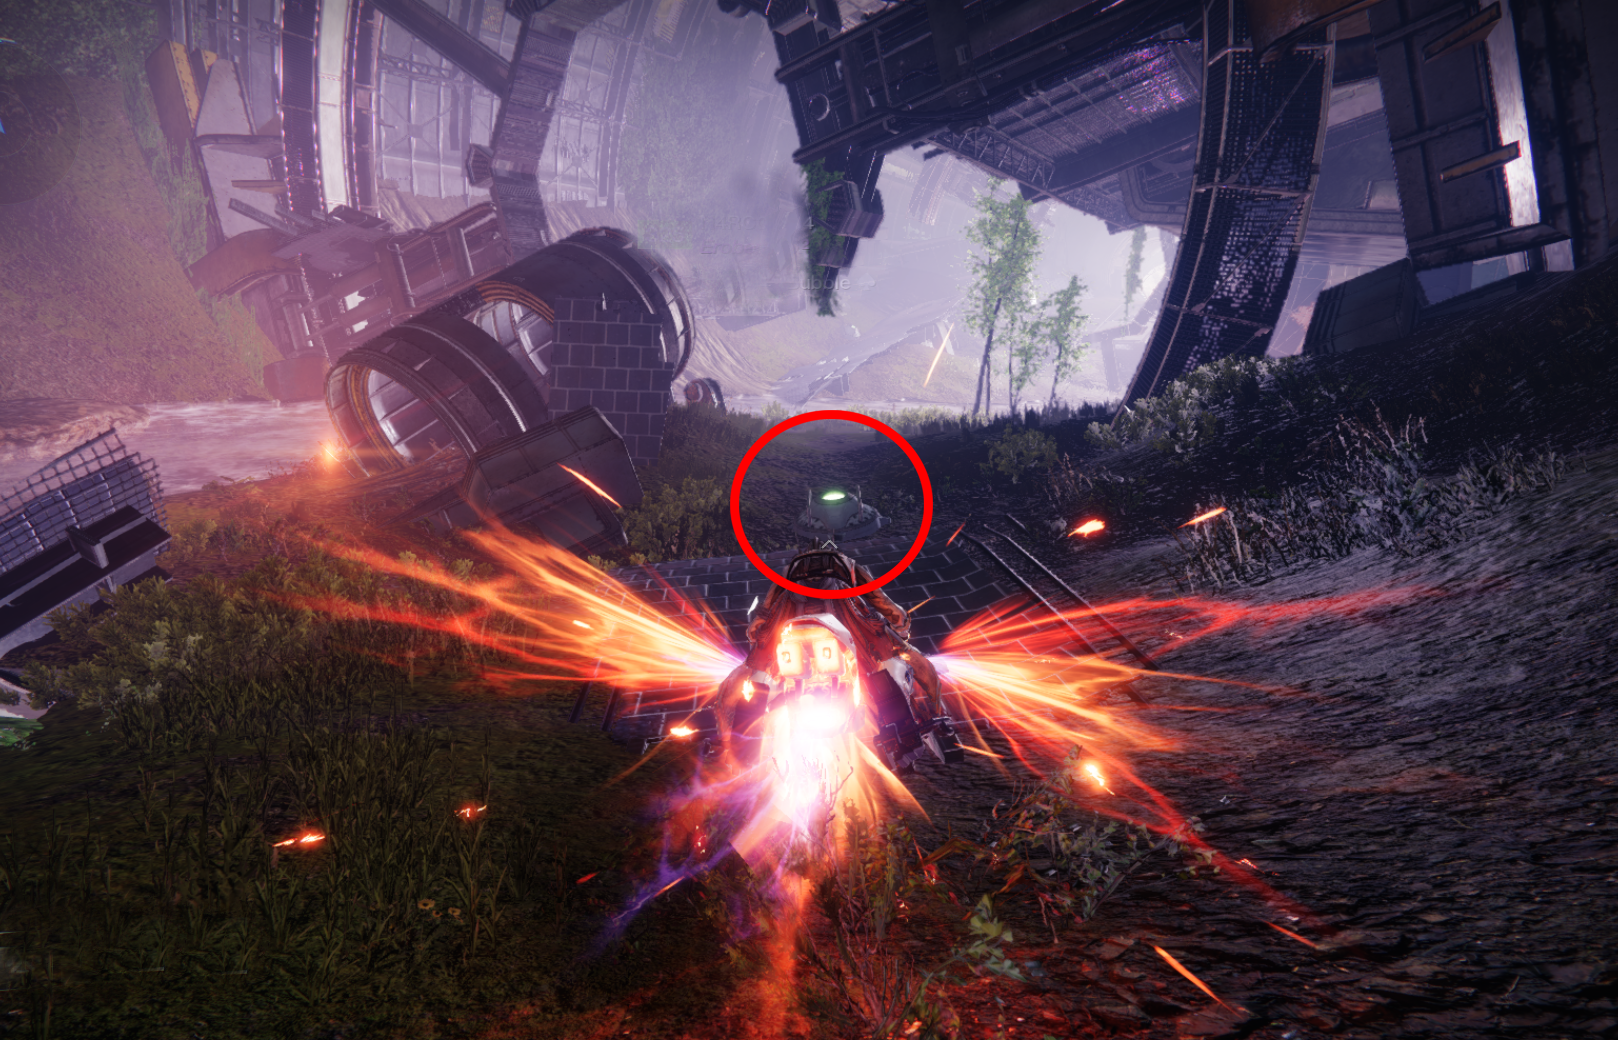


Two tips: With the Sparrow “Always on Time” from the raid, which you currently get at the Monument to Lost Lights, this passage becomes a bit easier, as the enemies won’t target you immediately due to the perk “Concealed Riding”. Or, if you are good at sword surfing, you can also use this method to quickly take the mines.
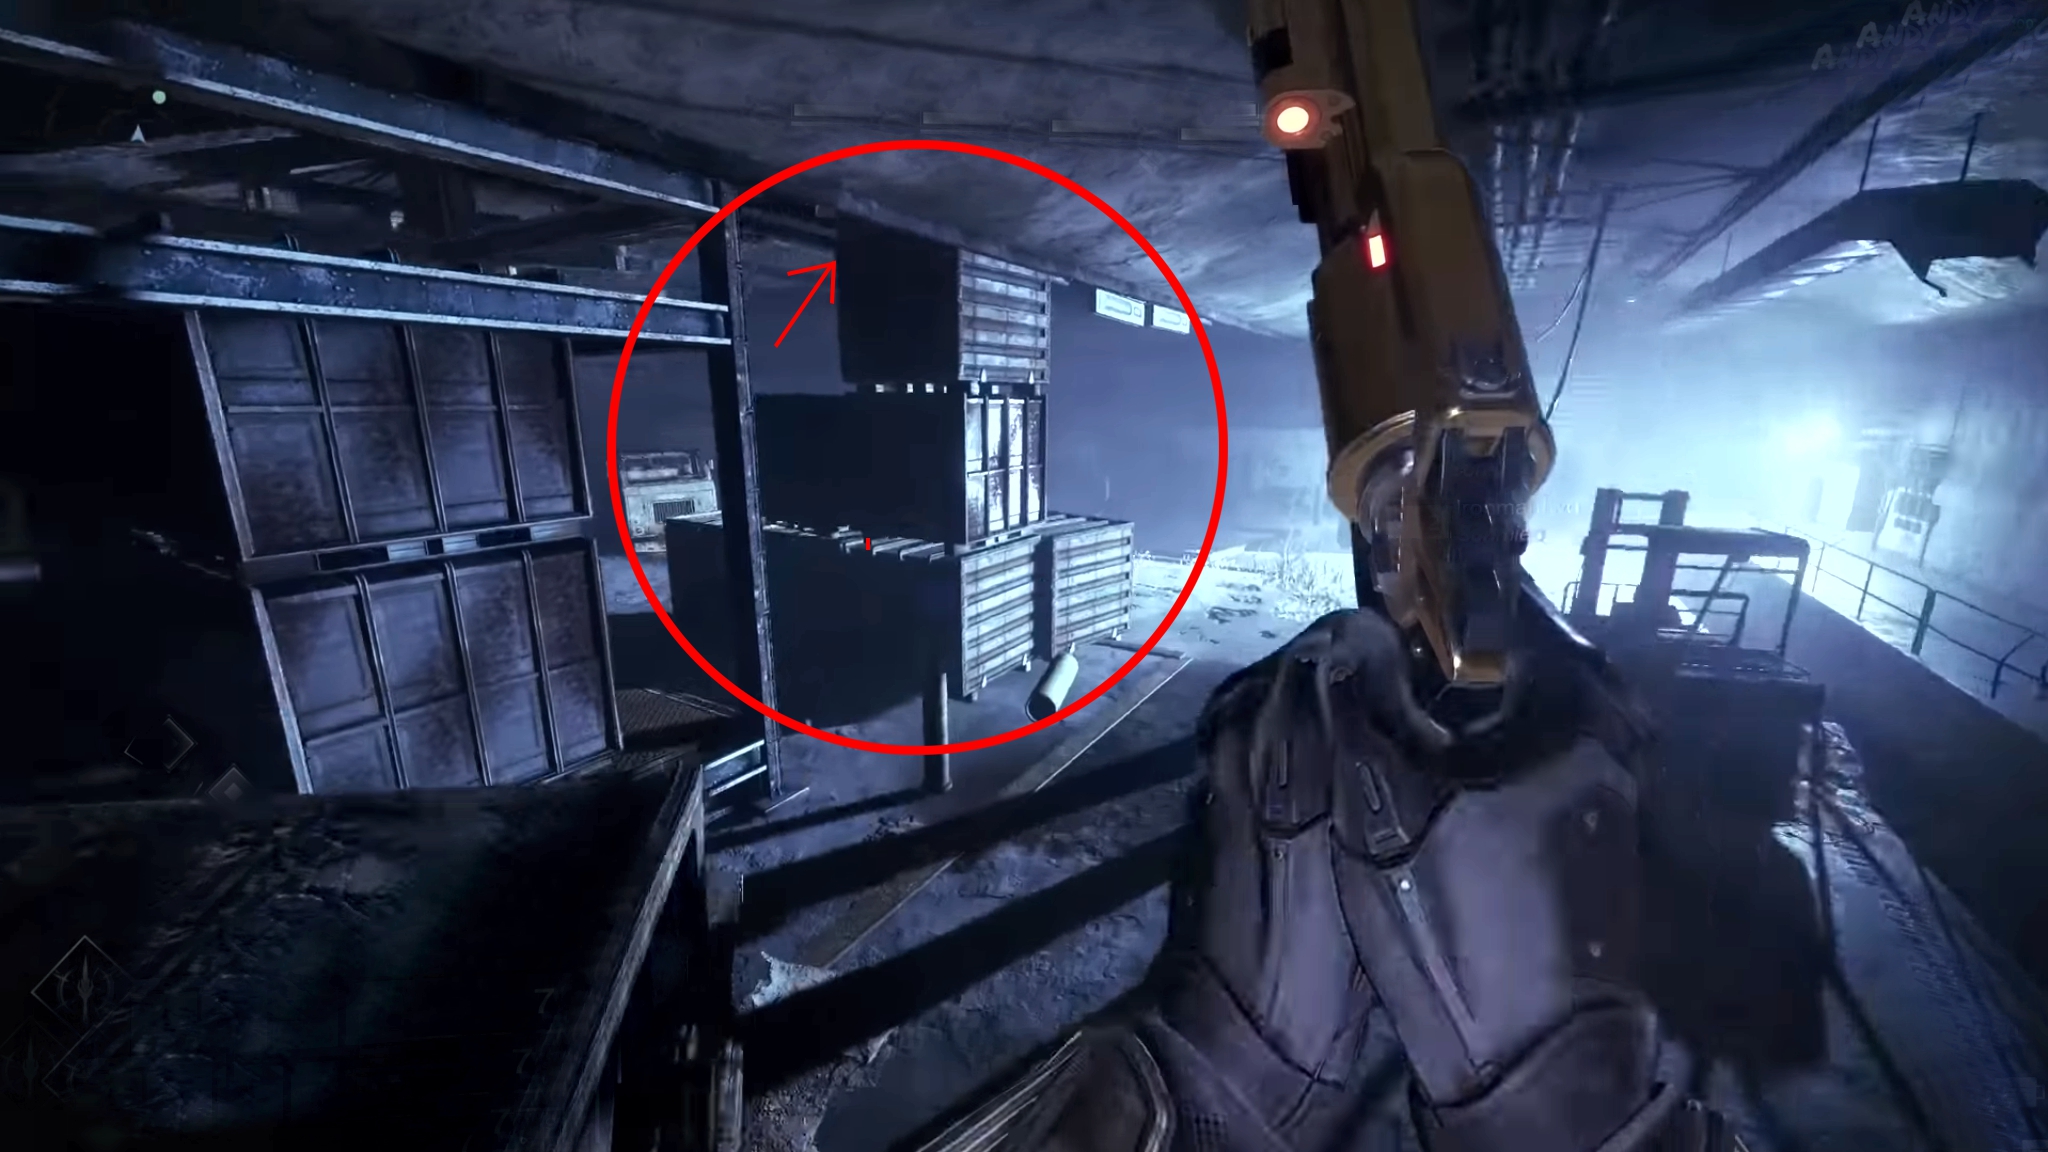
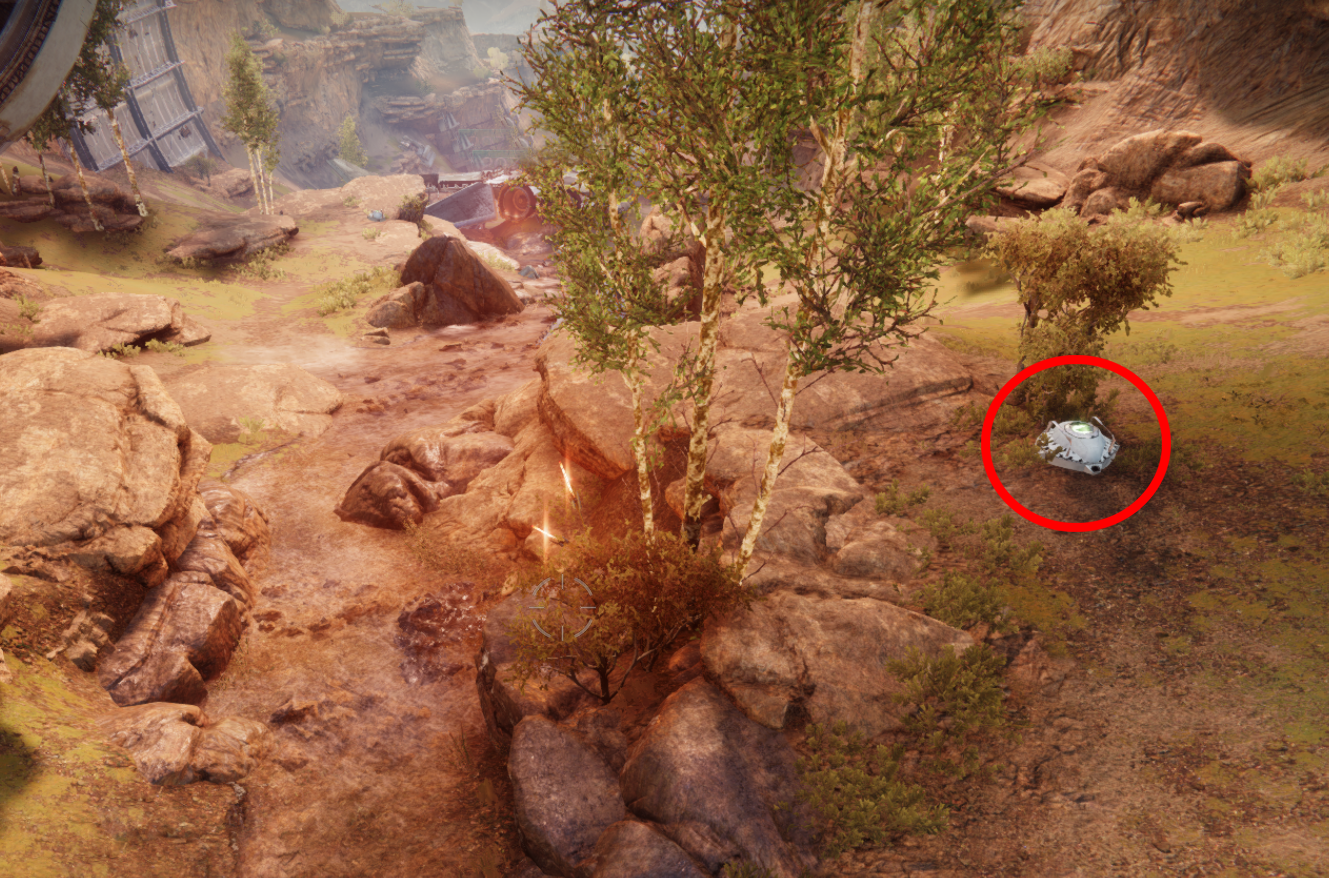
Don’t forget to open the secret loot chest: At the end of the racetrack, you reach a large stone skull. If you have made it through the last passage with your Sparrow and are in the skull, jump up again. In its left eye socket hides the second secret loot chest.
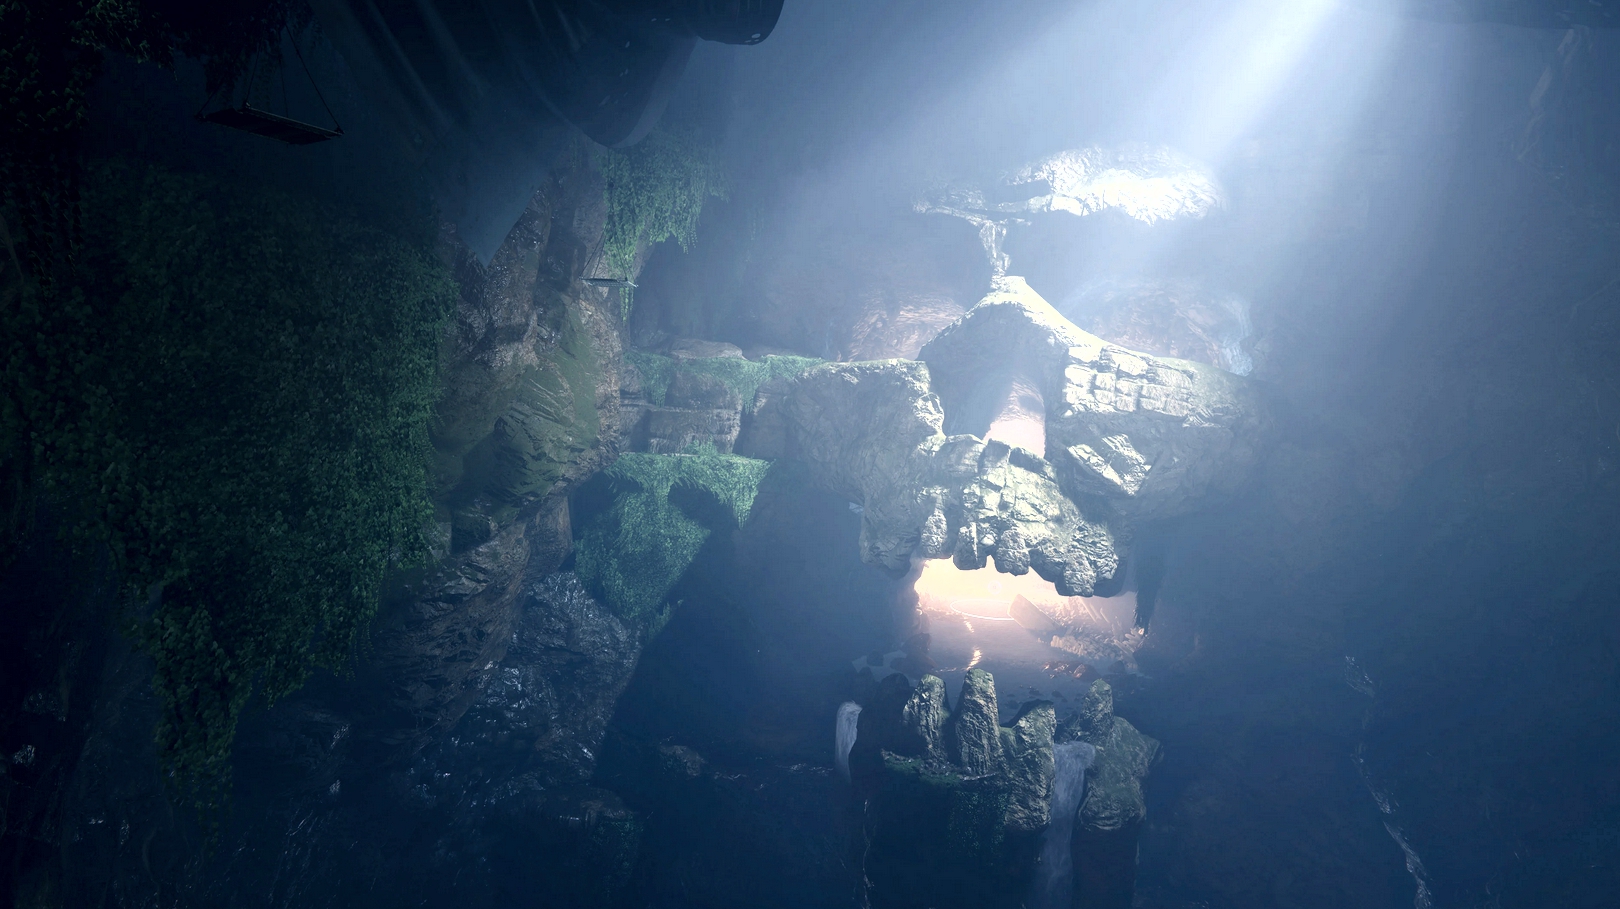
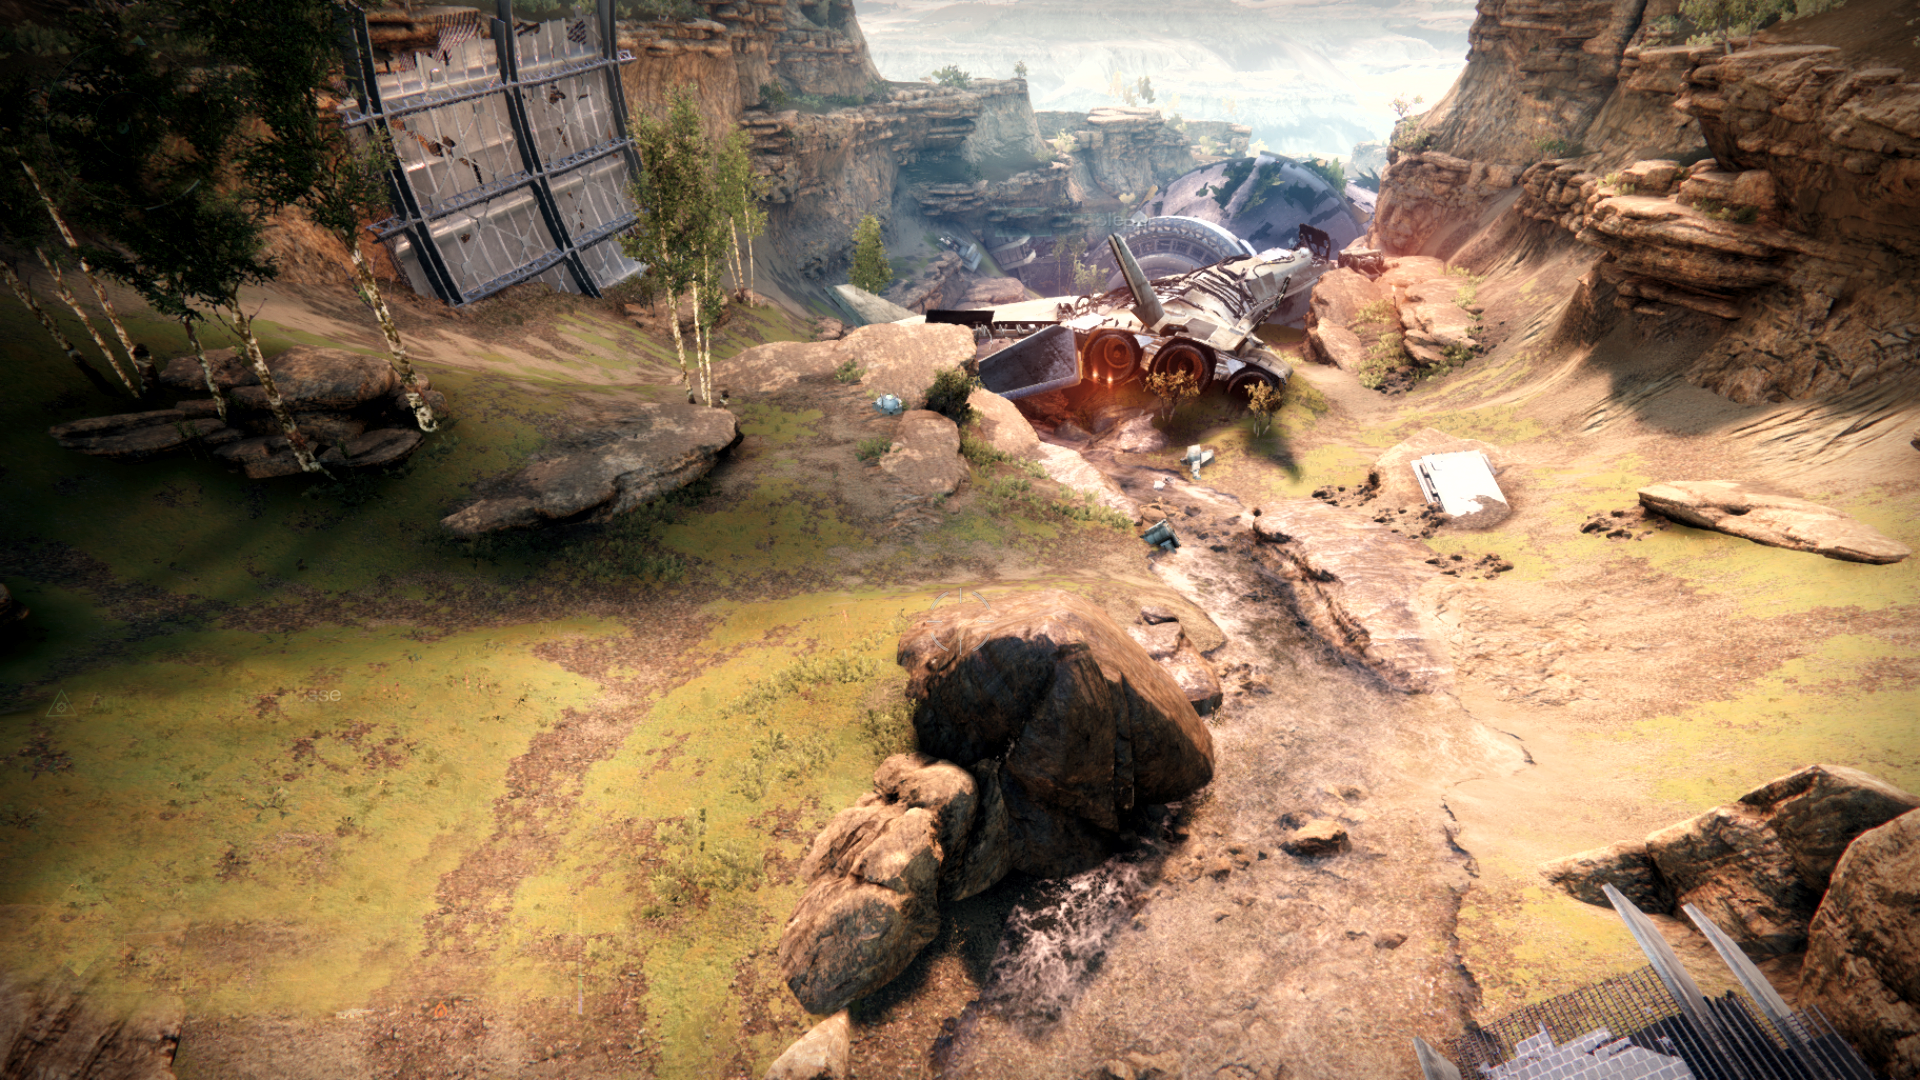
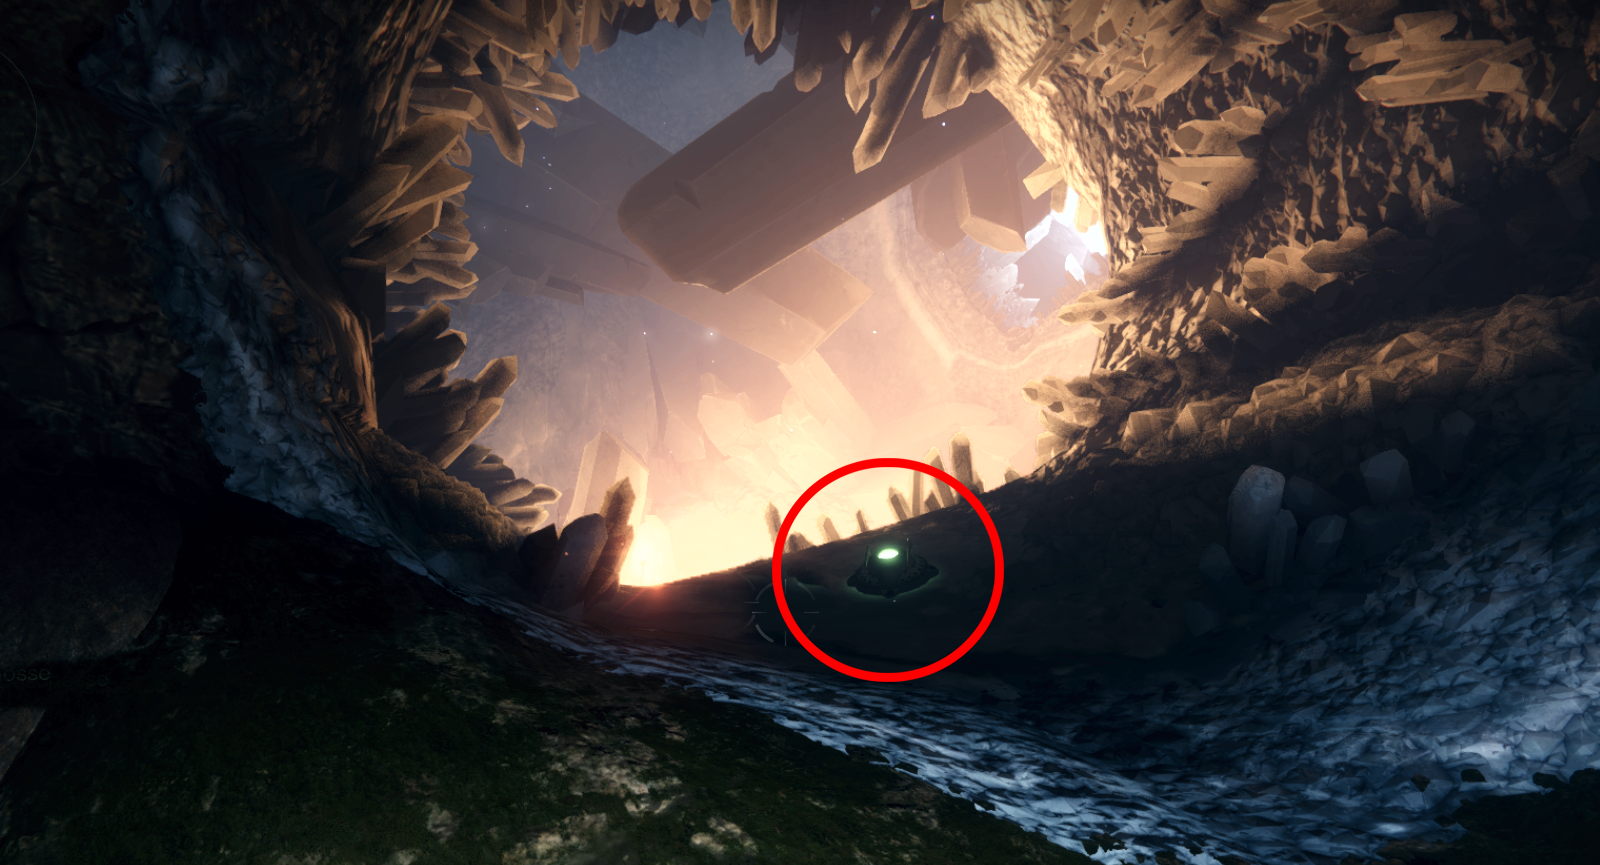
Your way now leads you into a dark crystal cave. Anyone who arrives there will immediately be reminded of the huge crystal cave beneath the Naica mine in Mexico, which houses crystals weighing up to 55 tons. It is called the “Cave of Swords” and Bungie seems to have taken inspiration from it as well.
Second Encounter: Destroy the Fallen Barrier
When you leave the crystal cave, you will arrive in a huge underground cave. The Fallen have set up several accommodations here, and in the middle is a kind of balloon, which is the entrance to the boss arena. Unfortunately, the entrance is blocked by a barrier, so you can’t enter initially. Your task is to lift the barrier by destroying several “energy couplings”.
To achieve this, you only need some explosives and the large rotating cannons in this area.
With the cannons, you can shoot yourself from island to island in the area. To activate them, they need power. So look out again for one of the Vandals who drops a Scorching weapon. Near each cannon, there will also be a Fallen device you can shoot to activate them.
Servitors are little ticking time bombs
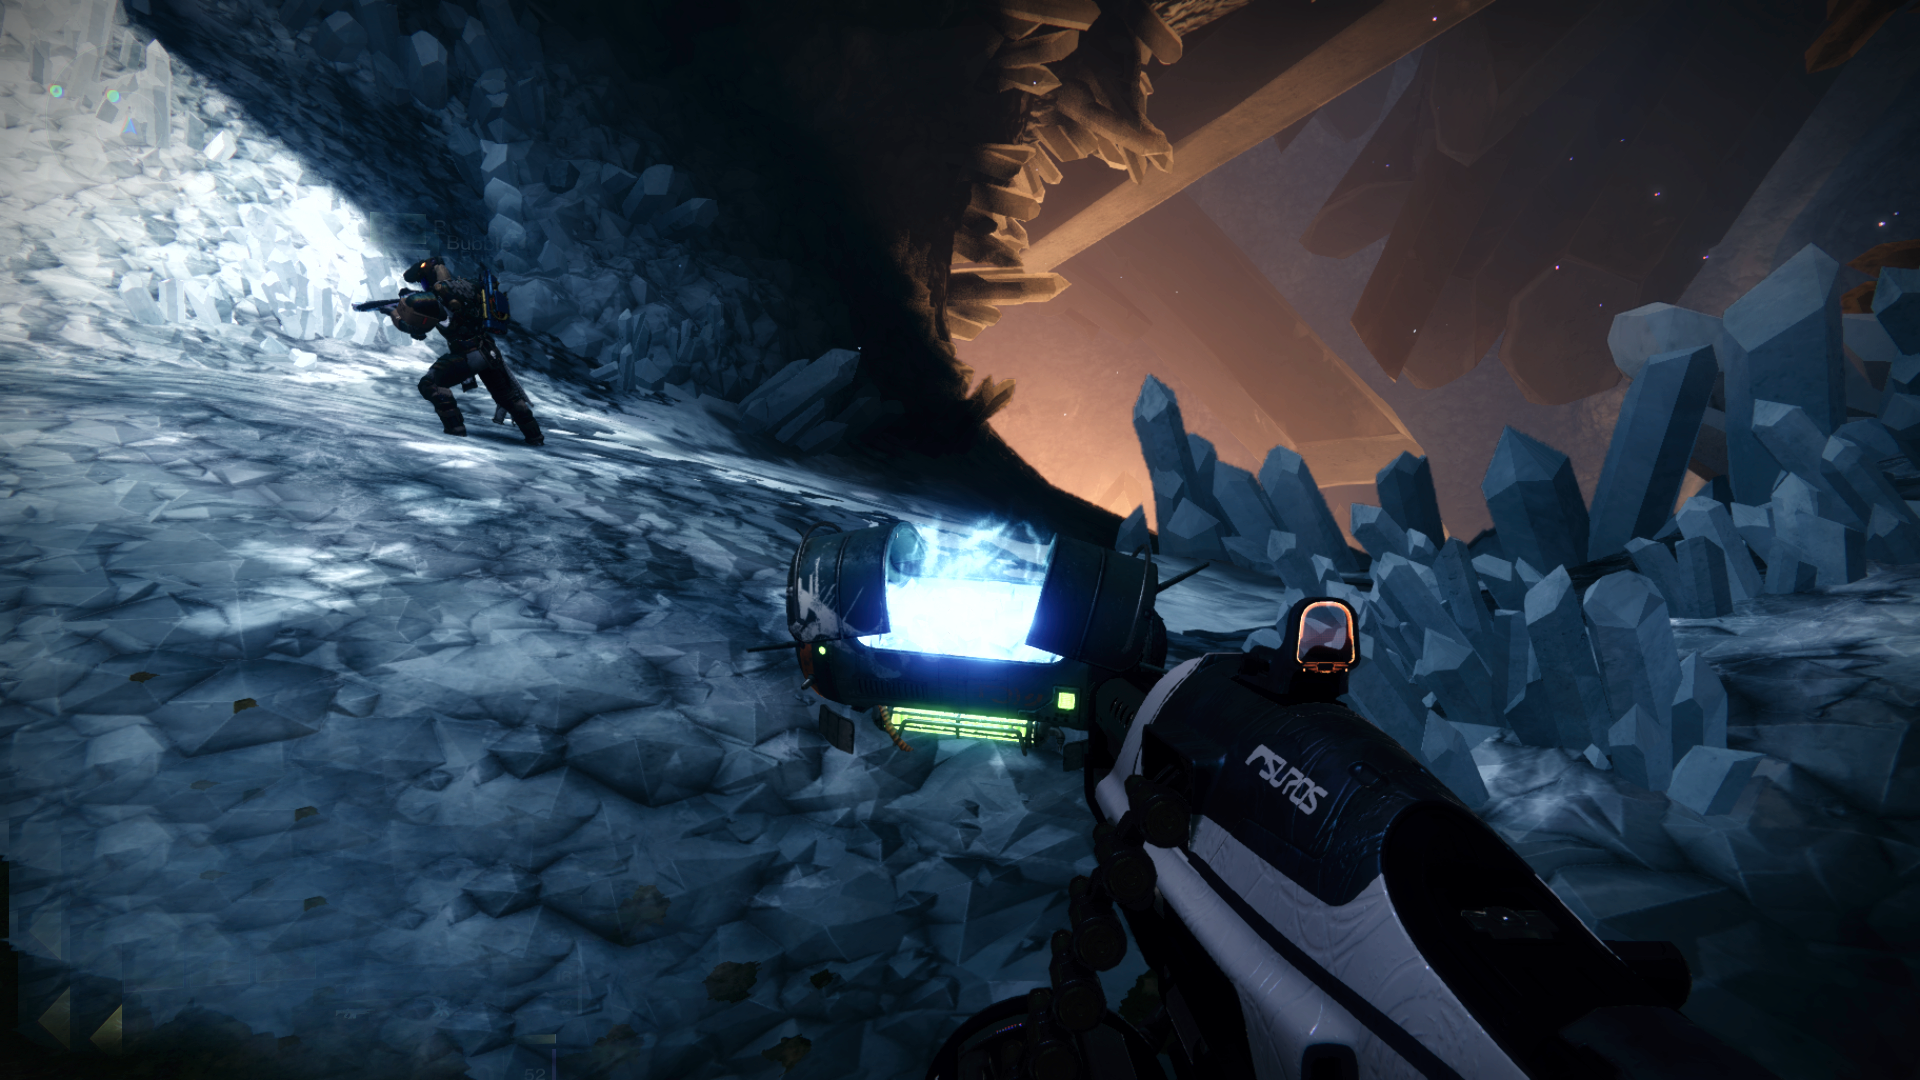
Your goal is to find a Servitor with a white shield. Shoot your way to it. In one of the buildings, there is again one of the crystals. Since the Servitor is immune, you must first be greedy and gather fake-Engrams. The enemies around the Servitor drop enough of them when they die. Once you have collected enough debuffs from “Burdened with Wealth” and delivered them at the crystal, the Servitor loses its shield. Kill it, and you get an explosive ticking time bomb.
Everything that ticks should be disposed of quickly: Now roll your explosive ball onto the cannon platform. You can then aim the cannon at one of the active energy couplings. After that, you just need to activate the cannon with the Scorching weapon, and it will fly off accurately.
Each hit destroys the barrier more. It takes a total of four hits to completely break the barrier.
Your loot can be found on the middle platform after the barrier has been destroyed. From there, you can also shoot yourself directly into the boss arena.
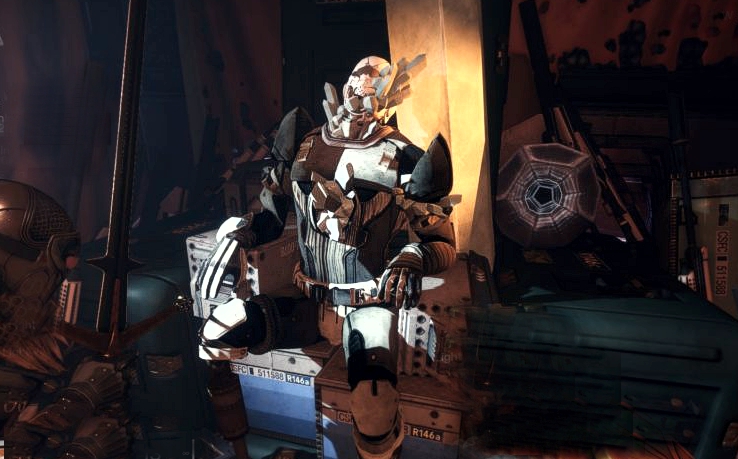
Third Encounter: Defeat the Dungeon Boss Captain Avorakk
When you arrive in the boss arena, the crystal in the middle falls immediately and a solitary fake-Engram triggers the start of the encounter when approached. Additionally, several Fallen devices can be seen in the arena on the arcs, which you must shoot alternately.
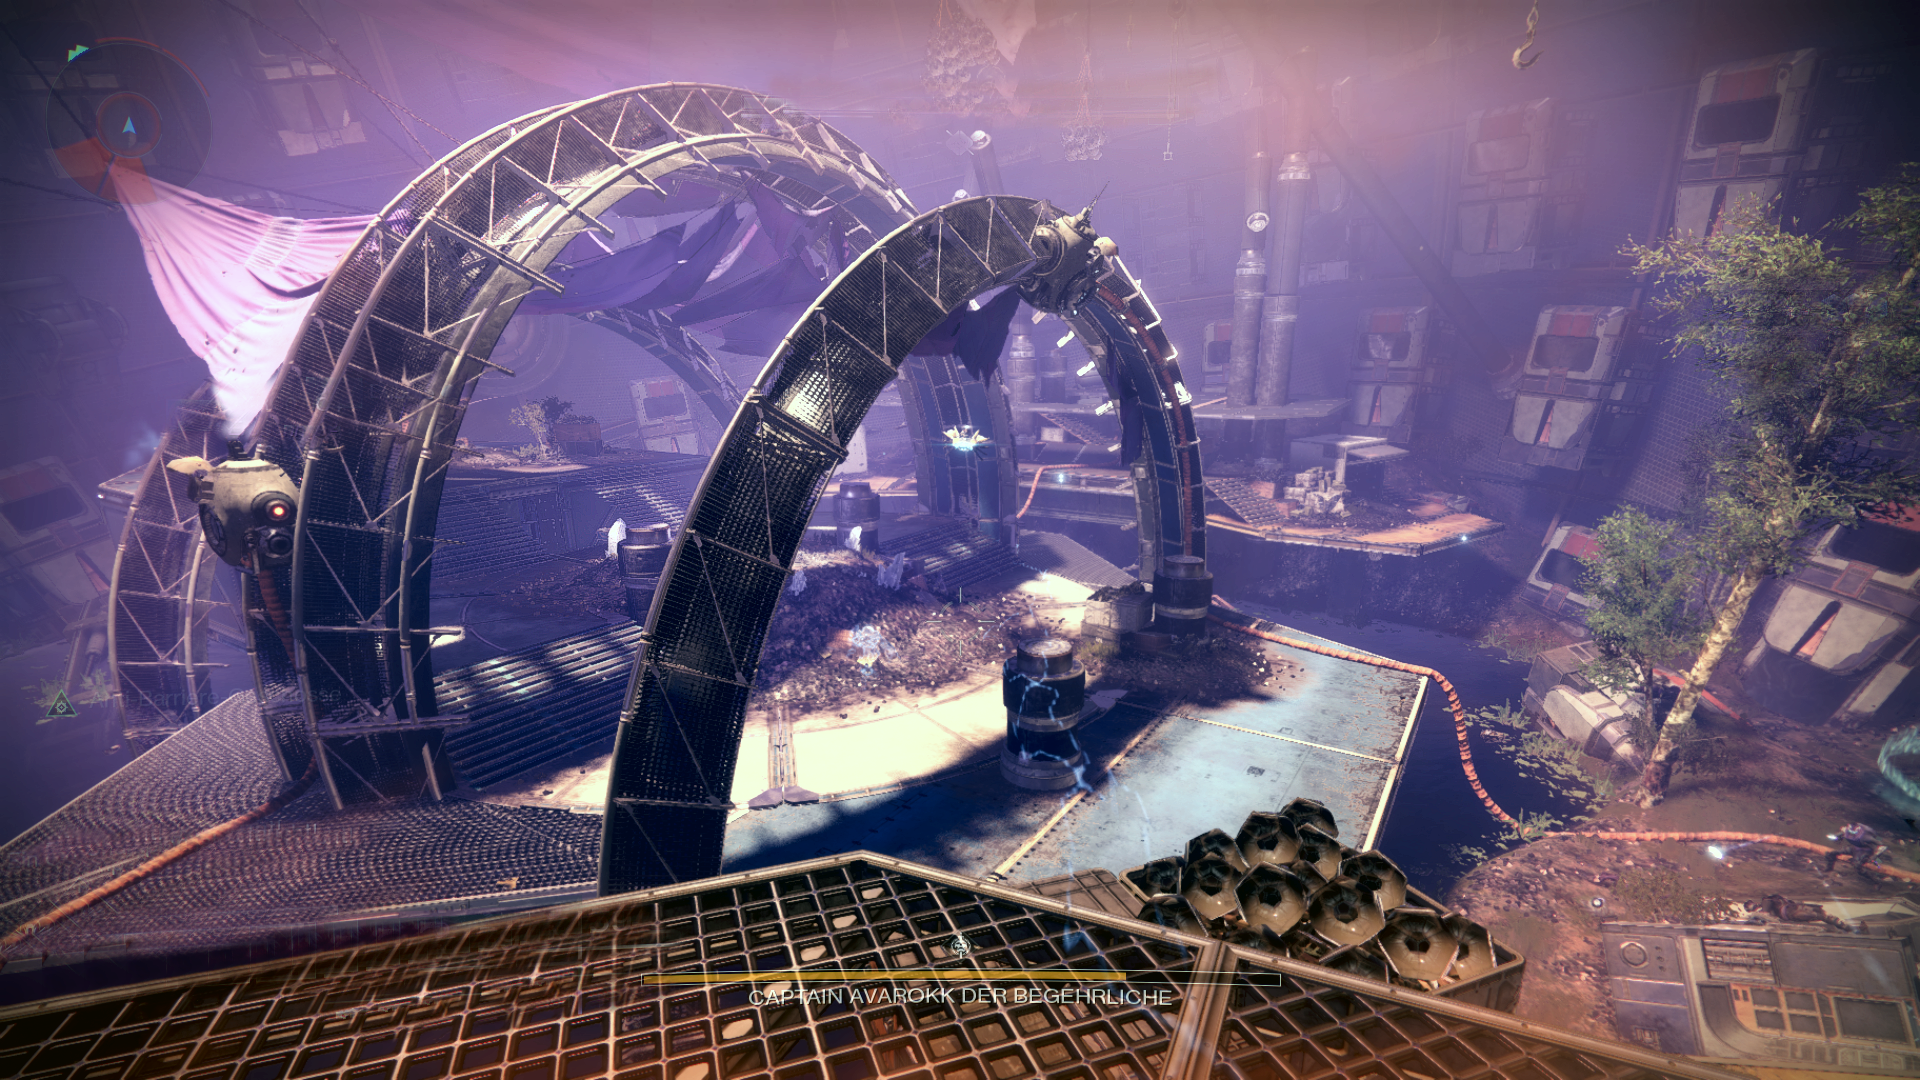
Now Captain Avorakk spawns and brings many Fallen minions with him, who constantly take aim at you and respawn repeatedly. Among them are two strong enemies with yellow bars in the middle of the arena: The Boatswain “Grisprax” and a sniper flyer named “R-M80”.
You will need the mechanics from the previous encounters here again. The boss remains immune to damage until you, just like with the Ogre in the first encounter, deactivate its shield. However, the Engrams no longer drop from the enemies, but from the boxes on the wall. Additionally, the Boatswain “Grisprax” drops extra fake-Engrams to collect.

This is how you get the fake-Engrams: So look for the Vandal with the Scorching weapon. This one respawns again and again as soon as you’ve emptied the Scorching weapon or the weapon has not been collected in time.
As before, you can now shoot the Fallen device with the weapon. The shooting will open the boxes on the walls, and the fake-Engrams will roll down in three areas of the arena. Collect as many as possible and deliver them in the middle at the crystal. The Engrams will explode after a few seconds. Additionally, you should keep the regularly respawning enemies at bay.
Eventually, the boss will no longer be able to resist temptation and will teleport to the back of the arena. Now you can deal damage to him. If you deal enough damage in the first phase, you will have completed the dungeon. Otherwise, you will have to repeat this process until the boss meets his end.
You must deliver a total of 60 of these fake-Engrams at the crystal to break Captain Avorakk’s shield.
The little “Rambo” is the secret star
The little sniper flyer “R-M80” and miniboss in this last dungeon encounter is already cult. Players call him “Rambo”, because his real name “R-M80” is very similar. The little guy is a bullet sponge and seems to have more life than the end boss. Moreover, he snipes at you from any position.
With that, you have discovered all the treasures in the new dungeon “The Deep of Greed” and certainly also found one or the other comical way to bite the dust.
What happened to Wilhelm-7, the first treasure hunter?
Well, Wilhelm-7 set off like you, with his team, into the dungeon “The Deep of Greed” to search for great loot treasures. They dug deeper and deeper and found more and more riches in the caves under the Cosmodrome. So much loot and their greed for more grew to unimaginable heights.
In the end, it corrupted every Guardian: They became angry, paranoid, and eventually killed each other. Only Wilhelm-7 remained. But he was already so crazy that he even killed his own mind, believing it would want to steal his, in reality worthless, Engrams. Wilhelm-7 died alone from his wounds, surrounded by useless loot. He was left with nothing, and to this day his ghost curses all who try to take something away from him.
The dungeon “The Deep of Greed” is one of the funniest activities currently available in Destiny 2. You just have to grin a lot, especially when the next trap strikes and a team member is blown up, shot away, sliced, or rolled over again. Schadenfreude is indeed the best joy.
But not only that. The dungeon also has a secret message.
This is the secret message in “The Deep of Greed”: It is not always the loot that a Guardian should chase after. “Overcome greed” is the message. Because sometimes the real treasure is simply the fun with friends. And thanks to the many traps and fun encounter mechanics, it is particularly funny in this Destiny 2 dungeon.
That’s not the only place where you get to see funny things in Destiny 2:
Do you also admire this brilliant implementation of a former exploit? How many times have you been hit? Which trap mechanic did you like the most?

Your opinion is important to us!
Do you like the article? Then let us know!