
At first glance, Rust looks like a typical survival game. New players often struggle to enter the post-apocalyptic world since there is no tutorial. Here you will find tips and tactics that will make your start in Rust easier – quickly and easily explained.
In Rust, mistakes are often harshly punished: At the beginning, you start naked, equipped only with a torch and a stone, near the coast, and immediately fight for survival. To help you survive until the first night in Rust, we have compiled 7 tips that will assist you at the start.
7 Quick Tips for Survival in Rust
With our easy-to-remember “SURVIVE” formula, you will get a list of the most important tasks in Rust. The formula is as follows:
- S stands for: Quickly run away from the coast
- U stands for: Search the environment for food, stones, and hemp
- R stands for: Use the right bow when hunting wild boars
- V stands for: Charred meat does not satisfy hunger
- I stands for: I need a sleeping bag and something to wear
- V stands for: Lock the doors to the base
- E stands for: Enjoy the sunrise relaxing
The “SURVIVE” Tips for Rust Explained in Detail
You should ideally carry out the “SURVIVE” formula in the mentioned order. This increases your chances of surviving on Rust Island. Below, we explain each point.
S stands for: Quickly run away from the coast
Due to Rust’s PvP focus, you are constantly at risk of being beaten, shot, or slain by other players. Focus on staying in motion at the beginning and quickly move away from the spawn point. By holding down the ALT key, you can look around while running without changing your direction.
Activate Auto-Run in Rust: To automatically run in Rust, you need to open the console in the game. Do this as follows:
- Open the console with “F1”
- Type in the input field bind q forward;sprint
- Press Enter to submit the command
If you press the “q” key in the game, you will run automatically. To stop, press “w” and the SHIFT key simultaneously. To deactivate the auto-run, do the following:
- Open the console with “F1”
- In the input field bind q “” type
- Press Enter to submit the command
Keep an eye on the surroundings: When running, watch out for other players or their structures. Many players kill in Rust without a second thought. They also make no distinction for “Bambis,” i.e., beginners.
The most important rule in Rust: Trust no one!
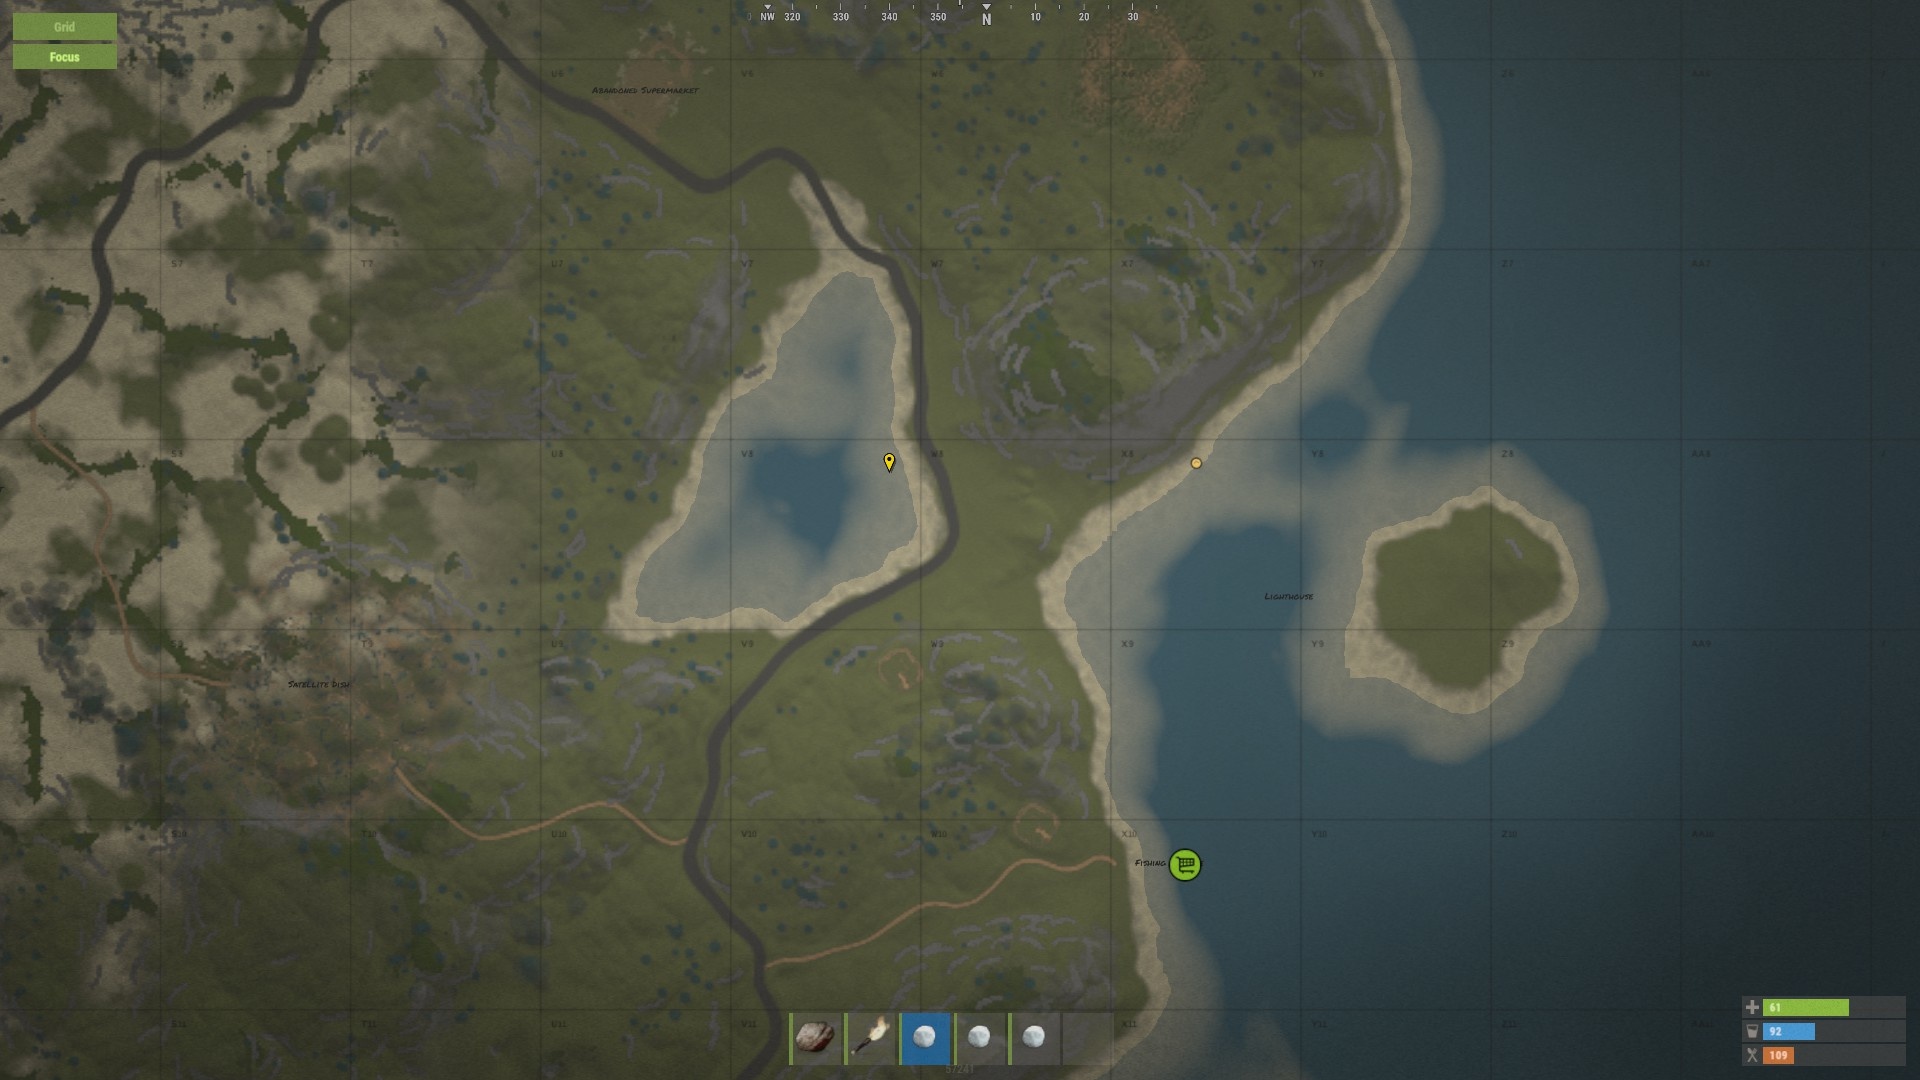
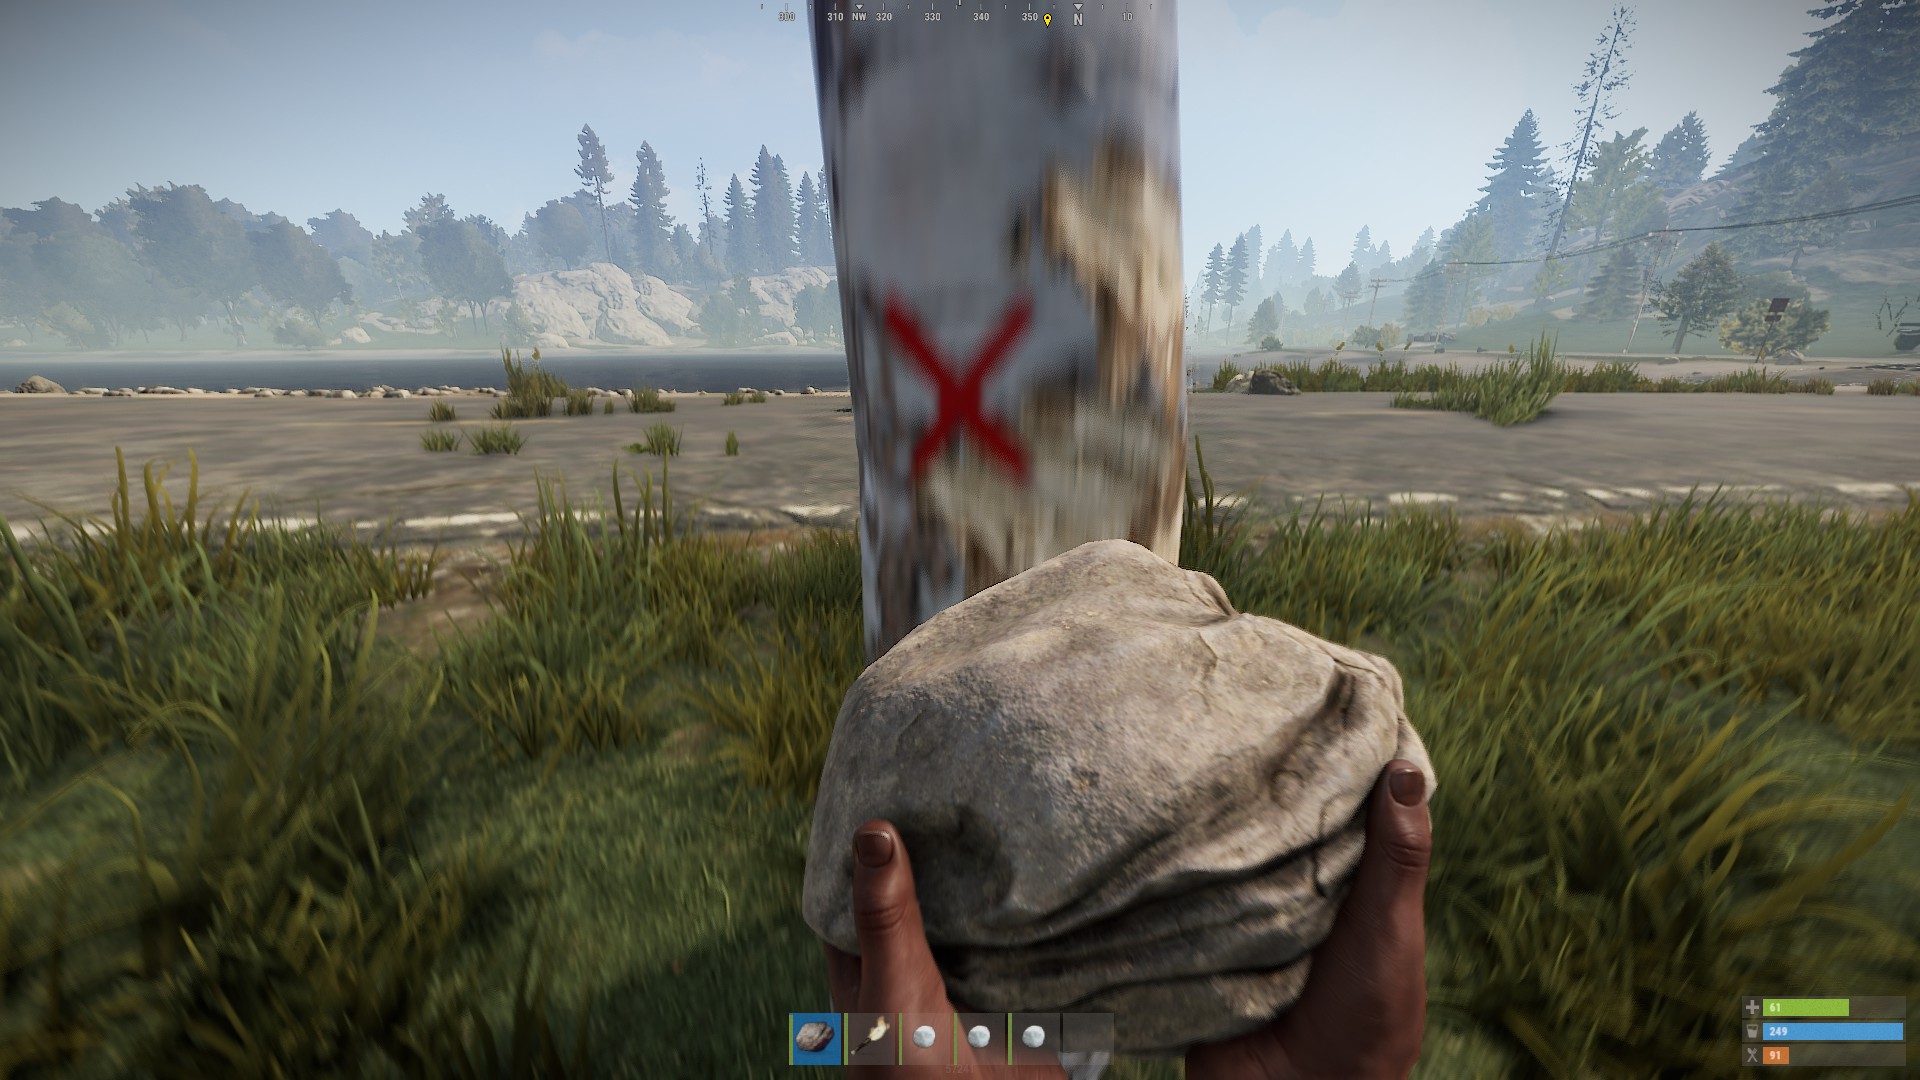
Look for a river or lake on the map (key “G”) and place a marker with the right mouse button. The marker will appear on the HUD on your compass, allowing you to keep track of your target.
Ideally, you will find a road running parallel to a river nearby. You will often find food in the form of corn, potatoes, or berries along riverbanks. Supply crates at the roadside often also contain food, and you should thoroughly search these when looking for food.
U stands for: Search the environment for food, stones, and hemp
Search the environment for useful items and resources. Stones and hemp are very important for the first tools and weapons. After finding a river or lake and having enough liquids, you should keep an eye out for a trading post. These appear on the map with a green icon. Make sure it is not a player shop, as both icons are identical. You can recognize player shops by their name and the goods offered.
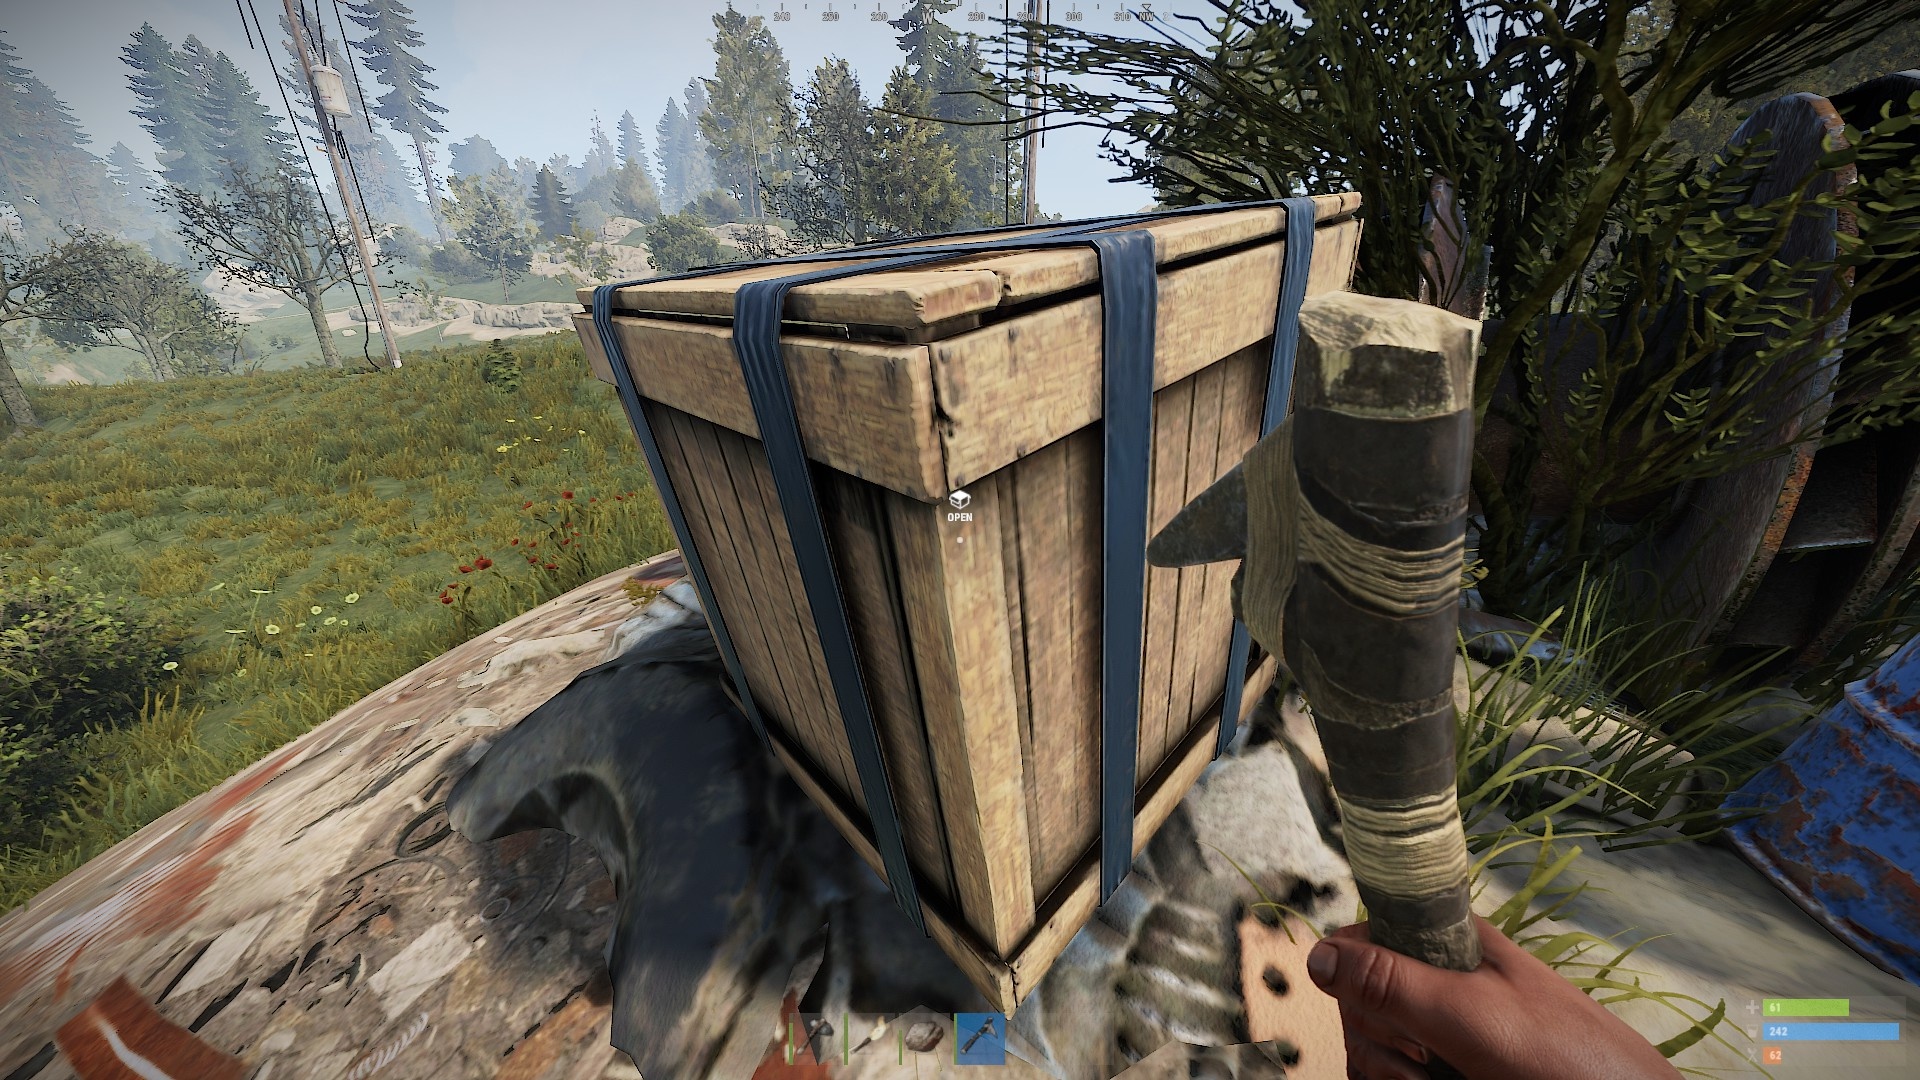
While heading towards the shop, you can open crates at the roadside to search them for food. Stay in cover and avoid running too long out in the open. There are often corn and other field crops near NPC shops that you can harvest. The areas around NPC vendors are often safe zones and are secured by turrets and sometimes NPC soldiers. Therefore, do not enter these areas with a drawn weapon.
Things you need to note about safe zones in Rust: Once you enter a safe zone in Rust, you will receive a notice in the HUD. This notice appears above your health display. Do not enter a safe zone if you have attacked a player or animal 30 seconds prior. The turrets and NPCs will attack you otherwise. You may enter the zones as long as no crosshairs appear in the upper right corner. If you are shot at or fire shots, you cannot enter the safe zones for 30 minutes after.
These areas are not for beginners: At the beginning, you should avoid the desert and snow biomes, as they are not only plagued by extreme weather but also by hostile player groups. These primarily search the area for valuable ores. Taking down a new player is often a found diversion for these groups.
R stands for: Use the right bow when hunting wild boars
Over time, corn and pumpkins will not satisfy you. Hunting wild boars is easy to master with the right equipment and some skill. With your stone, you can gather wood from trees. Hit the marked spot to gather resources faster and more efficiently. Targeted strikes also yield more resources from trees.
Once you have gathered enough wood and stones, craft an axe and pickaxe. This will allow you to farm resources more effectively. The axe is used for chopping down trees, while the pickaxe has multiple applications:
- Stones / ores
- Metal barrels: Smash these and collect the loot
- Disassembling the first animal carcass
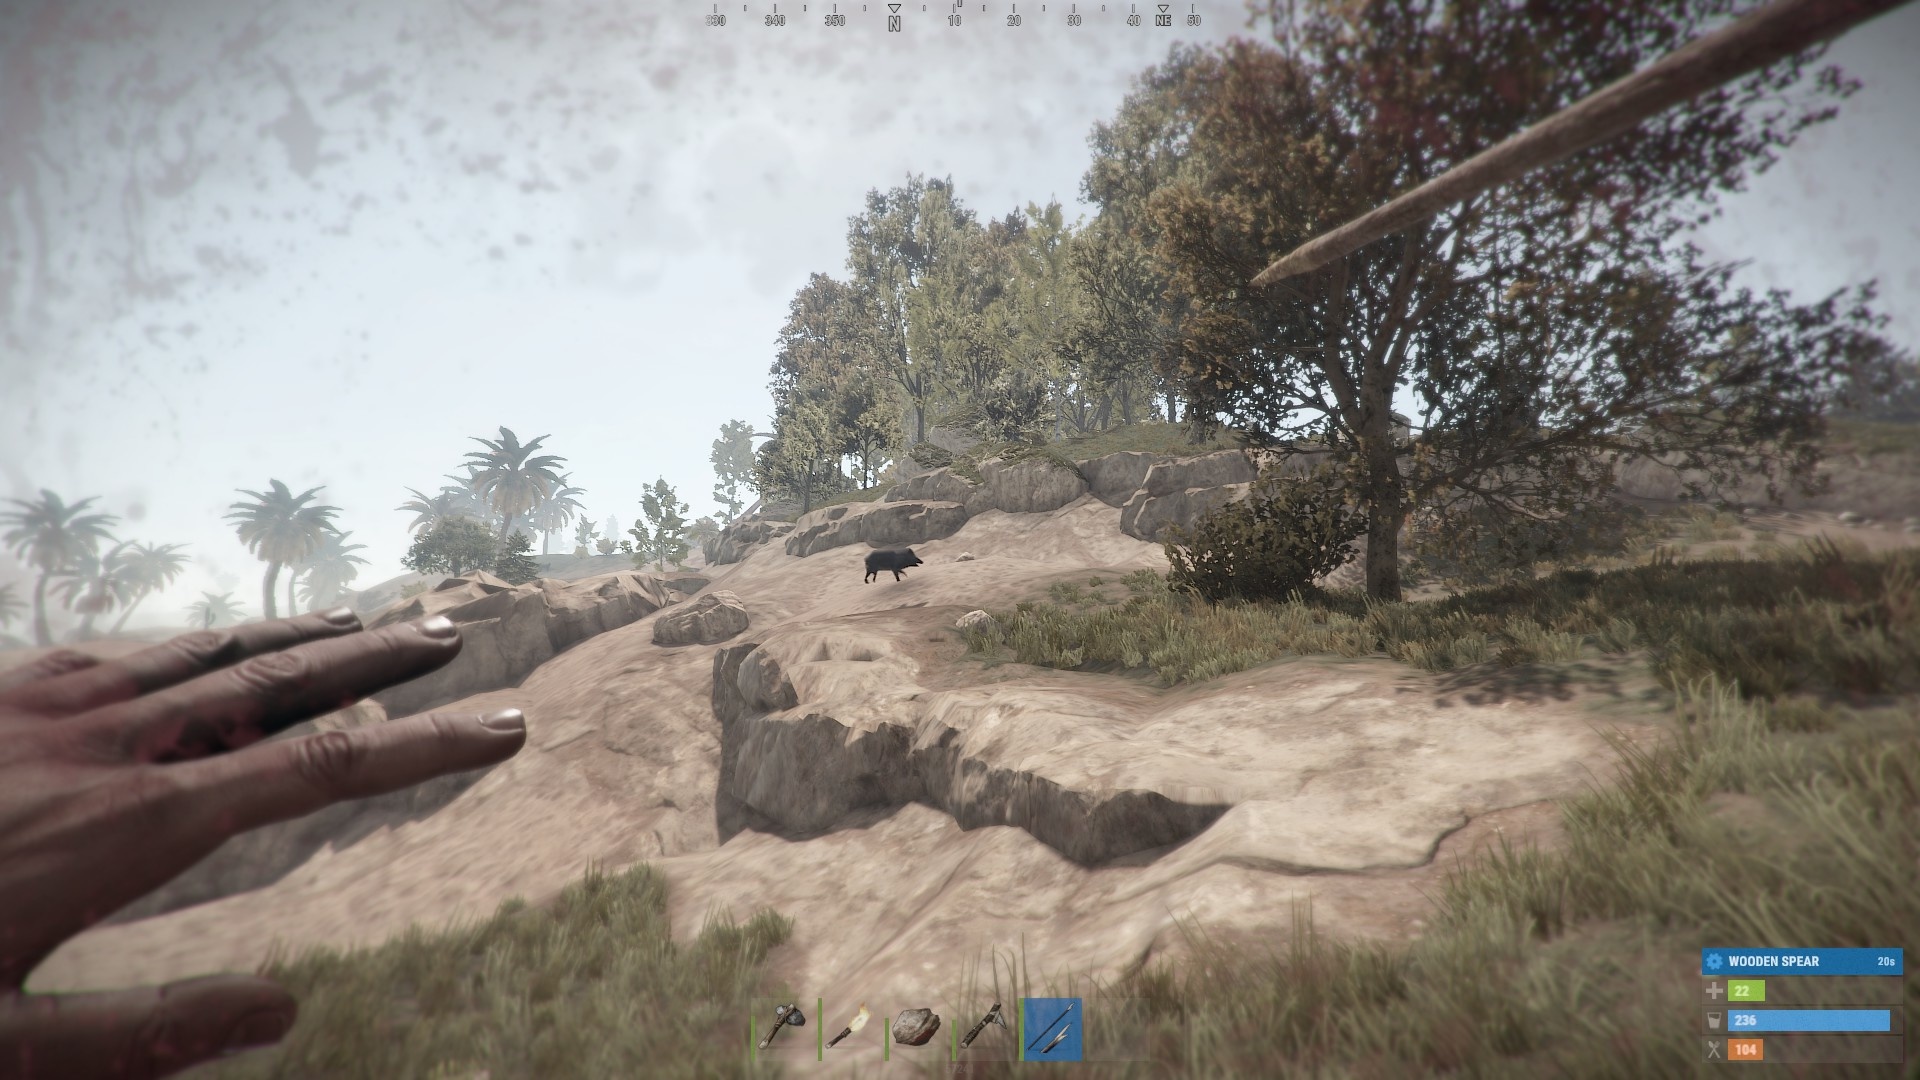
Once you have enough resources, you can hunt wild boars. With collected hemp, you can craft a bow. If you are skilled with the spear, you can also hunt wild boars with 3 spears. Wild boars will directly attack players but will flee after the first hit. So throw your spear carefully and only when you are sure to hit the target.
You then dismantle the slain wild boar with the pickaxe. You receive animal fat, bone fragments, cloth, leather, and meat. Make a bone knife from the bone fragments to disassemble animal carcasses faster and receive more resources.
V stands for: Charred meat does not satisfy hunger
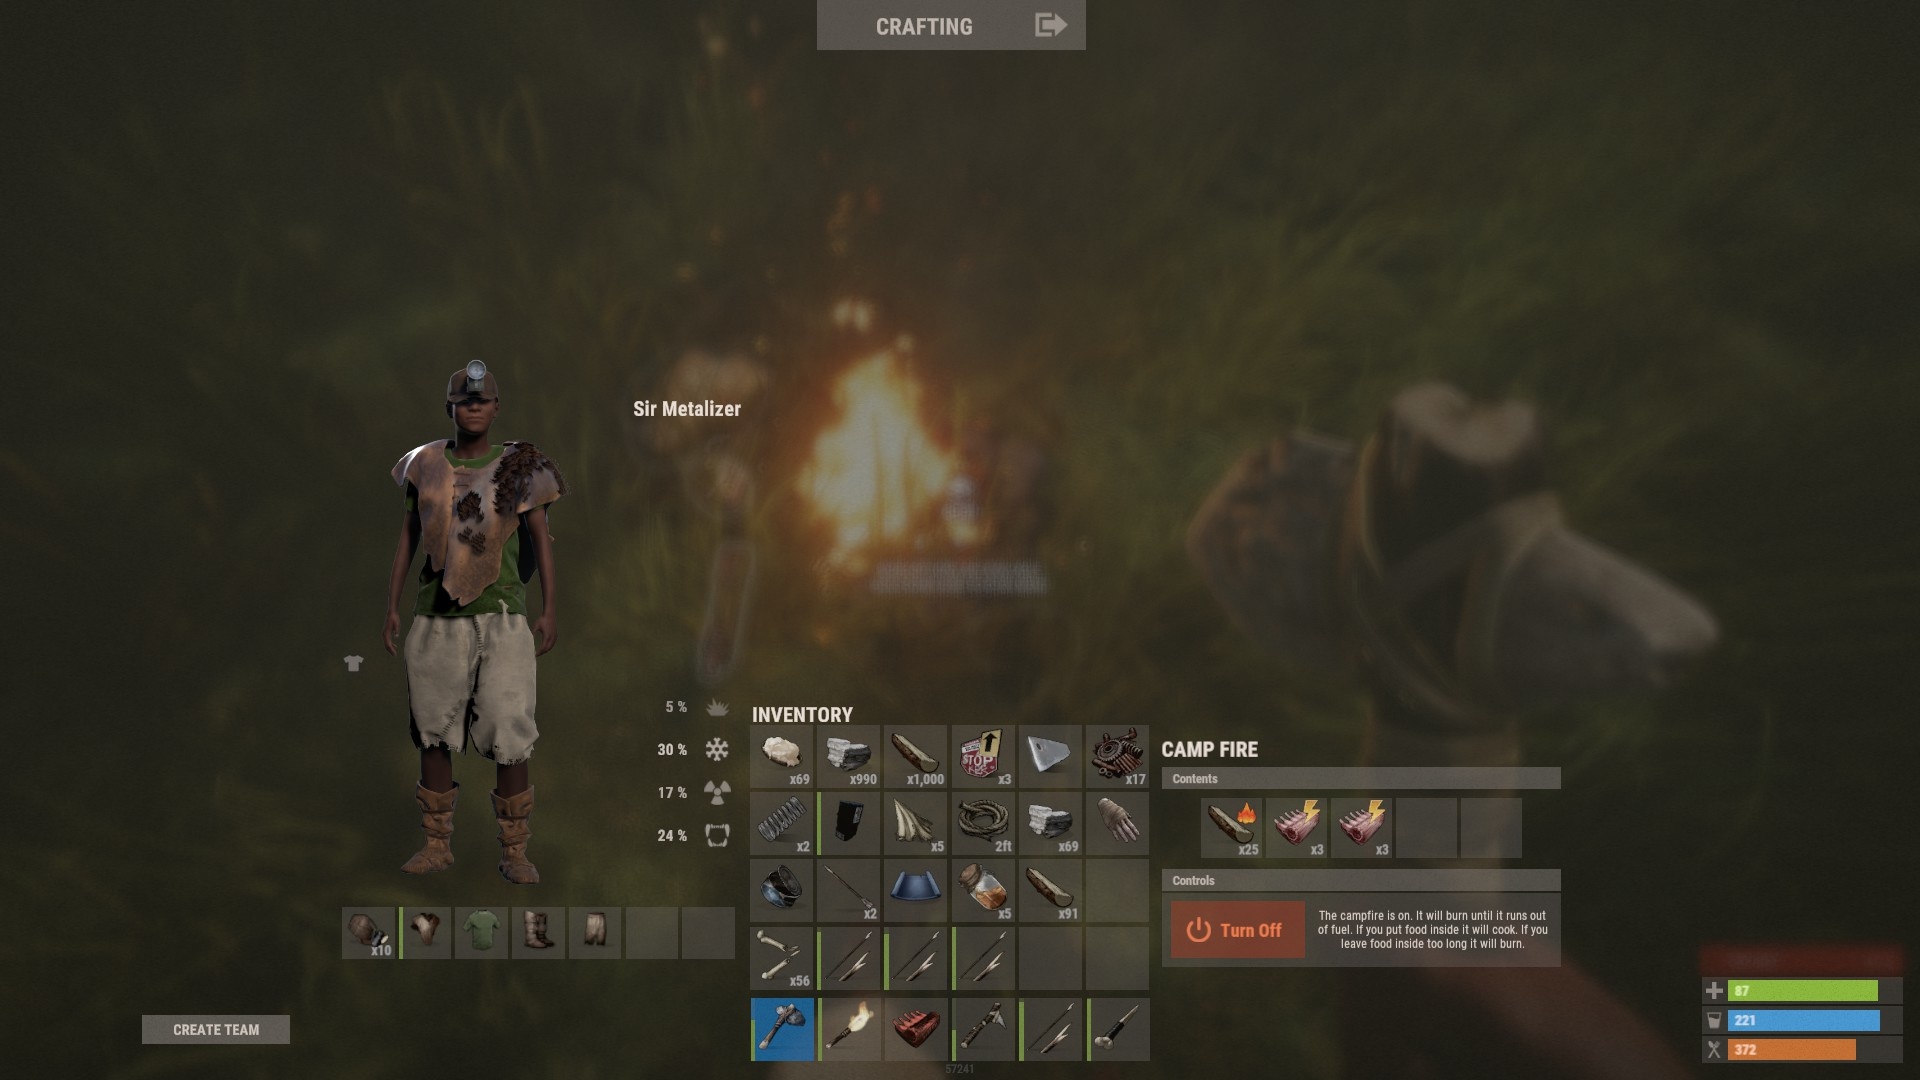
After the first wild boar has been properly dismantled, your stomach is already yearning for a juicy piece of grilled wild boar. It is time for campfire romance and your first warm meal in Rust since your start. In your inventory, you can craft a campfire in the “Crafting” section and place it almost anywhere. To avoid being detected from a distance, you should place the campfire in a not easily visible spot.
The campfire has 5 inventory slots: one for wood as fuel, a second for coal, and another for cooked meat. You can use the two remaining slots for raw meat, as food is cooked regardless of the slot. You save valuable time while cooking and can continue your journey faster. Meat can burn in Rust, so take the finished meat out of the fire in time.
I stands for: I need a sleeping bag and something to wear
Better get used to dying every now and then. To not further aggravate the frustration level, you should craft a sleeping bag. Sleep is overrated in Rust, but spawning on your sleeping bag is not. A sleeping bag costs 30 cloth and can be placed freely. Like with the fire, you should also ensure that the location is not directly visible.
Your first outfit consists of cloth and leather, with the loot from three wild boars being sufficient. Craft the following clothing at the start:
- Leather boots: 10 x leather
- Leather vest: 50 x leather
- Leather poncho: 20 x leather
- Leather pants: 45 x leather
The equipment provides minimal resistance against environmental influences and radiation and also serves as armor.
Cloth can also be used for bandages. These can save your life in critical situations, and you should keep at least three in your inventory.
V stands for: Lock the doors to the base
After the first night in Rust, it’s time for your own base. You should keep it rather simple at the beginning. Don’t think too large in dimensions; instead, take care of a secure dwelling. A location at the border of the snow biome is advisable, as many resources can be found here. Take your time and visit several locations to check if there are hostile neighbors nearby.
At the same time, it is important that your first home is not located on a slope or right next to rocks. Due to the height difference, expanding the base is no longer possible.
Once you have found the right location, you can set the first foundation. Structures in Rust are built with “Building Plans.” So you do not need to craft different structures; just choose the respective structure through the Building Plan while placing it.
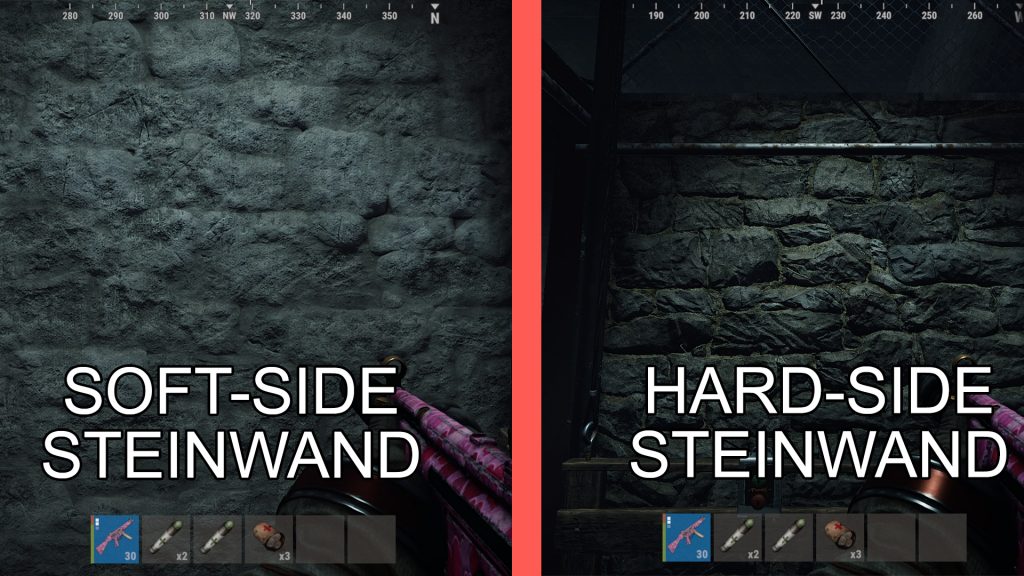
The orientation of the walls is crucial: When placing a wall, make sure that the correct side is facing outwards. The hard side should face out, and the soft side should face in. If you place the walls incorrectly, attackers can destroy the walls with primitive axes and pickaxes in no time.
Windows are excellent for breaking into a base. For this reason, avoid using windows on the ground floor. The entrance to the base should also be secured with an airlock. This keeps disgruntled enemies at bay longer and prevents spontaneous visits. When playing solo, you should lock the doors by pressing the “E” key. Using a pin code is only sensible when playing in a group. In that case, both doors should be secured with different codes. Many groups test common pin codes on enemy bases and with a bit of luck, they guess your combination.
Once the base is built, it is advisable to reinforce the lower floor. With reinforced foundations, walls, and doors, attackers will take more time to breach a base.
To prevent your home from falling apart on its own, a tool cupboard must be placed. This protects against decay, and within a radius of 50 meters, it is no longer possible for other players to build. The cupboard itself requires resources to maintain the protection zone. You will receive a display of how much material is needed for the next 24 hours. For maintenance, wood, scrap, or metal fragments are used.
E stands for: Enjoy the sunrise relaxing
Once everything is set, the real survival battle in Rust begins. Enjoy the sunrise in your base and then explore the area. Collect loot, craft more arrows for your bow, and keep an eye out for blueprints, fuses, and keycards during your tours. Blueprints allow you to create advanced items, while fuses and keycards are needed to access high-loot areas.
We have compiled the most important items in Rust for you in a special: C4 and 4 more important items in Rust.
If you enjoy Rust up to this point, you should keep an eye out for teammates on Steam or in popular forums. Rust is much more fun in a group!
Internalize “SURVIVE” for a good start; otherwise, the “RUST” formula quickly comes into play:
- R – like Running
- U – like Survival
- S – like Dying
- T – like Being Sad
More tips are provided by MeinMMO author Benedict Grothaus, who shows you which mistakes you should definitely avoid in Rust.

Your opinion is important to us!
Do you like the article? Then let us know!