
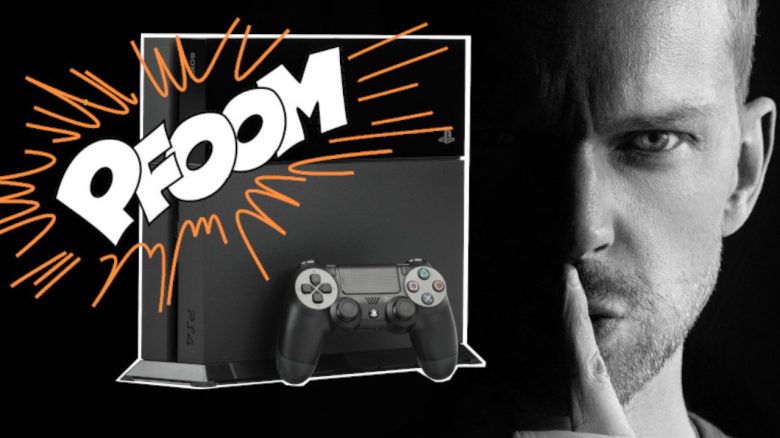
Anyone who owns a PS4 often knows the problem that the console can become very loud. We present some tips on how to reduce the volume.
A loud PS4 can be very distracting while playing. The reasons for the noise can be diverse. Many MeinMMO readers also complain that the PlayStation 4 can be way too loud in the long run.
MeinMMO has looked into the causes of a loud console and what you can do about it. In our article, we address the following points:
- Causes and possibilities for the noise.
- Tips and solutions on how you can tackle the noise.
- Tips on how to minimize noise issues in the long term.
Tips at your own risk:
We also cannot give you an absolute guarantee that the tips will definitely help.
Version notes of the article (Updates):
Latest updates: 14.02.2025, 20.02.2024, 22.04.2020.
PS4 loud and hot – What are the causes?
There are several reasons why the PlayStation 4 can become very loud:
- Fan gets loud while playing: The fans usually carry the heat of the system (console, processor, motherboard) outside. With poor cooling, the console overheats, becomes loud, and eventually turns off automatically as a self-protection measure.
- Hard drive: The internal hard drive is one of the main reasons for a loud PS4. The hard drive has to write data and this causes noise. The older the drive becomes, the more noticeable this is.
- Console: The console makes noise if parts are loose or if it is on an unstable surface. Then components vibrate and this vibration causes noise.
- Position: A vertical position can cause the console to become louder.
- Age: Every electronic device suffers from wear and tear. The PlayStation 4 is also aging and wears out with continuous use. This can lead to increased noise levels.
Once you have figured out why your PS4 is so loud, you can try to solve the problem. We present 6 tips and tricks that could help you.
1. Check the console’s position
Required: No special items needed | Time required: 15 – 30 minutes | Cost: none | Difficulty: Easy
The simplest way is to check the position of the console. A simple adjustment can help reduce the noise.
- First check if the console is blocked by anything. For the console to operate correctly and quietly, it should ideally stand freely. Place the PS4 in a spot where there is enough “room to breathe” so that air exchange can occur quickly and easily.
- Do not place anything on the console, such as books, cloths, or other items.
- It is best not to place the console in any TV cabinet to ensure “airflow” is guaranteed. Sometimes the console barely fits into a cabinet and then there is too little space on the sides.
2. Check and update PS4 firmware
Required: No special items needed | Time required: 2 – 3 hours | Cost: none | Difficulty: Easy
If the system files are corrupted, this significantly increases the CPU load. Here it helps to rewrite the system data to relieve the CPU. The effort itself is low, but you need to back up your data and after the full “initialization”, you will need to re-download your games:
- Open the “Settings” and then select “Initialization”.
- Here, either select “Restore Default Settings” or “Initialize PS4”.
- We recommend “Initialize PS4” because the first option only resets personal data, so user accounts and settings are deleted. Games remain installed, so select “Initialize”.
- Then you can choose between “Quick” and “Full”. We recommend you choose “Full”.
- “Full” may take several hours, but the system files will be rebuilt. Corrupted or damaged data will be removed. The console does this automatically.
- Note: “Full” will delete all data on the PS4, including games and save data. Either back this up with an external storage medium or via the cloud – but you need PSPlus for that.
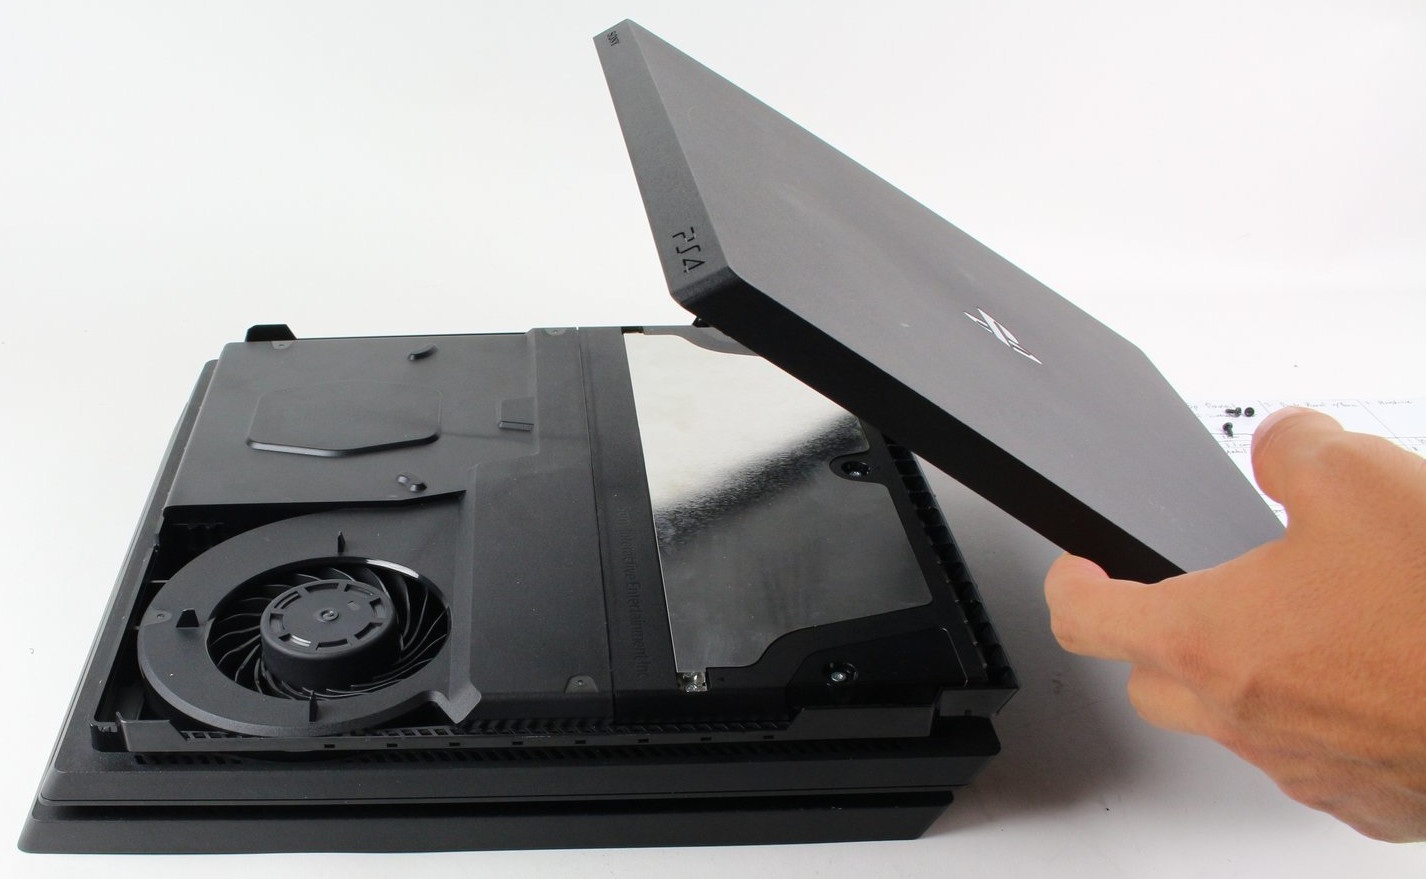
3. Clean and quiet the PS4 fan
Required: T8 Torx security screwdriver/repair kit, compressed air | Time required: 60 minutes | Cost: approximately 15 Euros | Difficulty: Medium
If the first tips haven’t helped, you can open the console and do quite a bit inside to reduce the noise.
Key combination for the PS4 to clean the fan? With the PS3, you could run the fans at high speed to get rid of dirt. This is no longer possible with the PS4 and PS4 Pro.
Clean PS4 Pro without losing warranty
Be careful not to destroy the warranty seal of the console! The original PS4 model cannot be opened without destroying the seal, which voids the warranty. With the PS4 Slim and Pro versions, you can open the console without damaging the seal or voiding the warranty.
How often should you clean the fan? Regularly cleaning your fan means less work in the long run, and noise levels will remain manageable.
Have the right tools on hand: For the PS4 Slim and Pro, you need a T8 Torx security screwdriver and ideally compressed air in a can. You cannot open the console with a standard T8 screwdriver.
Toolset: If you have the wrong tools, there is a risk of damaging the console. Repair kits that cost around 10 Euros are recommended here.
Compressed air spray: We generally advise against using a vacuum cleaner or similar for cleaning the console. There is a risk of damaging sensitive components. A compressed air spray is recommended for this purpose. This allows you to remove dust and dirt selectively.
It is important that you hold the compressed air spray upright while cleaning, as moisture can leak from the spray otherwise.
Cleaning the PS4 fan: Inside the console, the first thing you should do is remove the dust from the ventilation.
- For the PS4 Slim and PS4 Pro, it is sufficient to lift off the cover of the console. For this, you need a T8 screwdriver to remove the security screws.
- You can then blow the fan out with compressed air to remove dust and dirt.
After cleaning, the ventilation can work again, preventing the console from overheating and making it significantly quieter again.
How much does it cost to have the PS4 cleaned? A professional cleaning usually costs between 40 and 100 Euros and is therefore more expensive than doing it yourself.
4. Replace the thermal paste of the PS4
Required: T8 Torx security screwdriver/repair kit, thermal paste | Time required: 2 hours | Cost: approximately 20 Euros | Difficulty: Medium to Hard
If you are technically savvy, you can also replace the thermal paste of the processor. The thermal paste ensures that heat from the processor and the graphics unit (GPU) is quickly dissipated, preventing overheating of the components.
Recommended thermal paste for the PS4: Standard thermal paste is usually sufficient. The Arctic MX-6 has 4.7 stars with over 3,000 reviews and is generally very reliable:
What should you consider? Replacing the thermal paste is not so straightforward, as you need to disassemble the entire console to do so. It is not enough to just lift off the cover.
This video on YouTube shows the individual steps to take if you want to replace the thermal paste:
This can lead to a significant improvement in noise levels in the long run.
The PS4 is still loud despite new thermal paste: Check our other tips: Where is your console positioned, does it have enough space, and is there enough airflow to the PlayStation 4? The system can also be “initialized” again after replacing the thermal paste, which may also help.
5. Loud and slow – Replace the PS4 (Pro and Slim) hard drive with an SSD
Required: T8 Torx security screwdriver, thermal paste, hard drive (HDD or SSD) | Time required: 2 – 3 hours | Cost: approximately 120 – 150 Euros | Difficulty: Easy to Medium
Anyone who uses their PlayStation 4 extensively and intensively writes a lot of data to the hard drive. This long-term use can stress the drive, causing it to become loud and slow. The upgrade to an SSD could be worth it. By the way, the process is a bit different with the PlayStation 5. Here, there is a quite simple method if the PS5 storage gets full.
Backup data before replacing the SSD: Before replacing the PS4 hard drive, you should definitely back up the data from the drive:
- First, connect a USB stick or an external hard drive to your PS4.
- Then select “Settings” in the PS4 system.
- Here select “Application Saved Data Management” and then select “Saved Data in System Storage” and then “Copy to USB Storage Device”.
- Finally, mark the files you want to back up with X and then press “copy”.
Which SSD is recommended? In principle, any SSDs that are not larger than 2.5 inches will fit in your PS5. You can find the best SSDs for your PS4 listed on MeinMMO. Recommended models include those from the MX500 series by Crucial. For 1 TB, you typically pay between 50 and 70 Euros:
Replace PS4 hard drive with SSD – Consider this when installing: Before removing the hard drive, the PS4 should be completely turned off. If an orange light is blinking, the console is only in standby mode. Properly shut down the console and unplug it. The hard drive you install should be formatted to FAT or exFAT.
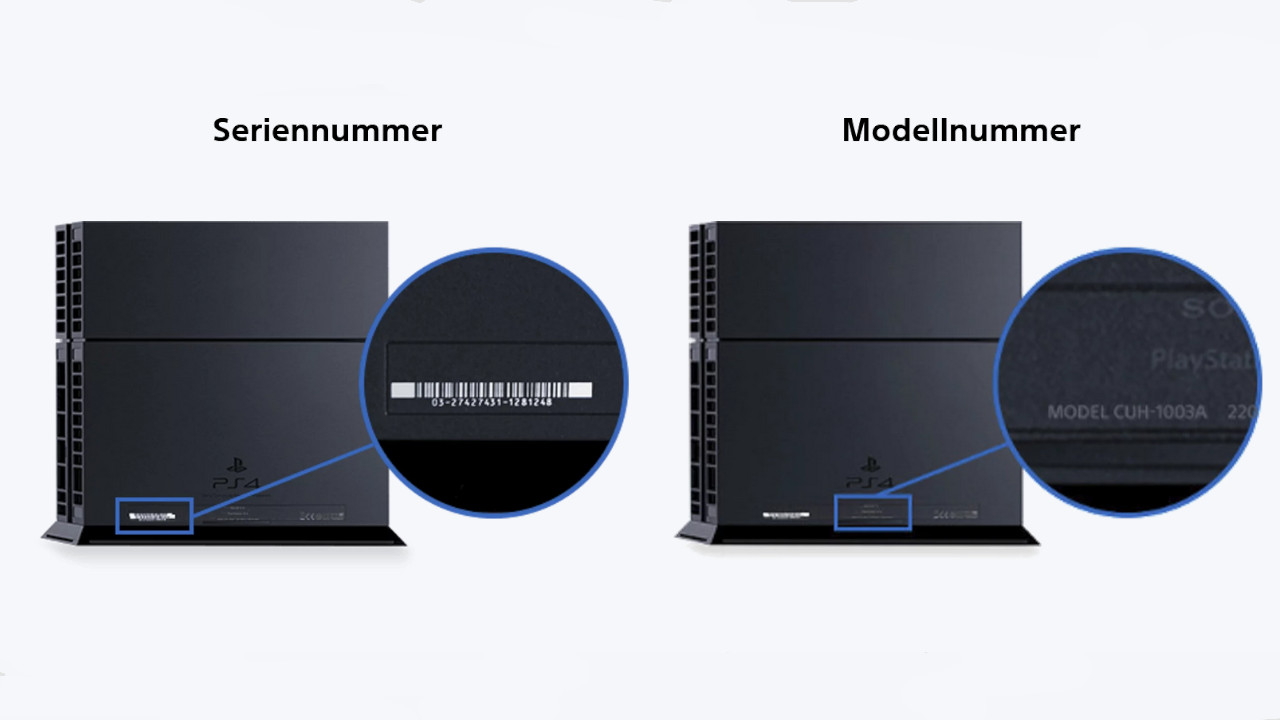
The installation varies from version to version. You can identify which console you have by the version number, which is usually located on the back or bottom of the console.
Sony explains on its help page exactly how to remove the hard drive based on the version number.
Install PS4 firmware on new hard drive: After replacing the hard drive, you need to update the system to use the drive:
- First, download the PS4 firmware from the official site.
- Then create a folder named PS4 on the USB stick and within it a folder named UPDATE. Copy the downloaded file (PS4Update.pup) into this folder.
- Insert the USB stick into the PS4 and now start the console. Hold the power button for 7 seconds until a second signal is heard. The safe mode now starts.
- Select “Initialize PS4” and “Reinstall System Software”. The system will do the rest automatically.
6. Buying Tips against loud PS4 – Combat causes of noise
PS4 Dust Protection: For around 10 Euros, you can dust-proof all openings of the console by using a dust protection kit. This will reduce the dirt and you will have to clean the console significantly less often. This kit allows you to specifically cover all openings:
PS4 Cover: With a dust and waterproof cover, you can also protect your console from external influences. These covers usually cost around 10 to 15 Euros and protect the PS4. When you turn on the console, you should definitely remove the cover, as the console may overheat otherwise.


PS5 or Xbox: If you are considering putting your old PS4 away and getting a new console, check out the following article on MeinMMO. Here we explain the pros and cons of the PS5 and Xbox Series X and which console might be worth it for you:

Your opinion is important to us!
Do you like the article? Then let us know!