
Moira is the newest addition to the hero roster in Overwatch. The healer has been playable for a few days now and will soon be available in ranked games. Use these professional tips to ensure you utilize her correctly!

Since November 16, players can use the new healer Moira on the live servers of Overwatch. The kit of the Irish scientist is quite tricky and requires good tuning.
PCGamer asked pro gamers how to play Moira correctly. We summarize the insights.
Moira does not play like other healers. The core of her abilities is based on healing through inflicted damage. While it is possible to play without it, her effectiveness will suffer significantly.
Moira’s Basics: Heal Your Friends with the Life Force of Enemies
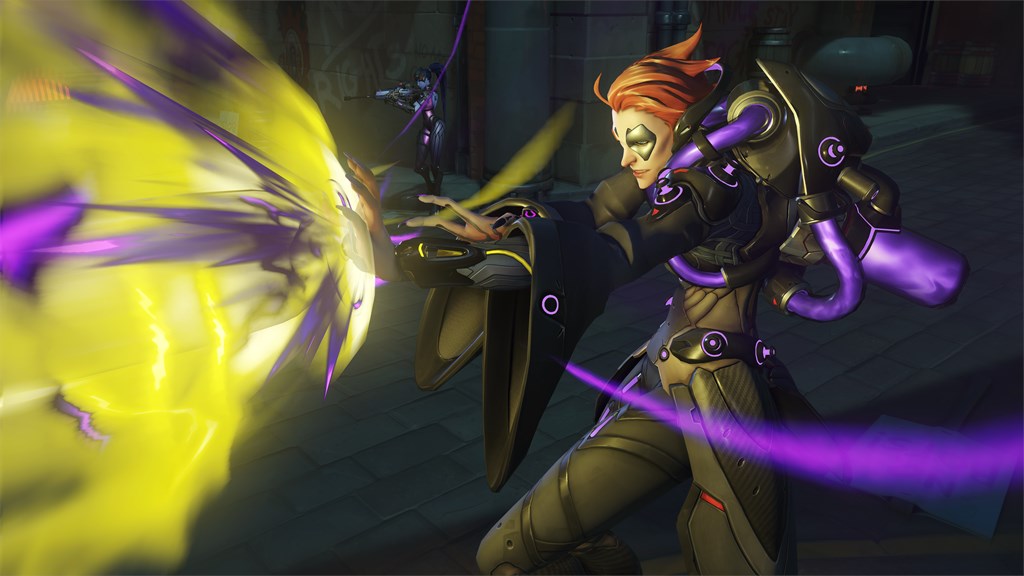
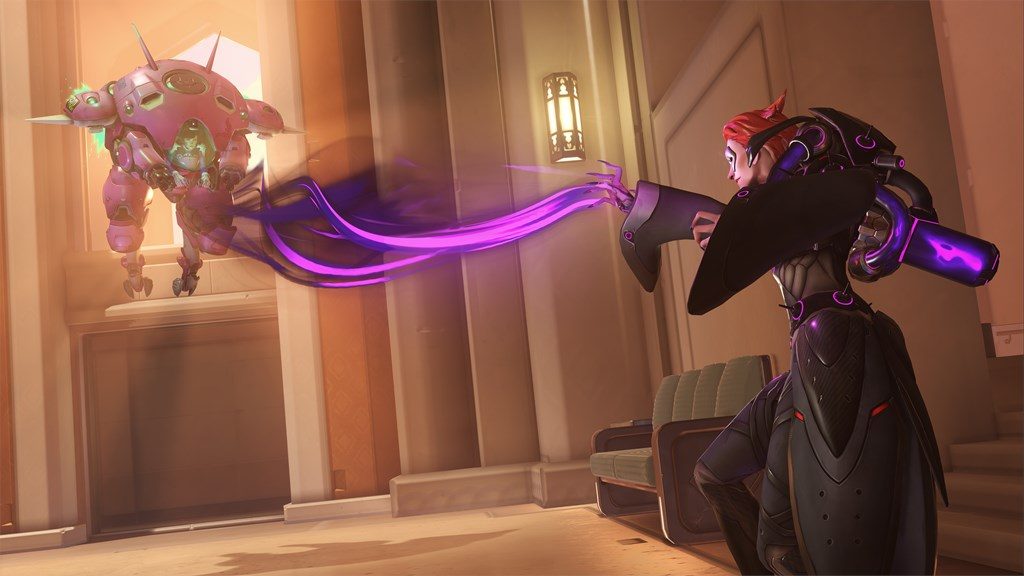
The most important aspect of Moira is to keep an eye on her healing resource. It is a gauge that depletes steadily when the left mouse button is pressed (default, healing in a conical area in front of her), similar to D.Va’s Defense Matrix.
To refill the meter, she must either wait a long time or deal damage to enemies (right mouse button). The damage ability behaves somewhat like Symmetra’s beam weapon but has a slightly longer range.
Nevertheless, she is forced to get relatively close to the enemies to effectively refresh her healing. Her ability “Biotic Orb” (E) does not charge the meter – however, it also does not deplete it as healing.
Moira’s Weaknesses
Her range is her biggest limitation. Since Moira is only somewhat mobile and her damage is not particularly high, she can do little against flanking heroes. Typically, she loses a duel and is not particularly useful in offense in this way.
The pro gamers Benjamin “BigGoose” Isohanni and Jonas “Shaz” Suovaara from the Los Angeles Gladiators team believe: Her strongest position is in an old-school tank setup: two tanks protect the team, two healers keep it alive, two assassins deal with the enemies.
She is very stationary and therefore not suitable for payload maps, attacks, or maps with elevated positions (“High ground”). The range and the lack of ability to completely defend herself make her vulnerable here.
Moira’s Strengths
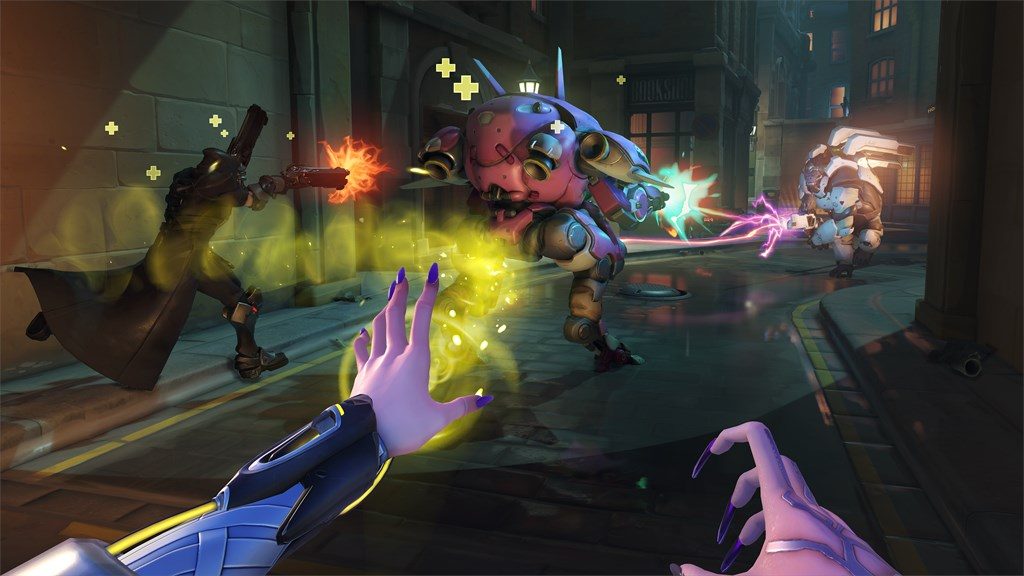
Moira may be significantly weaker in many situations compared to her healing colleagues. In others, she is much stronger. This is especially true for attack maps (as an attacker and defender) and for the “Last Bastion” at the final point of a payload map.
Fights on these maps are usually concentrated or take place in tight spaces. Here, Moira can heal and deal damage particularly effectively, as walls can reflect her biotic orbs, and she does not fight alone to recharge her healing. Her entire handling is significantly easier under these circumstances.
She fills a special role and is chosen in situations where Sombra is usually strong. However, since she is only truly useful in tank compositions, her influence on the meta will likely be relatively low.

Coalescence: Moira’s Ultimate
Moira’s Ultimate “Coalescence” should be viewed separately from her kit as well as from those of all other supporters. Unlike those of, for example, Zenyatta or Lucio, it is not purely offensive or defensive but can be both at any time.
Coalescence charges extremely quickly and should not be used hesitantly. Whenever a flanker breaks through to you and you can use Coalescence to defeat him without blocking the direct follow-up, use it!
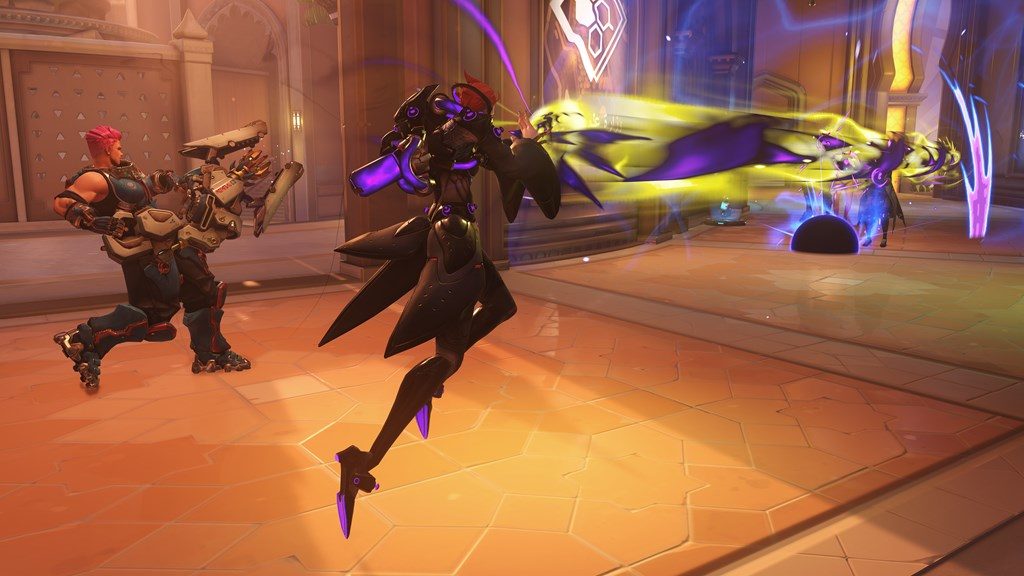
Especially effective is the ultimate in chokepoints on any map – both in defense and attack. As enemies and allies must gather here and Coalescence penetrates shields, friends can be kept alive while enemies are eliminated.

Your opinion is important to us!
Do you like the article? Then let us know!