
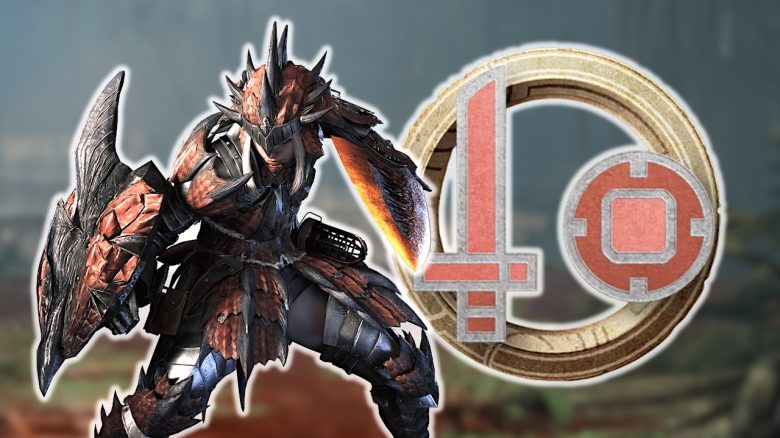
With the sword & shield, you can hold on to wounds in Monster Hunter Wilds, break them, and even block attacks. For a faster fight in the endgame, we show you the best build with weapons, armor, and decorations that you need.

How is the build constructed? For the best sword & shield build, we first provide a brief overview of the essential items such as weapons and armor. Then we will explain in detail the most important information about crafting your equipment, as well as choosing the right decorations for your armor. Lastly, we reveal the strength of the build.
This build will be continuously updated and completely modified based on updates to match the current meta. So feel free to stop by after each update and see what has changed.
With our directory, you can quickly jump to the individual points of the build:
Sword & Shield Build: All about Weapons, Armor & Decorations
What is the best build for sword & shield? In the best build for sword & shield, the focus is primarily on quick attacks. With the high speed, you can make fast and numerous attacks.
This build relies on the frenzy feature. With the right decorations, you can extract a lot of affinity to overwhelm your hunted monsters with critical damage.
| Weapon | Verdoloto (Artian Weapon) |
| Armor | Gore Helm B Arkveld Armor B W.-Arkveld Armguard B Arkveld Hippo B Gore Leggings B |
| talisman | Chain Talisman |
How to build the best Artian weapon for sword & shield
What do I need to build Verdoloto? For Verdoloto, you should choose three affinity infusions when crafting your materials. You can choose the element freely, but we recommend either paralysis or sleep, as these provide the best advantages in battle.
If you do not yet have good parts or luck with the enhancement bonuses for Verdoloto, you can switch to the following alternatives, depending on your preferred element:
- Fire: Rays Crown
- Water: Sandsea Katduva
- Thunder: Fulgur Sword Guardiana
- Ice: Cliffs Mateptro
- Dragon: Hunter Ankh
As a secondary weapon, the dual blades “Hunger Claws” from Gore Magala are worthwhile due to the fast playstyle, as they significantly increase your elemental damage when the “Critical Element” perk is active.
Which enhancement bonus should I focus on? When enhancing your Artian weapon, the following bonuses are particularly important in priority:
- Element
- Affinity
- Attack
- Sharpness
Which decorations are important? With the decorations, you can be more flexible and choose the following options:
- Guardian/Craft Jwl 3
- Critical Jwl III 3
- One Element/Critical Element Jwl 3 (depending on the element of the Artian weapon)
Sword & Shield Build: Armors and Decorations
Which armors are important? For our choice of armor, we rely on the following equipment and effects:
Armors
- Gore Helm B
- Arkveld Armor B
- W.-Arkveld Armguard B
- Arkveld Hippo B
- Gore Leggings B

Set Bonuses
- Gore Magala’s Tyranny
- Black Darkness I: Triggers frenzy in battle against large monsters
- Arkveld’s Hunger
- Quick Recovery I: Restores some health as long as you continuously attack monsters. Recovery depends on the weapon
Which decorations should I use? With the armor, it is mainly about selecting decorations that increase your attack and elemental damage. Additionally, due to frenzy, you need an effect that increases your recovery rate from infection and at the same time your critical damage. The following should be equipped:
- Head
- Chain Jwl 3
- Buffer Jwl 1
- Chest
- Chain Jwl 3
- Phoenix Jwl 2
- Arms
- Figure Jwl 1
- Figure Jwl 1
- Figure Jwl 1
- Waist
- Figure Jwl 1
- Figure Jwl 1
- Legs
- Chain Jwl 3
- Reason Jwl 1
- Reason Jwl 1
How does the strength of the build unfold?
The sword & shield does not deal much damage per hit, but due to the speed of the weapon, you can land many hits in a short time to maximize your attack and elemental damage. With the Arkveld set bonus, you benefit, as continuous attacks regenerate your health bar.
With the set bonus from the Gore armor, you will additionally be infected with frenzy. When healed, you gain a significant boost in your affinity to deal critical damage more often. If you maintain your attacks and continue to apply pressure on the monster, you increase your affinity and can heal yourself at the same time. This is an aggressive gameplay style that is definitely worth it if you master it.
A passive play style is also possible thanks to the shield, and through the grip mechanic of the weapon, you can latch onto weak points and destroy them in seconds to inflict immediate critical damage.


These were all the important details about the best sword & shield build in Monster Hunter Wilds. In addition to information on the build, tips for combat are also important to come out victorious. Therefore, we have explained everything important in the combat guide: The ultimate combat guide to Monster Hunter Wilds: Everything about elements, status systems, and important hunting tips

Your opinion is important to us!
Do you like the article? Then let us know!