
Creating and then adding skins for Minecraft is quite simple. Here’s how it works in just a few steps.

In short: You can create and customize your skin for Minecraft on various websites. Then you upload the skin to your game. It is not possible to change your skin in Minecraft itself.
This guide shows you websites where you can change your skin and explains how to import the look into Minecraft.
Where can you create skins?
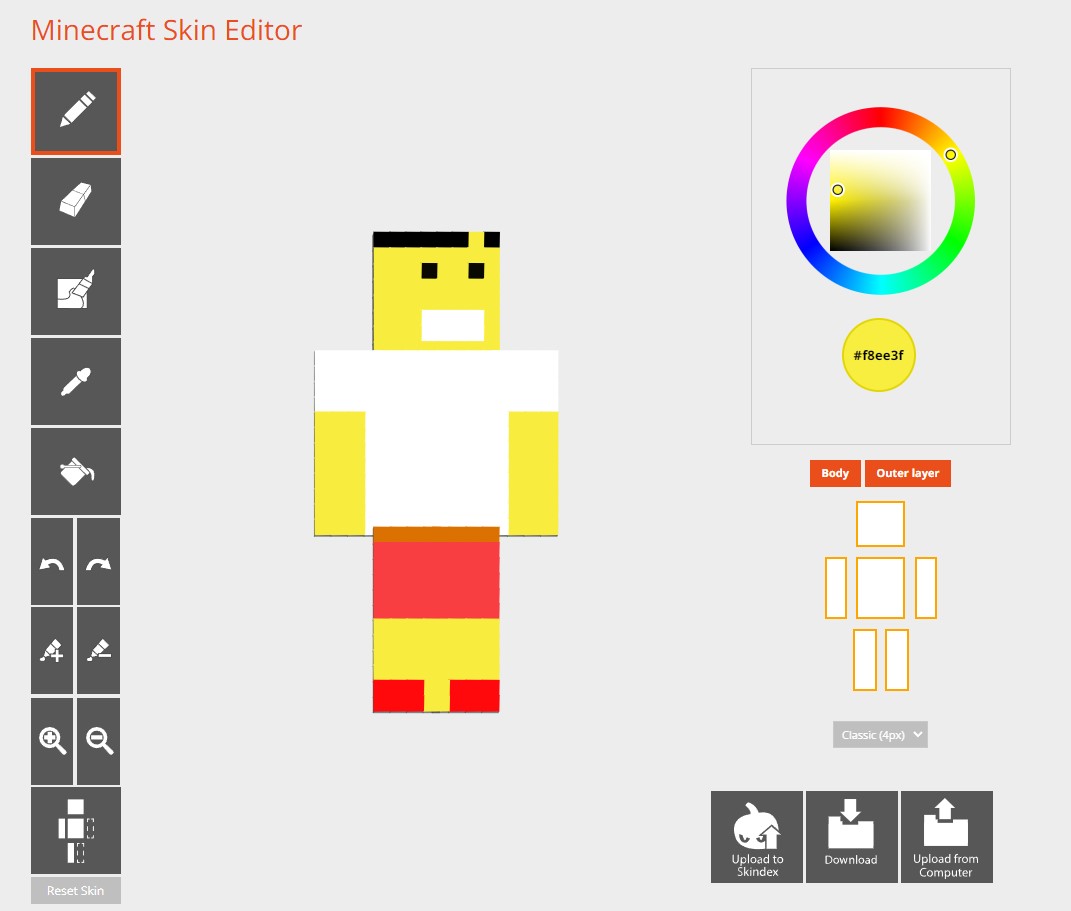
Minecraftskins: One of the most popular websites for creating skins is Minecraftskins.com. The site is quite self-explanatory and offers you pre-made skins that you can use as well as an editor to create a completely custom skin.
- Visit Minecraftskins.com
- Select “Editor” at the top if you would like to build a skin yourself
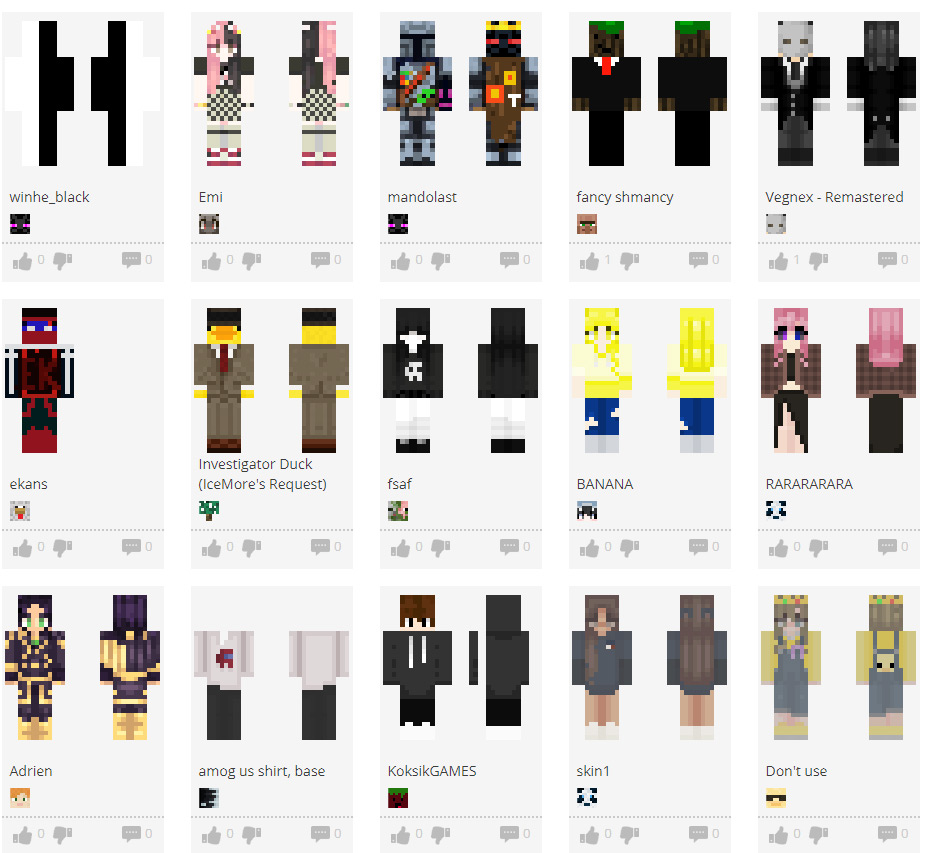
- Under “Latest” you will find the newest skins from all users
- Under “Recently Commented” you will find skins from other users that have been commented on recently
- If you find a skin from other users that you like, you can download it using the “Download” button as a .PNG file
- If you have created a skin in the editor, you can also download it as a .PNG file using “Download”
- Further down you will see how to insert the downloaded skin into your Minecraft
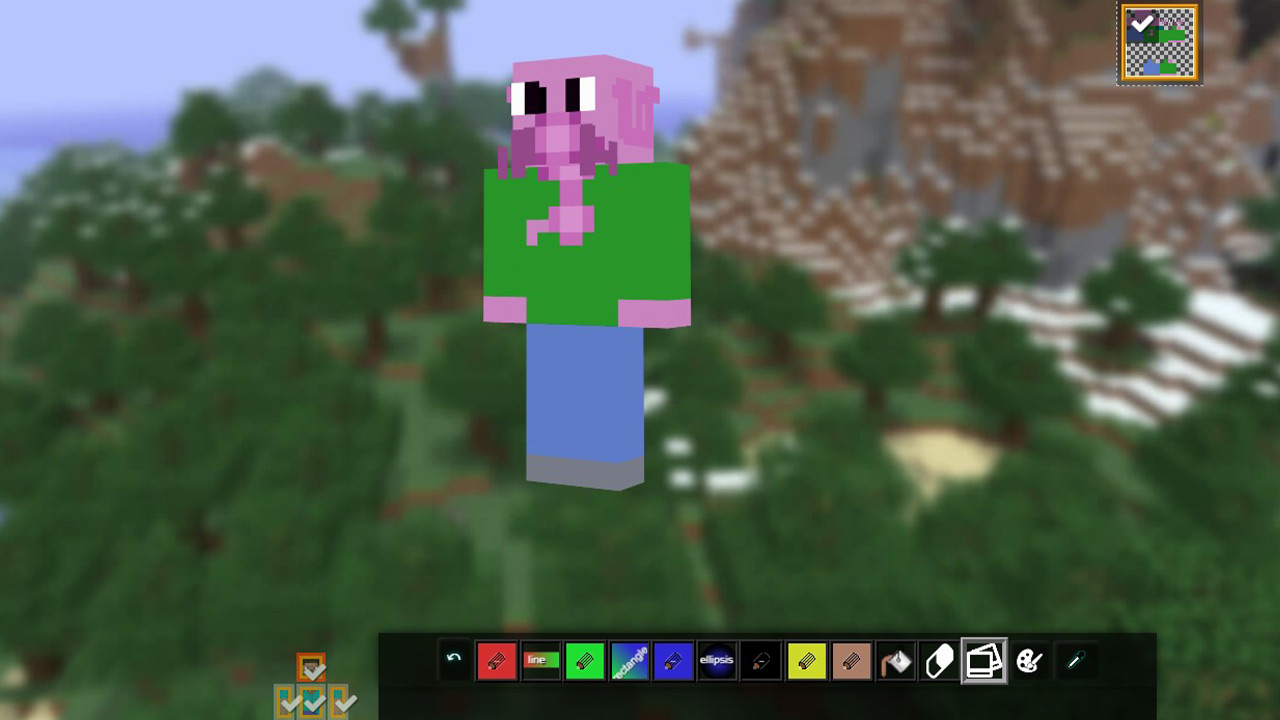
Novaskin: Another popular website for custom skins and skin templates is Novaskin.
- Visit Minecraft.novaskin.me
- Here you can design your own skin with the tools in the editor
- Under “Gallery” you will find a large selection of skins created there
- You can take these as a template and further customize them in the editor or download them directly and use them
- If you have created or found a skin you want to use, select “Save” at the top and download it as a .PNG file
Minecraftskins.net: Known for its user-friendly interface, the skin website Minecraftskins.net allows you to choose templates like “Walter White” or “Ant Man” among the top skins. Or you can also build a skin yourself in the editor.
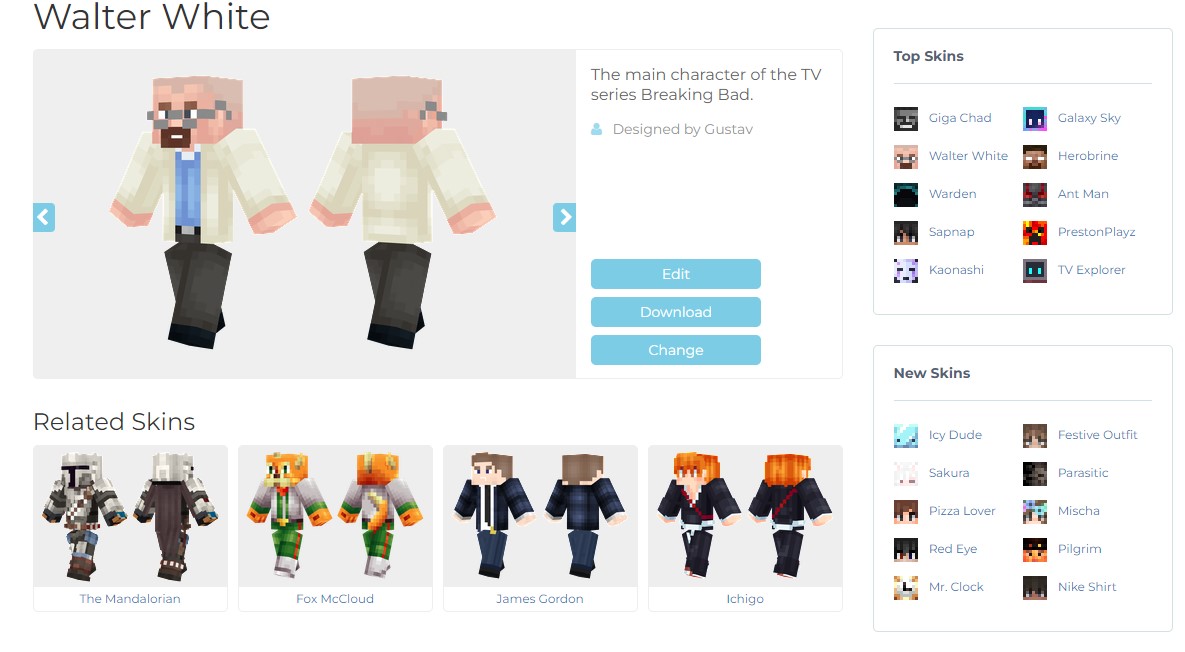
- Visit Minecraftskins.net
- Select the editor or a skin from other users
- When you’re done, click “Download” to receive the skin as a .PNG file
In the next step, we’ll show you how to transfer your downloaded skins into your Minecraft.


Inserting Minecraft Skins – How to upload the .PNG file
After you have downloaded a skin (whether it’s your own or a template from another user), you can easily upload it.
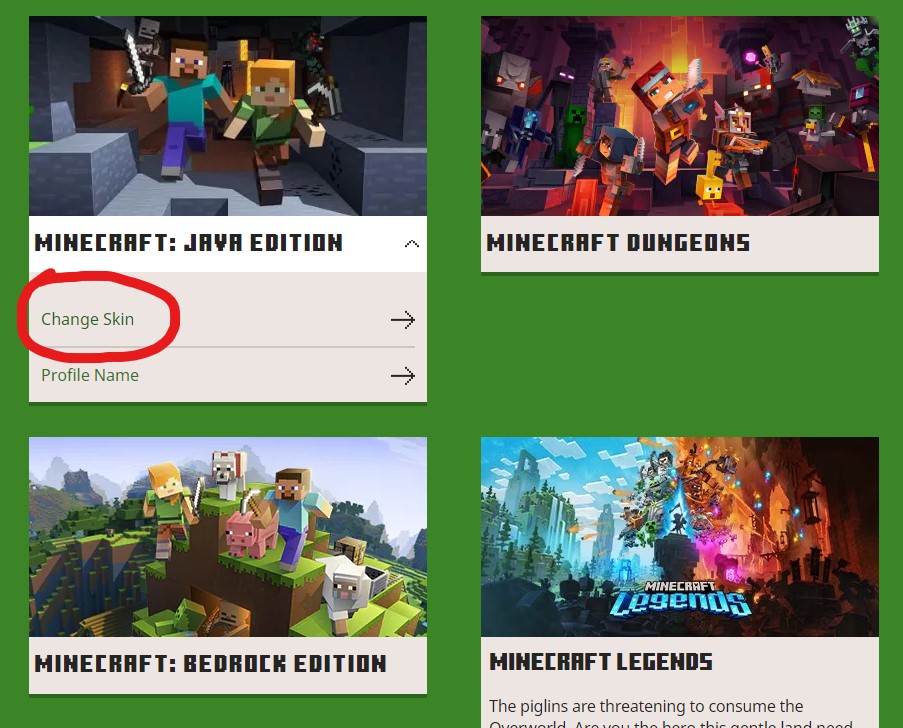
- Visit Minecraft.net
- Log in with your Minecraft (or Microsoft) account that will use the skin
- Select your Minecraft version under “My Games” and then click “Change Skin”
- Now choose between “Classic” and “Slim”
- Then click on Upload and select the .PNG file on your computer that you downloaded from your skin in the first step
- Under “Current Skin” your current skin will then be displayed
If you log in to Minecraft now, your character will appear with the new skin in the game.
You can see that changing the skin in Minecraft is really easy and quick to do. With the many templates from other users, you don’t have to invest much time to transform yourself from the default Steve into a cool appearance.
To make the rest of your game look good as well, we show you 6 cool shaders for Minecraft that enhance your world.

Your opinion is important to us!
Do you like the article? Then let us know!