
In Destiny 2 there has been a new endgame activity since Season 6 – the Reckoning. The third stage proves to be particularly challenging for Guardians. In our guide, we show you which weapons and subclasses are best suited for each of the 3 phases of the Reckoning.

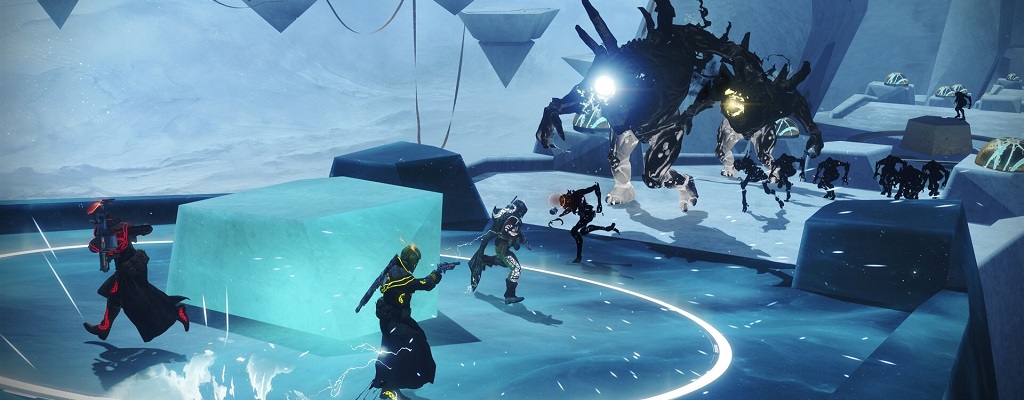
This is how the Reckoning works: The Reckoning is a fast-paced PvE mode where you must fight against numerous hordes of Taken enemies. To complete the activity, you need to overcome 3 phases. It mainly involves defeating as many enemies as possible in the shortest amount of time.
There are three modifiers that change weekly. One of them is a scorching modifier that increases either all Void, Solar, or Arc damage. Additionally, there are two other modifiers that change daily.
These are the daily modifiers of the Reckoning:
- Heavyweight: Power ammo drop rate is tripled, power weapons deal double damage.
- Prism: Rotates between the three elements. When the respective element is active, your dealt damage increases significantly while the damage of other elements is reduced. Kinetic damage and incoming damage are unaffected.
- Blackout: Radar is disabled and enemies deal significantly increased melee damage.
- Bruiser: The charge rate and damage of melee attacks are doubled.
- Grenadier: The charge rate and damage of grenade abilities are doubled.
- Friction: Health regeneration is significantly slower. Defeated enemies drop health orbs.

What power level do you need? The Reckoning at Stage 3 recommends a power level of 690 – and you need to be at least 680 to start the mode at all. Additionally, you must upgrade your synthesizer with the Wanderer to Stage 3.
In the following section, we will show you which subclasses and weapon setups are best for each phase of the Reckoning.
Phase 1: Show Dominance
This is what you have to do: In the first phase of the Reckoning, you need to defeat as many enemies as possible to maintain your dominance. The more dominant you are, meaning the more kills you make as a team, the higher the percentage increases. If you defeat few enemies, your dominance disappears, and the percentage decreases. The goal is to reach 100 percent before the timer runs out.

In between, mini-bosses spawn. If you defeat them, they give you a small boost to your dominance. If your dominance is high enough, you will need to defeat one last Taken boss before you can proceed to the next section.
These subclasses are suitable for Phase 1
These Hunter classes are the best:
- Nightstalker with “Way of the Trapper” and the exotic leg armor “Orpheus Rig”
- Arcstriders with the exotic chest armor “Raiden Flux”
- Gunslingers with the “Way of the Outlaw”
With these setups, you can take out many enemies with your Super. The Nightstalker with the Orpheus Rig is generally very good for debuffing multiple enemies at once and also generates many orbs of light.
This is what “Orpheus Rig” does: With this leg armor, you get Super energy back for every enemy bound by the “Shadowshot”.
With Arc Scorch, it is worth switching to Arcstrider. With the exotic armor, you can stay in your Super for a long time and clear the entire map with enhanced damage. During the Bruiser modifier, your Arc staff is even stronger.
This is what “Raiden Flux” does: Rapid consecutive attacks with the Arc staff increase damage output and duration of the Super.
If Solar Scorch is active, you can use your recently upgraded Golden Gun as a Gunslinger to blast through many enemies. As long as you get kills, you continuously get your shots back. This Super is particularly good because it can instantly destroy distant enemies.
These Warlock classes are the best:
- Voidwalkers with “Chaos Rift” and the exotic helmet “Skull of Dire Ahamkara”
- Dawnblades with “Grace of the Dawn” and the exotic chest armor “Phoenix Protocol”
- Stormcallers with “Storm Control” and the exotic leg armor “Geomag Stabilizers”
Generally speaking, the Voidwalker with the exotic helmet proves to be the most efficient Taken killer. Especially while Void Scorch is active, you can repeatedly launch enemy groups and mini-bosses into the air with Void explosions.
This is what “Skull of Dire Ahamkara” does: Provides additional damage resistance while activating the Nova Bomb. Kills with the Nova Bomb return Super energy.
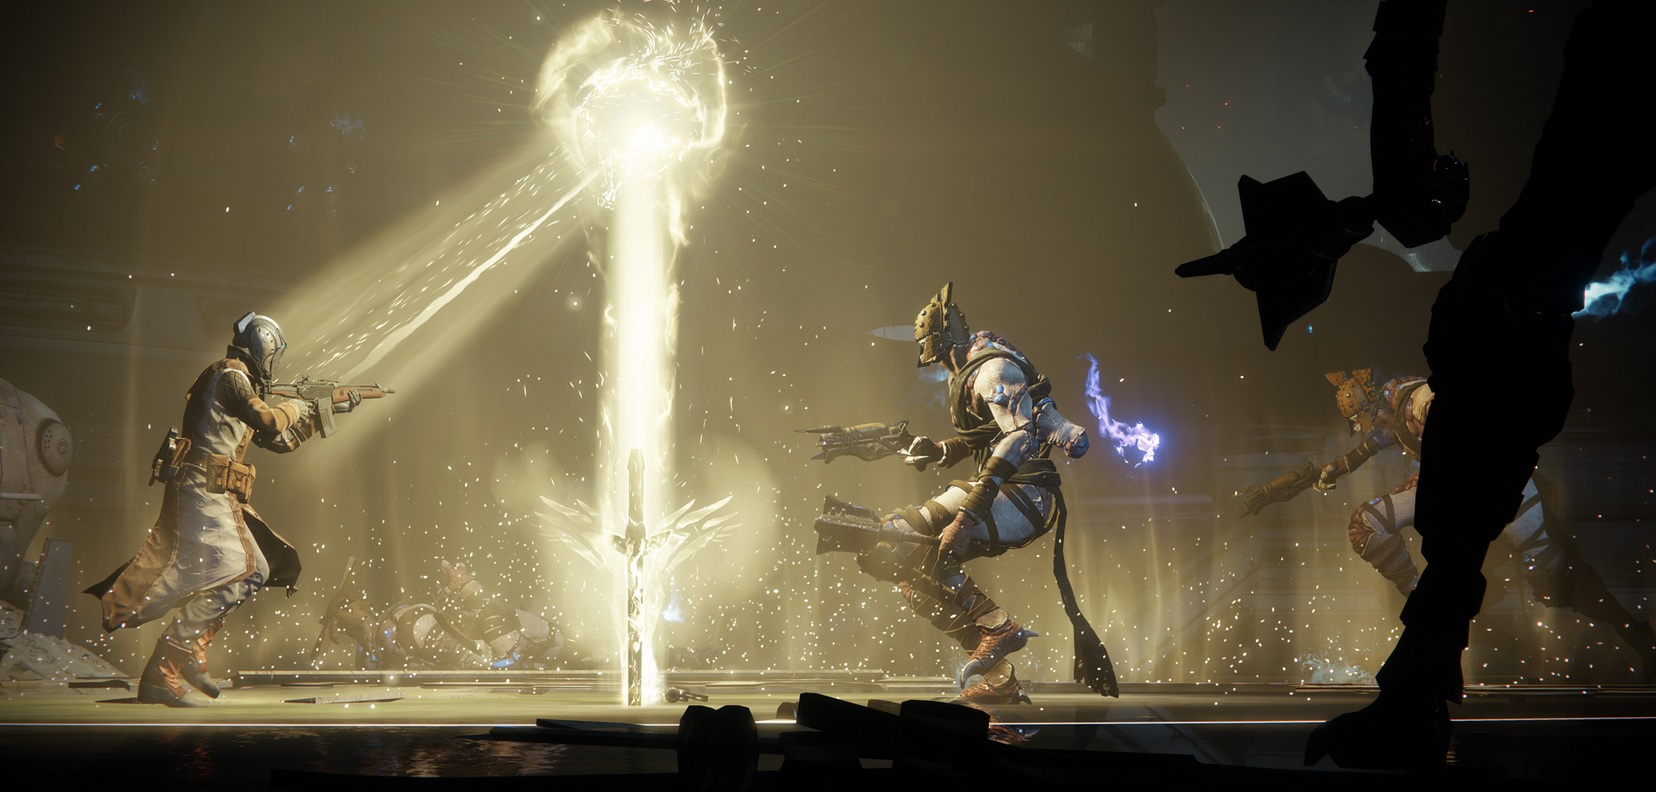
With the Grace of the Dawn, you can support your teammates and stay in the fight longer. Make sure to place the Well of Radiance reasonably centrally so you can defeat enemies from different directions.
This is what “Phoenix Protocol” does: Kills and assists while standing in the Well of Radiance return Super energy.
The Stormcaller is particularly helpful during Arc Scorch. With Chaos Reach, you can deal decent damage to mini-bosses and effectively wipe out enemy groups. The exotic leg armor helps you get more out of your Super.
This is what the “Geomag Stabilizers” do: When the Super meter is almost full, it is completely filled by sprinting. When you deal damage to enemies with Chaos Reach, the duration is extended.
These Titan classes are the best:
- Sentinels with the “Code of the Commander” and the exotic arms “Doombringer Shoulder Armor”
- Strikers with the “Code of the Juggernaut” and the exotic helmet “An Unyielding Skullfort”
- Sunbreakers with the “Code of the Forgewrought” and the exotic chest armor “Mark of Alpha Lupi”
Sentinels with the exotic arms can maintain their Super for longer, promising higher kill potential. Through the small explosions of “Void Suppressors” from the Code of the Commander, you can eliminate whole groups of enemies with just a few shield strikes. This is especially helpful during Void Scorch.
This is what the “Doombringer Shoulder Armor” does: Void melee kills grant Super energy. While “Sentinel Shield” is active, melee kills recharge the shield throw, which extends the Super on hits.
If Arc Scorch is active, the recently improved Juggernaut Code is a great choice for staying in the Super for a long time and sweeping many enemies away with your knee. Especially during the Bruiser modifier, this subclass is highly recommended. The exotic helmet helps you stay alive.
This is what “An Unyielding Skullfort” does: Kills with Arc melee abilities trigger health regeneration and restore melee energy.
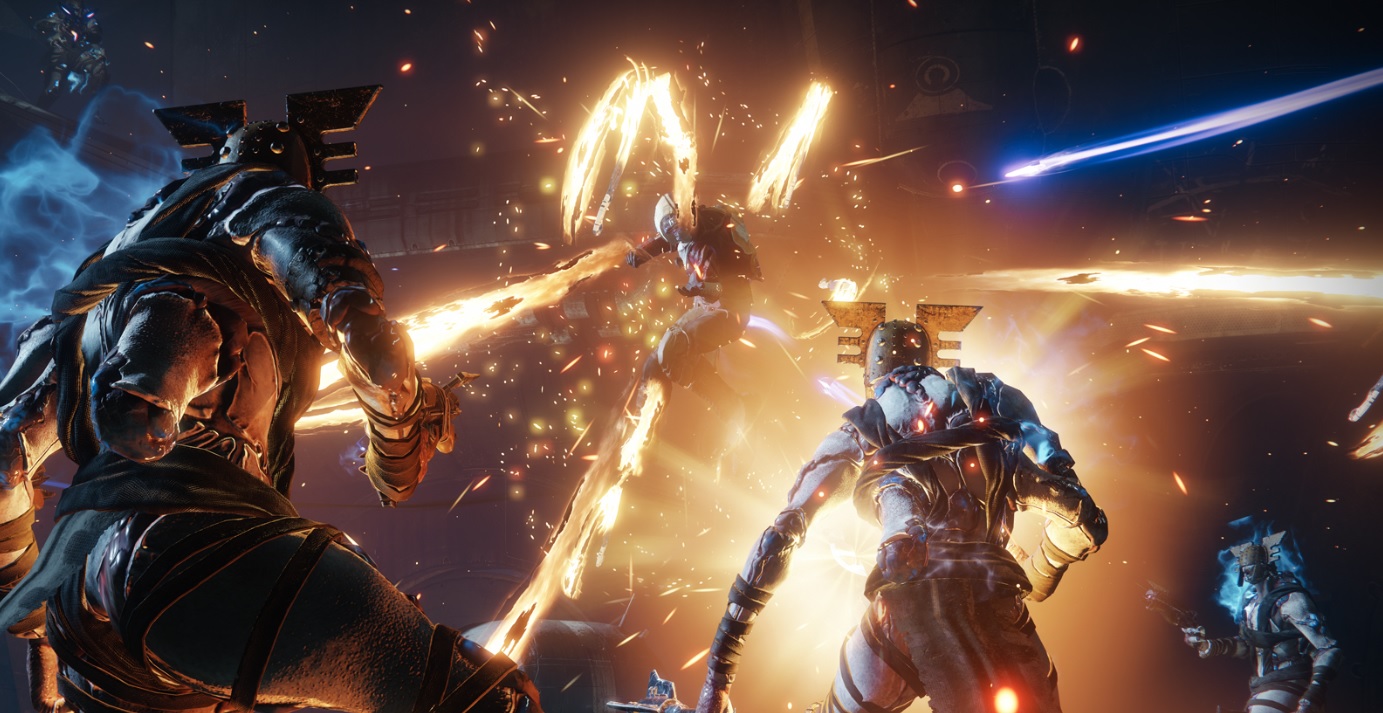
Sunbreakers are particularly effective in Solar Scorch with their hammers as good Taken killers. With your melee ability “Hammer Strike”, you can help your team eliminate mini-bosses faster. Optionally, you can equip the Mark of Alpha Lupi to support your teammates.
This is what the “Mark of Alpha Lupi” does: Generates additional orbs of light through Supers and a healing pulse when activating a barricade.

This is what you need to know: In the Reckoning, it is mainly about the so-called “Super Juggling”. This means that you should chain your Super abilities together to provide each other with orbs of light. This way, you can constantly refill your Supers and use them more often.
These weapon setups are suitable for Phase 1
Which weapons are good for Phase 1? Generally, weapons that allow you to quickly eliminate many groups of enemies at various distances are suitable. Here are some examples of setups that are particularly strong.
Here are three good weapon setups:
- Setup A: Halsbruch / IKELOS_SF_V1.0.1 / Wardcliff Coil
- Setup B: Threat Level / Ignited Orchid / Tractor Cannon
- Setup C: Hochofen / Lord of Wolves / Hammerhead
This is why these weapons are good: The “Halsbruch” is still one of the best PvE weapons in the kinetic slot and helps you deal with many enemies. The well-known “IKELOS” and “Threat Level” shotguns are always very good at quickly taking down tough foes.
The new star of the Reckoning is the exotic submachine gun “Ignited Orchid”. It excels not only in Arc Scorch but also offers a protection mechanism against Arc attacks from the Taken thanks to its exotic perk, making it a good choice.
The exotic fusion rifle “Telesto” is particularly good in Void Scorch. Since enemies appear in smaller groups during Phase 1, you can achieve many multi-kills without needing to reload. If you have the catalyst for it, you even generate orbs of light for your teammates.

Things to keep in mind: Always keep an eye on the weekly Scorch modifier before starting the Reckoning.
Depending on the element, you can adjust your setup accordingly. In the power slot, you can also equip the Avalanche, which is the only heavy machine gun from the Dawning event with a Solar property. When Arc week is on, you may also want to equip the Thunderlord or the new Gambit pinnacle weapon “21% Delirium”.
You can also make an impact with these weapons: The exotic hand cannon “Dienstvergehen” is particularly strong against Taken. If your entire team equips this weapon, you can melt the mini-bosses in no time.
If you are one of the lucky PvP players who already own the new pinnacle weapon “Solitude”, it is recommended to take this one into the Reckoning as well. Especially during Void Scorch, this weapon is a powerful means for pest control.
If you are looking for an alternative to the Wardcliff Coil, you can also use the Two-Tailed Fox. The exotic rocket launcher is great for erasing enemy groups in one or two shots. During the Prism modifier, you can deal massive damage to bosses with this weapon, both with enhanced Void damage and enhanced Solar damage.
The exotic fusion rifle “One Thousand Voices” from the Last Wish Raid is one of the best Power weapons in every activity. During Solar Scorch, you can comfortably wipe the entire map without having to move much. This weapon is ideal for every phase of the Reckoning.
These team setups are suitable for Phase 1
What team setups should be used? If you have a team and can communicate, you should coordinate your subclasses to support each other and generate as many orbs of light as possible.
These are the best team setups:
- A Nightstalker with “Way of the Trapper” and the exotic leg armor “Orpheus Rig”
- A Voidwalker with the “Chaos Rift” and the exotic helm “Skull of Dire Ahamkara”
- A Dawnblade with the “Grace of the Dawn” and the exotic chest armor “Phoenix Protocol”
- A Striker with the “Code of the Juggernaut” and the exotic helm “An Unyielding Skullfort”
With this constellation, you can swiftly eliminate many enemies, regardless of which modifier is currently active.
The task of the Voidwalker and the Striker is to land as many kills as possible with their Supers. The Nightstalker and the Dawnblade support them with their support-heavy Super abilities.

If you placed a raid banner at the beginning of the Reckoning, you start with full Super abilities and can immediately begin destroying and chaining your Super abilities.
Tip: There are pauses between the sections where you can switch your subclass and equip other weapons. Use this to your advantage and adjust your character for the upcoming phase. However, once someone enters the next section, the timer starts. This strategy usually only works in a closed fireteam.

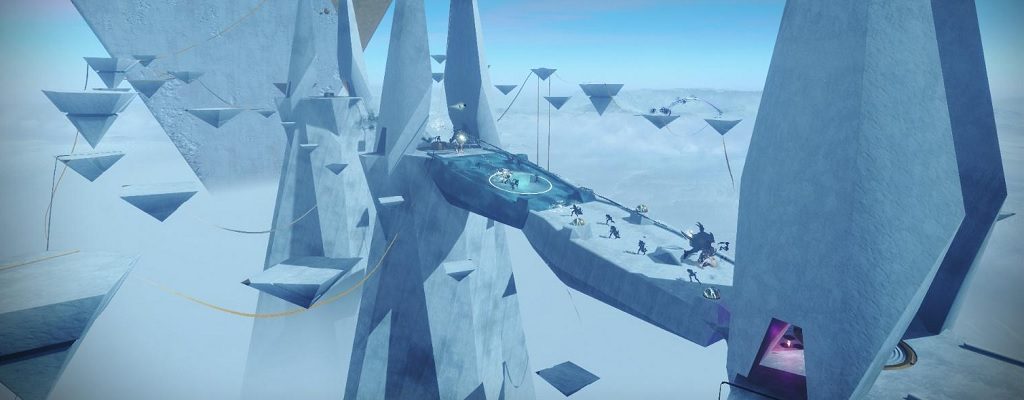
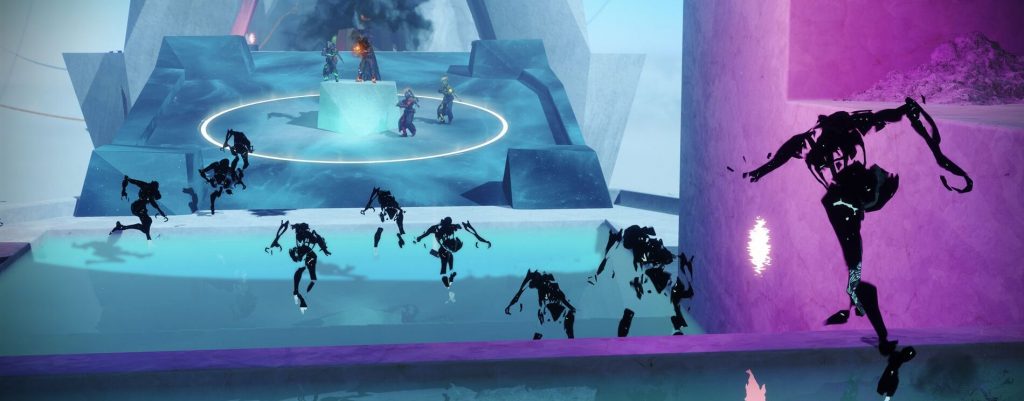
Phase 2: The Absurd Bridge
This is what you have to do: In this section, you need to fight your way across the “Absurd Bridge” in stages. There are 6 zones that you must capture one after the other. Meanwhile, hordes of Taken thralls and mini-bosses will swarm towards you.
The mini-bosses are particularly tough at Stage 3 and require your team’s full attention.
Be careful not to be pushed off the bridge, as you will have to wait on the respawn timer and lose valuable time. Due to the limited time, the death of a team member usually means the end for the entire group.
These subclasses are suitable for Phase 2
These Hunter classes are the best:
- Nighthawk with “Way of the Trapper” and the exotic leg armor “Orpheus Rig”
- Gunslingers with the “Way of a Thousand Cuts” and the exotic arms “Galanor Fragments”
This Hunter class is a must-have: The Nightstalker with the “Orpheus Rig” is essential for this phase. With the Shadowshot, you can significantly weaken all enemies and slow down the annoying Taken thralls. This Super is particularly important for the mini-bosses that are approaching; if they are bound by the Shadowshot, you can take them out as quickly as possible.
With the Gunslinger and the “Galanor Fragments”, you can deal crucial damage against the bosses. Since all enemies come from one direction, you can hit as many as possible with Blade Barrage.
This is what the “Galanor Fragments” do: Hits and kills with Blade Barrage grant Super energy shortly after the Super ends.
These Warlock classes are the best:
- Voidwalkers with the “Chaos Rift” and the exotic helmet “Skull of Dire Ahamkara”
- Dawnblades with the “Grace of the Dawn” and the exotic chest armor “Phoenix Protocol”
Voidwalkers with the “Skull of Dire Ahamkara” are good for quickly taking down the approaching mini-bosses. The exotic helmet is particularly important for this section.
This Warlock class is a must-have: Dawnblades with the Well of Radiance are even more important. In the second phase of the Reckoning, you will take damage from all sides while defeating many strong enemies. Therefore, the Super is required for both offensive and defensive use.
The Absurd Bridge seems to be made for this Super, as there is a cube at each zone where you can dunk your blade. The exotic chest armor “Phoenix Protocol” ensures that you also have enough Super energy for each zone.
These Titan classes are the best:
- Sentinels with the “Code of the Commander” and the exotic arms “Ursa Furiosa”
- Sentinels with the “Code of the Protector” and the exotic helm “Helm of the 14th Saint”
- Sunbreakers with the “Code of the Devastator” and the exotic arms “Synthoceps”
With the Code of the Commander, you can use the block function of your Super to protect your team from damage while simultaneously strengthening them. Thralls passing through the shield will be marked with a “Void Suppressor”, which will then cause a small Void explosion. This way, you don’t have to worry about each one of them individually.
This is what “Ursa Furiosa” does: You can move faster while blocking when Sentinel Shield is active. Damage taken while blocking is converted into Super energy after the Super ends.
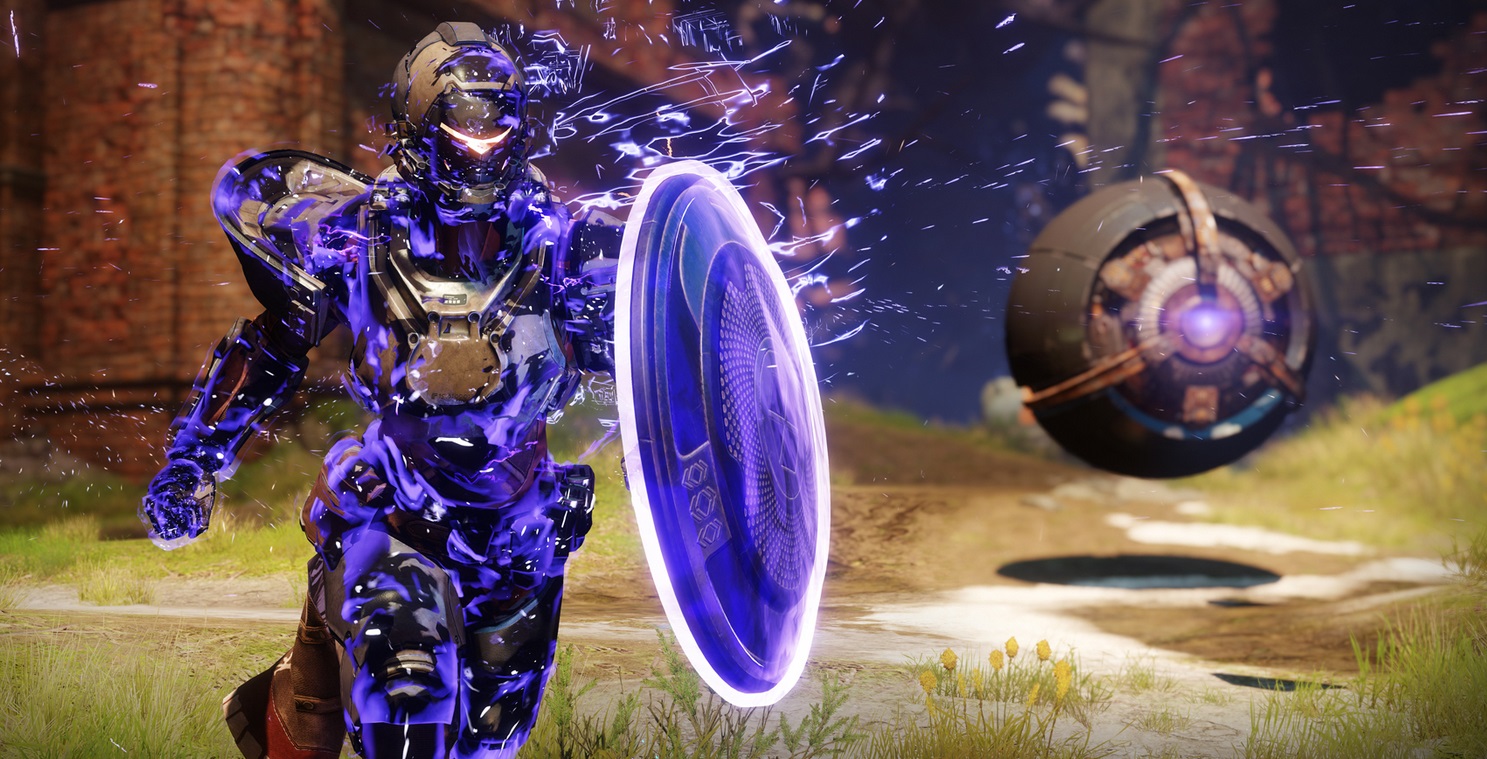
If you don’t have a Well of Radiance available, the Code of the Protector is also quite effective for safely capturing the zones. When you hold the Super button longer with this talent tree, you place the shield dome “Dusk’s Protection”. The exotic helmet makes your dome even more effective.
This is what the “Helm of the 14th Saint” does: Enemies that enter the Dusk Protection are blinded temporarily. Allies passing through gain an overshield. Blocking with the Sentinel Shield blinds nearby enemies.
During Solar Scorch, the Super of the Devastator Titan is quite effective on the bridge. Due to its straightforward attacks, you can also damage distant enemies while trampling everything in your vicinity. The exotic arms make your Super even more powerful.
This is what the “Synthoceps” do: Melee jump distance is increased. When surrounded, the damage of the Super and melee attacks is increased.
These weapon setups are suitable for Phase 2
Which weapons are good for Phase 2? Here you need weapons that can quickly deal a lot of damage. Your biggest challenge will be the bulky mini-bosses that you have to stop among the swarms of thralls. Additionally, there are Taken snipers that can deal a deadly shot from a distance.
Here are three good weapon setups:
- Setup A: Wandlung / IKELOS_SF_V1.0.1 / Legende von Acrius
- Setup B: Threat Level / Ignited Orchid / Tractor Cannon
- Setup C: Hochofen / Lord of Wolves / Strykers Vermächtnis
This is why these weapons are good: To quickly take down the mini-bosses, the power shotgun “Legende von Acrius” from the Leviathan Raid and the new top shotgun, “Lord of Wolves” are the best choices. Depending on the Scorch modifier, you can use one of them. The exotic “Tractor Cannon” provides a third option.
A good Void combo: The Tractor Cannon works excellently with the Nova bombs of the Voidwalker, as it makes the affected enemy more susceptible to Void damage. For this reason, the “Ignited Orchid” is recommended in the second setup (B). This hand cannon also has Void damage and can come with the surrounded perk.
This is what the Surrounded perk does: This weapon receives a 40% damage bonus when three or more enemies are nearby. With the weapon mod “Surrounded Spec”, this damage increases to 55% and lasts longer.
This perk is particularly good for Phase 2 of the Reckoning, as you are always within circles and thus always surrounded by enemies. The sword “Strykers Vermächtnis” and the shotgun “Threat Level” can also roll with this perk, which is why they are also recommended.
The scout rifle “Wandlung” from the Last Wish Raid is good for quickly taking down the annoying Taken snipers with a few shots due to its high range. The same goes for the pulse rifle “Hochofen” from the Schwarze Waffenkammer. However, these weapons are not necessarily crucial. For the kinetic slot, you can use your preferred distance weapon.

You can also make an impact with these weapons: Alternatively, you can use the exotic weapon “Jötunn”. This weapon has a short charge time and is equally effective for heavily hitting mini-bosses and quickly taking out the snipers. Especially during Solar Scorch, this fusion rifle deals significant damage.
If you do not own the “Legende von Acrius”, you can also use the exotic Arc grenade launcher “The Prospector“. This weapon is particularly strong nowadays and provides a lot of DPS – even without Arc Scorch. Just be careful not to blow yourself up with the grenades.
The trick with the Sleeper Simulant: If the charge time on the Sleeper Simulant does not bother you, this weapon is definitely worth your power slot. With the notorious boss killer, you can apply a specific trick to deal bonus damage to the mini-bosses.
All you need to do is aim at the ground beneath the opponent so that the laser beam splits. With the correct execution, you can hit large boss enemies multiple times with a single shot and deal massive damage.

You can also take down the Taken snipers with the exotic linear fusion rifle. However, ask yourself if you really want to waste your power ammo on that.
Fun but effective: Those of you who managed to get the exotic grenade launcher “Anarchy” in the “Scourge of the Past” raid should definitely give it a try in the second phase. With the chaining mechanic of the sticky grenades, you can effectively barricade the bridge and set up an electric fence for your enemies. This weapon is especially optimal for the Absurd Bridge when Arc Scorch and Heavyweight are active.
These team setups are suitable for Phase 2
Which team setup matters here? In Phase 2, it is even more important to be synchronized as a team, as every second counts. If you do not have a Dawnblade available, the Sentinel Titan with the Dusk Protection is a good alternative for safely capturing the zones.
These are the best team setups for Phase 2:
- A Nightstalker with “Way of the Trapper” and the exotic leg armor “Orpheus Rig”
- A Voidwalker with the “Chaos Rift” and the exotic helm “Skull of Dire Ahamkara”
- A Dawnblade with the “Grace of the Dawn” and the exotic chest armor “Phoenix Protocol”
- A Sentinel Titan with the “Code of the Commander” and the exotic arms “Ursa Furiosa”.
With this constellation, you can safely secure the zones. The Dawnblade should place the Well of Radiance immediately after entering a new zone. The Nightstalker should keep the opponents at bay with the Shadowshot in the meantime.
As a Nightstalker, you need to keep a close eye on the enemies. In this phase, mini-bosses spawn in front and behind the zones. Therefore, you should always have a Shadowshot ready for both sides.
The task of the Voidwalker is clear: Nova bombs, Nova bombs, Nova bombs. However, do not forget to stay within the zone. Exiting the zone for too long can have fatal consequences.
The Sentinel’s task is to repel enemy attacks and shots with his banner shield and shield his teammates. As a Sentinel, pay special attention to the Taken snipers and adjust the position of your shield accordingly. Occasionally, you can throw a shield to sweep away some thralls and place Void Suppressors on the boss enemies.
If Solar Scorch is active, it is advisable to bring a Gunslinger with the “Way of a Thousand Cuts” instead of a Sentinel Titan. Equipped with the “Galanor Fragments”, this class can deal significant damage with its Super.
Phase 3: The Pit
Note: The third phase of the Reckoning is in a weekly rotation. As the final phase, there is either the Pit or the fight against the Shadow of Oryx.
This is what you have to do: After you step through the portal, you find yourself in a dark pit. In it, you must defeat two Ascendant Knights that constantly rush at you. To deal damage to them, you first need to defeat a marked enemy. This enemy is hiding in one of the dark corners of the pit.

This grants you a buff similar to the Well of Radiance. Be careful not to stay at the same spot for too long, as the Knights can easily overpower you. When their health bar reaches the last quarter, they lose their helmets and become even more aggressive.
It is recommended to focus on one Knight at a time. Once you take one down, the second becomes an easier challenge.
Note: There is a black pool around you. Avoid stepping into the water as it slowly drains your Super energy.
These subclasses are suitable for Phase 3
These Hunter classes are the best:
- Nighthawk with “Way of the Trapper” and the exotic leg armor “Orpheus Rig”
- Gunslingers with the “Way of a Thousand Cuts” and the exotic arms “Galanor Fragments”
These Warlock classes are the best:
- Voidwalkers with the “Chaos Rift” and the exotic helm “Skull of Dire Ahamkara”
- Dawnblades with the “Grace of the Dawn” and the exotic chest armor “Phoenix Protocol”
- Stormcallers with the “Storm Control” and the exotic leg armor “Geomag Stabilizers”
These Titan classes are the best:
- Sentinels with the “Code of the Commander” and the exotic arms “Ursa Furiosa”
- Sunbreakers with the “Code of the Forgewrought”
- Strikers with the “Code of the Rocket”
If Arc Scorch is active, it is worthwhile to also engage with the new Striker class. With its Super ability, Thundercrash, you can deal devastating damage. Under tight circumstances, this can be the decisive blow against the Knights. If you master the directional control of this Super, you can even hit both at once.
These weapon setups are suitable for Phase 3
Here are three good weapon setups:
- Setup A: Threat Level / Nation of Beasts / Wardcliff Coil
- Setup B: Midnight Coup / IKELOS_SF_V1.0.1 / Sleeper Simulant
- Setup C: Hochofen / Lord of Wolves / Hammerhead
Power is everything: In this phase, it is essential to deal as much damage as quickly as possible to the Ascendant Knights. Since you do not have much time, you will primarily use your power weapons and Super abilities. Due to this reason, your primary weapons are secondary. The primary weapons from the recommended setups serve only as examples.
These team setups are suitable for Phase 3
- A Nightstalker with “Way of the Trapper” and the exotic leg armor “Orpheus Rig”
- A Voidwalker with the “Chaos Rift” and the exotic helm “Skull of Dire Ahamkara”
- A Dawnblade with the “Grace of the Dawn” and the exotic chest armor “Phoenix Protocol”
- A Gunslinger with the “Way of a Thousand Cuts” and the exotic arms “Galanor Fragments”
Phase 3: The Shadow of Oryx
This is what you have to do: In this section, you must face a well-known enemy from Destiny 1. At least, the shadow variant of it. You have 4 minutes for the battle against the Shadow of Oryx. While Oryx teleports from one corner of the platform to another, additional Taken will appear, including big ogres.
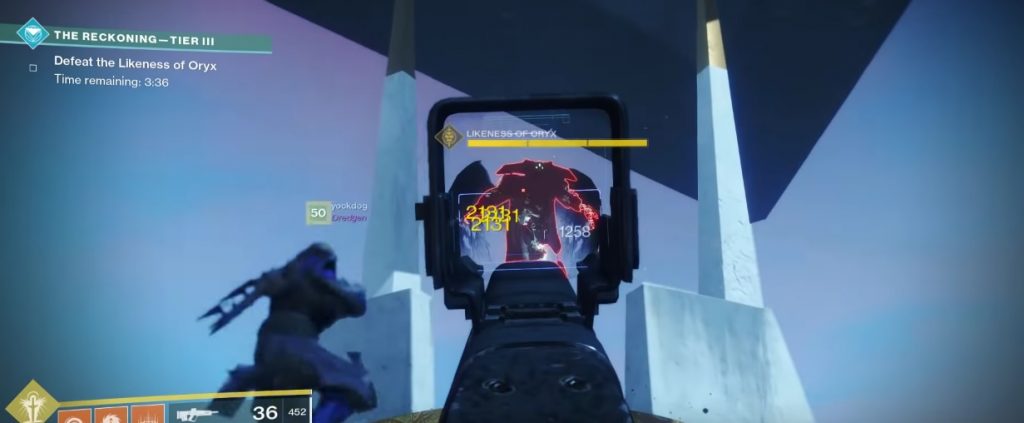
All you need to do in this section is to deal enough damage. After some time, Oryx will activate a countdown. If this reaches zero, he will unleash a devastating attack that inflicts heavy damage to your entire team. To prevent this, you must deal enough damage within the time.
Note: Do not go into the golden chalices that Oryx often teleports to. Just like the black water in the pit phase, these will drain your valuable Super energy.
These subclasses are suitable for Phase 3
These Hunter classes are the best:
- Nighthawk with “Way of the Trapper” and the exotic leg armor “Orpheus Rig”
- Gunslingers with the “Way of the Sniper” and the exotic helm “Celestial Nighthawk”
As this phase is mainly a boss fight, precise Gunslingers can choose the “Way of the Sniper” to deal a massive amount of damage with the Golden Gun. The exotic helm dramatically increases the effectiveness of your Super.
This is what the “Celestial Nighthawk” does: Modifies the Golden Gun to fire a single shot that deals 6 times damage. Enemies defeated by the shot explode and return Super energy.

These Warlock classes are the best:
- Voidwalkers with the “Chaos Rift” and the exotic helm “Skull of Dire Ahamkara”
- Dawnblades with the “Grace of the Dawn” and the exotic chest armor “Phoenix Protocol”
- Stormcallers with the “Storm Control” and the exotic leg armor “Geomag Stabilizers”
These Titan classes are the best:
- Strikers with the “Code of the Rocket”
- Sunbreakers with the “Code of the Forgewrought”
These weapon setups are suitable for Phase 3
Here are three good weapon setups:
- Setup A: Threat Level / Nation of Beasts / Wardcliff Coil
- Setup B: Midnight Coup / IKELOS_SF_V1.0.1 / Sleeper Simulant
- Setup C: Hochofen / Lord of Wolves / Hammerhead
Ammunition is important: In this boss fight, you must deal as much damage to the Shadow of Oryx as quickly as possible. It is advisable to save your power ammo until this point. Try to eliminate smaller enemies, such as the Taken Psions, exclusively with your primary weapons, so that you have enough special and power ammo left for the boss.
These team setups are suitable for Phase 3
- A Nightstalker with “Way of the Trapper” and the exotic leg armor “Orpheus Rig”
- A Voidwalker with the “Chaos Rift” and the exotic helm “Skull of Dire Ahamkara”
- A Dawnblade with the “Grace of the Dawn” and the exotic chest armor “Phoenix Protocol”
- A Gunslinger with the “Way of a Thousand Cuts” and the exotic arms “Galanor Fragments”
Things to pay attention to: In this phase, timing is crucial. Wait with your Nova Bomb and Blade Barrage until the Nightstalker has fired his Shadowshot. If you activate these Super abilities too early, it could have fatal effects on your damage output.
As a Nightstalker and a Dawnblade, you also have to be careful with your Super activation. The Shadow of Oryx might teleport away exactly when you activated your Well of Radiance or your Shadowshot.
Here, Ninja-Pups gives you more tips on how to master the third stage of the Reckoning and farm the new hand cannon:


Your opinion is important to us!
Do you like the article? Then let us know!