
MeinMMO author Maik Schneider has cleaned the dust from the fan of his PS5 for the first time and shows you step by step and with pictures how you can easily do it yourself – without jeopardizing the warranty.
As soon as the PS5 stands still for a while, a lot of dirt accumulates in the console. Because besides its function as a high-tech gaming platform, the PS5 is also an excellent dust collector.
Cleaning the fan of the PS5 is relatively simple if you know how. And that’s exactly what I want to show you here. Tips for cleaning the PS4 can be found here.
Cleaning the PS5: What you need
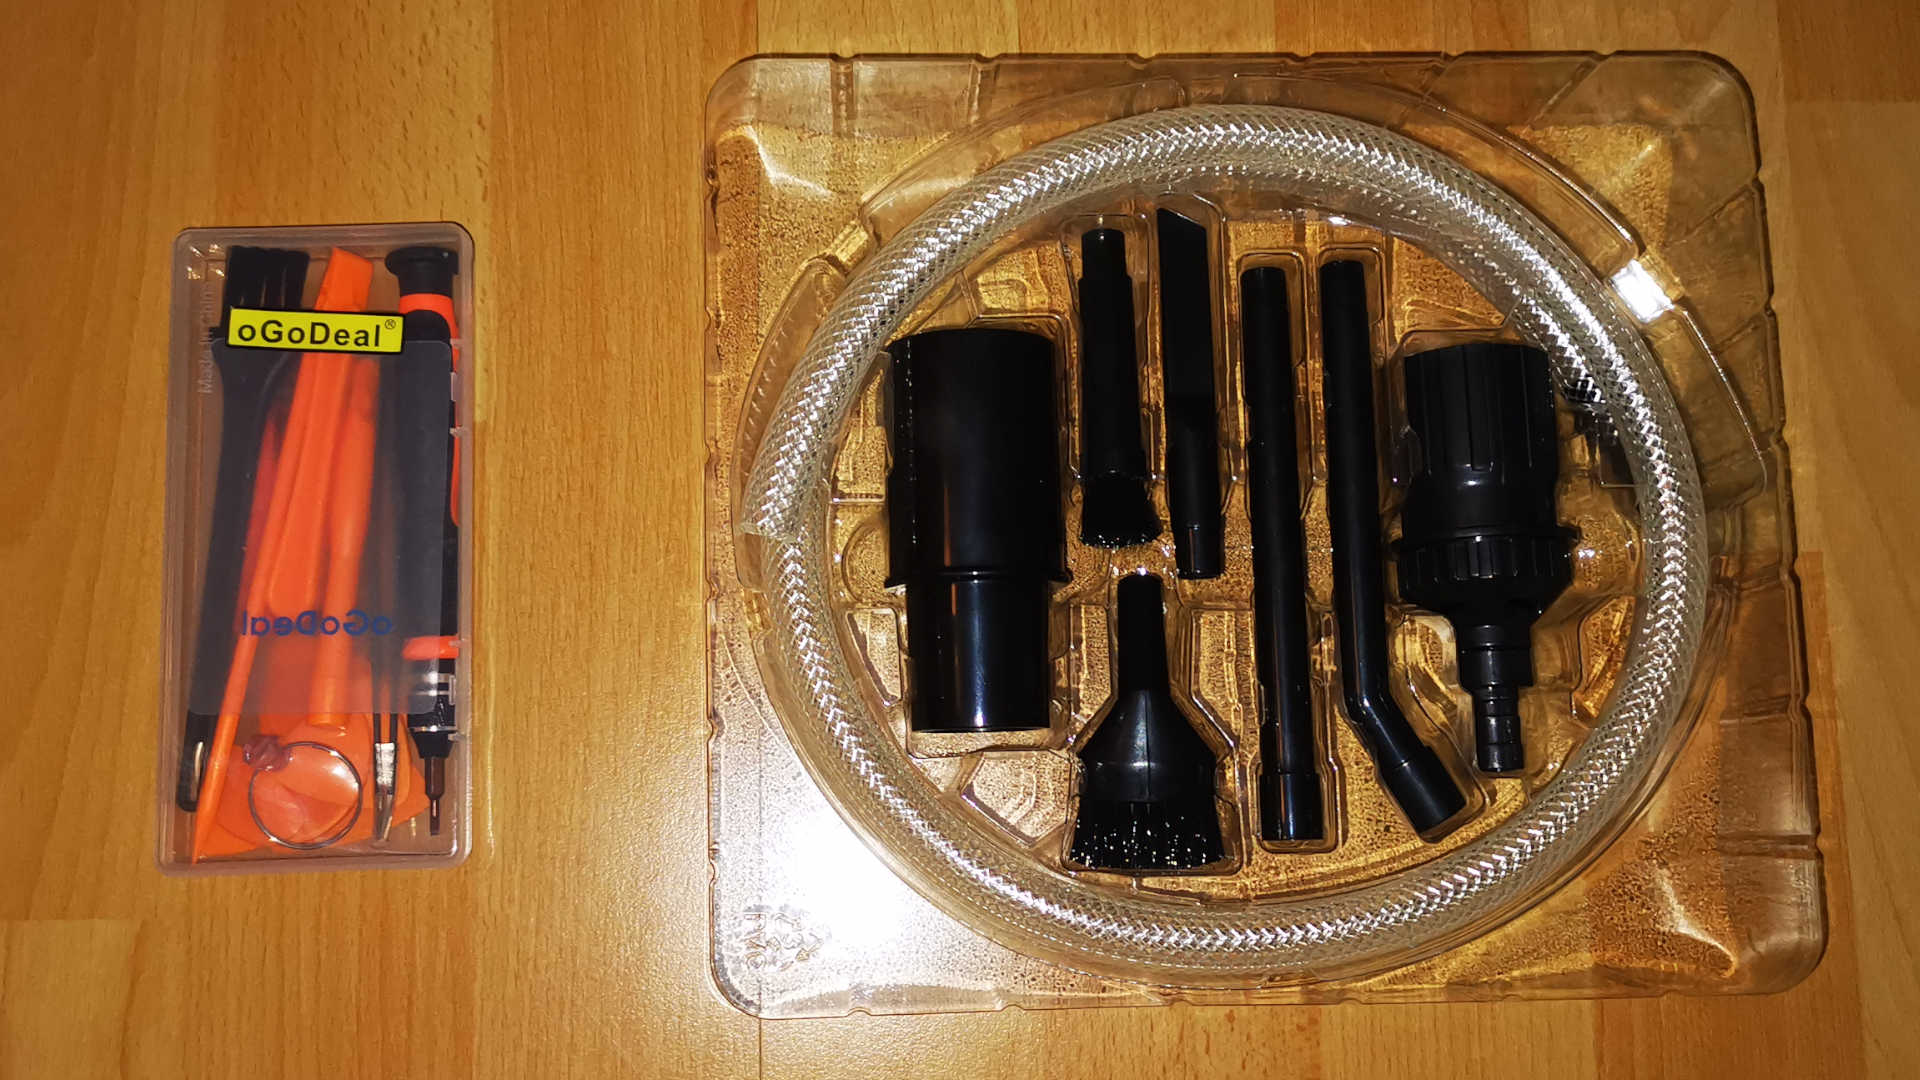
Besides your dirty console, you need a specific screwdriver. Otherwise, you can also rely on your own solutions for the cleaning materials:
- Torx screwdriver – size T8 or T9
- Vacuum cleaner with standard caliber 2.8 cm
- Attachment set for vacuum cleaner with cleaning accessories
For the screwdrivers, I got a whole set and paid just over €10. But you can also buy just a single device or a bit – you can find them on Amazon from €5.
When it comes to the attachment set for the vacuum cleaner, it’s important to check beforehand whether the parts fit your vacuum cleaner. For the common caliber of 2.8 cm, you will find a suitable set here:
If you choose a set yourself, make sure that the attachments have holes that allow you to regulate the suction power. My vacuum cleaner only has one strength, and I didn’t want to mess around with the full suction power in my PS5.
Cleaning the PS5: Step-by-Step Guide
Turn off your PlayStation completely (rest mode is not enough), unplug all cables, and find a lint-free surface for cleaning.
First, remove your stand. You can also vacuum it a little while you’re at it.
Then comes the most difficult step, if you are not familiar with the procedure: removing the side plates. I had to watch a few guides until I found a suitable noob description.
Lift the plate at the PlayStation symbol slightly with one hand and slide the plate down with the other hand.

I needed a few tries and noticed that the side plates are quite flexible. But still, be careful.
Remember the side with the PlayStation symbol as “top”. That’s the thin, upper, left side. Rotate the console and repeat the process with the other side plate – this time at the thin, right side on top.
Now you can admire your work from the last months: fine dust.
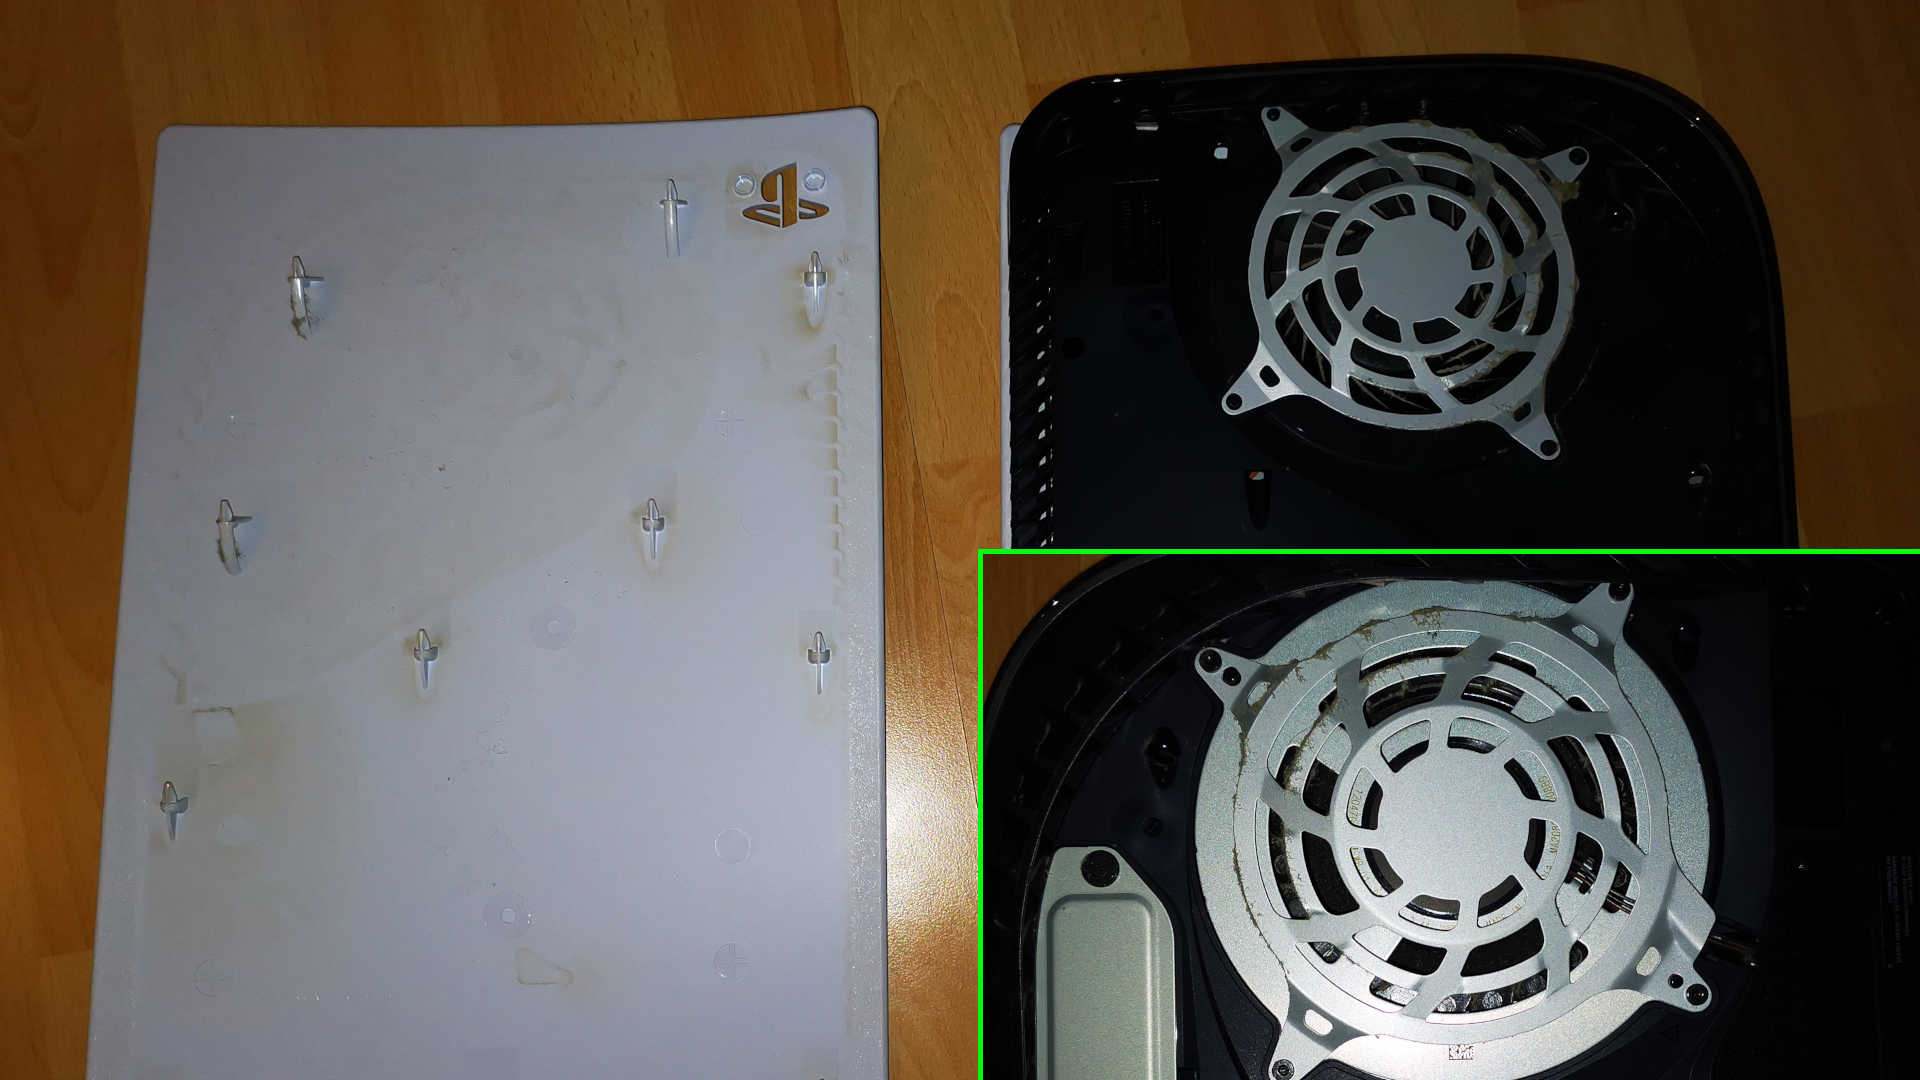
If you want to clean the interior of the side plates, you have to scrub correctly. However, I’m focusing on removing dust from the fan here.
You can now get the vacuum cleaner out for the first time. Use an attachment with a small brush and remove the initial dust from the surfaces and the ventilation grilles on both sides.
Before you can remove the screwed ventilation grilles, you need to take off the strips with the ventilation slots.
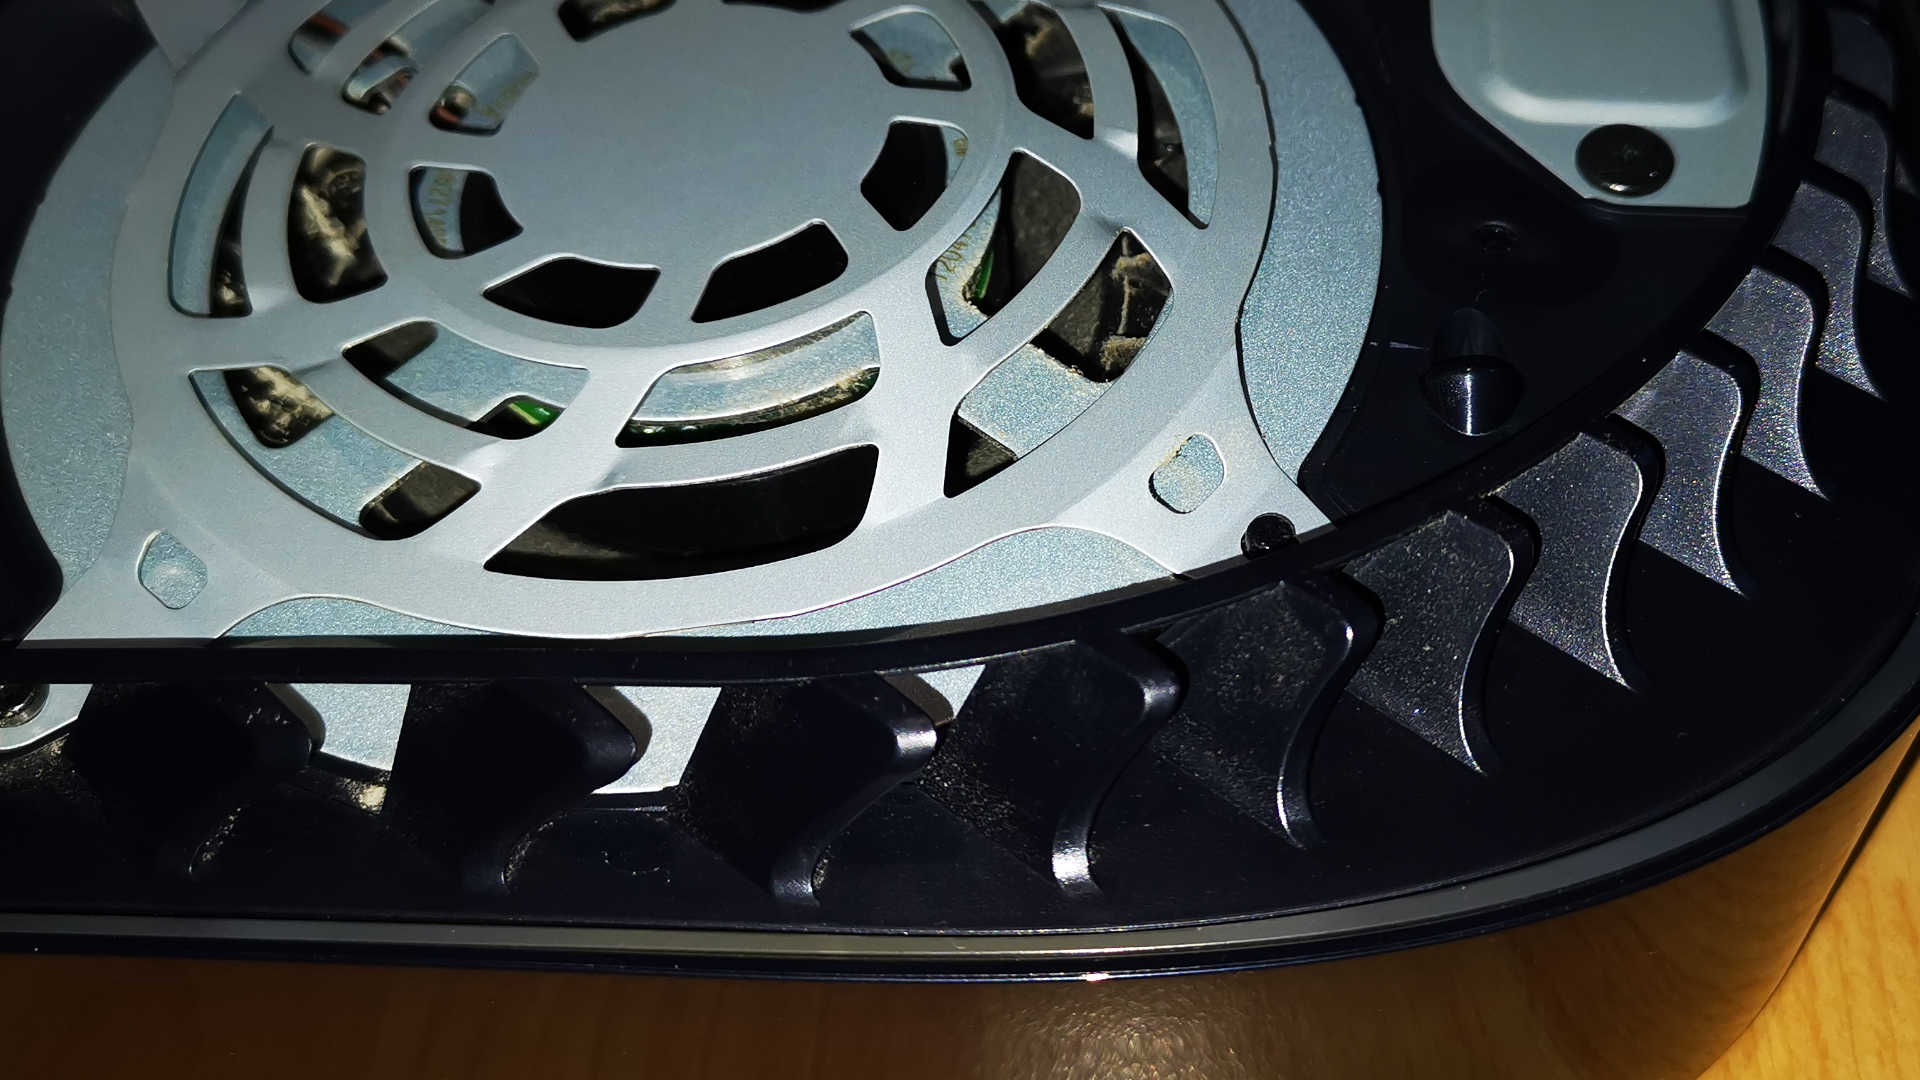
The slots can be released without tools: Carefully lift the parts from the middle until the holder comes loose. You can do this on both sides and clean the slots as well.
The plastic grilles, however, sit quite tight.
Now lay your PS5 with the drives facing up. This is the side where more metal plates are installed. Here you either have just the cover for the SSD hard drive or additionally a larger metal plate for the disc drive.

Now grab the Torx T8 or T9 screwdriver and remove the 4 screws from the casing.
Arrange the screws so that you know again later which screw belongs in which hole. The screws have different lengths.
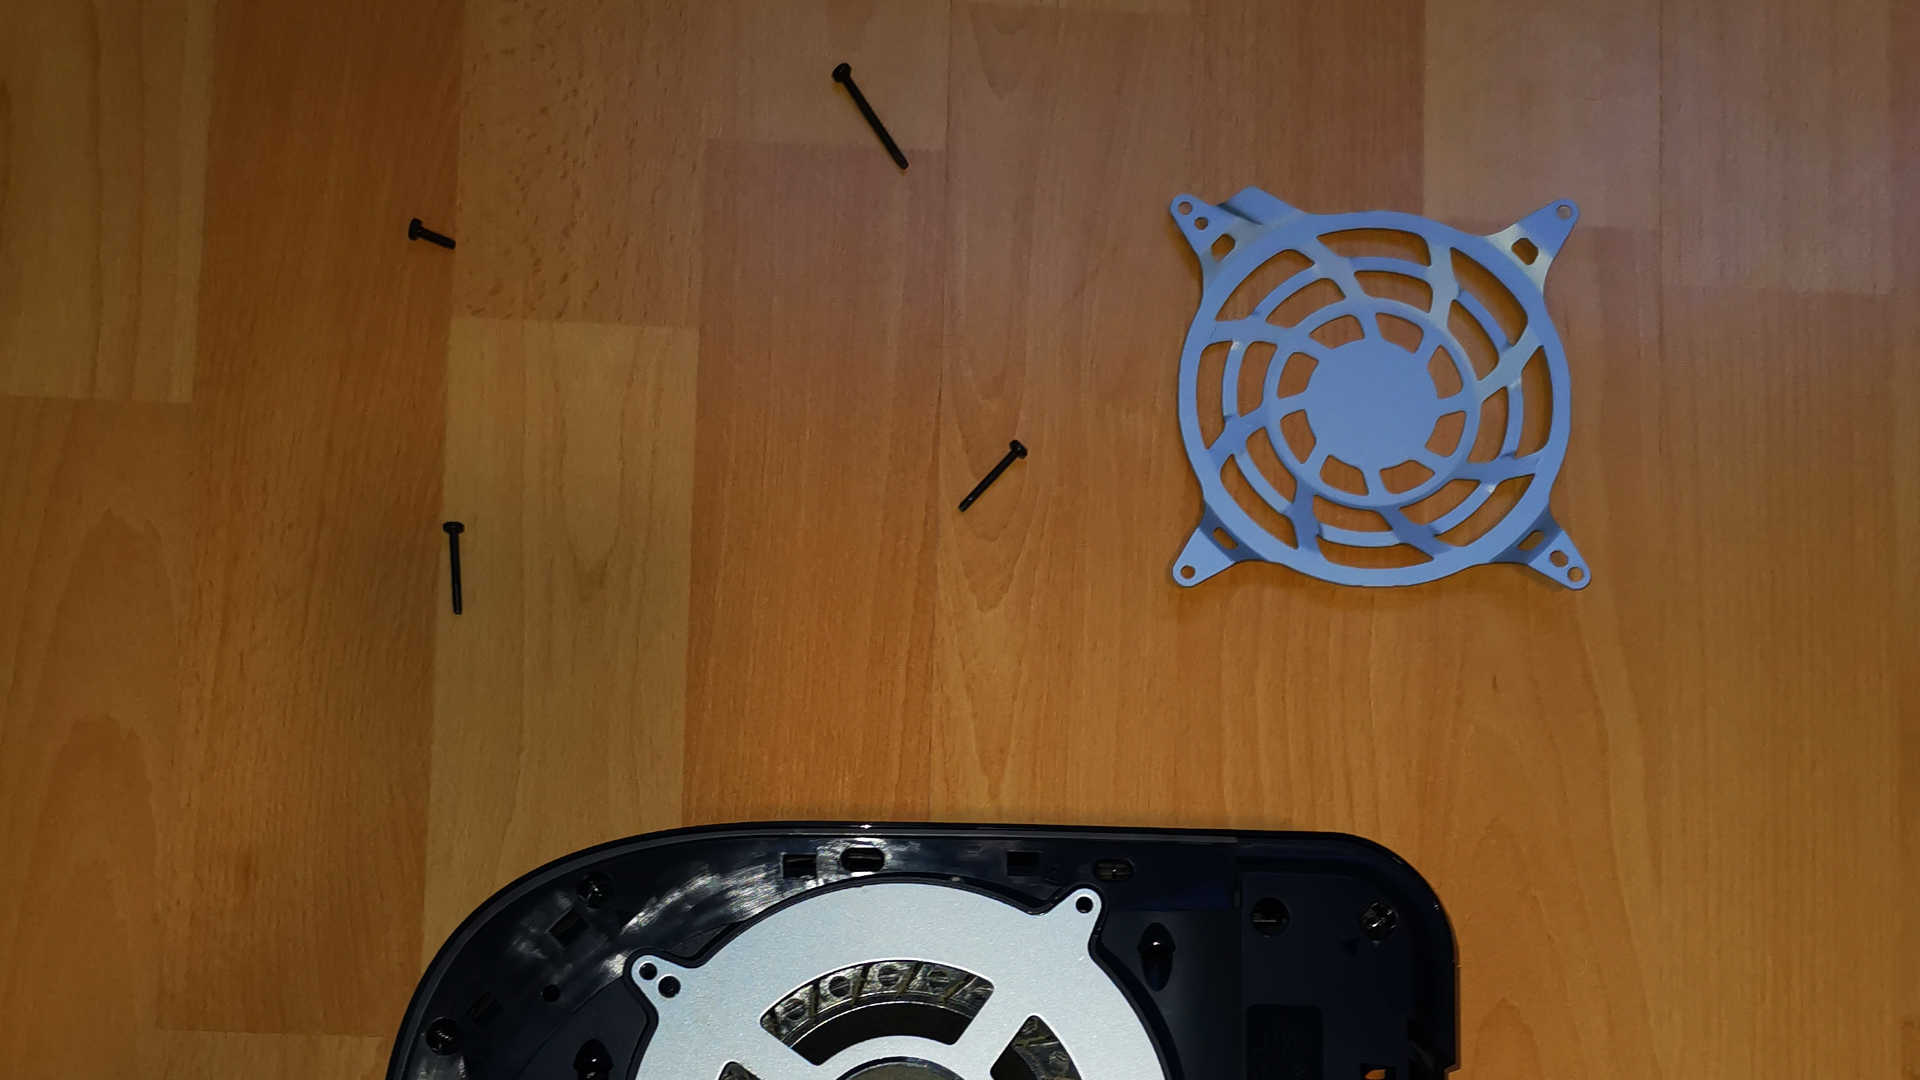
Now carefully take the fan out of the housing and pay attention to the cable connection. However, the cables give you enough play to turn the fan and place it on the screw holes.

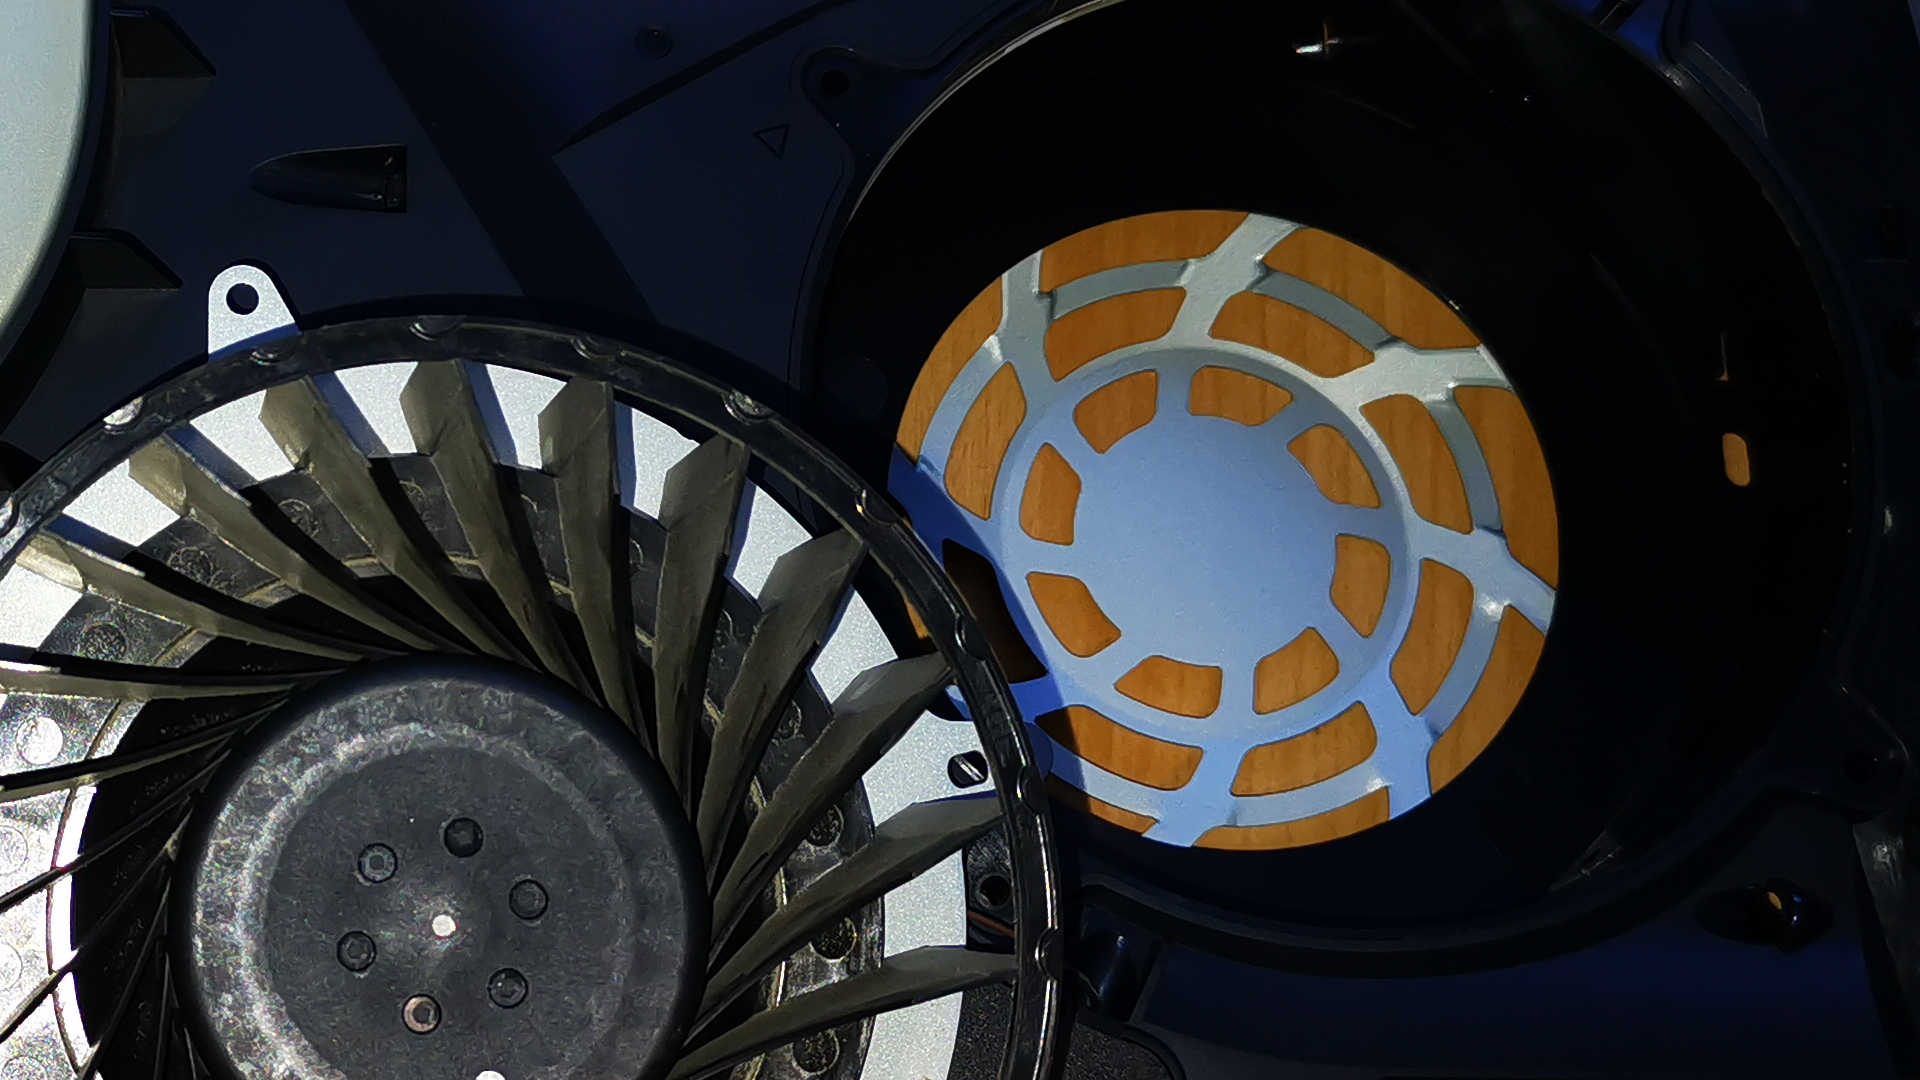
Now the fan can be wonderfully cleaned. Use the small attachment brushes with the vacuum cleaner or take cotton swabs to reach every last groove.
It’s important to use lint-free cleaning tools. Otherwise, more troublesome stuff will end up in the console than was inside before.
After cleaning, move the fan a bit to the side and take a look at the exposed interior. Here you can also clean very carefully and remove all visible dust.
With that, you have completed the cleaning and freed your fan from annoying dust. Put the parts back together:
- Insert fan
- Put grilles on
- Tighten screws
- Mount ventilation slots
- Put on side plates
When reassembling, I had trouble mounting the side plates again because I didn’t insert the ventilation slots correctly.
First, attach the slots on the sides at the corresponding holes and press them down in the middle until the parts snap into place. After that, the side plates can be easily put back on – press, slide up, done!
Compared to the PlayStation 4, cleaning the fan is much more pleasant. You don’t have to worry about your warranty during the procedure.
The removal of the side plates and the removal of the fan (without removing the cables) does not affect the warranty performance.
If you have any questions or issues with cleaning, please write to us in the comments. I’m happy to help clarify any uncertainties.

Your opinion is important to us!
Do you like the article? Then let us know!