

Our author Irie had the chance to play the two new jobs Dancer and Gunbreaker from Final Fantasy XIV during the Shadowbringers Media Tour in London.

With the release of the Shadowbringers expansion on July 2nd, the MMORPG from Square Enix will not only receive a lot of content but also two new jobs: the Dancer and the Gunbreaker.
In this article, you will find my impressions of both. First, I will discuss the gameplay feel of both jobs, and then their exact functions and showcase their abilities. To our interview with Director Yoshida, click here:

Please remember that these are not the final numbers, and they may change before the release of Shadowbringers.
Gunbreaker – A Stylish Tank
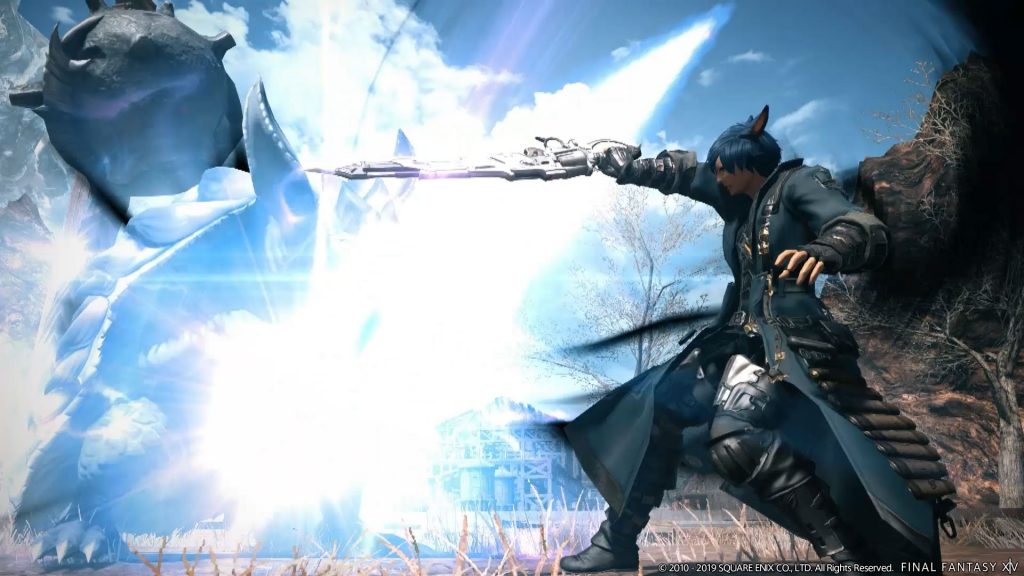
How does Gunbreaker feel? Gunbreaker is the new tank job that will be playable with the release of Shadowbringers. It uses a Gunblade as a weapon and is based on the character Squall Lionheart from FFVIII.
Similar to the other tank jobs, it uses abilities that are chained together in combat to form combos. Skills create an interesting rhythm of combos that vary in length and complexity depending on the situation.
It was somewhat of an adjustment to get used to since the combos of jobs in FFXIV are usually always the same length. However, it is a nice change and gives the Gunbreaker a distinct identity.
On the buff side, the Gunbreaker does not offer particularly standout skills after the balancing of tanks in Shadowbringers.
Like the other tanks, it provides sufficient defensive buffs to survive heavy tank busters, a shield for the group, and has a strong regeneration cooldown.
Is Gunbreaker fun? If you enjoy playing tanks, then definitely try this job. I found the Gunbreaker quite stylish. Its animations are faster than those of the other tanks, and it feels more dynamic.
I can also say that I found the combo flow of the job quite interesting because it has many abilities that you weave between combos and juggle with. Once I finish leveling my main jobs, I will definitely push Gunbreaker to level 80.
I would place it a bit higher in terms of complexity. It is definitely more complex than, for example, the Paladin. New tank players might have difficulties with the combo flow, especially since the job starts directly at level 60 and you cannot gradually ease into it.
At this point, it is still not possible to determine how strong or weak Gunbreaker is compared to other tanks.
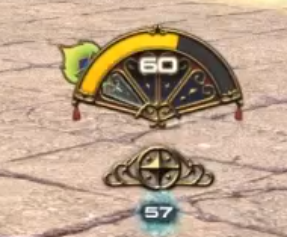
This is how Gunbreaker works – Exact Info: The function of the new tank is based on its resource “Cartridge” and the ability “Gnashing Fang”. I have created an infographic for the job that you can find further down. It aims to facilitate understanding of the job’s basic mechanics: Click here for the infographic.
Upon completing each basic 3-step combo, you gain a cartridge charge. The base combo is displayed in the infographic above in the green box.
This charge can now be used for three different abilities that determine how the combo continues.
- Fated Circle (area attack) and Burst Strike (single target) are both strong finishing attacks. They consume one cartridge charge each and can be used situationally depending on whether you are fighting one enemy or many.
- Gnashing Fang, on the other hand, is an off-global cooldown with a cooldown of about 33 seconds that extends the original 3-step combo of Solid Barrel.
If you decide to spend your cartridge for Gnashing Fang, it will turn a 3-step combo into a 6-step combo, as shown in the infographic.

However, because Gnashing Fang has a cooldown of about 33 seconds, it cannot be used in every combo:
- You use your cartridge charges in combat for Gnashing Fang
- Execute the entire 6-step combo
- Until the cooldown of Gnashing Fang is finished, you use the cartridges either for Fated Circle or Burst Strike
This is how the continuation skills work: Gnashing Fang and its combo skills have another function. They grant status effects, which allow you to use the skill “Continuation”. Depending on the status effect, Continuation becomes a different skill:
- Gnashing Fang grants “Ready to Rip” -> enables Jugular Rip
- Savage Claw grants “Ready to Tear” -> enables Abdoment Tear
- Wicked Talon grants “Ready to Gouge” -> enables Eye Gouge
These are cooldowns that are always woven between the skills of the combo, as shown in the infographic in the blue box on the left. With Eye Gouge, the entire combo ends.
Overall, his toolkit is very balanced. He has everything to be a solid tank:
- A ranged attack
- A gap-closer to get close to an enemy
- A DoT attack
- An AOE, in addition to the cartridge ability Fated Circle
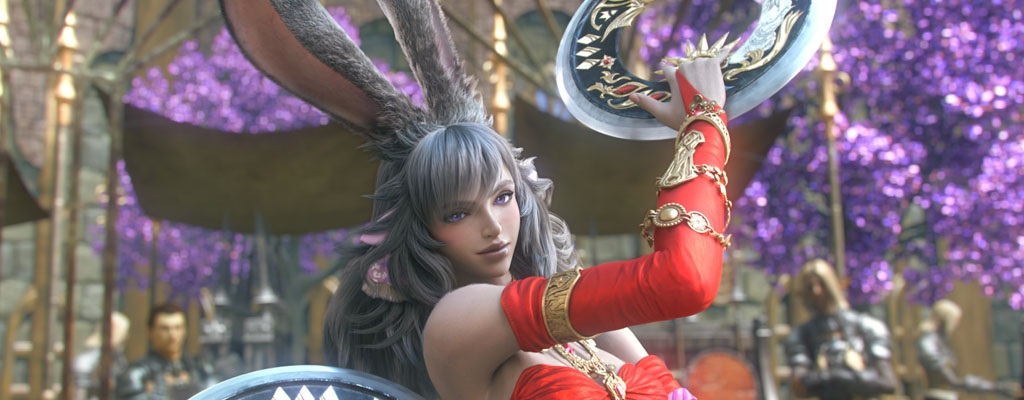
Dancer – A Ranged DPS with Support Focus
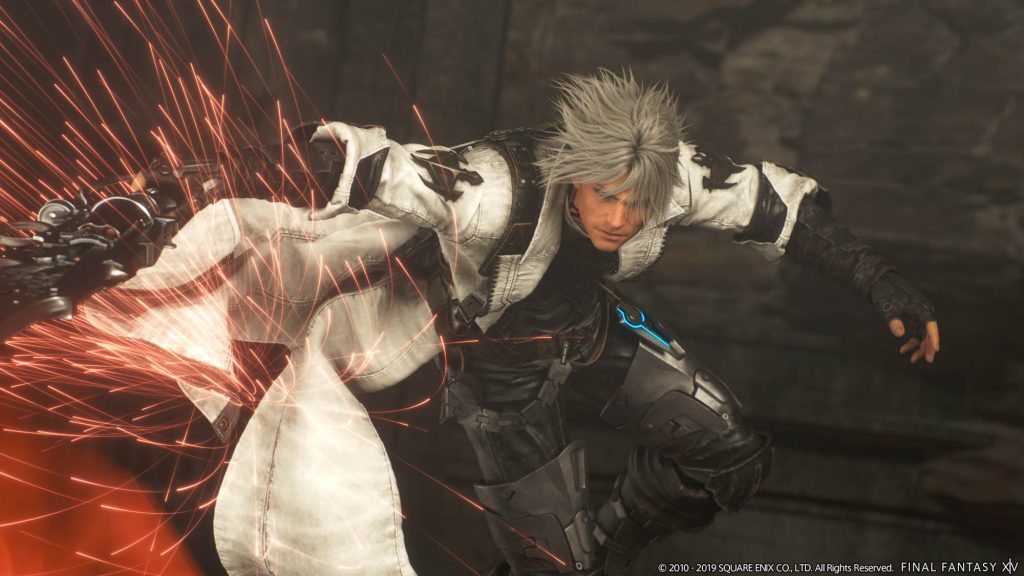
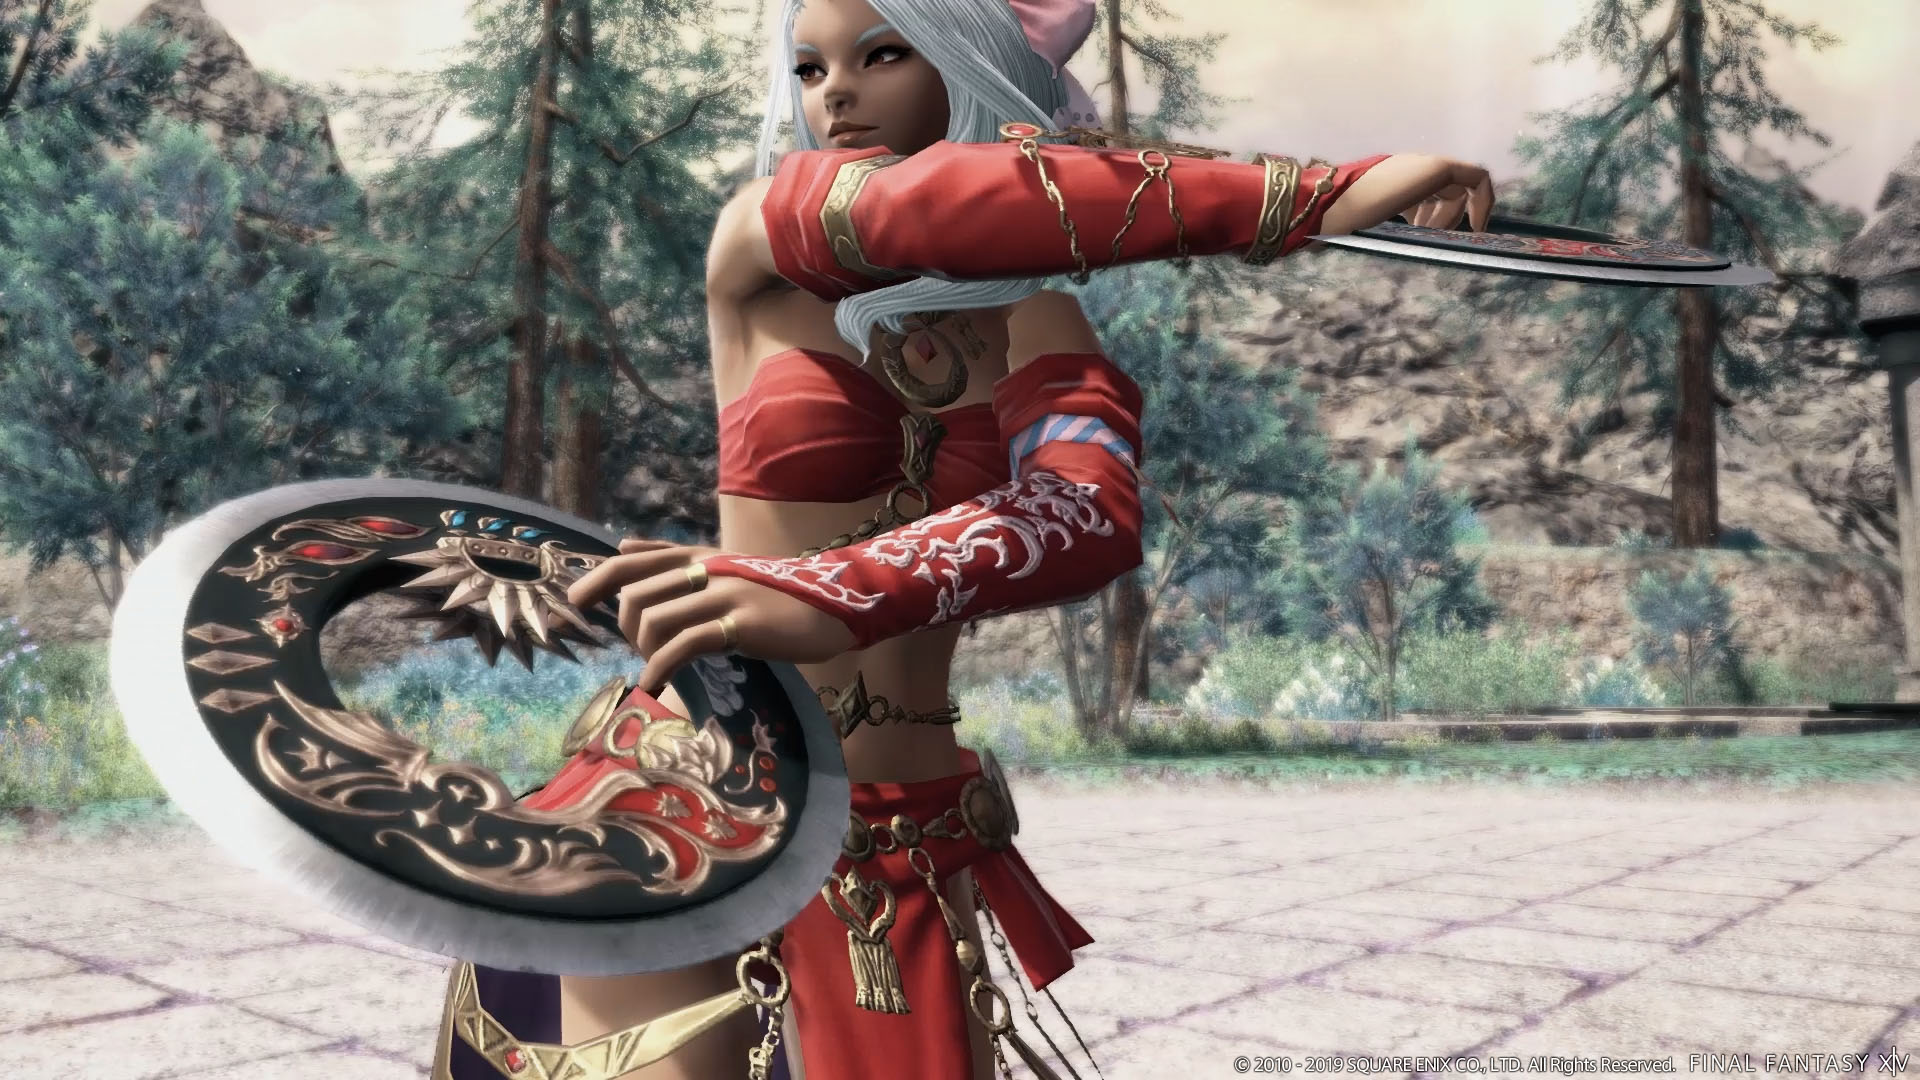
How does the Dancer feel? Dancer is the second new job being released with Shadowbringers. It is a physical ranged DPS that uses chakrams and other throwing weapons.
The abilities of the Dancer are based on procs, i.e. random triggers that allow it to use additional abilities in combat. As a result, there is no fixed rotation while playing; you have to constantly react to which abilities are active and need to be used.
It might be a bit hectic for beginners, but experienced ranged DPS players won’t have much trouble with it.
Since almost all abilities of the Dancer are in some way connected to its three core mechanics, outside of that it only has a few buffs. Apart from the dance, in terms of group buffs, it doesn’t differ much from the other two physical ranged DPS.
Is the Dancer fun? I know that half of the community seems excited to play the Dancer, and I think people won’t be disappointed.
While the basic combo of the job is quite simple, the random triggering of additional abilities and the feathers provide variation in combat.
Dancer is definitely on my list of jobs that I want to level to at least 80. It has the potential to become my main job and displace Bard, but I would need to play it much longer to decide.
However, I would also say that the Dancer job is a bit harder to handle. On the one hand, you have three resource bars to keep an eye on and on the other hand, randomly triggered skills that require quick reactions. I can imagine that this might be too much for some at least at the beginning.

I would therefore recommend: Take your time to set up your hotbars for the Dancer so that you can comfortably reach all abilities, practice the steps, and you will have fun.
This is how the Dancer works – Deeper Insight: For the Dancer, I also created an infographic that you can refer to. It shows you all the abilities of the Dancer: Click here for the infographic.
The essence of the Dancer consists of three mechanics displayed on the job’s resource bar:
- The Dance
- The Feathers
- The Esprit Display
These three core elements are intertwined, and the Dancer’s damage depends on how well the player can manage these three resources.
Similar to other physical ranged characters in FFXIV, many of the Dancer’s abilities are based on procs, meaning it’s random whether you can use them or not. The basic combo includes two skills each for single-target and area attacks:
- Cascade -> Fountain
- Windmill -> Bladeshower
These have specific probabilities of activating further, stronger abilities, which must then be used as soon as possible. This creates a flow of the basic combos, into which further randomly triggered abilities flow.
At this point, the first mechanic of the Dancer comes into play: The stronger versions of the combo abilities can also generate a feather, as illustrated by the arrows in the infographic.
These feathers are necessary to execute the abilities Fan Dance I and II, which can be woven between the combo attacks to deal higher damage.
They can also trigger another skill, namely Fan Dance III. This therefore creates a rhythm:
- You execute a basic combo until a proc occurs and you can use a stronger ability
- If you receive an additional feather from this, you weave Fan Dance I or II between the attacks of the normal combo
- If using Fan Dance I or II also triggers Fan Dance III, it can also be woven between the combo attacks
This is how the dances work: Now there are also the two dances: Standard Step and Technical Step. They form the second mechanic of the job. The steps buff the Dancer and either their dance partner or the entire group, depending on which step is used.
Let’s say the player decided to perform the Standard Step. They first choose a dance partner from the group who will receive buffs from the Dancer.
- Once the Dancer performs the Standard Step, they are shown on the resource bar what steps they need to perform.
- These steps are always random, and you have a short time to press the correct keys.
- During this time, you cannot use any other abilities other than the dance steps and the dance finisher
- Depending on how many dance steps were executed correctly, the strength of the dance finisher changes.
Once the finisher is executed, the dance timer on the resource display starts ticking. It shows you how long you will still have the dance buff.
At this point, the combat flow looks like this:
- Before starting, you perform a dance to buff yourself and the group or your dance partner
- After that, you rotate your normal combos,
- Insert procs and oGCDs between when they occur
- Shortly before the timer runs out, you dance again to refresh the buff
The dances also have an additional effect. As long as the dance buff is active, you accumulate “Esprit points” through your own attacks and the attacks of your dance partner.
Once you have gathered enough of them, you can use the strong AOE attack Devilment.
I wish everyone much fun with the new jobs!


Your opinion is important to us!
Do you like the article? Then let us know!