
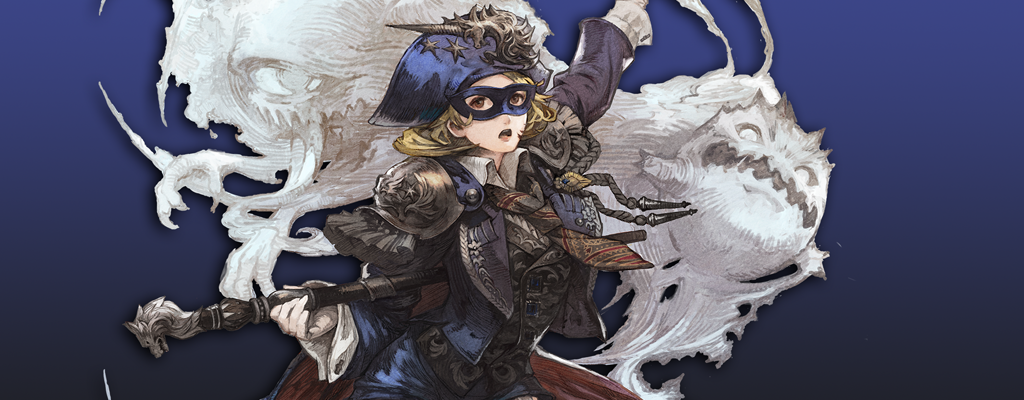
The new limited job Blue Mage has been available in Final Fantasy XIV since January 2019. We have prepared a guide for you on the job and its spells.

UPDATE 17.07.2022: The guide has been cleaned up and updated with new images.
How do you unlock the Blue Mage? To play the Blue Mage, you don’t even have to buy FFXIV. The limited job is now available in the free trial version, but it only goes up to level 60.
If you want to bring your Blue Mage to level 70, you need at least the base game and the Stormblood expansion.
You can unlock the job as follows:
- Quest name: Blue Magic at a Discount
- Requirements: At least one Warrior or Mage job at level 50 and completion of the main scenario quest “The Ultimate Weapon”
- Quest NPC: Eager Sentinel
- Location: Limsa Lominsa Lower Decks (X:10, Y:11)
After that, you will unlock the next step. You can find the follow-up quest like this:
- Quest name: The Next Big Thing
- Requirements: Completion of the quest “Blue Magic at a Discount”
- Quest NPC: Martyn
- Location: Lower La Noscea (X: 19.3, Y: 36.4)
Just follow the quest line all the way to level 70.
How to play the Blue Mage
Why is the Blue Mage “limited”? The Blue Mage differs from other jobs in Final Fantasy XIV in several aspects:
- Its maximum level is 70
- It cannot enter random content
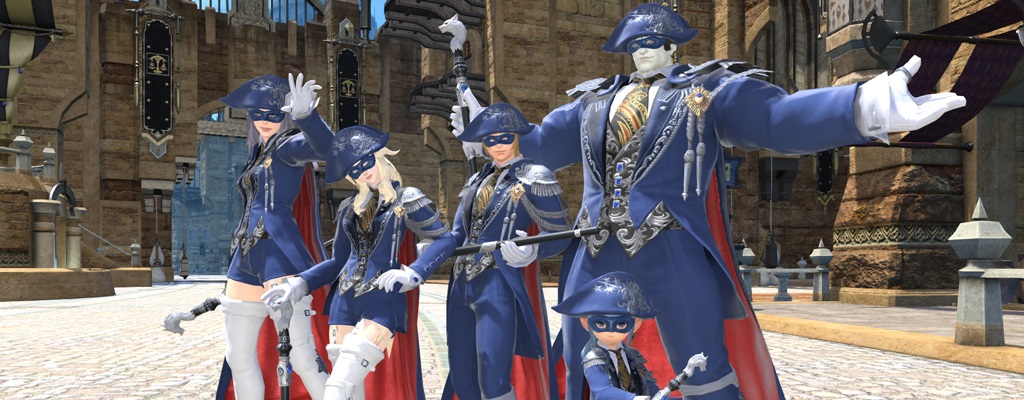
- It can only participate in dungeons, raids, and trials in a full party
- It cannot do PvP
This means that in order to learn new spells from dungeon bosses, Blue Mages must look for three other players to enter the dungeon with them. These can be other Blue Mages, or alternatively, they can bring along a friend at level 80 who can clear the way alone.
Over time, the development team will increase the max level of the Blue Mage and implement new spells into the game.
What is the best way to level up the Blue Mage? Since the new job is excluded from random content and cannot collect the daily juicy EXP bonuses, it is advisable to use other means.
In addition to the usual content like FATEs and supply runs, Blue Mages can level up well by simply killing monsters outside in the field. It is advisable to get the spell “1000 Needles” as quickly as possible.
With this Blue Magic, you can instantly kill most enemies up to level 30+ with one attack, and it still does a lot of damage at higher levels. This speeds up leveling tremendously.

This is how power leveling works: Since the max level of the Blue Mage is currently only 70, you can alternatively ask a friend or acquaintance at level 90 if they could help with leveling. For this, you would go to an endgame area from the Endwalker expansion and attack monsters, which will then be taken down by the level 90 buddy.
Ideally, the helping person can switch to a healer with shields to prevent accidental deaths and possibly cast a resurrection spell.
The EXP that the Blue Mage receives in combat is much higher than with other jobs. This fact should be utilized, and targeted items should be used to further increase the EXP. This includes food, as well as the following equipment items:
- Moogle Cap (ARR Collector’s Edition Item)
- Novice Ring (Received in the Novice Hall)
- Magical Earrings (SB Pre-order Item)
- Light’s Helm (ARR Collector’s Edition Item)
- Friendship Ring (Gift for inviting a friend to FFXIV)
- “Far Eastern Beauty / Cavalier” Sets (Moogle Kiosk)
- Nezha Sets (Moogle Kiosk)
- Angel and Demon Sets (Moogle Kiosk)
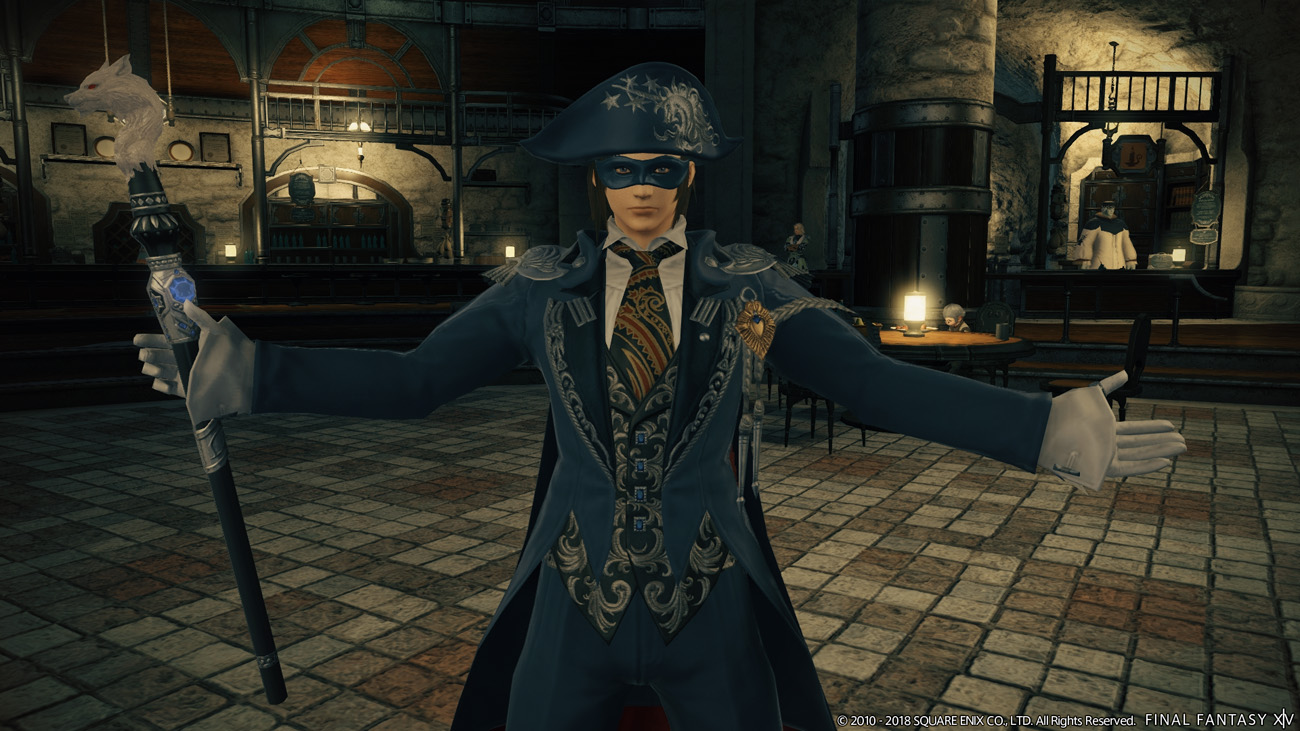
Which armor do I use as a Blue Mage? Since the class is a mage, you will of course use gear that has Intelligence as the main stat. So all the usual mage clothes and accessories found in the market and in dungeons.
Completing the first Blue Mage quest will give you a weapon and a full armor set. You will keep the weapon until level 50; the armor should be discarded as soon as you can wear something better.
- At levels 60 and 70, you will receive slightly better weapons from the NPC Maudlin Latool Ja in Ul’dah. They have the same stats but have an additional 2 slots for materia.
- When you reach level 50 and have completed the Blue Mage quest “A New Sapphire Blue in the Starry Sky,” you will receive the stylish Magus armor set with an item level of 130. You can use it without any issues until you gain access to better armor through higher levels.
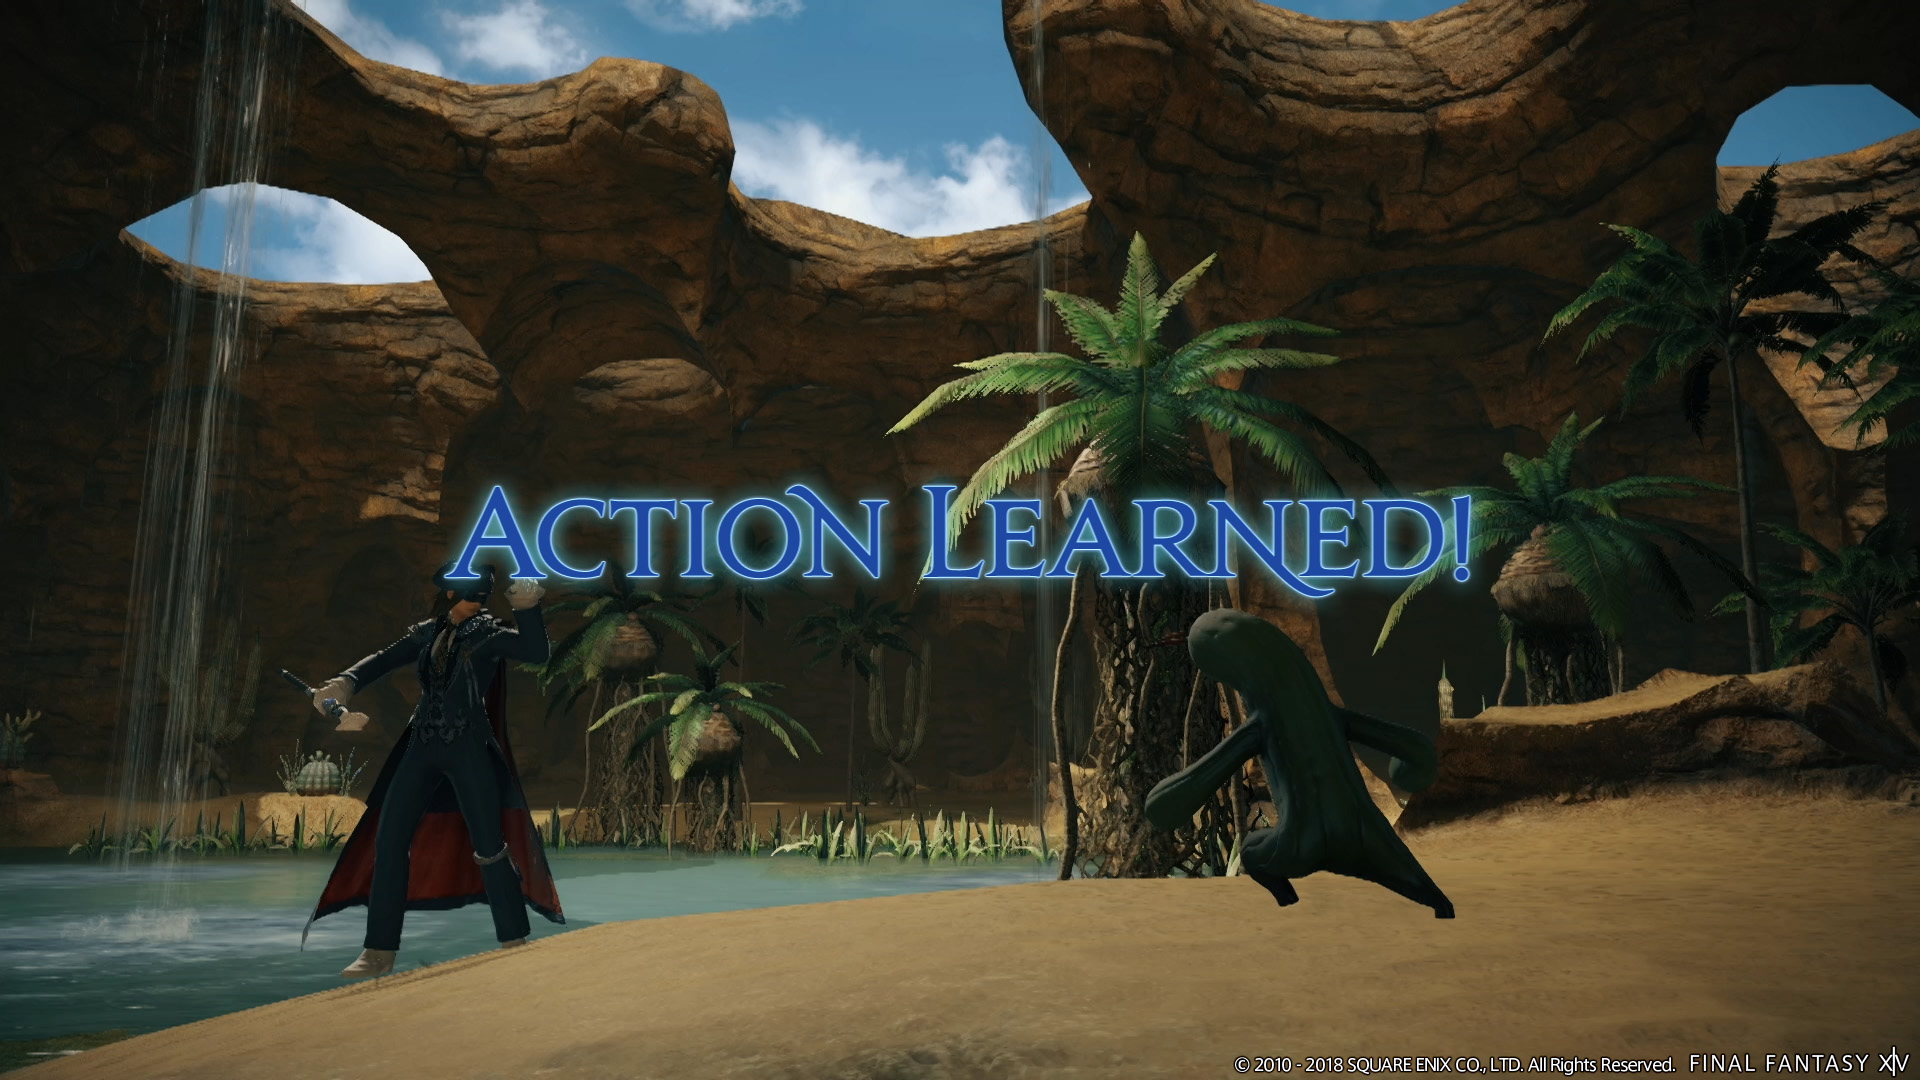
How do I learn new spells? Unlike other jobs in Final Fantasy XIV, the Blue Mage learns its magic from the monsters it fights. This can be a simple Cactuar or even a Primal or Raid boss.
Once you have found the specific monster from which you can learn a spell, you must attack it. As soon as it has executed the desired ability, you can eliminate the opponent. This ability does not need to hit you; you only need to have seen it once.
After the monster dies, there is a chance that you will learn the ability. The probability varies between spells and can be quite low, so bring patience.
It is possible to learn Blue Magic from monsters that are higher level than you.
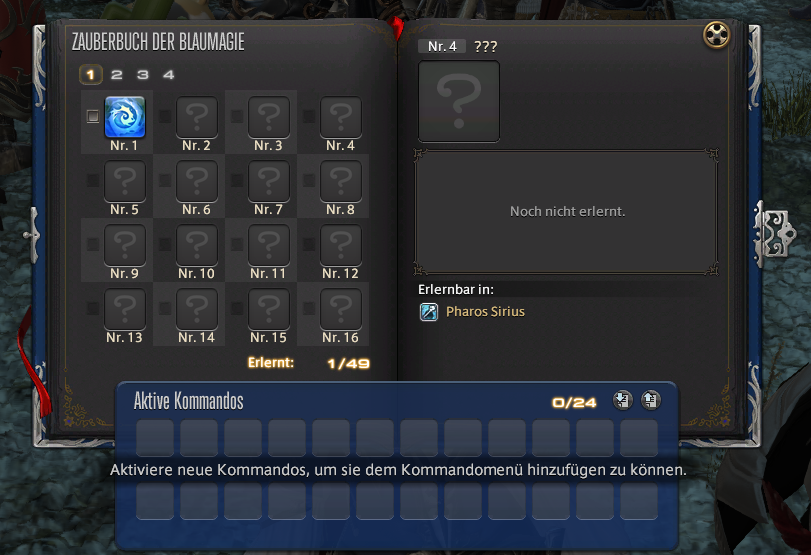
Once the desired Blue Magic has been learned, it will be unlocked in the Blue Mage’s spellbook. It is advisable to cooperate with other players in groups while hunting for spells to learn the abilities faster.
How do the spells work? In total, there are 104 different spells, but you can use a maximum of 24 at the same time.
You can pull these spells directly from the spellbook onto your hotbars and arrange them freely, just like with the abilities of normal jobs. You can also save up to 5 different sets of spells for different situations.
Some spells have synergies with each other. For example, if you petrify an enemy with “Petrification Level 5,” you should then use “Drill Cannon.” The damage taken by an enemy from “Drill Cannon” is significantly higher when the enemy is petrified.
You should read the descriptions of the Blue Magic carefully and set up your spell setup accordingly. In total, you can save up to five different sets of spells and switch between them.
All Blue Magic spells and their locations
Blue Magic is divided into two different categories:
- A large portion is learned from enemies in the open world, dungeons, or trials
- A smaller portion is learned automatically upon meeting certain requirements.
With Patch 4.5, the development team implemented some new enemy types in FFXIV. These include, for example, Sabotender Dancer or Killer Vespula. These enemies differ from others of their kind by their size.
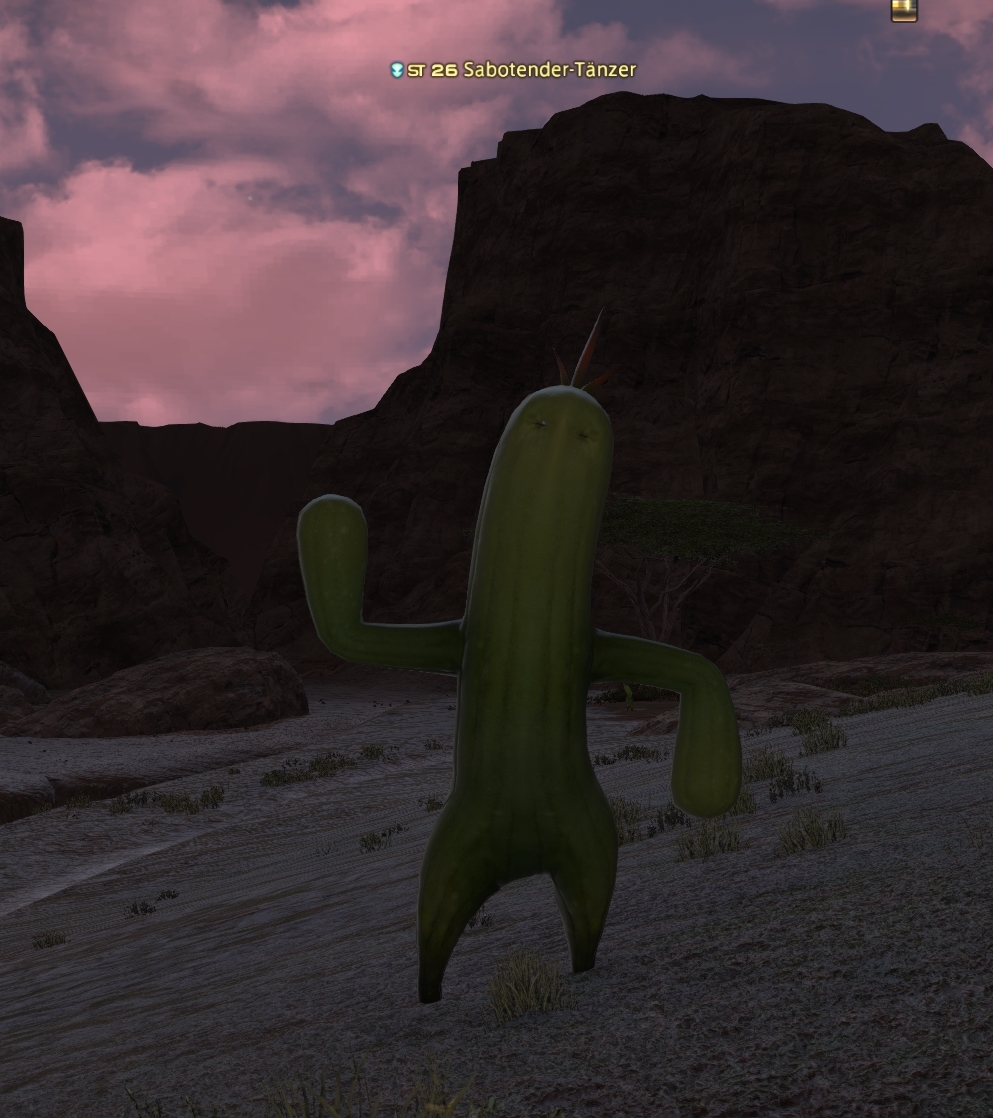
Many of the spells in the table below are also used by other monsters of the same type, and it is also possible to learn them from them. However, for example, not all toad monsters actually use the ability “Slimy Secret.”
With the monsters in the table, you can be sure that this is the case.
Blue Magic that you learn automatically
| Spell | Learn by | Location |
 Water Cannon (No. 1) | Immediately available | |
 Intimidate Intimidate (No. 20) | From a totem from NPC Gaheel Ja after learning 5 spells | Thal Concourse, X: 12.5 / Y: 13.0 |
 Total Defense Total Defense (No. 30) | From a totem from NPC Gaheel Ja after learning 10 spells | Thal Concourse, X: 12.5 / Y: 13.0 |
 White Wind (No. 13) | From a totem from NPC Gaheel Ja after learning 10 spells or from Enkidu | Thal Concourse, X: 12.5 / Y: 13.0 or trial “Revenge in the Ruins” |
 Assimilation Assimilation (No. 22) | From a totem from NPC Gaheel Ja after learning 20 spells | Thal Concourse, X: 12.5 / Y: 13.0 |
 Revenge Strike Revenge Strike(No. 71) | From a totem from NPC Gaheel Ja after learning 50 spells | Thal Concourse, X: 12.5 / Y: 13.0 |
Angel Food (No. 88) | From a totem from NPC Gaheel Ja after reaching level 70 with the Blue Mage | Thal Concourse, X: 12.5 / Y: 13.0 |
Dragon Power (No. 95) | From a totem from NPC Gaheel Ja after learning 100 spells | Thal Concourse, X: 12.5 / Y: 13.0 |
Matra Magic (No. 100) | From a totem from NPC Gaheel Ja after learning 100 spells | Thal Concourse, X: 12.5 / Y: 13.0 |
 Moon Flute Moon Flute (No. 39) | After completing 10 levels of the Masked Carnival | Thal Concourse, X: 11.6 / Y: 13.2 |
 Doom Doom (No. 42) | After completing 20 levels of the Masked Carnival | Thal Concourse, X: 11.6 / Y: 13.2 |
 Angels Whisper Angels Whisper(No. 72) | After completing 30 levels of the Masked Carnival | Thal Concourse, X: 11.6 / Y: 13.2 |
Blue Magic in the Open World
| Spell | Enemy | Location |
 Drill Cannon (No. 5) | Frontbreaker H-2 | Northern Thanalan, X: 16 / Y:17 |
 Bad Intuition (No. 7) | Dalvag | B-Rank, Northern Thanalan |
 Finishing Strike (No. 8) | Killer Vespula | Central La Noscea, X: 13 / Y:15 |
 Plate Breaker (No. 11) | Clay Golem | North Forest, X: 20 / Y: 28 |
 Brashness (No. 12) | Wild Boar | Eastern Forest, X: 18 / Y: 24 |
 Ice Spike (No. 16) | Rogue Imp | Deep Forest, X: 27 / Y: 24 |
 Bloodsucker (No. 17) | Cave Bat | Lower La Noscea, X: 26 / Y:15 |
 Acorn Bomb (No. 18) | Tree Shard Seedling | North Forest, X: 26 / Y: 26 |
 Bomb Throw (No. 19) | Goblins | Central La Noscea, X: 23 / Y: 21 |
 Self-Destruction Self-Destruction(No. 21) | Slip Bomber | Western Thanalan, X: 27 / Y: 17 |
 Confusion (No. 23) | Qiqirn | Eastern La Noscea, X: 26 / Y: 32 |
 Spit Sardine (No. 24) | Apkallu | Eastern La Noscea, X: 30 / Y: 35 |
 Bad Breath (No. 28) | Halite Death Grazing | Deep Forest, X: 14 / Y: 21 |
 Sharp Tongue (No. 31) | Laughing Toad | Western Thanalan, X: 14 / Y:6 |
 Slimy Secret (No. 32) | Giggling Toad | Western Thanalan, X: 14 / Y:6 |
 1000 Needles (No. 36) | Sabotender Dancer | Southern Thanalan, X: 16 / Y: 15 |
 Tail Screw (No. 40) | Rock Claw | The Heights, X: 24 / Y: 9 |
 Uncanny Aura (No. 43) | Upright Olm | Mor Dhona, X: 14 / Y: 10 |
 Glacier Air (No. 50) | Griffon | Abalathian Sea, X: 36 / Y: 9 |
 Blizzard (No. 52) | Slate Yeti | Western Highlands of Coerthas, X: 17 / Y: 27 |
 Electrophoresis (No. 53) | Conodont | Abalathian Sea, X: 26 / Y: 33 |
 Yawning (No. 56) | Paissa | Abalathian Sea, X: 19 / Y: 35 |
 Ekplexus (No. 57) | Empusa | Azys Lla, X: 29 / Y: 12 |
 Frog Concert (No. 62) | Poroggo | Dravanian Hinterlands, X: 12 / Y: 34 |
 Sound Wave (No. 63) | Anzu | Abalathian Sea, X: 25 / Y: 6 |
 Whistle (No. 64) | Dhalmel | Abalathian Sea, X: 16 / Y: 32 |
 Exuviation (No. 73) | Heavenly Blue Wamoura | Abalathian Sea, X: 10 / Y: 17. Used by the Wamoura to heal other enemies. Therefore, first injure other monsters. |
 Reflux (No. 74) | Cloud Wyvern | Rolling Mists, X: 26 / Y: 28 |
Trident (No. 81) | Ebisu Namazuo | Yanxia, X: 28 / Y: 6 |
Tingling (No. 82) | Ebisu Namazuo | Yanxia, X: 28 / Y: 6 |
Battle Instinct (No. 91) | Master Coeurl | Upper La Noscea, X: 8 / Y: 21 |
Ultra Vibration (No. 92) | Kongamato | The Heights, X: 11 / Y: 25 |
Aether Spark (No. 96) | Salt Dhruva | The Fenn, X: 22 / Y: 22 |
Choco Meteor (No. 99) | Courier Chocobo | Dravanian Forelands, X: 34 / Y: 28 |
Blue Magic that occurs in Dungeons
| Spell | Enemy | Dungeon |
 Raging Fall (No. 4) | Montisaurus | Pharos Sirius |
 Song of the Tortured (No. 9) | Siren | Pharos Sirius |
 Dark Glance (No. 10) | Coin Counter | Goldsmith |
 Petrification Level 5 (No. 14) | Sentinel | Haukke Manor, Upper Floor |
 Bare Knife (No. 15) | Tonberry King | Palace of the Wanderer |
 Slate Glance (No. 27) | Anantaboga | Amdapor Ruins |
 Diamond Back (No. 29) | Cuca Fera | Stone Vigil (Hard) |
 Voice of the Ram (No. 33) | Chimera | Logger’s Cry |
 Voice of the Dragon (No. 34) | Chimera | Logger’s Cry |
 Ink Jet (No. 37) | Aquadon | Sastasha (Hard) |
 Fire Angon (No. 38) | Koheel Ja | Palace of the Wanderer (Hard) |
 Spirit Thrust (No. 41) | Grand King Galvanth | Graveyard Tam-Tara |
 Abyssal Transfixion (No. 55) | Ashur | Haukke Manor (Hard) |
 Magic Hammer (No. 60) | Apanda | Great Gubal Library (Hard) |
 Secure Secure(No. 61) | Eagle Queen | Saint Morcianne Arboretum |
 White Horse Jump (No. 65) | White Horse | Arch Basilica |
 Black Horse Jump (No. 66) | Black Horse | Arch Basilica |
 Death Stage 5 (No. 67) | Page 65 | Great Gubal Library |
 Rocket Launcher (No. 78) | Tank Weapon | Baelsar Wall |
 Succulent Shield (No.70) | Sabotender Guardian | Sunken Temple of Qarn (Hard) |
 Short Analysis (No. 76) | Mechanoscholar | Great Gubal Library (Hard) |
 Aether Mimicry (No. 77) | Ghrah Luminion | Pharos Sirius (Hard) |
Tatami Gaeshi (No. 83) | Dojun Maru | Castle Kugane |
Icy Fog (No. 84) | Fog Dragon | The Arid Land (The Dragon Heads must not die!) |
Rotted Flood (No. 87) | Tokkapchi | Saint Mocianne Arboretum (hard) |
Barrier (No. 89) | Genbu | Hell Spawn |
Crushing Spirit (No. 90) | Ivon Coeurlfaust | Temple of the Fist |
Hydrosog (No. 97) | Kelpie | The sunken city of Skalla |
Curse of Water (No. 98) | Sai Taisui | Compass of the Swallow (Before the 2nd Boss) |
Both Ends (No. 102) | Qitian Dasheng | Compass of the Swallow |
Blue Magic that occurs in Trials and Raids
In raids and trials, it is generally true that you can learn the spells at all difficulty levels. Therefore, you don’t have to engage in epic raids to get the spells. Exceptions will be noted in the table.
| Spell | Enemy and Location | Level |
 Aqua Breath (No. 3) | Ultros | Dragon’s Neck Coliseum |
 High Voltage (No. 6) | Defense System | Tangled Shadows of Bahamut 2 |
 Sneezer (No. 25) | Typhon | Dragon’s Neck Coliseum |
 4 Ton Weight (No. 26) | Ultros | Dragon’s Neck Coliseum |
 Rocket (No. 35) | Enkidu | Revenge in the Ruins |
 Feather Rain (No. 44) | Garuda | Only at the Zenith of the Gods – Garuda |
 Eruption (No. 45) | Ifrit | The Grave of Flame, God’s Dusk – Ifrit and Zenith of the Gods – Ifrit. |
 Mountain Breaker (No. 46) | Titan | God’s Dusk – Titan and Zenith of the Gods – Titan |
 Shock Strike (No. 47) | Ramuh | God’s Dusk – Ramuh and Zenith of the Gods – Ramuh |
 Glass Dance (No. 48) | Shiva | Zenith of the Gods – Shiva |
 Wave Veil (No. 49) | Leviathan | God’s Dusk – Leviathan and Zenith of the Gods – Leviathan |
 Protean Wave (No. 51) | Living Water | Alexander: Arm of the Father |
 Cold Beam (No. 54) | Fist | Alexander: Father’s Fist |
 Vitacupo (No. 58) | Speedy Foot Kupli Kipp | Royal Confrontation |
 Gobhaut (No. 59) | Midas Highwayman | Alexander: Breath of the Creator |
 Perpetual Beam (No. 69) | Manipulator | Alexander: Burden of the Father |
 Devour (No. 75) | Caduceus Rafflesia Cerberus | Tangled Shadows of Bahamut 1 Tangled Shadows 2 – 1 The World of Darkness |
 Supranakha (No. 78) | Ravana | God’s Dusk – Ravana and Zenith of the Gods – Ravana |
 Quasar (No. 79) | Sophia | God’s Dusk – Sophia and Zenith of the Gods – Sophia |
 Conscience Ride (No. 80) | Brutalus | Alexander: Burden of the Son |
Stotram (No. 85) | Lakshmi | God’s Dusk – Lakshmi |
Holy Ray (No. 86) | Phantom Train | Omega: Sigma Metrics 1.0 |
Frost (No. 93) | Old Riot | Omega: Delta Metrics 1.0 |
Mustard Bomb (No. 94) | Omega | Omega: Alpha Metrics 3.0 |
Replicator (No. 101) | Omega | Omega: Alpha Metrics 3.0 |
Phantom Haste (No. 103) | Suzaku | Soul Dance -Suzaku |
 Moon Twilight (No. 104) | Tsukuyomi | God’s Dusk – Tsukuyomi |
Have fun playing!
You can find the other combat jobs of FFXIV in our guide:

Your opinion is important to us!
Do you like the article? Then let us know!