
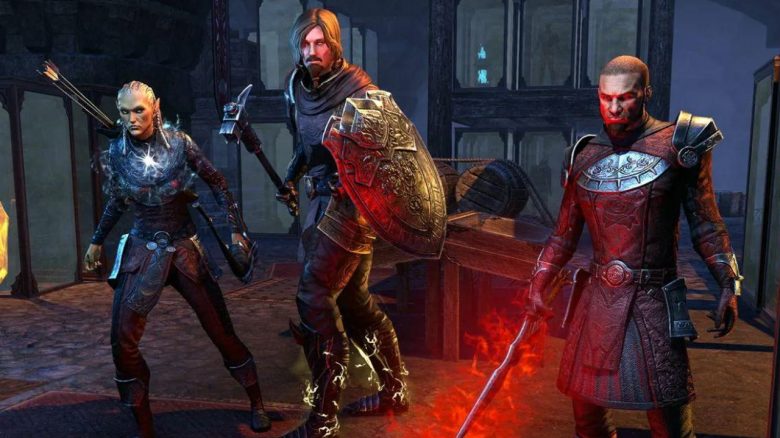
With update 31 Waking Flame, the MMORPG The Elder Scrolls Online has received two additional dungeons. These include the dungeon Redpetal Bastion and the Terror Crypt. MiezeMelli from MeinMMO has ventured into both dungeons and reports on them.

What are these dungeons? The Redpetal Bastion is located in the north of the old alliance starting area Glenumbra. The Terror Crypt can be found in the north of the new area Darkwood. In both dungeons, you will encounter not just the regular 3 bosses. Similar to the Unholy Tomb, there are also hidden secret bosses.
Both dungeons were tested in veteran mode with hard mode.
Important vocabulary you should know for this guide
- What is a synergy? You can activate a synergy with X (default binding). This triggers a specific effect. Here, it’s the crystals that summon a secret boss or the flames you can absorb with the synergy. There are also abilities of allied players that you can synergize. This often activates a positive effect on you or an additional negative effect on the opponent.
- What is an execute? This refers to skills that deal particularly high damage when the target has low health.
- What does spawning mean? This term comes from English and means “to appear” or “to show up”.
- What does the term cleave damage mean? This refers to damage that hits not only the main target but also other targets nearby.
- What does rezen mean? To resurrect a player in the group with a soulstone.
- What does Rez-Ulti mean? This term refers to the ultimate ability of the necromancer class. This ability resurrects all dead group members.
- What is taunting? This refers to a skill that taunts the opponent. This causes only the player who used this skill to be attacked.
- What does HM mean? HM stands for hard mode.
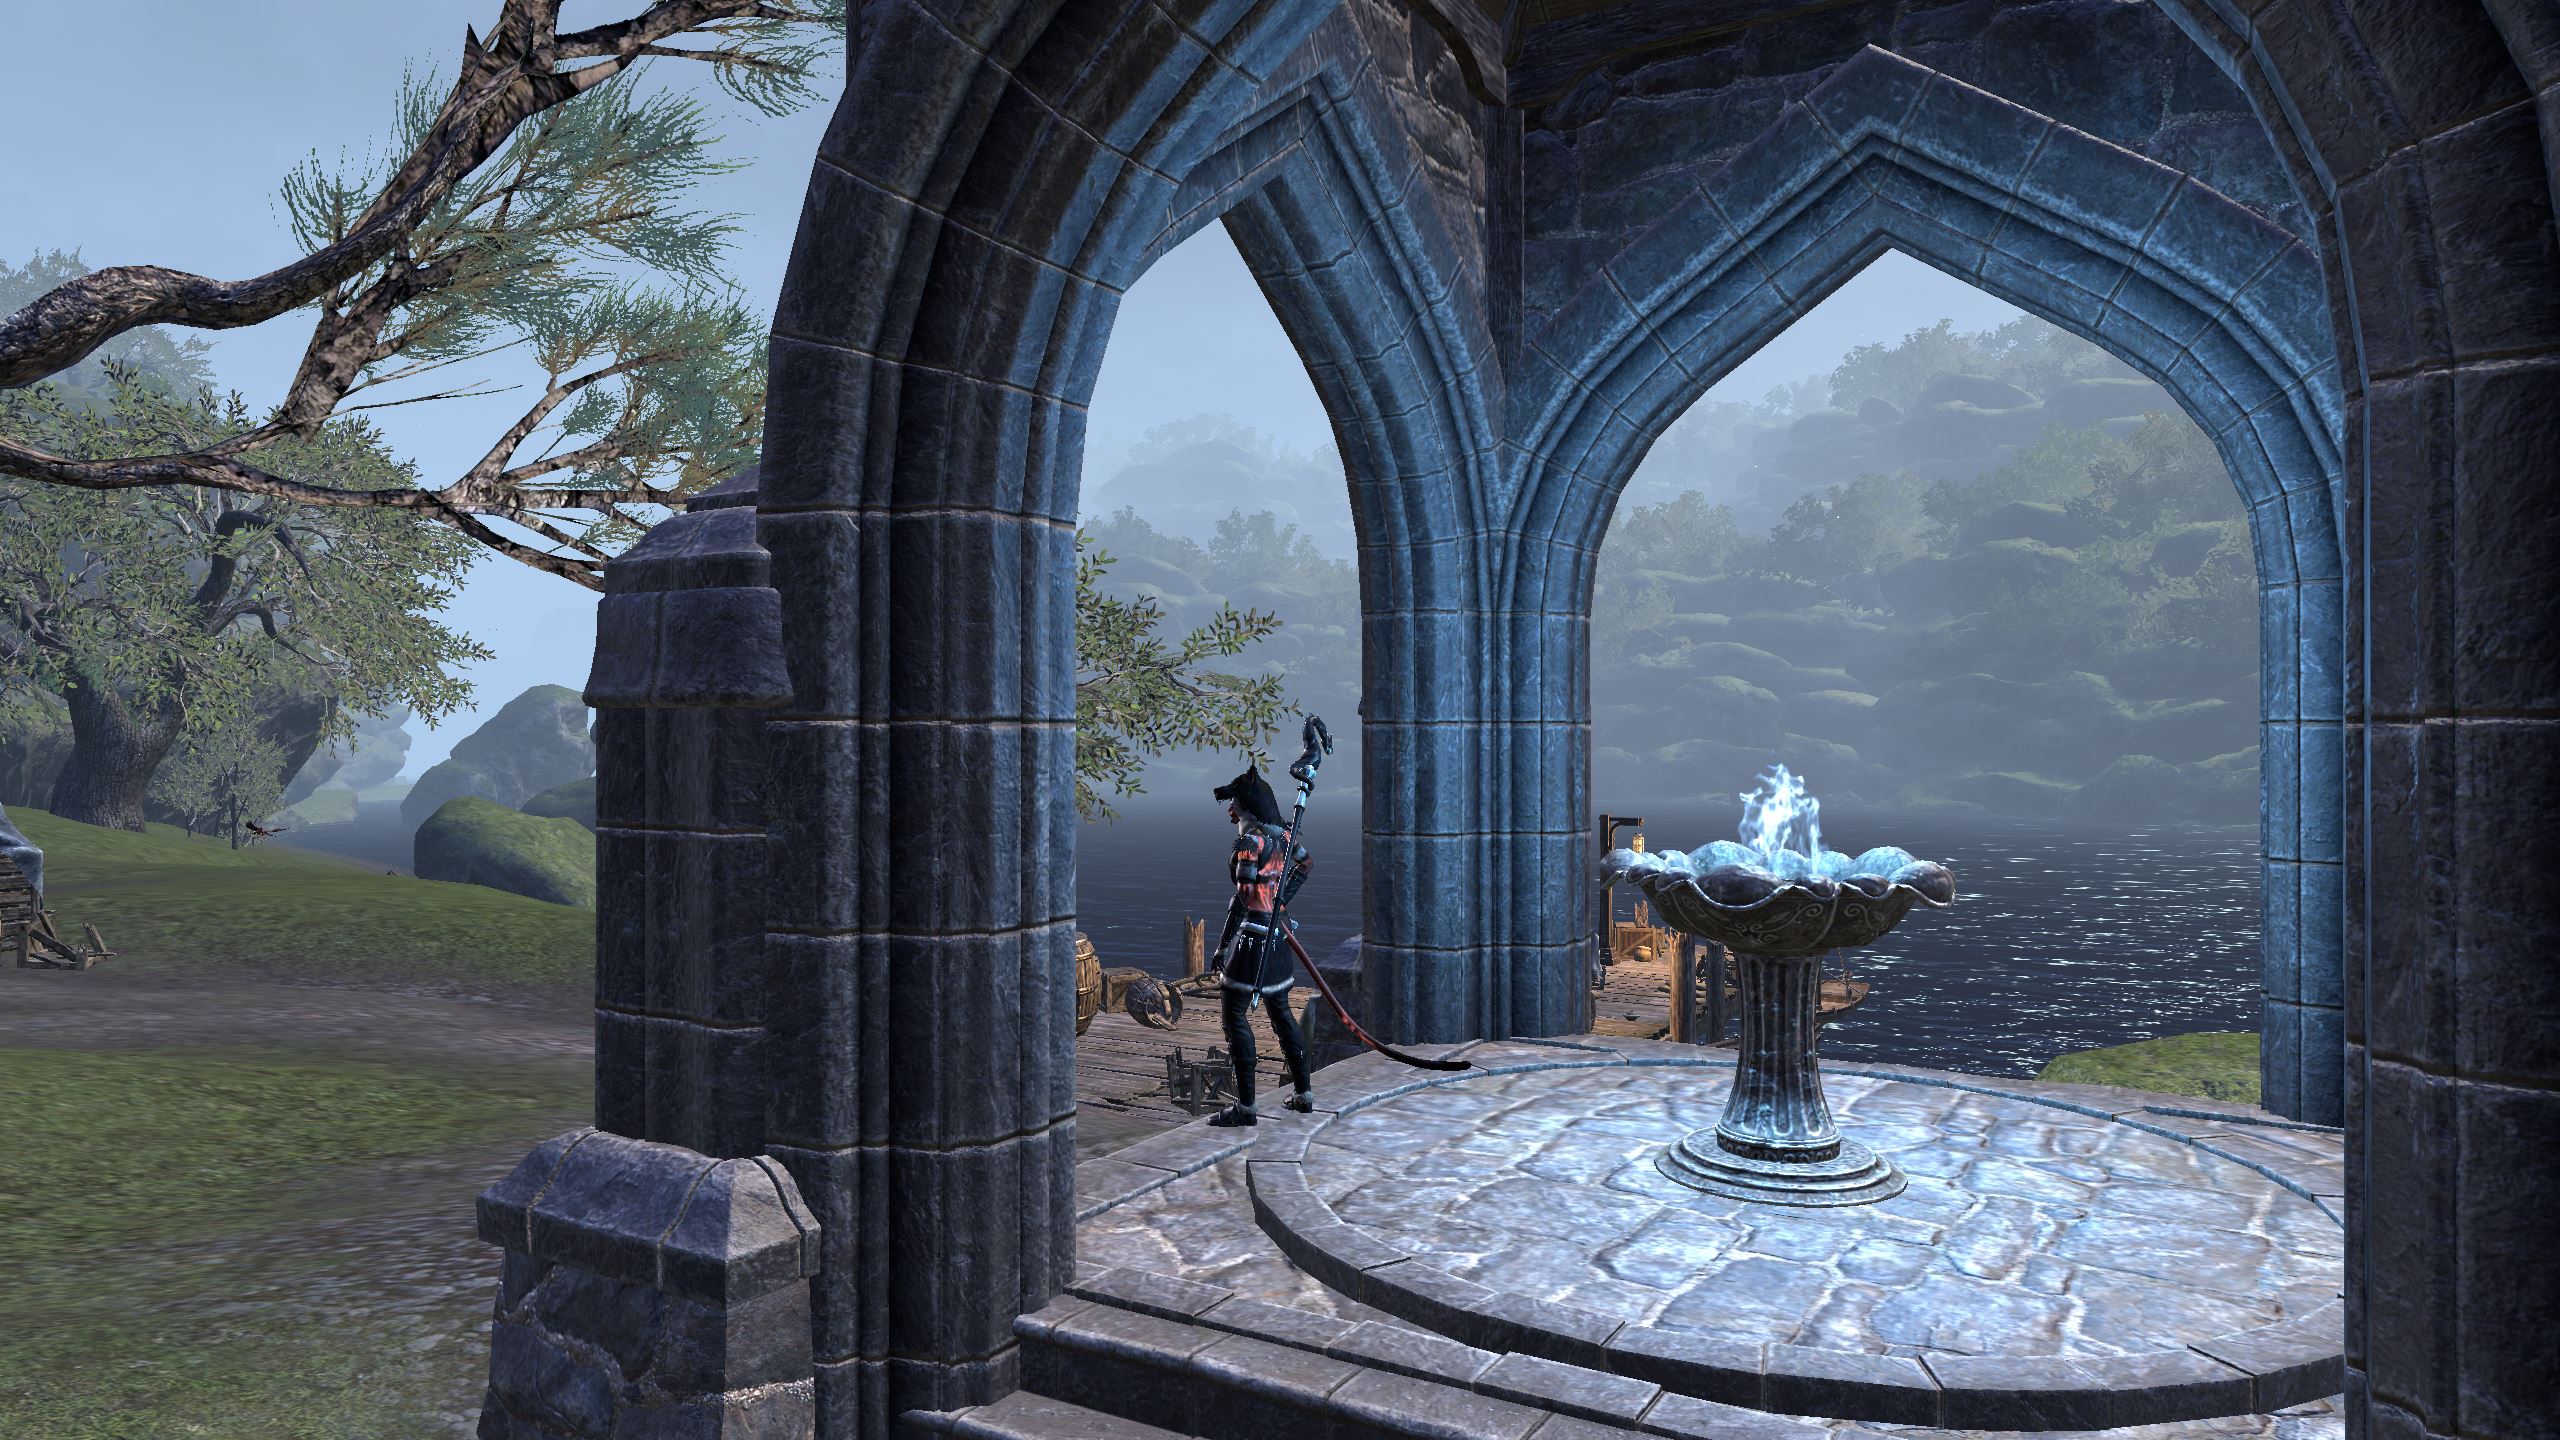
The Terror Crypt
Upon entering the Terror Crypt, you immediately receive the achievement “Explorer of the Waking Flame”. This unlocks a peaceful companion, the scorpion little one “Dragonbiter”. You will remember him in the dungeon.
What initially looks quite idyllic quickly transforms, in keeping with the name, into horror. We encounter the two battle mages Lucilla Caprenia and Martus Tullius, surrounded by a few imperial soldiers. Shortly after, they are attacked by some cultists who, judging by their screams, are spilling blood in the name of “Mehrunes Dagon”.
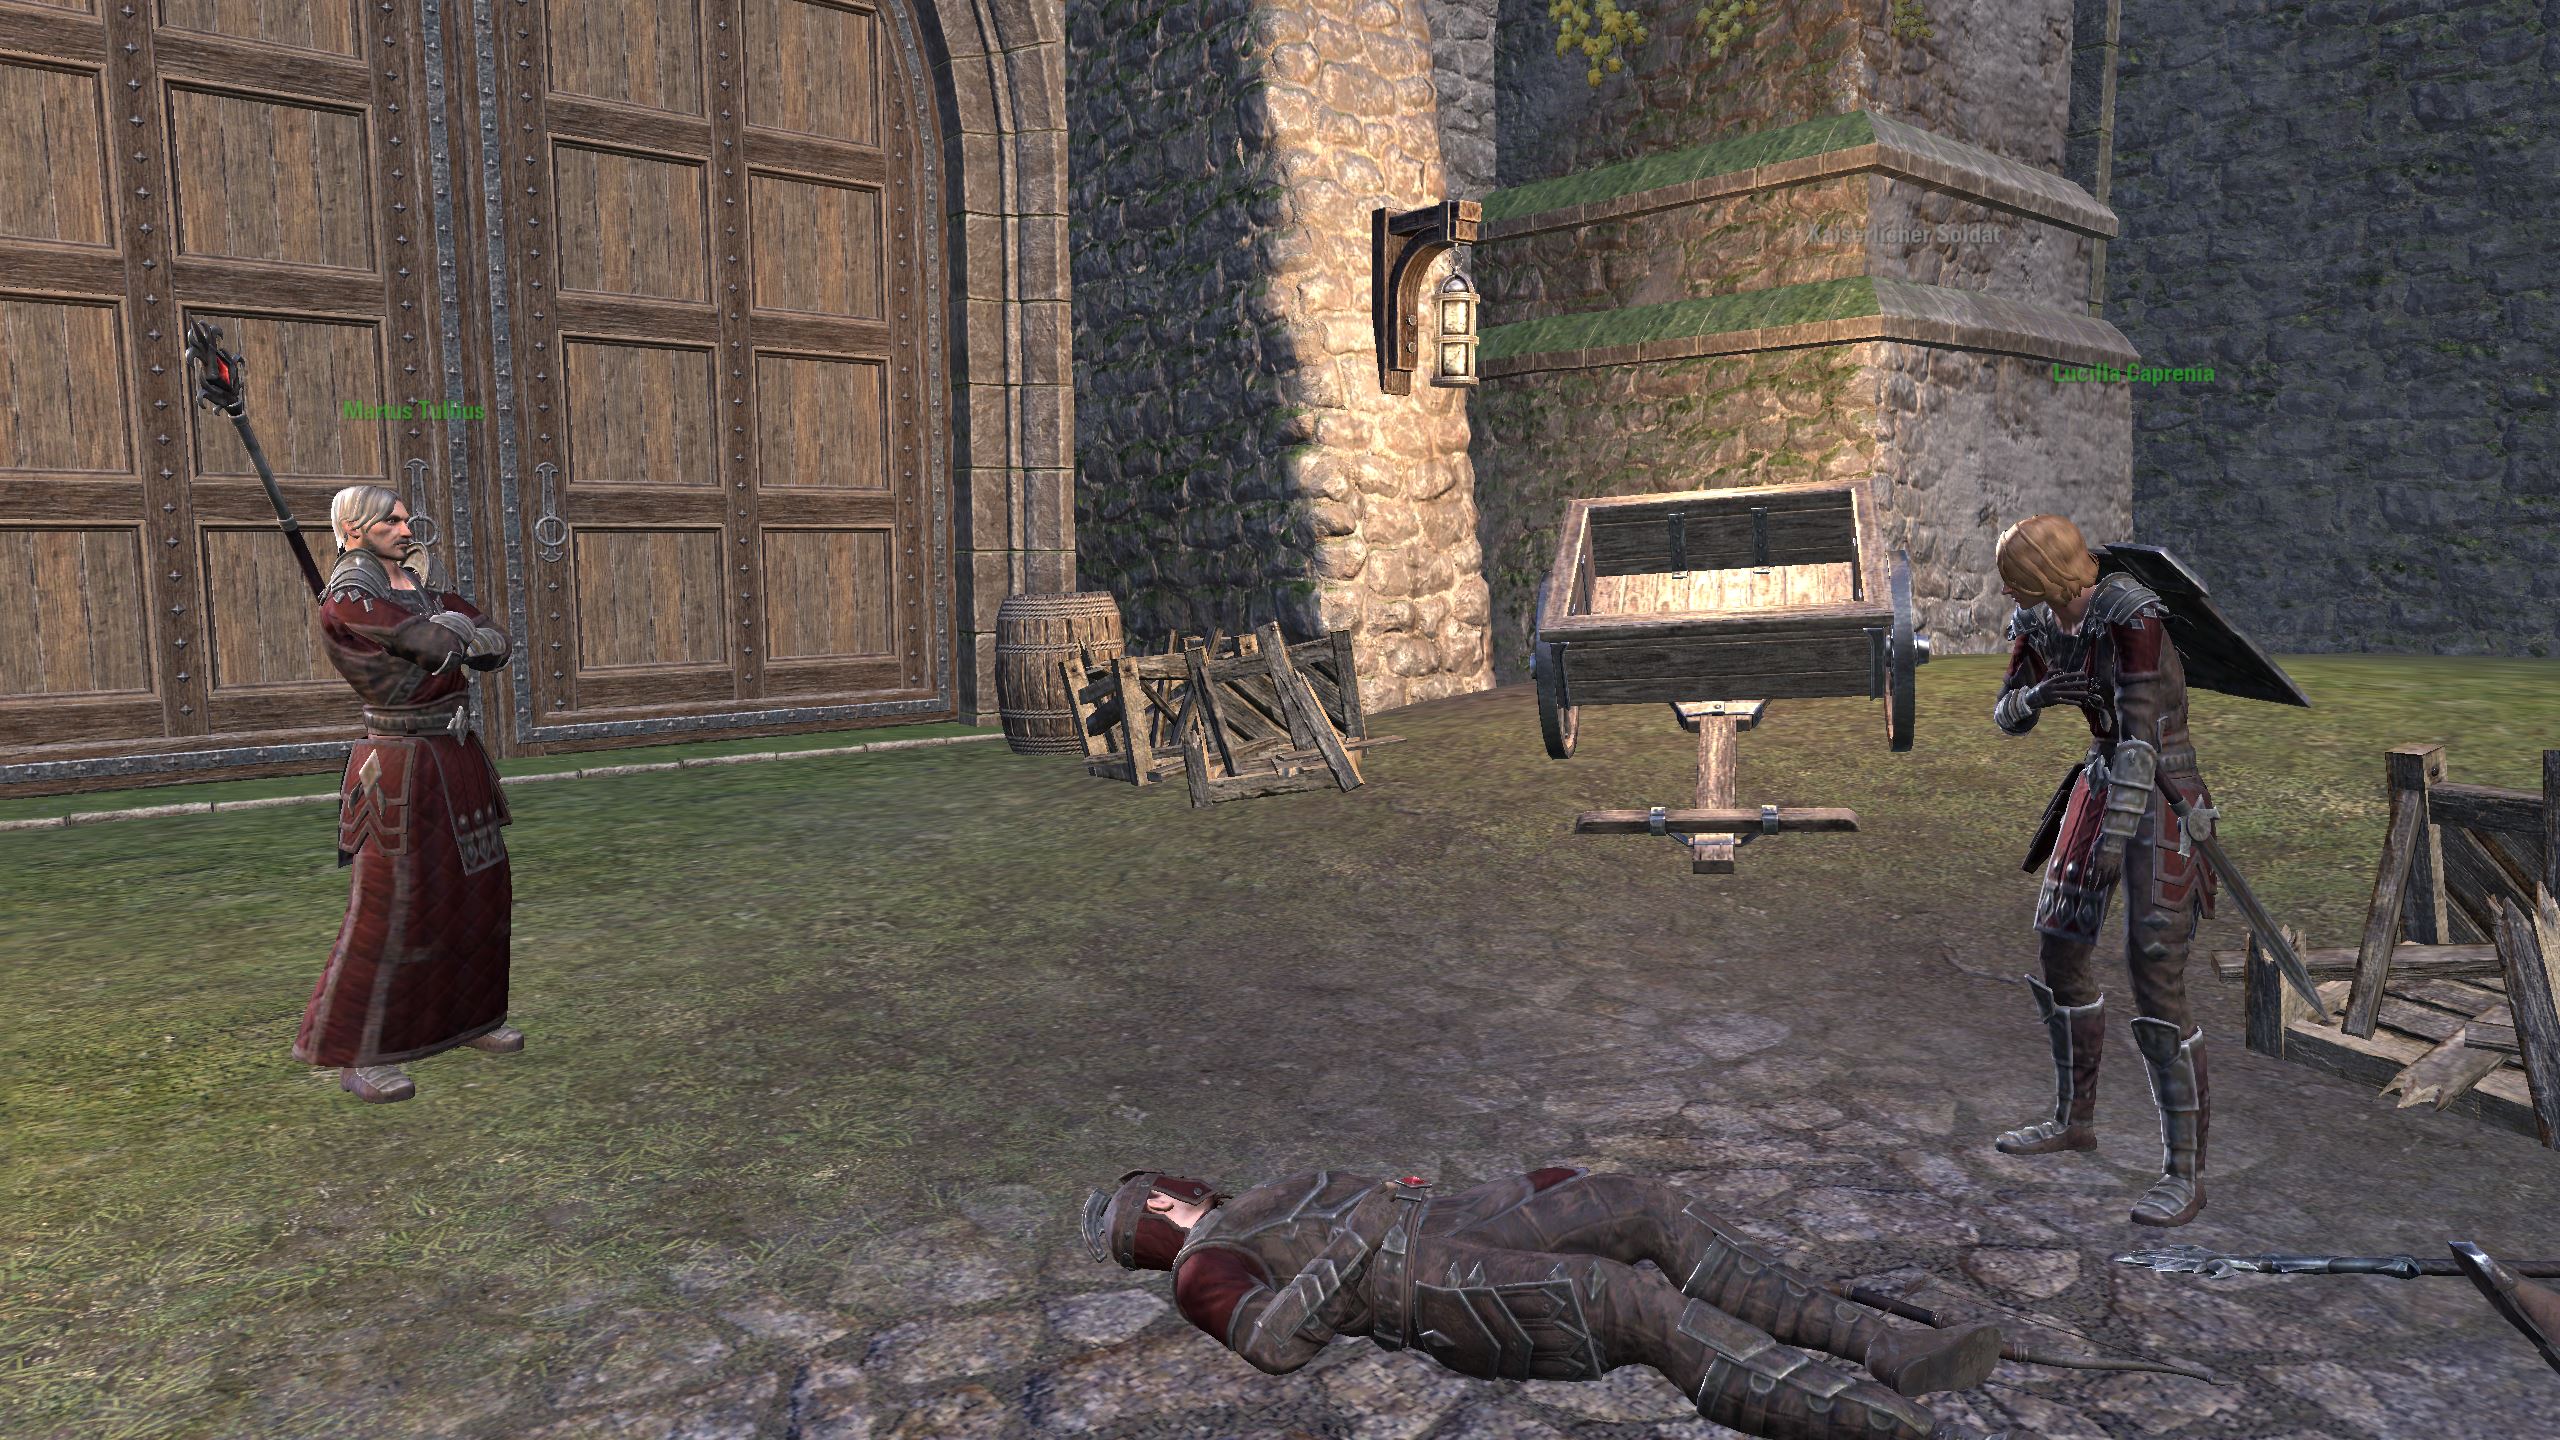
In this confrontation, both the imperial soldiers and the cultists fall. After witnessing this assault, the quest symbol appears above Martus Tullius. From him, we learn more about this place and receive the quest “Trembling Terror”.
The Terror Crypt is an old prison ruin that should actually be abandoned. However, a horde of Daedra has gathered here. Access is normally forbidden to outsiders, but Martus turns a blind eye if we help him investigate magical disturbances.
Secret bosses in the Terror Crypt
You can fight the secret bosses before each of the 3 boss encounters. This unlocks a usable synergy for the boss fights. The secret bosses you must defeat before the battle can then be summoned in the boss fight at each respective crystal using a synergy. The secret boss will then assist you in the fight for 1 minute.
Furthermore, using a crystal synergy resurrects all allies who are dead. Hence, the bosses can also be used as a “Rez-Ulti”. Here is some information about the individual secret bosses:
- 1st boss (orange crystal): The Incinerator
- 2nd boss (blue crystal): The Gravedigger
- 3rd boss (white crystal): Grim Defender
To open the path to the secret bosses, you must synergize blue flames to open the mysterious corridor. There, you need to activate crystals simultaneously to open a portal to another plane. You must ignite the basins standing in front of each respective crystal.
For the 1st secret boss, you open the mysterious corridor by igniting 2 flame basins. You need 3 flames for the next secret boss, and for the last boss, you need 4 flames. You always have a limited time to ignite the basins, but you can repeat it.
The 1st Boss Scorpion Bane in the Terror Crypt in ESO
You should not burn down the boss, but rather play the mechanics casually. Otherwise, it will become quite difficult. At about 90% boss health, 2 adds spawn: A bone colossus and a Xivilai shockbringer. The ranged attacker needs to be interrupted. And the adds should be focused.
After another 10% boss health, the boss ports to one of the shattered sealing stones and restores it. This also needs to be focused by the DDs. Additionally, 2 more adds spawn: A Daedroth and a Xivilai devastator.
It is advisable for the tank to draw the adds to the sealing stone. Then the DDs can cleave the adds. At the 10% mark, the two described mechanics alternate. Also, be prepared for fire & lightning effects on the ground. These are cast by the shockbringers.
The boss also emits some AOE areas that fill up over time and then deal damage. They are dark red flames.
You can summon the bonus boss at the exit for 1 minute if you have previously defeated the secret boss. You need to synergize the orange crystal at the exit for the 1st secret boss to appear.
The 2nd Boss Cyronin Artellian in the Terror Crypt in ESO

You see wide coal streaks on the ground across the entire area. Flame areas will appear during the fight. They move in the same direction. You must not be hit by them. Players who are hit will die. Thus, you must keep moving during the fight.
Otherwise, the boss is relatively simple. The DDs can deal full damage to the boss. The adds, which are 2 storm atronachs and smaller creatures, should die in cleave damage. The tank just needs to taunt them.
You should generally keep moving. Tanks with heavy armor might consider wearing nimble jewelry to dodge the areas in time.
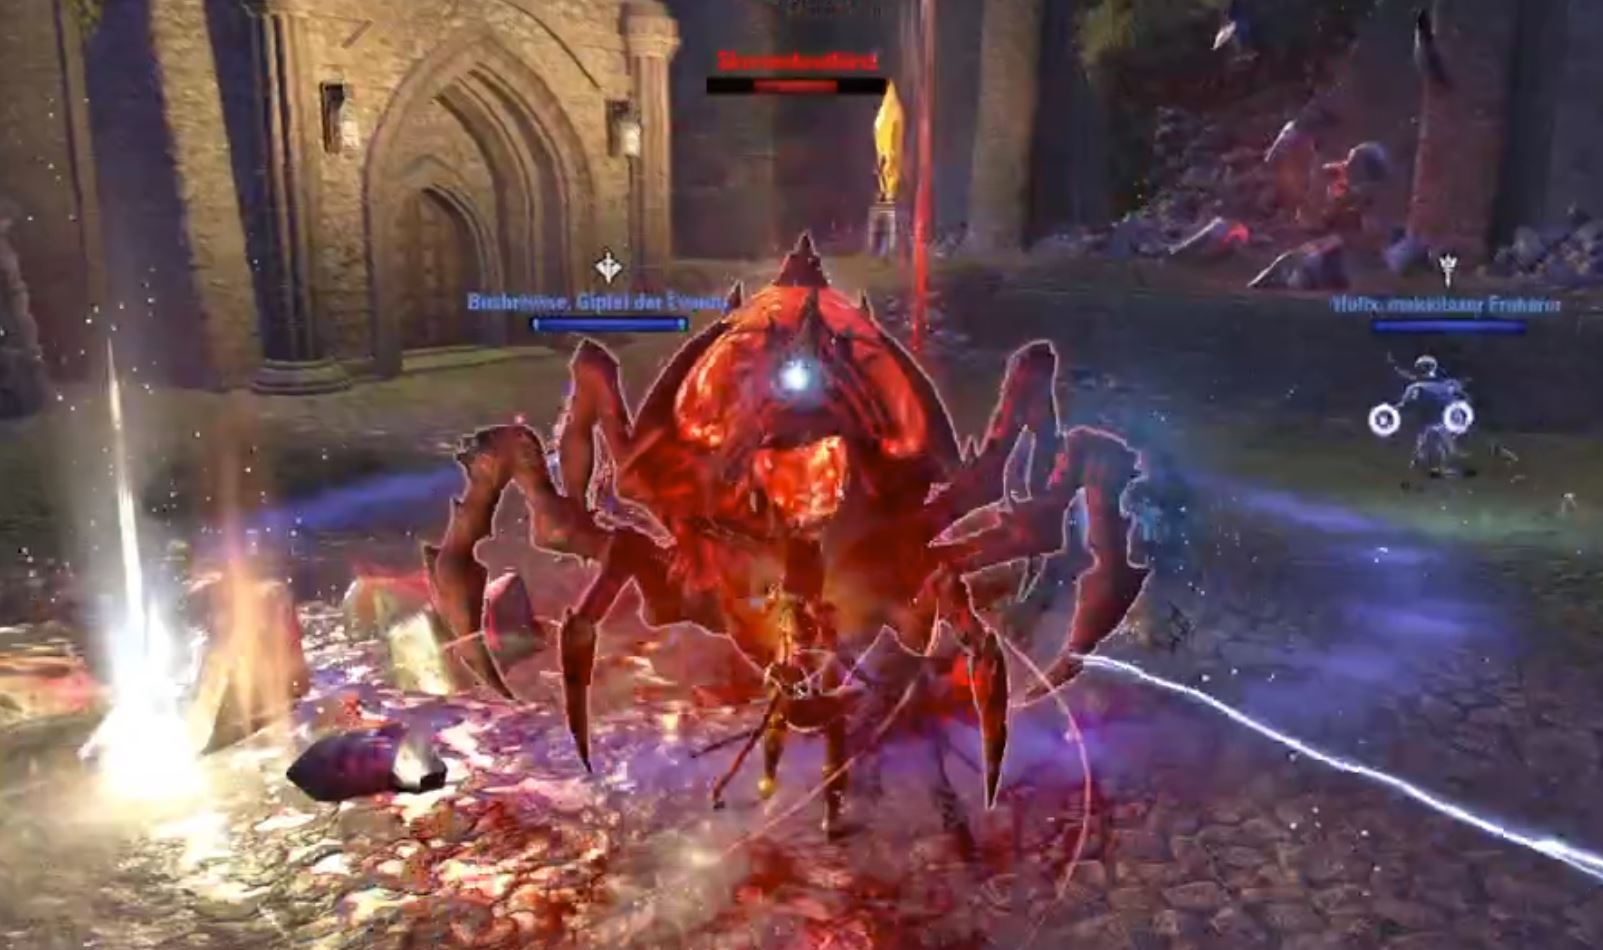
The final boss Magma Embodiment in the Terror Crypt in ESO

This boss has 8 million health in non-HM and 16 million health in HM. He casts flame rays at 90% health on 3 players. Ideally, place them on the edge, as they leave fire areas along the line. You should not stand too close together with the beam, as they explode and kill players who take more than one beam.
Additionally, fire whirlwinds appear that move across the ground. Occasionally, almost the entire floor area will fill up. You must dodge towards the edge of the room.
The boss casts a dome around himself at about 60% health and cannot take any damage during this time. At the exit, you need to synergize a portal and destroy a sealing stone. There are multiple rooms that are randomly chosen. In some rooms, the tank must definitely taunt the add. The strangler, for example, one-hits healers and DDs.
You don’t have endless time to return. If you stay too long in the portal, you will be pulled back into the boss fight. Once you return from the portal, you will see fire whirlwinds rotating like a wall around the central shape in the room. However, you can dodge through these fire whirlwinds without taking damage.
However, there are additional fire whirlwinds that chaotically spin circles on the ground. You should avoid these, as they cause massive damage. The portal phase repeats at around 30%.
There is also a skill “embodied outbreak,” where the boss plunges his swords into the ground. A circular area appears around him. The tank must then move into the area blocking to protect his group.
Generally, the tank should prepare for painful blows from the boss. I also recommend wearing some armor pieces that fit, as you have to dodge many attacks and areas.
Smaller daedric creatures will spawn during the fight. You do not need to focus them, but they should die in cleave damage. Ideally, the tank can pull the adds to the boss.
The Redpetal Bastion
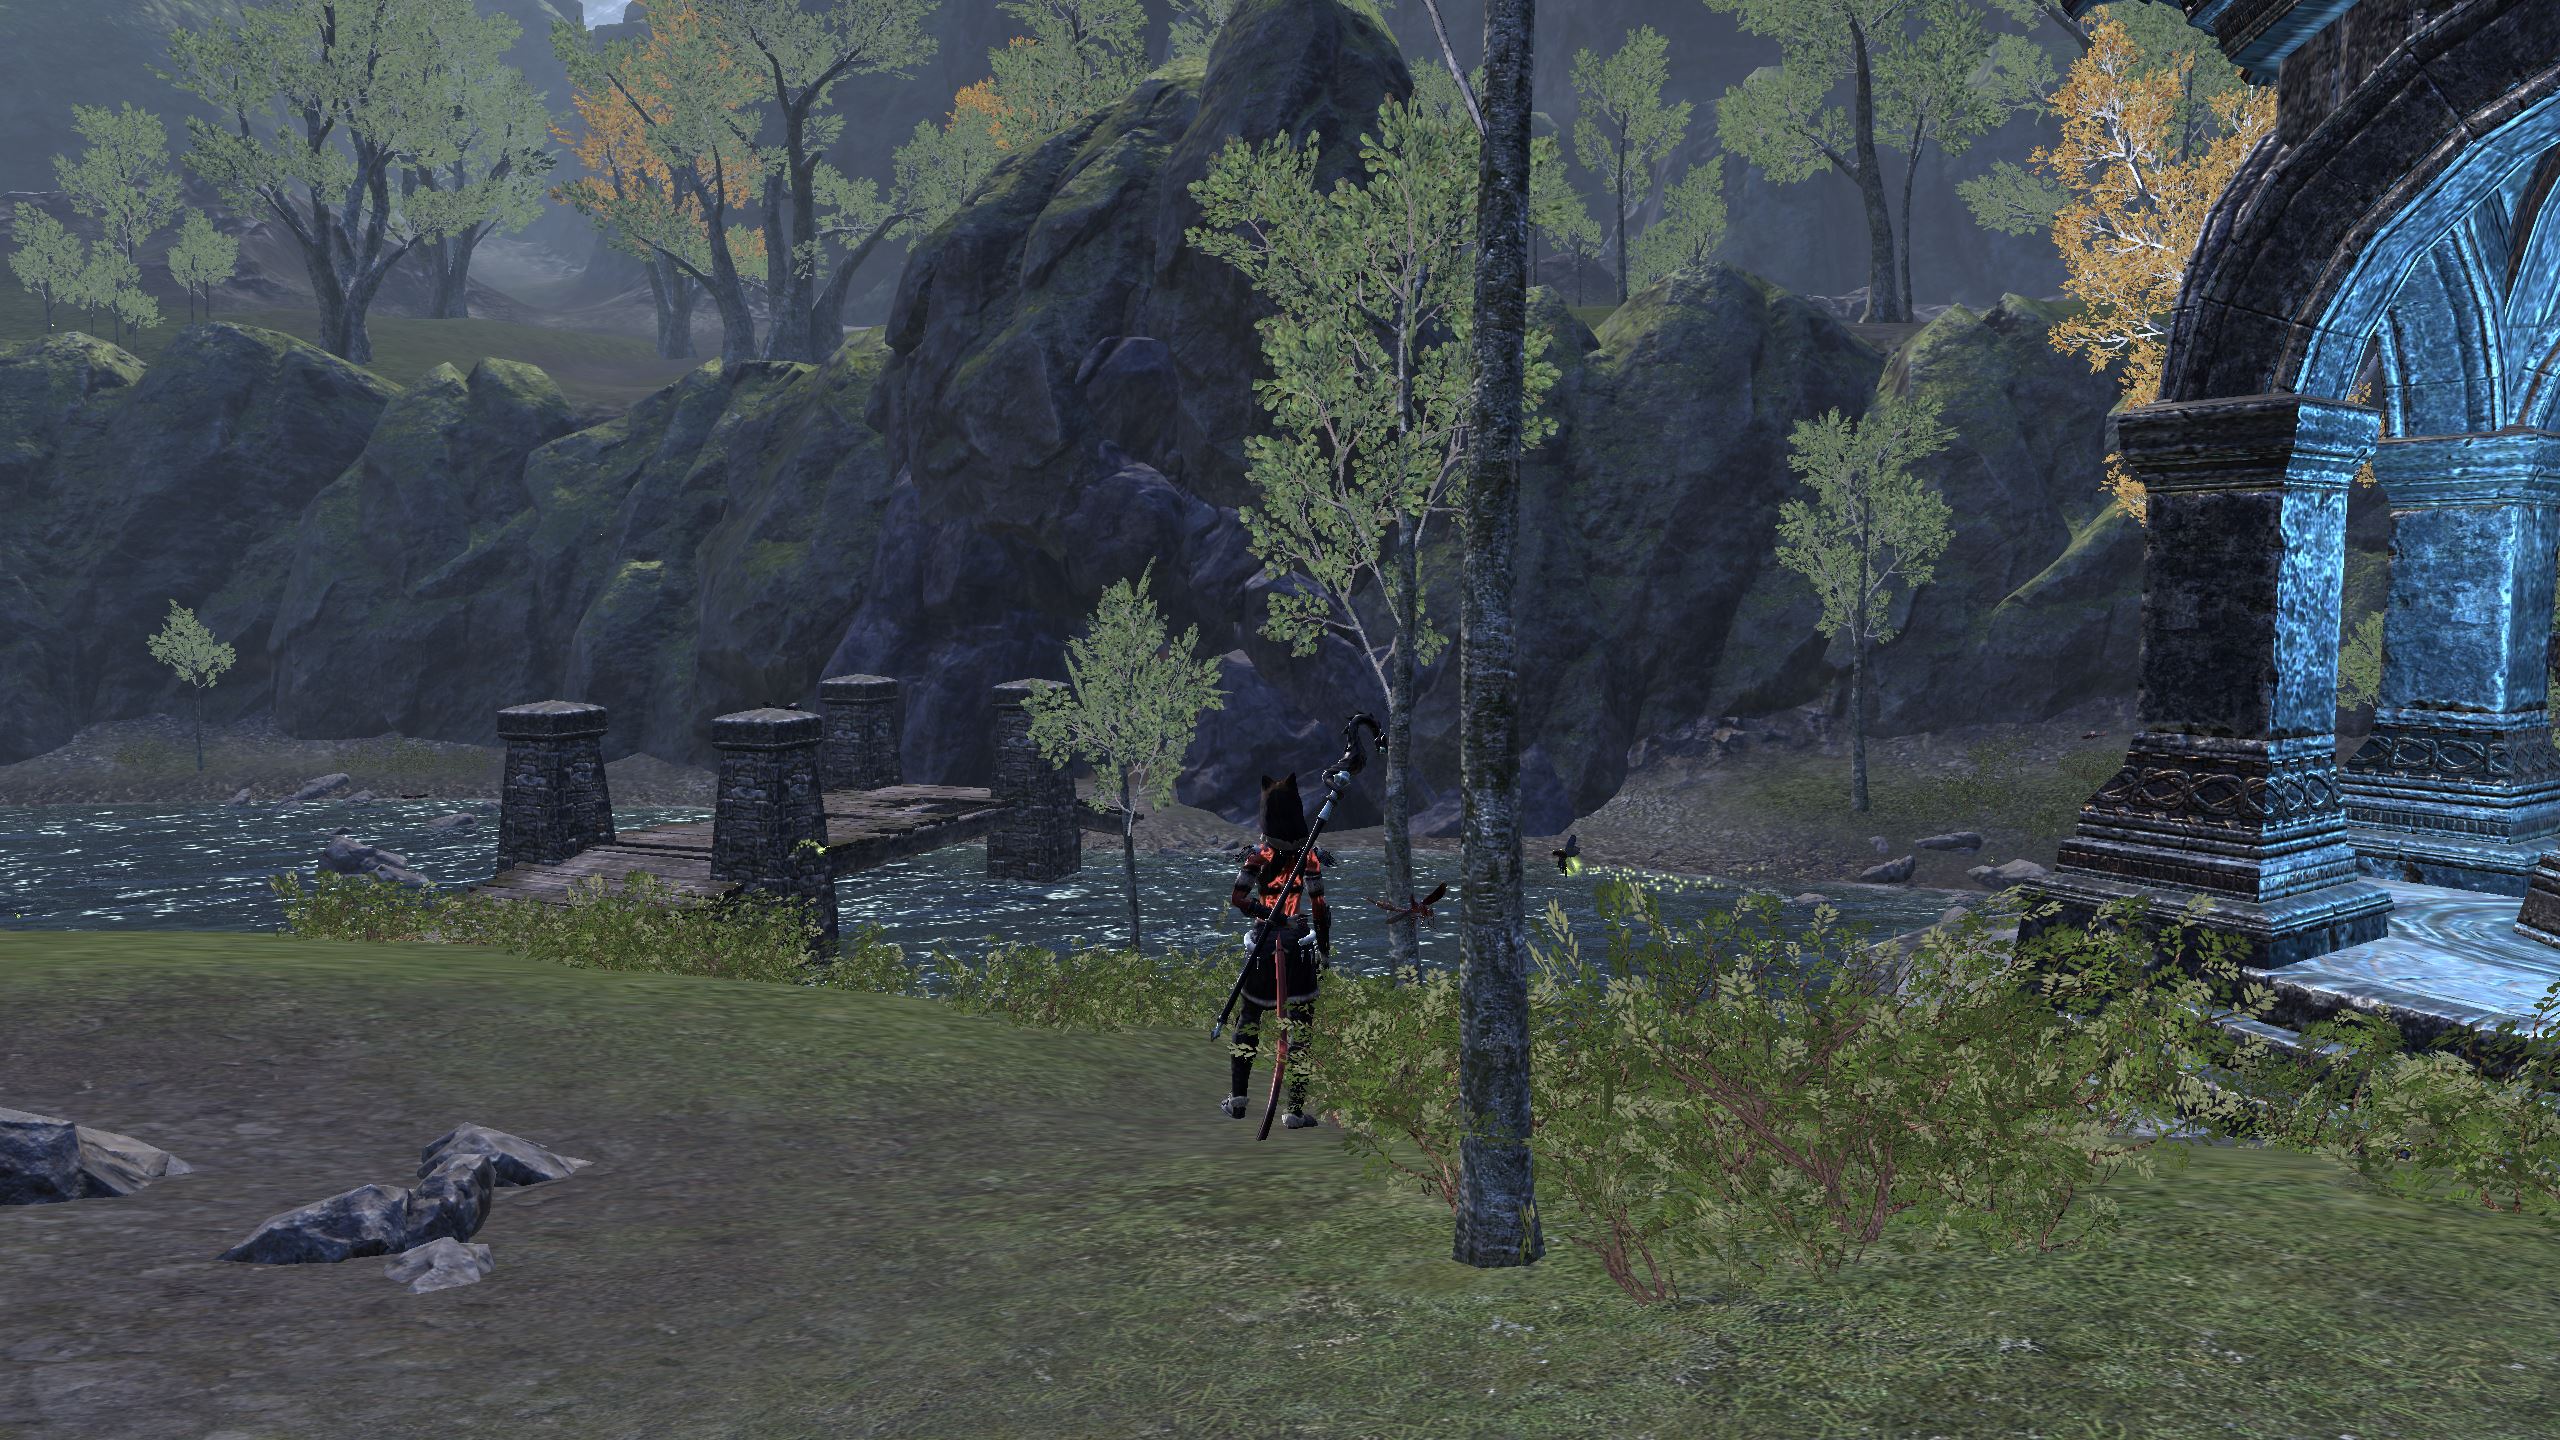
This dungeon also looks quite idyllic at the beginning. In the distance, you spot three figures. As you approach them, you witness a heated discussion between 3 NPCs. Among them is our old daedric acquaintance Lyranth, a preacher of the Mother of Roses (Azura) named Weylin, and a knight of the Silver Rose.
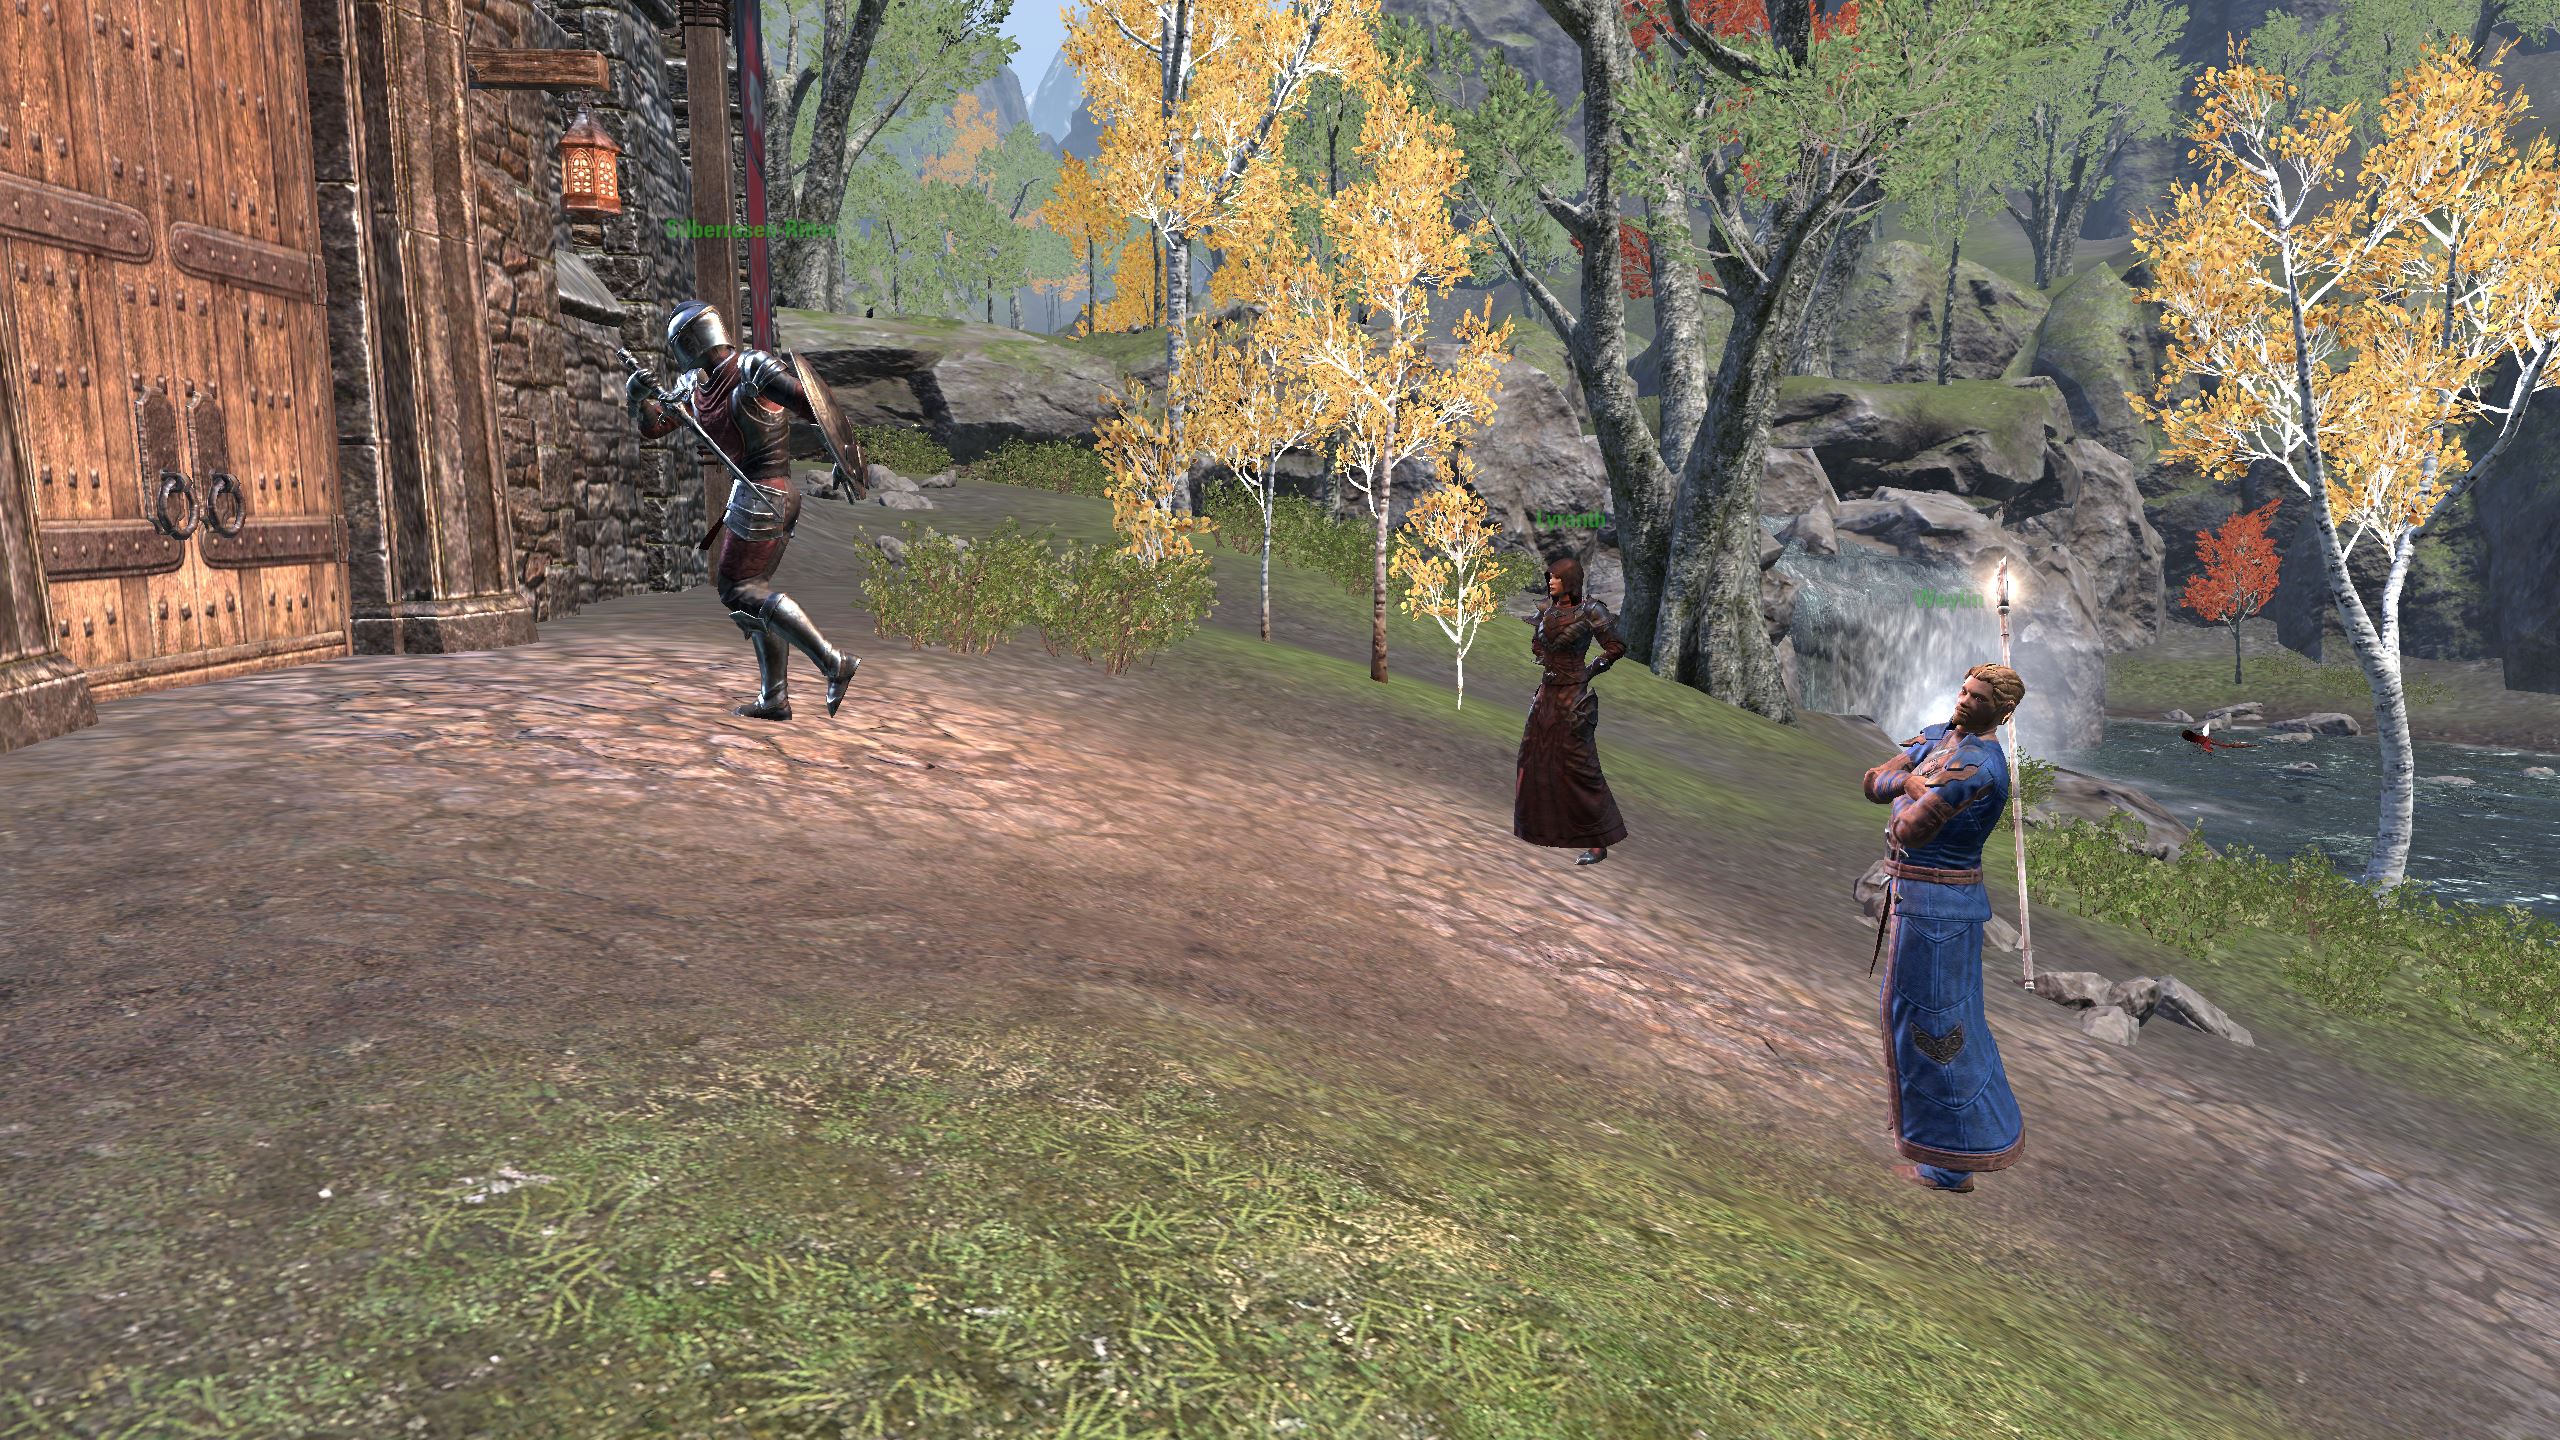
We only catch the end of this conversation in which the Knight of the Silver Rose refuses the other two NPCs entry into the fortress, turns around, and enters the fortress. He threatens with violence should they attempt to gain entry.
Naturally, we wonder at the sight what the reason is for the two being denied entry into the fortress. A quest symbol appears above Weylin. After we speak to him, he warns us against entering the fortress and explains his concerns. We receive the quest “A Rose of Many Thorns”.
Weylin informs us that some relics were forcibly removed from Azura’s temple by the Knights of the Silver Rose. Lyranth is also looking for a relic located inside the fortress of the Knights of the Silver Rose.
Essentially, the knights confiscate dangerous items from harmful cults to protect Tamriel from daedric creatures. Weylin seems to misunderstand why the knight order has turned against his temple. He had assumed the relationship between the order and his temple was a good one.

Lyranth is less informative. She seems somewhat pleased to see us again, but reveals nothing about the agreement between her and Weylin, “That’s only something for her and him.” Now it seems it’s up to us to illegally enter the fortress of the knight order and find out more.
The 1st Boss Rogerain the Cunning in the Redpetal Bastion in ESO
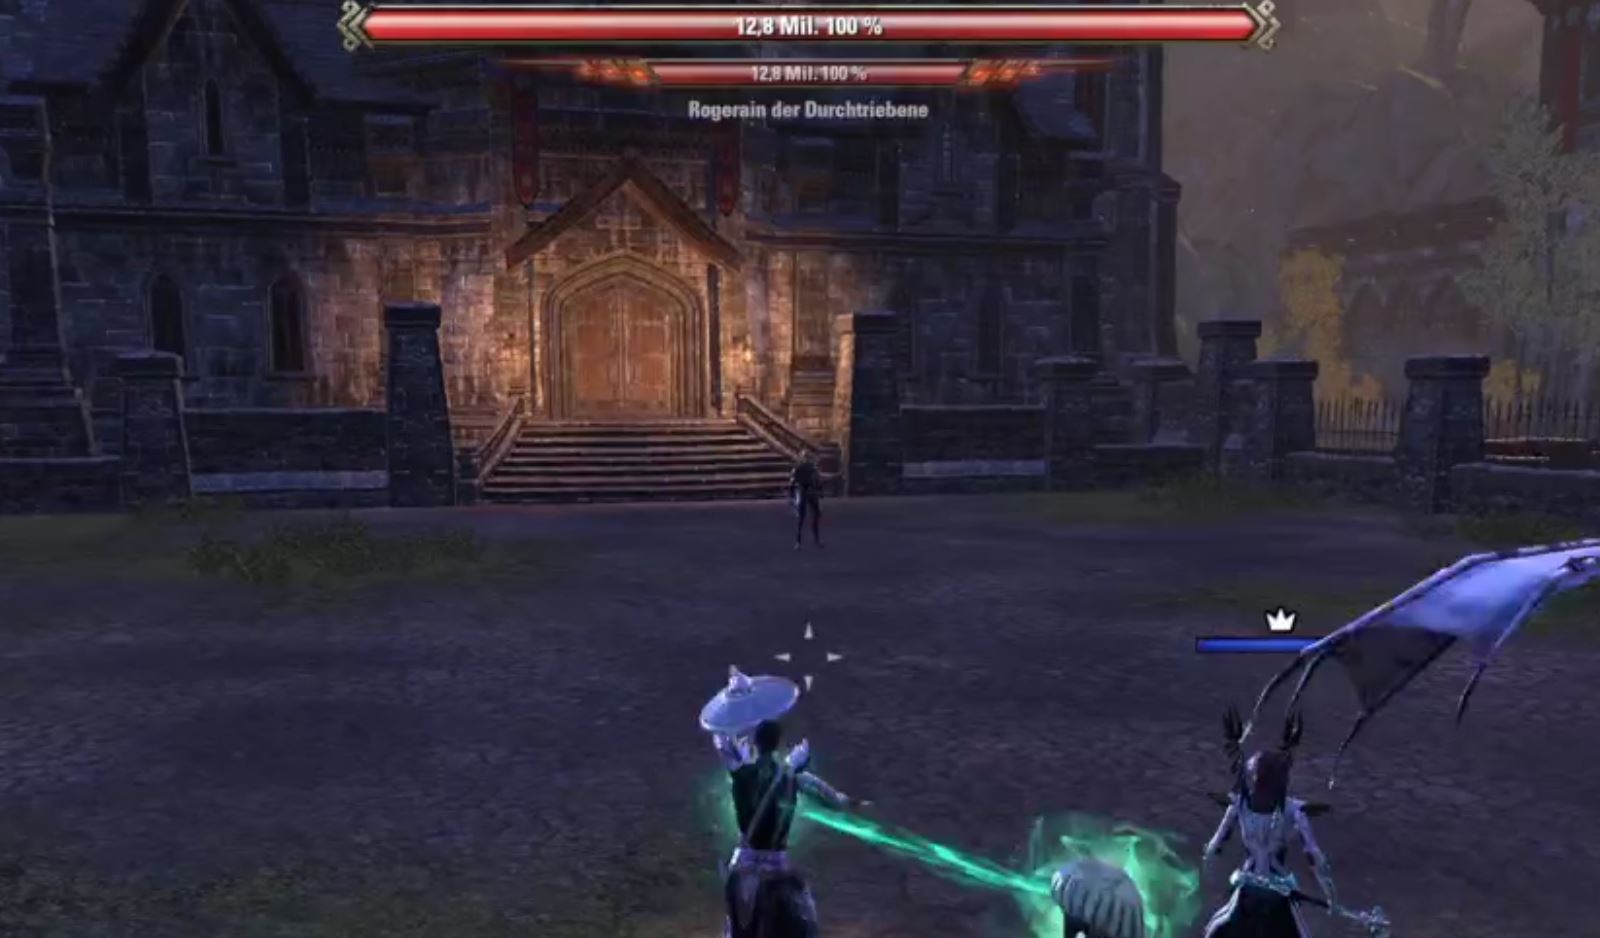
This boss deals significant damage. You should rather dodge his heavy attacks. Even for a tank, these are quite painful to block. Additionally, he summons deathjumpers and portals from which daedric creatures emerge. Moreover, lightning whirlwinds glide across the ground from him.
Occasionally, he transforms one of your group members into a goat. While transformed, no abilities can be cast. As a goat, you need to collect sweet rolls on the ground until you transform back.
The 2nd Boss Eliam Merick in the Redpetal Bastion in ESO
This boss is occasionally supported by the minibosses Liramindel (archer) and Ihudir (swordsman). Be cautious when he emits shockwaves from himself. For healers and DDs, this area is usually a one-hit.
Particularly challenging with this boss is that you must constantly be on the move. This makes it difficult for DDs to deal damage to the boss and for the healer to provide healing to his group. Occasionally, the boss jumps to a random player. Anyone who stands in this area will die.
Additionally, the boss leaves circular AOE areas all over the floor and a large AOE area at his position. Once he summons a dome around him, players underneath it are shielded from all abilities.
The minibosses must be interrupted repeatedly and also deal significant damage. Thus, the focus of the DDs should initially be on the minibosses. During the execute, these can then be ignored, and the boss can be focused.
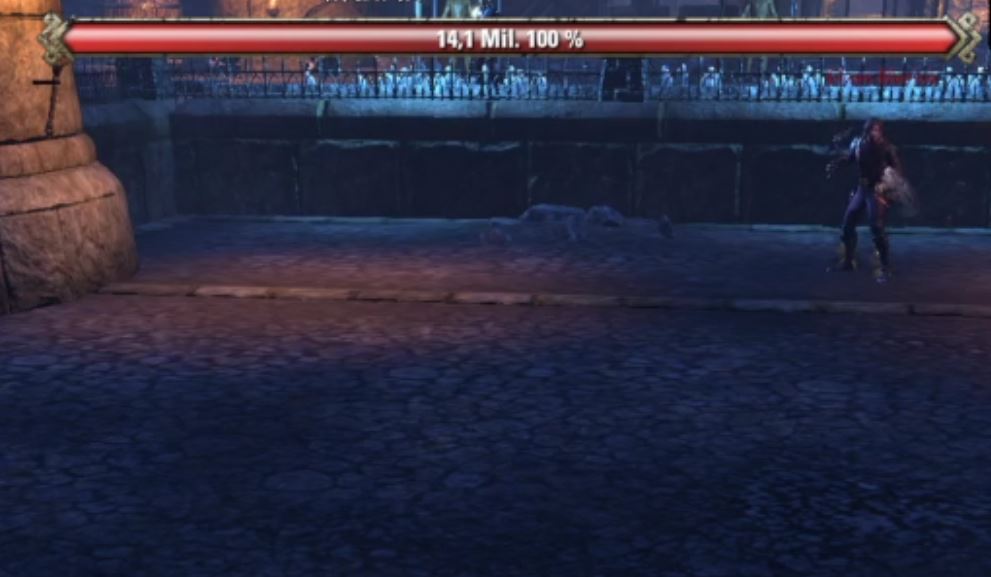
The final boss Prior Thierric Sarazen in the Redpetal Bastion in ESO

The final boss creates a replica of himself, causing two Priore Thierric Sarazen to attack the tank. Additionally, every 25% of the boss health, 2 silver rose terrain shapers and smaller daedric creatures appear. We also encounter the dome from the 2nd boss fight. Likewise, the jump to a random player is back.
But we can also expect ground effects. Large circular AOE areas will appear, and we will not be spared from shockwaves either. Additionally, thorns will occasionally rise from the ground that cause area damage.
Starting from around 60% boss health, additional area damage will emerge, moving like a wall from one end of the room to the other. It resembles the mechanic from the Claw Lair. However, you are not necessarily dead if you get hit by it. But it still hurts.
During the execute (boss health below 25%), additional medium-sized red circular areas will emerge that move.
My conclusion on the new dungeons from Waking Flame
The new dungeons really pack a punch. The 2nd boss of the Redpetal Bastion has particularly stuck in my mind. In hard mode, we wiped numerous times and ultimately had to change our setup. Once everyone was on their main role, it worked.
In the Terror Crypt, the final boss in hard mode is challenging. You should have a strong tank, a reliable healer, and DDs in the group who do not often fall. It is quite difficult to resurrect a player. Additionally, I recommend unlocking the secret bosses to summon them in battle.
But I would definitely recommend: Take your time if you want to run the new dungeons in hard mode. And don’t experiment with characters beforehand, but play a character you feel comfortable with.

Your opinion is important to us!
Do you like the article? Then let us know!