

The MMORPG The Elder Scrolls Online received the expansion Blackwood on June 1, 2021. With the new chapter, new Mythic Items have been added. MeinMMO presents a particularly strong one and reveals how to get it.

Similar to the previous chapter Greymoor, there is a particularly interesting armor piece for DDs (engl. Damage Dealers) to excavate: the Warden’s Watkilt.
However, the item is extremely popular and causes great congestion at farm spots. This can lead to you needing to farm for hours or even days. Because even if you fought for (or rather expected) one of the farm spots, this is still no guarantee that you will quickly find the clue.
That’s why the item “Warden’s Watkilt” is so coveted
What kind of item is this? The Mythic Item carries the name “Warden’s Watkilt.” It is a medium leg armor piece. Here you can see the item’s effect:
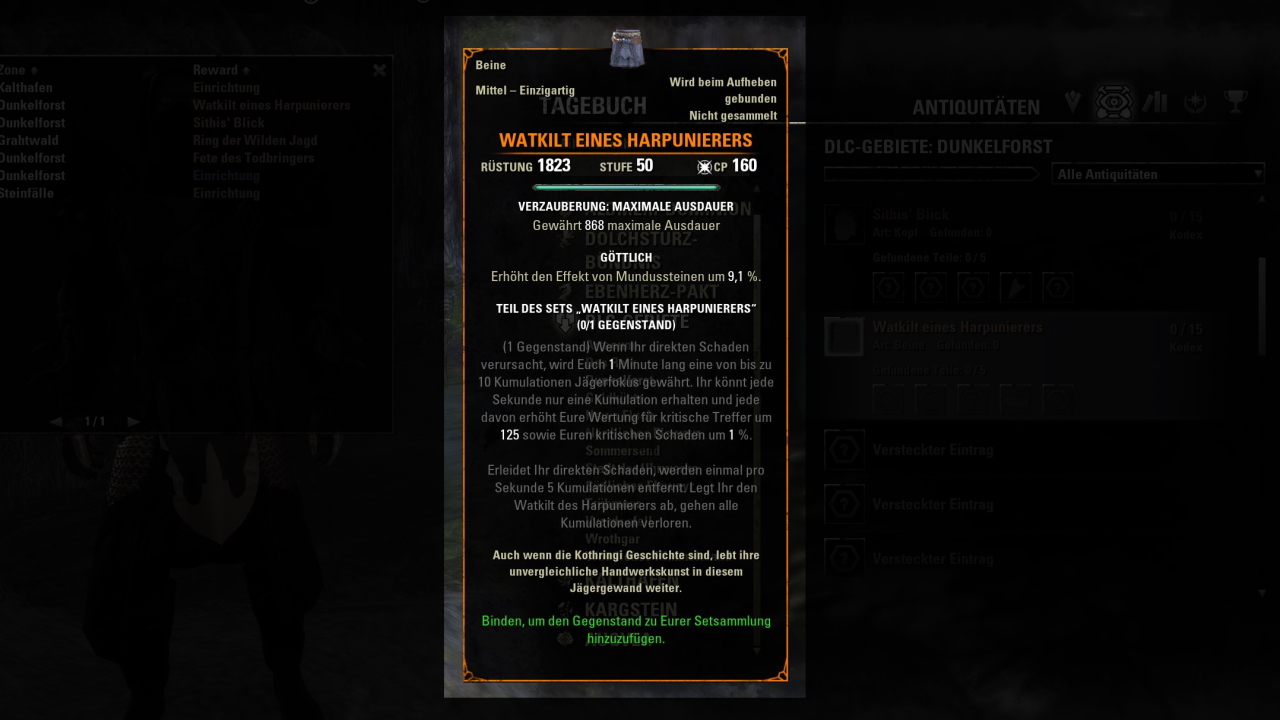
Why is the item so strong? The item grants you up to 10 stacks of 125 critical hit and 1% critical damage each. That’s 10% critical damage at 10 stacks. You receive stacks whenever you deal direct damage.
The stack is granted to you for 1 minute. However, since you usually deal direct damage continuously, you can mostly maintain the 10 stacks. You will, however, lose 5 stacks if you take direct damage.
The set is only suitable if you are in a situation where you take virtually no damage as a DD. Nevertheless, the bonuses are strong since critical damage is currently considered generally too strong.
And you gain quite a bit of stats from just one single set piece. For that, for example, you can forgo one piece of the monster set. Depending on the game situation, the Warden’s Watkilt is the best item you can wear in that equipment slot.

The Ultimate Compendium for ESO Blackwood
148 pages of guides for new and returning players, including a free extra: ESO main game, Morrowind, and 25% off Blackwood at Gamesplanet.
How to get the item “Warden’s Watkilt”
You get the item “Warden’s Watkilt” through excavation. You will therefore need the chapter Greymoor for the skill lines. You will also need the new chapter Blackwood and the DLC Murkmire, as some clues can only be found in these areas.
By the way, here you can find our guide to all Mythic Items in ESO.
In total, you need to possess 5 different clues to be able to excavate the necessary parts for the item.
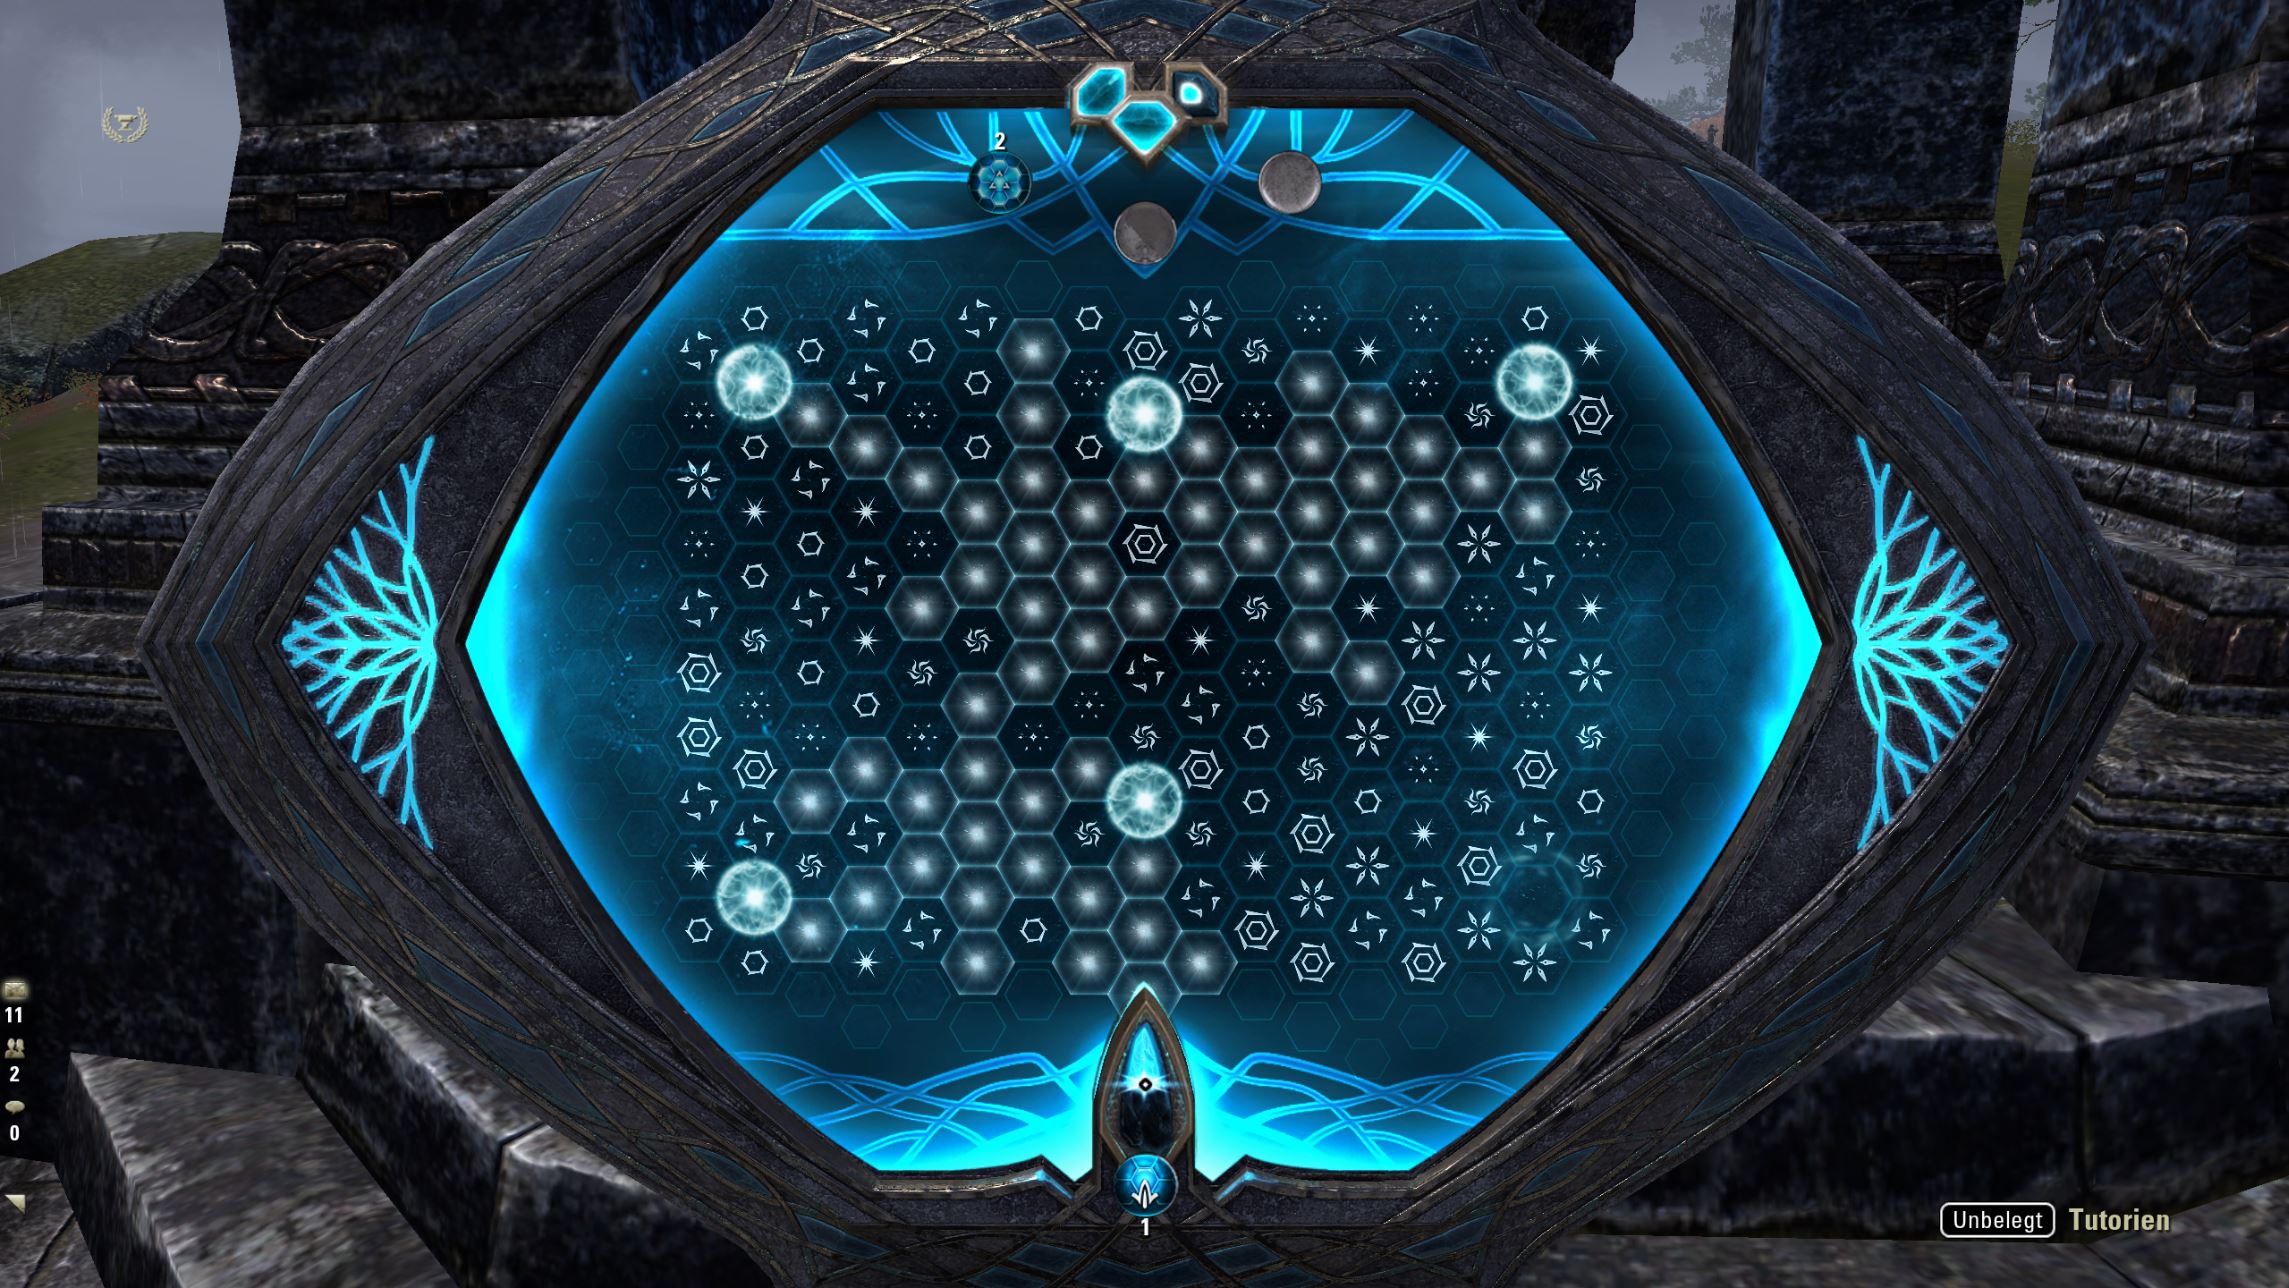
How does excavation work?
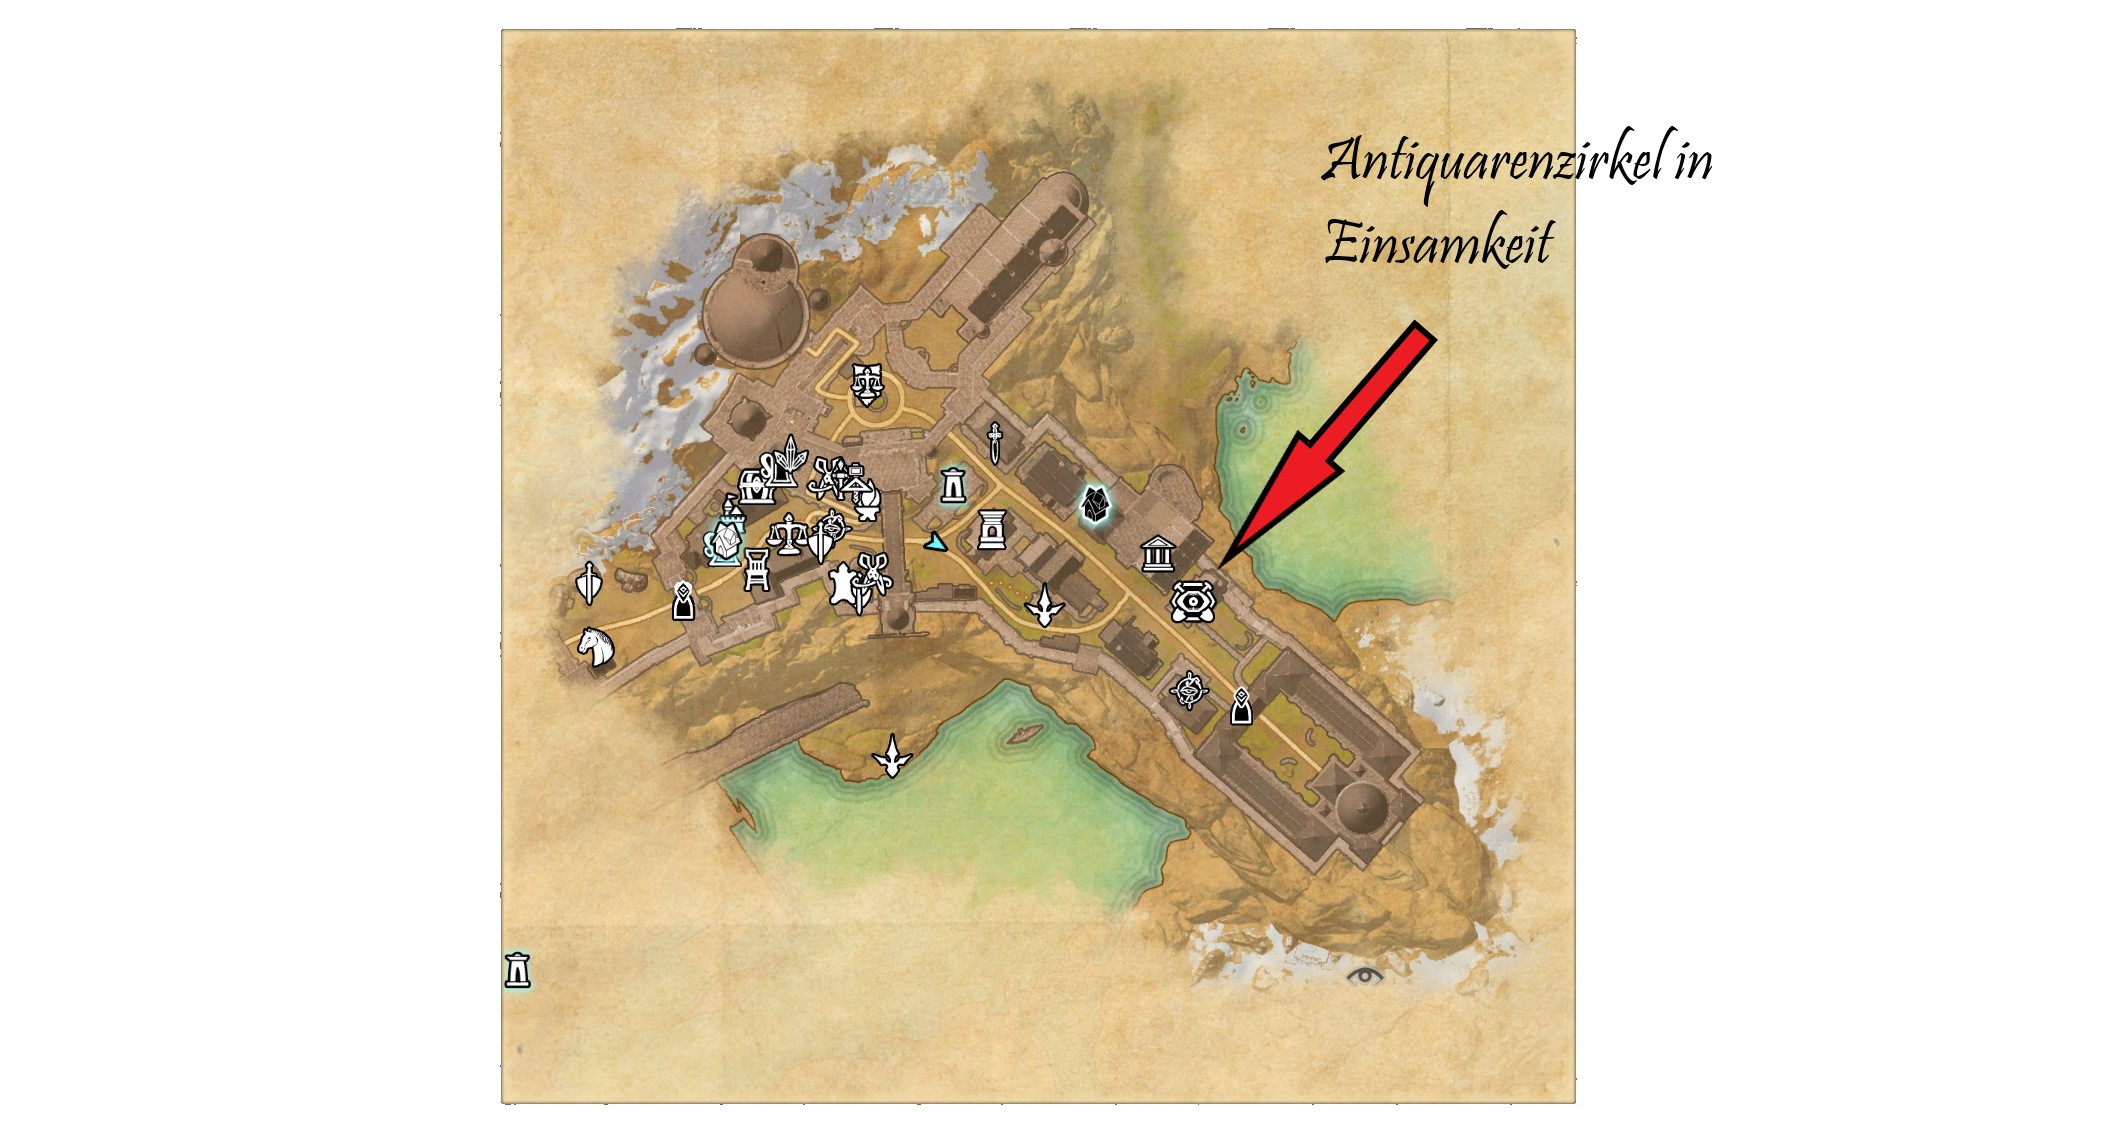
First, you need to unlock the skill lines “Scouting” and “Excavation”. For this, travel to western Skyrim to Solitude. Move from the wayshrine towards the Antiquarian Circle.
Enter the building and speak to Verita Numida. You receive a quest from this NPC. You must accept and complete it. This tutorial shows you how scouting and excavation work.
Here you will learn exactly how the antiquing system works in ESO.


What level of the skill lines do I need?
To obtain the so-called Mythic Items, you need to obtain and excavate 5 clues each. No specific level is required to get the clue. However, to scout, the passive ability Eye of the Antiquarian (5/5) in the scouting skill line is necessary.
For excavation, it is highly recommended to have the passive skills. They really make it much easier. In principle, there is no minimum level for this, but the skill line levels up parallel to the scouting skill line. Therefore, you are likely to have a similar level there.
To reach the level, you unfortunately have to keep scouting and excavating things repeatedly, which is relatively time-consuming. You always have the chance to scout a green item. Usually, during its excavation, you will find a clue for a blue item.
Depending on the rarity, there are of course different rewards and experience points. This is also the positive aspect of farming for the skill line: You can earn a little gold through excavation on the side.
What clues do I need and where can I find them?
First of all: The known information may be inaccurate. It is quite possible that you can obtain the clues from other sources. All information is based on the experiences of some players.
Clue 1 (Kothringi Leathercut): For this clue, you need to go to the new area of Dusken. You definitely need the chapter Blackwood. The world bosses in the open world have a chance to drop this clue.

Clue 2 (Swamp Blue Jaspis Fetish): You can obtain this clue from the final boss (Tree Sentinel Na-Kesh) of the group dungeon Ruins of Mazzatun. It doesn’t matter what difficulty you choose.

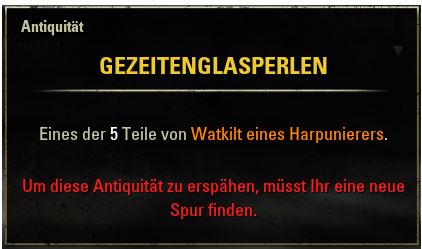
Clue 3 (Tideglass Pearls): This is probably the most unpleasant clue of all 5 clues. Because you get this clue only from water plants (Nirnroot, Water Hyacinths) or water sources (drinking hoses or water at bodies of water).
However, since the spots are relatively scarce, you will quickly notice: Almost every spot will be besieged by a player.
Occasionally, you may also encounter less friendly players who try to defend their spot with rather unfriendly words. This is completely unnecessary. There is, in fact, a trick on how both of you can use the same spot:
- Important for this: Turn off the “Always Collect Everything” function. To do this, go to settings under “Gameplay” and scroll down to the heading “Items”.
- If you now select a resource with E, you can check to see what exactly is in it before you loot it. If you don’t see a clue there, cancel the process with “Alt” or by moving away from the resource.
- The next player can then select the resource after you and has a chance to find the clue in it. The competition that you can observe is therefore completely unnecessary…
It’s best to find a group with which you can position yourself at resource spots. Then you can take turns selecting the resource and thus generally increase your chances.
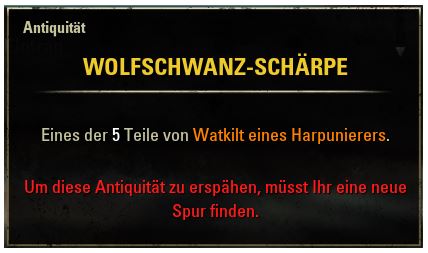
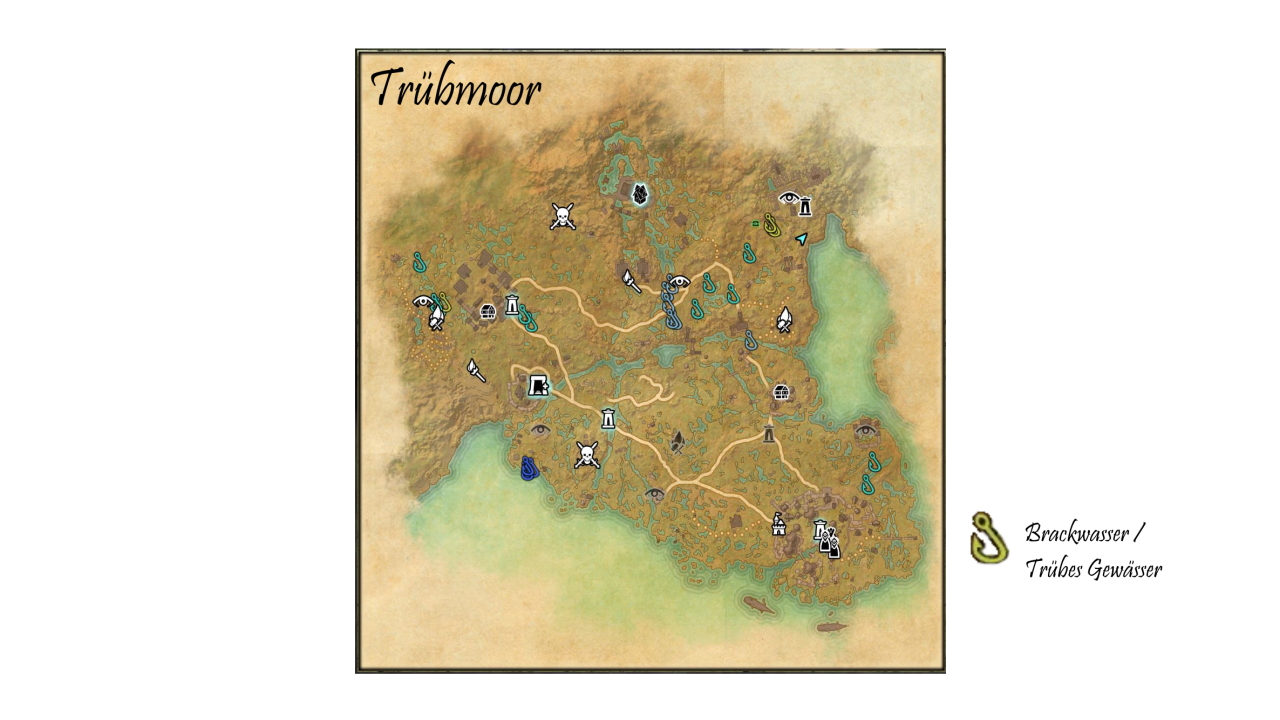
Clue 4 (Wolftail Sash): For this clue, you need to fish in the area of Murkmire. Therefore, you need the DLC Murkmire. The challenge is the selection of the water body. Because only in muddy water do you have a chance to obtain the clue.
If you are a PC player, you can use the following add-ons for fishing as help. However, they are not mandatory for farming the clue but are also useful for fishing fans:
- Map Pins by Hoft
- Votan’s Fisherman by votan
- Votan’s Fish Fillet by votan
- Rare Fish Tracker by katkat42
You can download the add-ons manually and place them in the appropriate folder. The more convenient option is the Add-On Manager Minion. This lets you see, browse, and download most add-ons. Minion then automatically places everything in the right folder, and you can also easily update them with a click.
Clue 5 (Silk Rope): You can find this clue in the small area of Bal Foyen. You need to defeat enemy NPCs of the Aldmeri Dominion. With some luck, you can obtain the clue from the defeated enemies.

By the way, there are also several helpful add-ons for PC players for the various clues. These can help you keep track of the things you can scout:
- Display Leads – with Location Info by remosito
- Lead Overview by ownedbynico
- BeamMeUp – Teleporter (Fast Travel) by @DeadSoon
Are there also any add-ons on your list that make life in Tamriel incredibly easier? For some ESO players, these helpful tools are almost indispensable. This is also true for MeinMMO author Larissa Then.
In her article 7 Add-ons I can’t imagine ESO without, you’ll learn more about it.
Have you secured the new Mythic Item yet? Or have you spent several hours grinding?

Your opinion is important to us!
Do you like the article? Then let us know!