

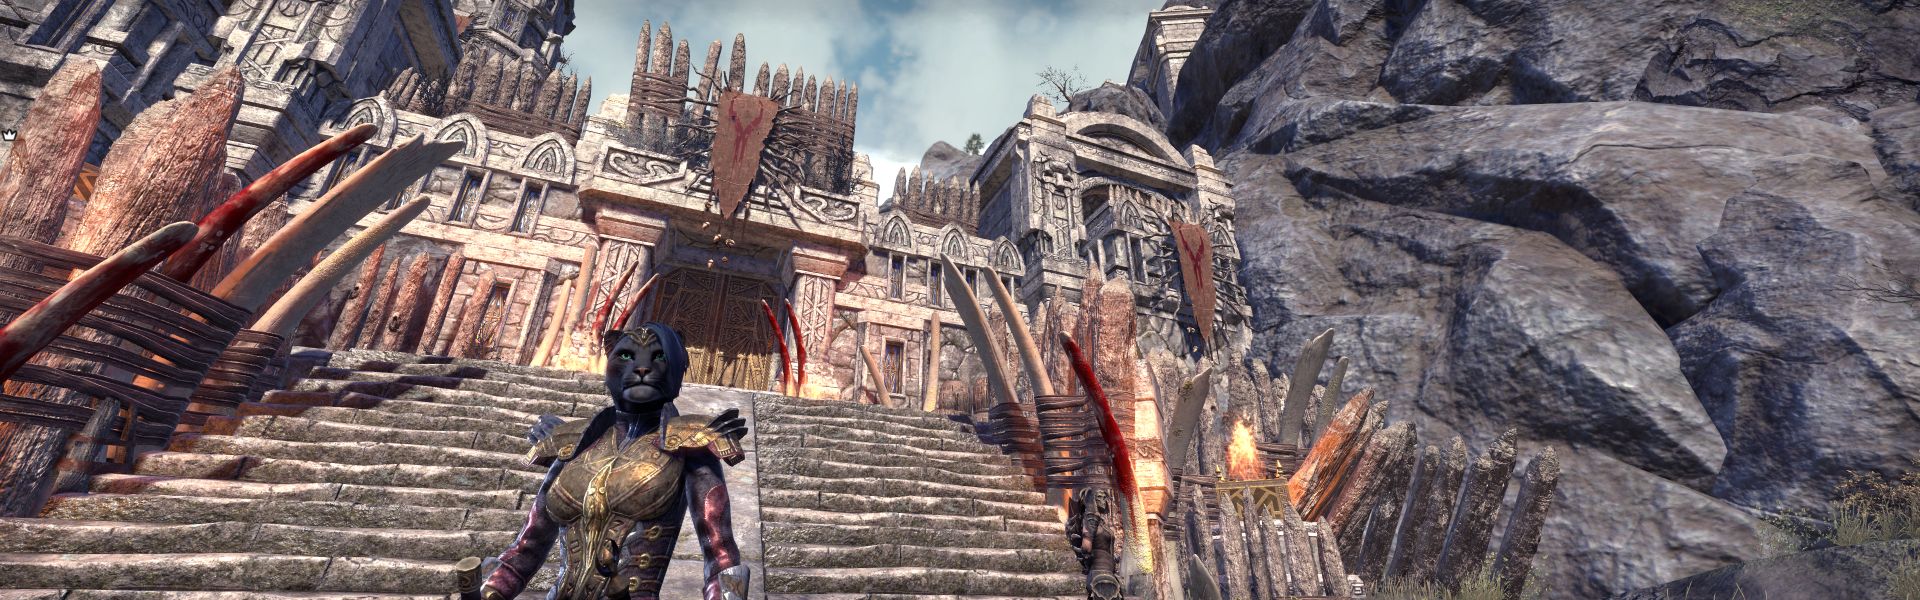
In the new DLC Markarth for The Elder Scrolls Online, there is a new solo arena called the “Foundation of Vateshran.” There are many rewards to be obtained, but the challenge is tough. How you master the arena is explained here in our guide on MeinMMO.

What is the Foundation of Vateshran? In the lands around Markarth, the grim Reiklanders live, a people of hardened barbarians who are among the toughest guys and gals in Tamriel. But even among these surly savages, one clan stands out as wilder and tougher than the rest: the Ghostblood Clan.
The secret behind the strength of this clan lies in the rites of Vateshran. The most worthy warriors of the clan test their strength by completing three trials, each dedicated to a Daedric Prince. To do so, the challengers even travel to the realms of oblivion under the guidance of a fierce witch to face the trials.
Throughout the story of Markarth, the rites of Vateshran will also be opened to outsiders, allowing your hero to finally take on this challenge.
Where can I find the new arena? The arena for the rites of Vateshran is located beneath Markarth. You must either purchase the Markarth DLC or maintain an ESO Plus subscription to access the arena.
Once you enter the arena, you reach a central room where a witch gives you the corresponding repeatable quest. There are this quest in the “Normal” or “Veteran” mode. The latter is significantly harder and offers better loot.
After accepting the quest, you can choose one of the three portals and tackle the challenges there. The order is up to you. Once you complete all three portals, you can open a fourth portal that brings you to the end boss of the arena.
You can find a video overview from YouTuber Alcast about the arena here.
Everything about the 3 Maps and the Bosses in the Solo Arena of Markarth
What should you pay attention to? The Foundation of Vateshran is a real challenge, and the order in which you complete the arenas matters. While the first one proceeds normally, the end bosses in the second and third arenas are significantly stronger.
However, there is a secret buff and a secret boss in each arena, which also grants a buff. But to obtain these secrets, you need specific mobility mechanics that you unlock in another arena. Therefore, you should choose the order of the arenas according to your class, as that way you get the buff that benefits you the most.
Classes with stamina focus should choose this order:
1. The Wound (Blue Portal)
2. The Sulfur Build (Red Portal)
3. The Hunter’s Grotto (Green Portal)
Classes with Magicka focus should choose this order:
1. The Hunter’s Grotto (Green Portal)
2. The Wound (Blue Portal)
3. The Sulfur Build (Red Portal)
Beware! Once you have chosen a portal, you cannot select a new one until the old portal is completed.
What other aids are available? If the boss fights are too hard for you and you don’t want to accomplish any special achievements, you can activate certain sigils with each end boss to gain strong buffs for 30 seconds:
- Sigil of Haste (Wings): Makes you 30 percent faster and increases health, stamina, and Magicka regeneration.
- Sigil of Healing (Chalice): Provides you with a strong healing effect over time.
- Sigil of Power (Axe): Significantly increases your damage output.
- Sigil of Defense (Shield): Greatly reduces incoming damage and reflects ranged attacks back at the enemy.
How does an arena work? The term “arena” is somewhat misleading here. You do not fight, as in the Maelstrom Arena, in a gladiator ring, but rather each path of the arena is a kind of mini-dungeon that you fight through.
Therefore, if you want, you can also bypass and skip certain enemy groups. At some points, however, enemies will block your path, and you must fight. This also applies to the bosses.
The Hunter’s Grotto
What buff is available here? In this arena, you can gain the essence of stamina. This increases your stamina by 5,000 and spawns several small shards after picking it up, which are scattered across the rest of the map. These give an additional 1,000 stamina points each, and you can collect up to 5 such shards. Overall, you can increase your stamina by 10,000 points.
To achieve the essence of stamina here, you need the lava ball from the red arena “Sulfur Build.”
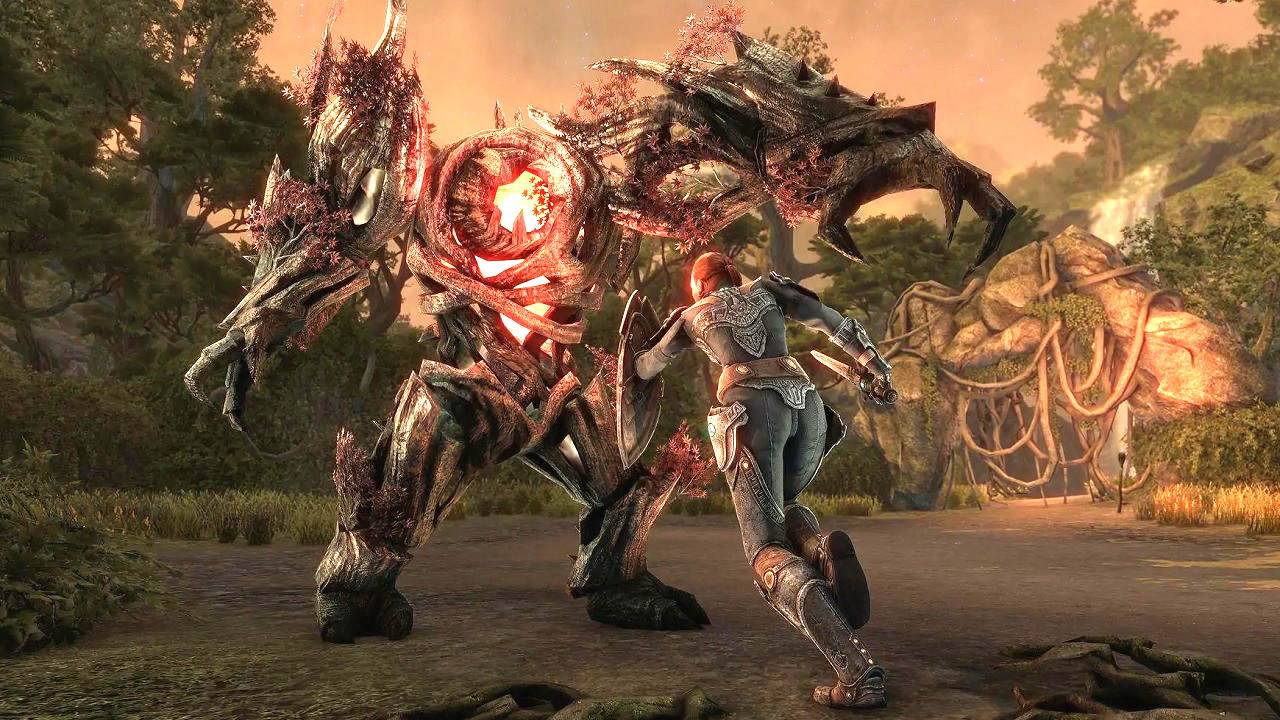
What is the theme of the arena? The Hunter’s Grotto is obviously dedicated to Hircine, the Daedric Prince of the Hunt. Therefore, you can expect green wilderness and all kinds of nature monsters, namely Spriggans and the like.
What special means of transportation are available here? In the Hunter’s Grotto, you can obtain a grappling hook after the first boss that allows you to overcome chasms. With it, you can later reach the essence of mysticism in the arena “The Wound.”
Boss Number 1 – Shade of the Grove
How the first boss works: As the first end boss, you encounter a ghostly being that can take over other creatures. In this case, these are Spriggans, Slurpers, and Wolves.
- The Spriggans grant you a buff that you need to injure the Slurpers. However, they also try to steal the buff from you with a blue beam. Interrupt them.
- The three Slurpers share a health pool and only take turns. Later several of them will become active, and only one is vulnerable to attack when you have the buff from the Spriggans. The vulnerable Slurper is marked in yellow.
- The wolves are just annoying adds here and should be easily taken down with AoE damage.
You can find a video of the boss fight here:
Boss Number 2 – Rahdgarak
How the second boss works: Here, a minotaur awaits you as the final boss. The fight takes place on four platforms. Two glow orange, two blue. To reach the platforms, you need to use the grappling hook.
Once his health drops to about 80 percent, he begins to glow in the color of the platform and becomes invulnerable. Only when you change platforms will he become vulnerable again, but he will change color after 30 seconds. So you must constantly switch platforms to injure the beast.
As soon as the boss’s health drops to 65 percent, a wizard will become active on each platform. These mages start a fire ritual. You must interrupt the ritual within 20 seconds. Otherwise, the wizards will set the platform on fire in the direction you’re facing. These flames kill you in seconds, so you should always ensure that one blue and one orange platform are free of fire.
You can find a video of the boss fight here:
The Sulfur Build
What buff is available here? In this arena, you can gain the essence of power. This increases your health by 5,000 and spawns several small shards after picking it up, which are scattered across the rest of the map. These give an additional 1,000 health points each, and you can collect up to 5 such shards. Overall, you can increase your health by 10,000 points.
To achieve the essence of power here, you need the portal ability from the blue arena “The Wound.”
What is the theme of the arena? The Sulfur Build is in the realm of Mehrunes Dagon, the Daedric Prince of Destruction. Therefore, it is fiery and hot here. Prepare for fire effects, flame atronachs, fiery Dremora, and flame-spewing Daedroths.
What special means of transportation are available here? In the Sulfur Build, you can obtain the ability to overcome larger lava pools with lava balls after the first boss. With it, you can later reach the essence of stamina in the arena “The Hunter’s Grotto.”
Boss Number 1 – The Magma Queen
How the first boss works: Here, you face a cute giant version of a Nixad. The fight is not particularly dangerous, but you should be careful not to be overwhelmed by the adds.
Occasionally, geysers appear that spew lava. Shortly thereafter, an iron atronach appears. When you defeat it, you can use its remains to block the geyser and stun the queen and her adds.
Towards the end of the fight, fire walls will also appear, but they are easy to avoid.
You can find a video of the boss fight here:
Boss Number 2 – The Pyrelord
How the second boss works: Here, you face a Dremora Prince on a rectangular platform. The corners have round areas, three of which regularly ignite in flames. The boss has the following attacks and mechanics:
- He jumps into the air and spews fire. This inflicts damage over time but can be easily avoided.
- Sometimes he spins and releases three fire beams. These inflict significant damage, and you should definitely dodge here.
- Sometimes he slams his sword into the ground and floods everything with lava. You can heal against this with effort. Or you can avoid it by smashing the sulfur ball in one of the corners with a heavy attack and absorbing the fire in that corner.
- If the boss ignites all three corners of the arena, he will run to the center, become invulnerable, and throw fire around. Afterwards, he will re-enter the battle with a strong buff. Therefore, you should always absorb the flames with the sulfur ball.
- At 70 and 35 percent health, a fire colossus appears, adding to the fight. Draw the first colossus close to the boss and use AoE skills to hit both. This should bring down the colossus quickly. You can ignore the second colossus and focus instead on the boss.
You can find a video of the boss fight here:
The Wound
What buff is available here? In this arena, you can gain the essence of mysticism. This increases your Magicka by 5,000 and spawns several small shards after picking it up, which are scattered across the rest of the map. These give an additional 1,000 Magicka points each, and you can collect up to 5 such shards. Overall, you can increase your Magicka by 10,000 points.
To achieve the essence of mysticism here, you need the grappling hook from the green arena “The Hunter’s Grotto.”
What is the theme of the arena? The Wound is dedicated to the Daedric Prince Molag Bal and is located in his realm Coldharbour. You can expect the monsters known from there, including Ogrims, Winged Twilight, and Xivkyn.
What special means of transportation are available here? In The Wound, you can obtain the ability to use portals after the first boss. With it, you can later reach the essence of power in the arena “The Sulfur Build.”
Boss Number 1 – Zakuryn
How the first boss works: Zakuryn is a Xivkyn necromancer. He has a flesh golem with him that deals heavy damage. Pay attention to the following during the fight:
- Zakuryn has a powerful attack that he must channel by raising his staff into the air. You must interrupt this.
- The golem hits hard, so watch out.
- When Zakuryn activates his shield, he becomes invulnerable. Lure the golem to him and ensure that he uses his “Crush” attack on the shield. Then he is done for.
- Small Banekins come from the portals. You can defeat them to gain energy or lure them to the golem so that he hits them with his attack.
- Note that Zakuryn and the golem both take damage equally. If either of them dies, the other becomes stronger. So make sure to take them down almost simultaneously.
You can find a video of the boss fight here:
Boss Number 2 – Iozuzzuneth
How the second boss works: This creature is a massive Daedric Titan. Fortunately, this is a fairly straightforward boss fight. But be careful of these mechanics:
- Ideally, you want to fight him from a distance, as his melee attacks are stronger.
- Occasionally, guardians appear that give you debuffs. However, you can lure them into the boss’s ranged attacks, which will take care of them.
- On the stone ring above the battleground, enemies regularly appear that shoot lasers at you. You can use your portal ability to get up there and attack them.
You can find a video of the boss fight here:
The End Boss – Maebroogha
Once you have completed all three arenas, you can enter a fourth portal from the central room and confront the final boss of the arena.
This is what the final boss can do: The boss has four phases. After each of the first three, he causes an explosion that you must flee from through the portals in the arena. So make sure you stand near the arena in time. The boss has the following abilities:
- Adds are constantly summoned, but they are not particularly dangerous.
- Occasionally, shadows appear with chains. You must not touch the chains, as they will kill you instantly. Therefore, you need to take out the shadows to neutralize the chains.
- Once the boss drops to 10 percent health, the explosion is initiated, which will instantly kill you. Run to the edges of the platform and use the grappling hook to reach the floating islands with the portals. There, you will be safe.
Here’s how the portals work: In the portals, you escape the explosion, but the boss heals himself while you are inside. So you shouldn’t stay in there too long. However, to get out, you must first defeat a miniboss in the portal.
After that, you can go back out, but for the rest of the fight, more monsters will appear from the portal during the battle. Once you’ve been through all three portals, you can finally take down the boss for good, but with all the adds, the fight may get very chaotic. So keep your nerves and your overview.
You can find a video of the boss fight here:
This loot awaits you – All about the new sets from the arena
What can you get in the arena? In the arena, there is a ton of cool loot to win. You can get a special version of every type of weapon, including a bow that becomes even more powerful at short range. If you complete the arena in the veteran version, there’s even an improved version of that. Additionally, there’s a 5-piece set in each armor category. The armors also have special powers, such as the “Pestilent Host” set that creates aggressive flies when you take down enemies with poison.
If you manage to defeat all the bosses in veteran mode, you will also receive a special skin, and those who complete all achievements will receive a special color to paint their gear.
If you want to see what the rest of the dark DLC Markarth looks like, check out our preview of the final DLC.

Your opinion is important to us!
Do you like the article? Then let us know!