
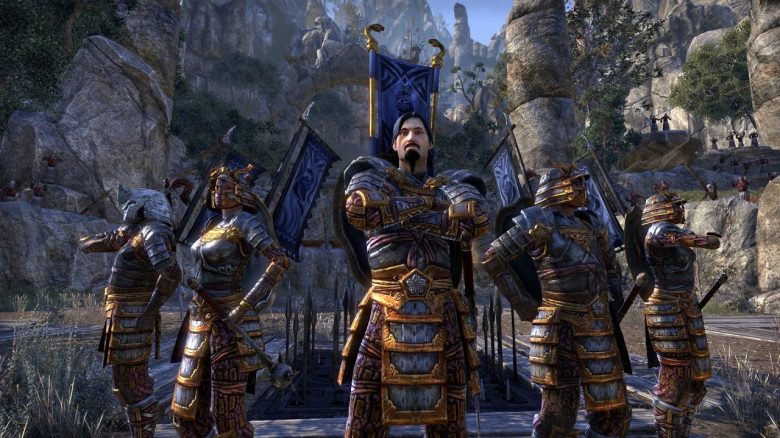
Do you want to venture into the Dragonstar Arena of the MMORPG The Elder Scrolls Online (ESO)? We have a few tips for you.

What is the Dragonstar Arena? This challenge for 4 players places you in an instance where you must demonstrate your fighting and spellcasting skills in several challenges. The Dragonstar Arena is available to you in both Normal and Hard mode.
You can find the arena in upper Craglorn near the village of Dragonstar. Travel north from there and you will come directly to the arena.
It is also possible to complete the Dragonstar Arena solo, but you need a good solo build for that.
General tips for the Dragonstar Arena
Requirements to enter the arena
Only those who have at least Veteran Rank 1 could take on this challenge. Other players had no access. Since patch 2.5.8, “non-veterans” can also enter the arena, provided the group meets the level requirements.
Accessing the Hard Mode
If the group wants to enter the Dragonstar Arena in Hard mode, the players must set the dungeon mode in the group interface to “Veteran”.
Required group composition
To master the challenges, a good tank, damage dealers with interrupt spells, and a healer with plenty of healing options and potions are needed. The tank mainly handles the spawns that cause you headaches alongside the bosses. The damage dealers focus on the bosses, and the healers support but also distract the boss enemies.
This is what the area Craglorn looks like, where the Dragonstar Arena is located:
How to master the stages of the arena
We provide you with a few tips that should particularly help you in the regular mode of the challenge. The videos from YouTuber NorthMan at each stage showcase the Hard mode and you may derive more tips from them.
Stage 1
In this round, you will face the Fighters Guild. First, take care of the many healers. Then focus on the gladiators. You can effectively fight them by luring them out of their healing circle. Also watch for the traps on the ground.
You will defeat the boss Marcauld by luring him out of his healing circle just like the gladiators. Also, make sure to always position yourself behind him, as he performs a very strong attack. When Marcauld reaches 70% and 40% of his health, he will call for help, which will create another healing circle. Be sure that no one is standing in it.
Stage 2
It is important here to keep the fires burning, as otherwise you will take additional frost damage along with the damage the opponents deal. First, take care of the archers and sorcerers.
You should attack both bosses separately. To do this, you need to lure one away from the other. Then focus on one of the bosses. And remember to reignite outgoing flames! Avoid the ice spells as they deal a lot of damage.
Stage 3
Here you will deal with toxic gases that randomly appear in the arena. Try to avoid them.
In the boss fight, make sure to first take care of the sorcerer and then the melee fighter. Watch for reinforcements that appear once half health is removed from each boss. You should use your ultimates against the bosses’ minions.
Stage 4
Keep a close eye on the slavers, as they can chain you, inflicting significant damage. Try not to get too close to the spirits and quickly take care of the sorcerers.
You will need patience to defeat the boss, as he is a tank with a lot of hit points. Avoid the Eruption attack, which is an AoE attack. Focus less on the reinforcements and try to concentrate on the boss.
Stage 5
It is absolutely necessary to deal with all the spellcasters first. It is essential to remember where they spawn, to eliminate them immediately as they appear. You should also not ignore the archers for too long.
The best way to take down the boss Anal’a Tu’wha is to use your ultimates right at the start of the fight. The tank must keep the gargoyle at a distance, as it can petrify you. Once Anal’a Tu’wha raises his Banner of Power, you must be cautious, as this triggers a powerful special attack. After that, use your ultimates again.
Stage 6
In this fight, it is important to know that every defeated enemy performs one last AoE attack when they die. So, disappear from an enemy as soon as you defeat them. Additionally, the tank should distract the enemies, as there are opponents like werewolves who can quickly kill others with their attacks.
You can defeat the boss by dodging his attacks and using AoE ultimates. This way, you also take down the reinforcements and can focus directly on the boss. The tank can interrupt the opponent’s special attacks. Also, avoid the green AoE fields.
Stage 7
You must absolutely prevent the victims from approaching the altars. If you do not eliminate them beforehand, they will transform into dangerous enemies that deal a lot of damage. It can even lead to the appearance of titans that you cannot defeat – unless group members die. Then the titans are eliminated as well.
To defeat the two bosses, first focus on the mage. It is important to interrupt the opponent’s healing spell. New victims will also come into play, which you need to take care of. Once they appear, you should take them out first and then turn your attention back to the bosses.
Stage 8
To defeat the centurions, you must interrupt the attack of the frost enemies. This way, the fire centurions cannot execute their AoE attack. If both can perform their attacks, ensure they overlap, as they will eliminate each other. Additionally, take care of the mages as quickly as possible.
Mavus Talnarith is the boss in this round and is not easy to defeat. The strategy here is to block and dodge his attacks as much as possible. Otherwise, just try to deal as much damage as you can without getting hit. If Mavus has only 80% health left, a mage will appear that you should immediately jump on.
Stage 9
Avoid the holes in the ground, as they will pull you down from which you must fight your way back up. It is necessary to reach a portal. During the time you are in this other area, you will obviously be of no help to your group. Also, make sure to eliminate the spirits first as they execute a dangerous attack. Additionally, you will face a miniboss who takes no damage once he has created a shield. A player must be allowed to go down to defeat a spirit to destroy this shield.
The boss Vampire Lord Thisa does not appear alone. First, defeat his companion. Avoid the swarm of bats that the boss summons and try to deal as much damage as possible. You will defeat the miniboss he summons just like the first one.
Stage 10
Here you only need to deal with one boss, Hiath. Well, almost, as he also summons help. However, there is no fight preceding the boss, as is the case with the other stages. The tank should best lure the helpers away while the damage dealers focus on Hiath and the healers support the damage dealers. The healers should also redirect Hiath to themselves, so the tank does not have to deal with him as well. Avoid the AoE attacks and concentrate on dealing as much damage to Hiath as you can.
Hopefully, these tips will help you conquer the Dragonstar Arena and achieve the two achievements “Champion of the Dragonstar Arena” and “Conqueror of the Dragonstar Arena” as well as obtain the armor sets.
We have a few more tips for you: 19 settings in ESO that you must activate.

Your opinion is important to us!
Do you like the article? Then let us know!