
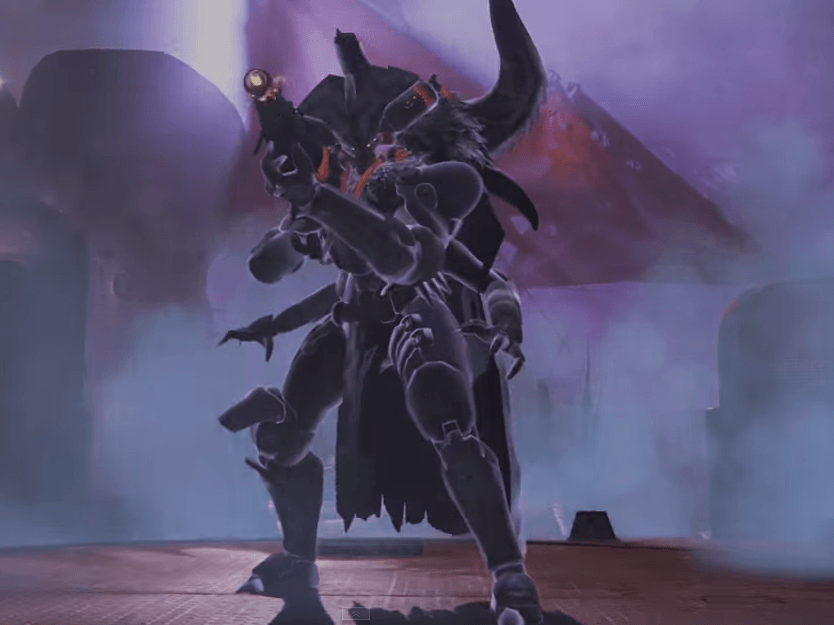
In the MMO shooter Destiny , Skolas, the leader of the House of Wolves, is the final boss in the Prison of Elders. We show you videos on how to defeat him.
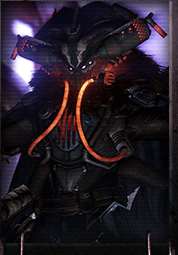

Skolas is quite a tough opponent, having snuffed the light of many hopeful Guardians in Destiny over the past two weeks – from him, you can get the coveted elemental primary weapons.
Skolas waits at the end of the 35-tier version of the “Prison of Elders“ every week for the players. It seems that he is the only variable here: His “modifier” shifted from Solar Burn (Week 1) to Arc Burn in the second week.
As with Qodron, there are also “two” methods to defeat Skolas. One involves taking him down quickly before he gets any silly ideas. The other is more like “We play this cautiously and adapt to every situation.” Everyone can surely imagine which tactic is more popular among Destiny players. Spoiler: The one with the quick take-down.
We still want to present both methods to you. While the second method is not a “real guide”, but more like: This is probably how the developers wanted it to be played.
Skolas – Solar Arc Burn (English)
The Burn Method for Skolas with Solar and Arc Damage
The Burn Method for Skolas involves ignoring and bypassing the boss mechanics as much as possible – some jokingly call this tactic “The tactic for every single Destiny boss in the game”.
It’s about dealing maximum damage to Skolas so that he dies within a time window of 30-50 seconds, before he starts with the “difficult stuff,” forcing the Guardians to run and fight against the adds.
However, one game mechanic must still be taken into account: A “white Servitor” must be killed first; only then can Skolas be properly attacked. This grants the buff “Servitor Connections are weakened” for 20 seconds. When Skolas drops below 50% HP, the message “Servitor Connections are interrupted” appears, after which the Servitors can be ignored.
Skolas Arc Burn (Snipers)
For maximum damage on Skolas, players need a Titan bubble to stay in and then particularly strong weapons: For Solar Burn, “Gjallarhorn”, for Arc Damage either Arc Sniper Rifles with Field Scout or Arc Shotguns like “The 4th Horseman” and then Arc Rocket Launchers to finish it off. The previously overlooked 4th Horseman has been impressively buffed in one of the recent patches.
In the meantime, a Hunter can already defuse the mines, and players can maintain their damage output with “heavy ammo synths”.
Skolas Arc Burn (Shotguns)
We have prepared videos for you on how the individual Burn methods work. In principle, it always comes down to the same thing. What’s important is that Skolas stays within that small time window before mines and debuffs become a problem when he reaches 50% HP.
The Other Method – Survival
The “proper” method is significantly more complicated and makes Skolas a challenge that likely lies on a similar difficulty level to a raid boss. These fights need to be practiced. It’s not about constantly dealing damage to the boss but rather repeatedly pulling back, clearing the adds, changing positions, preparing to defuse the next mines, and carefully managing the debuffs. The Guardians try to stay alive, maintain control of the fight, and outlast him.
Again, it’s advisable to send out a Hunter who can invisibly defuse the mines during the fight. The mines come twice – the first time at 50%, the second time at 25% of his HP.
Additionally, there’s a tricky debuff that must be passed around. It lasts for 30 seconds, turns the affected player’s screen green, and kills them when the timer reaches 0.
Skolas Arc Burn (Normal Fight)
This debuff must be passed to another player by having the other player “take” this debuff. It’s not as simple as just instantly passing it to the neighbor; it has to be coordinated, and the fireteam needs all 3 players for this. Because when someone else has taken the debuff, you can’t take it back for another 35 seconds. This means: Player A passes it to B, who passes it to C, who then passes it back to A. And it’s best to do this so that everyone lets it tick for 20-25 seconds first.
This strategy is significantly more demanding; it requires coordinated retreat and movement, new positions must be taken repeatedly, the adds play an important role, and the mines must be kept an eye on and defused in time.

Your opinion is important to us!
Do you like the article? Then let us know!