
In Destiny 2 is the raid sector Worlds Collide live. Here is our raid guide with solutions for all phases. Here’s how to defeat the final boss Argos!

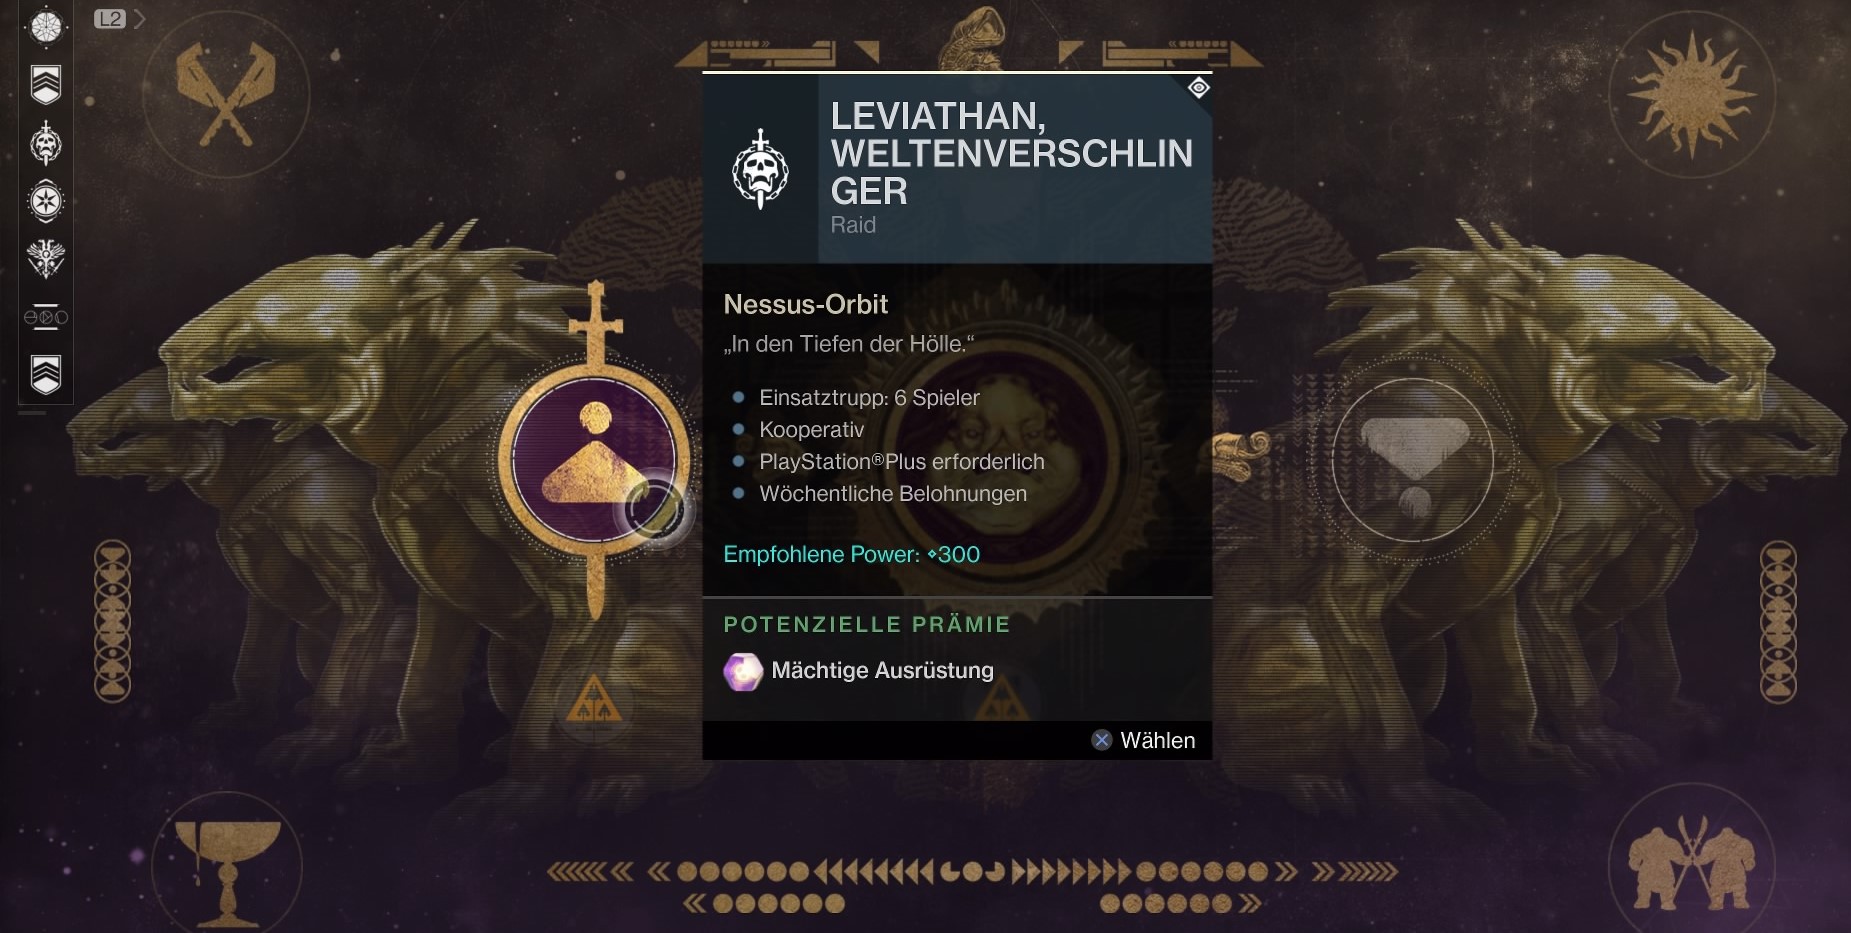
On December 8th, the new raid sector “Worlds Collide” opened its gates. It is a new PvE activity that came with Curse of Osiris, designed for a fireteam of 6 Guardians, and has a recommended power level of 300.
The first fireteam took less than two hours to achieve the “World First Run”.
You start the raid sector via the Navigator by opening the Nessus orbit and selecting “Leviathan, Worlds Collide” on the left side.
In the following, we explain the mechanics of the raid. A note at this point: Spoiler Alert! If you want to explore the raid on your own, you should not continue reading.
Escape the Reactor – Solution and Strategy for Phase 1
Fly to the Leviathan. You start directly in front of a door that opens when you stand close to it. This is the entrance to the raid sector.
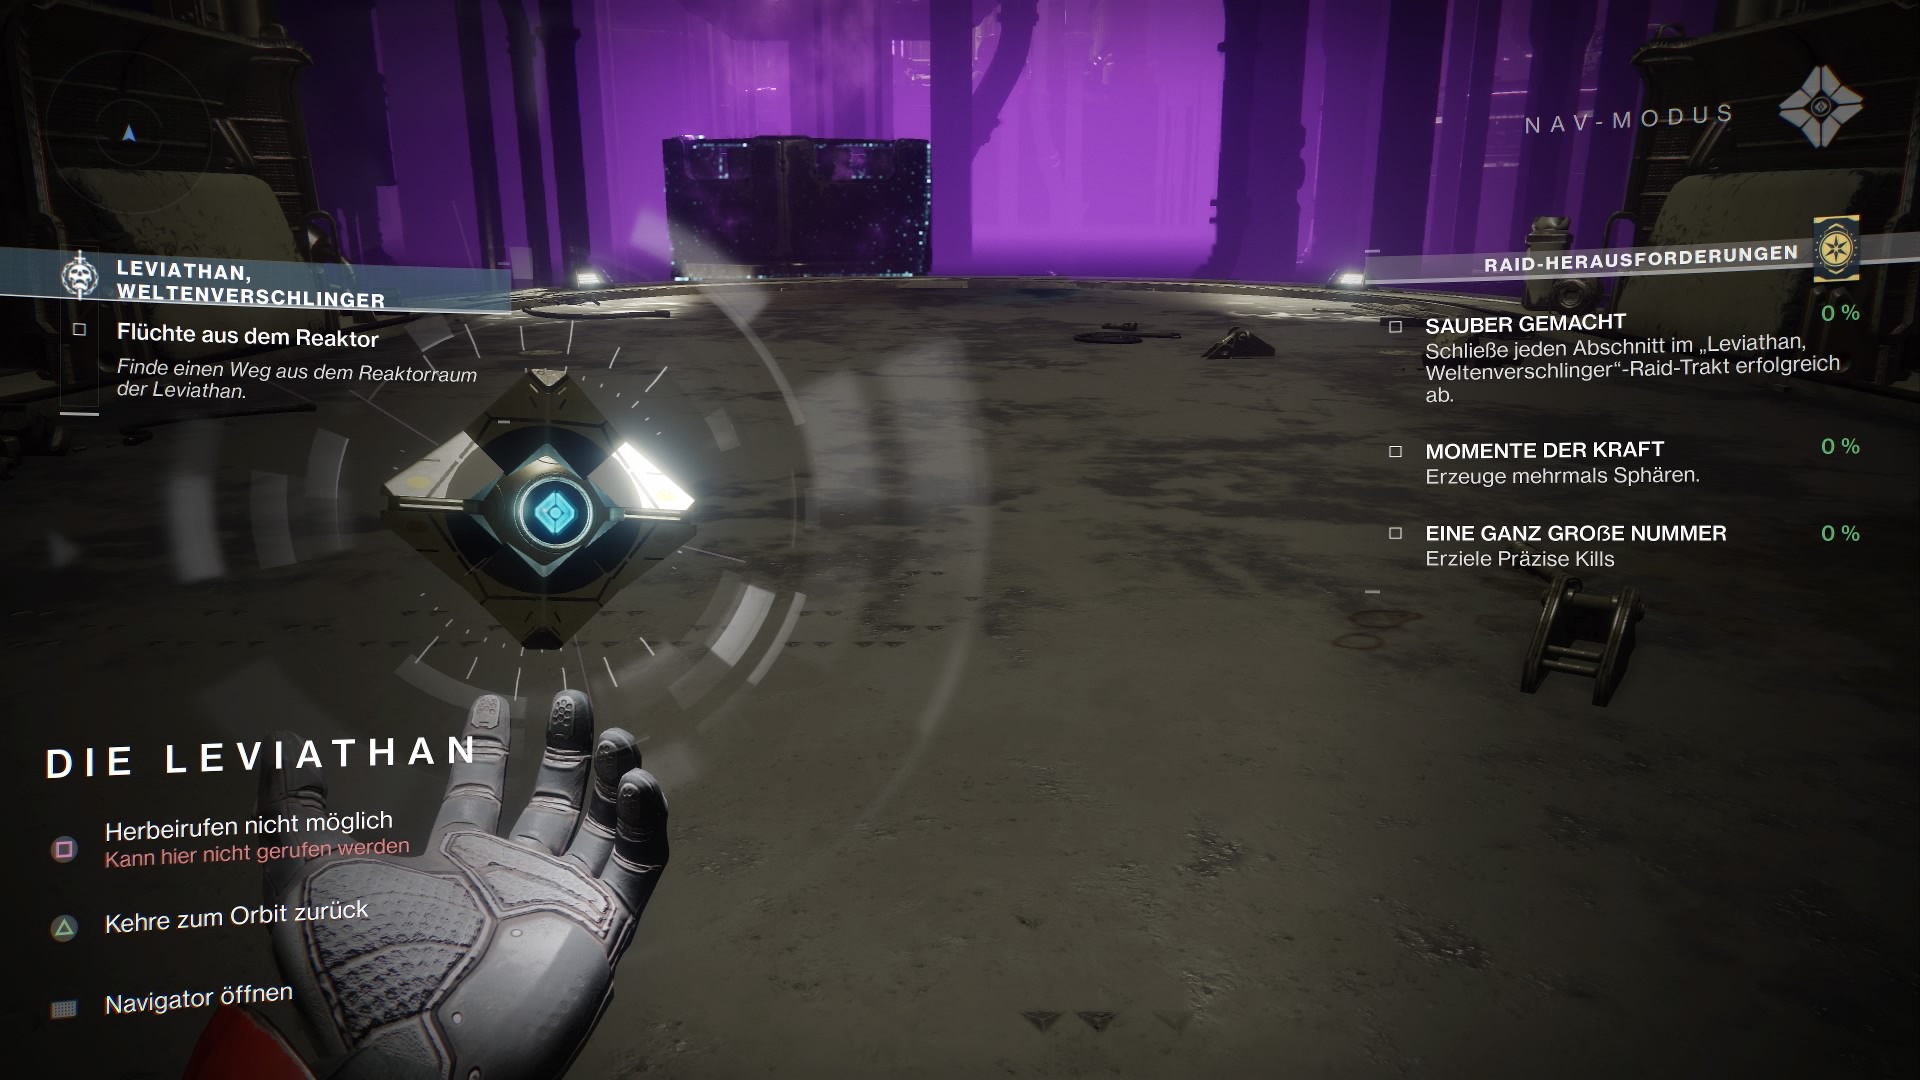
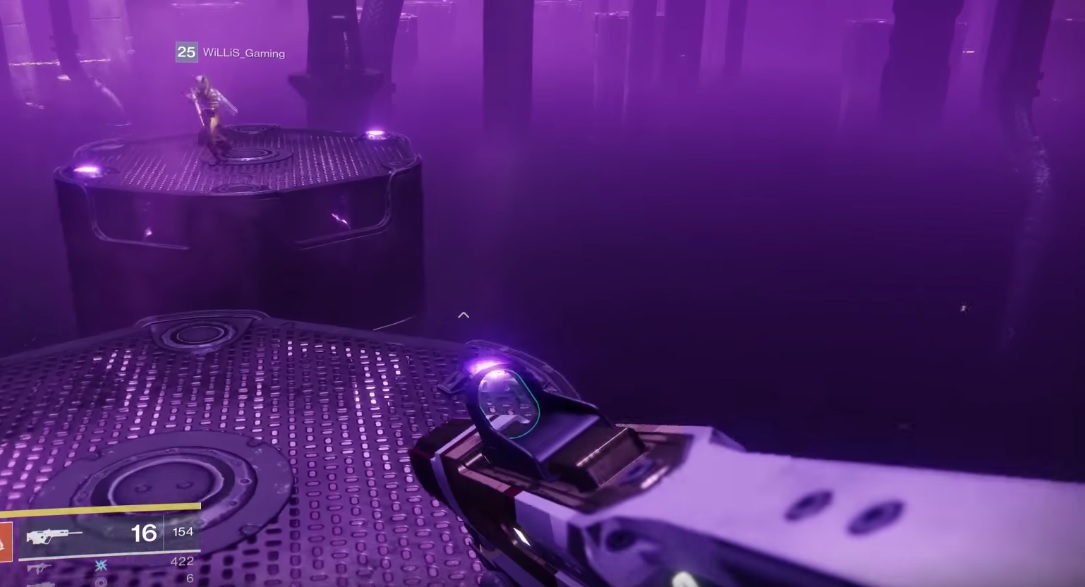
Now run down the corridor, jump down, hop through rotating gears, and follow the path the game indicates. Until you reach a room with a purple atmosphere: This is the first encounter of the raid sector. Your task is: Escape the Reactor. You must cross a rather expansive area filled with deadly “water”. If you fall in, you die.
In front of you is a platform. Jump onto it and another platform will appear. But beware: If two or more Guardians stand on one platform, it collapses and you die.
Therefore: Number yourselves from 1 to 6. When Player 1 jumps on the second platform, Player 2 jumps on the first platform. When the third platform appears, Player 1 jumps on it, Player 2 goes to platform two and Player 3 enters the first platform, etc. This requires a little coordination, but if you do this consciously, you can gradually cross all the platforms. And don’t forget: Each player may only stand on one platform at a time!
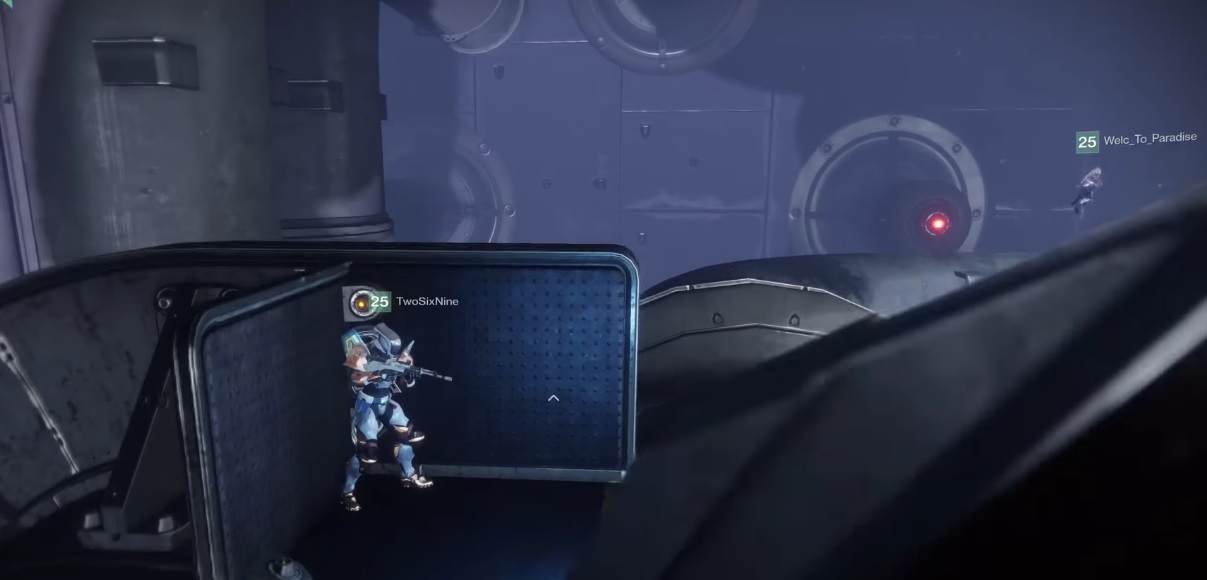
You come to a large, fixed platform where a few enemies stand. This is the first checkpoint. If you die, you start again there.
You now need to cross more platforms, dividing into two groups of three, as you now have two platform paths ahead of you. But the principle remains the same: Everyone only on one platform. Work your way through the room one step at a time.
At the end of the path, you reach a large, expansive platform. There you must defeat Loyalist Cabal. Hold off a few waves, grab the well-deserved loot and continue.
Nexxoss Gaming shows you the phase in the video:
The Path Through the Mouth of Leviathan
Now you run through a machine room. You enter an area with rhythmic deadly impulses. Hide behind the barriers. Run from barrier to barrier as soon as an impulse passes. This shouldn’t be a big problem.
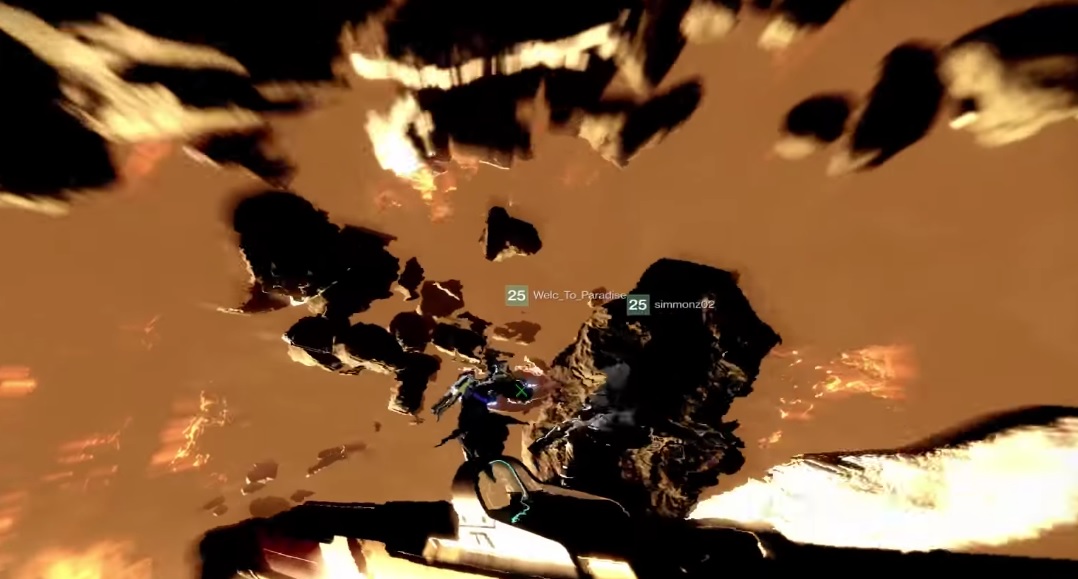

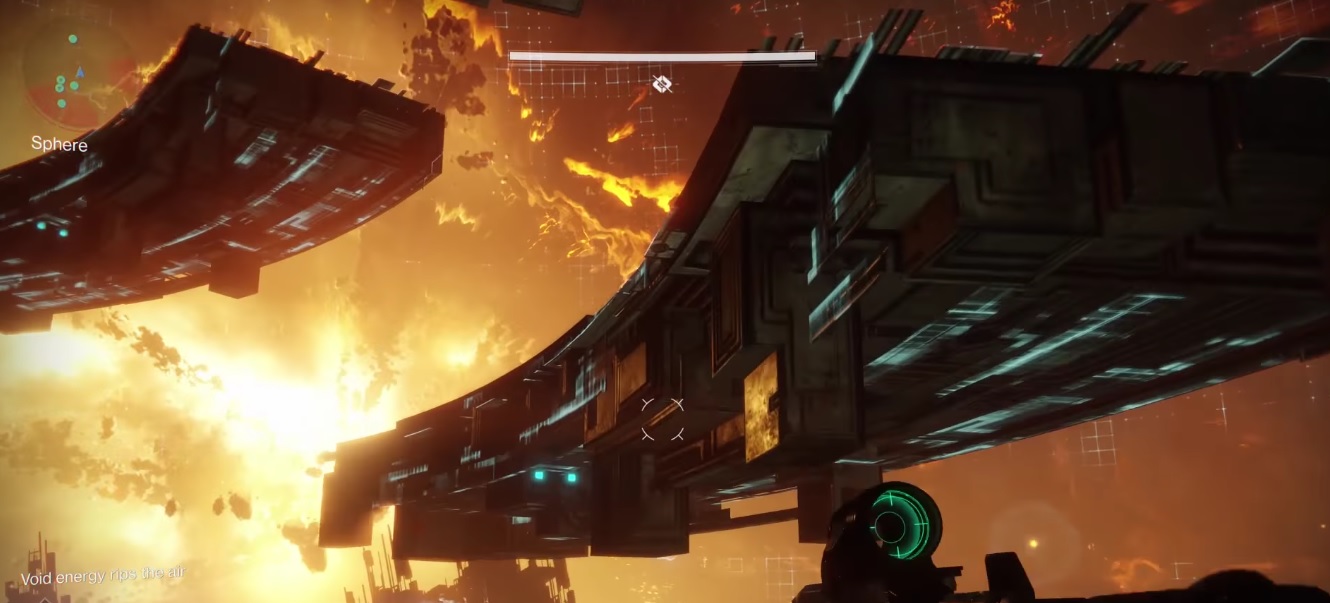
You are now going deeper into the Leviathan until you come to a tunnel that shoots you through the mouth of the Leviathan. It looks pretty cool here: Make your way down until you arrive here: At this location, the rest of the raid sector takes place.
By the way: If you fall through the mouth of the Leviathan, you can fly through six rings. If you activate all of them, you will receive a chest at the end.
Break the Barrier – Solution and Strategy
Before you face the final boss, you first need to break through a barrier. First, get to know the room:
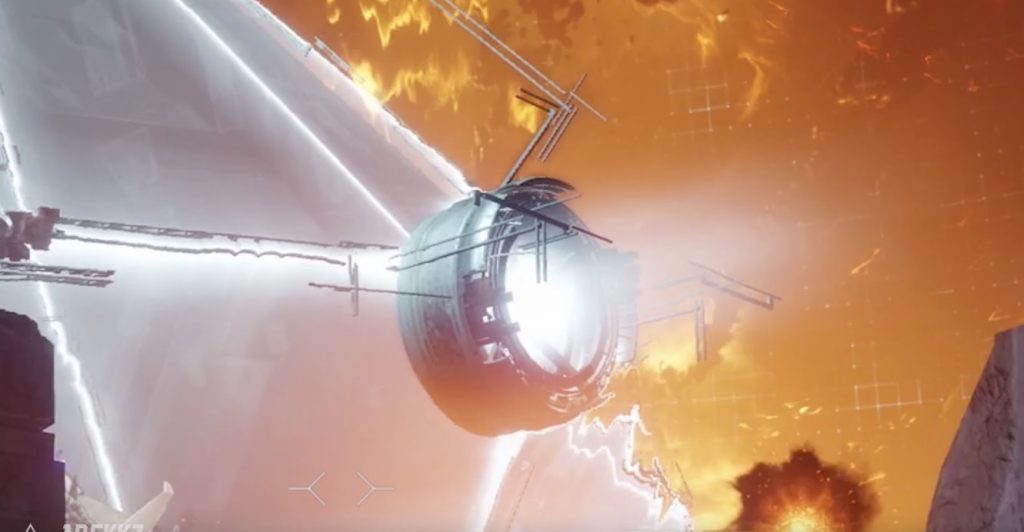
- In the center of the room is a thick “cube” where mines spawn during the encounter.
- In three corners of the room, there are three platforms (each representing Arc, Solar, or Void). They are marked with blazing fires:
- Additionally, there are six Vex skulls scattered throughout the room (two between each platform):
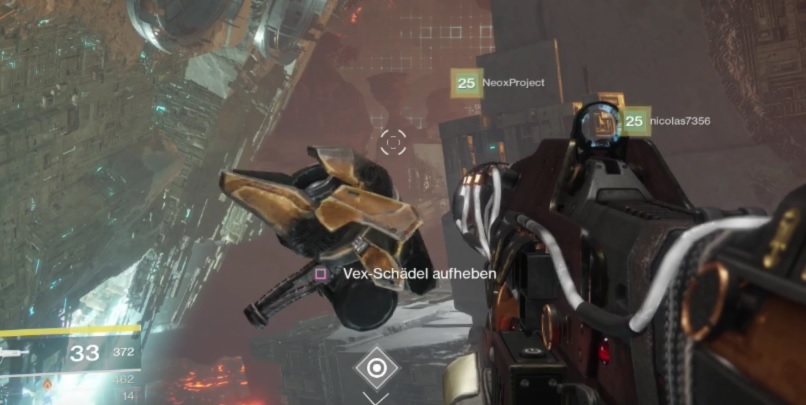

You need to pick up these Vex skulls and hit them into the flames at the platforms to charge them. This charging process “energizing skulls” takes a few seconds. For example, if you toss a skull into the Arc flames, you will shortly receive an “Arc Laser Weapon”.
Now that you know the room and the most important mechanic – but how does the fight play out?
As soon as you pick up the first skull, Argos arms his quantum mines. This is noted on the left side of the screen. This means that mines will appear on the cube in the middle. These mines are blue (Arc), purple (Void), or red (Solar).
You can only destroy these mines with the corresponding laser weapons that you create with the skulls and the elemental flames. So: If you need to destroy a Void mine, you need to hit a skull into the Void flames, wait a moment, grab the Void laser weapon, and shoot the mine:
Here’s how it works: Split into three teams of two. At each platform, you have one person who takes care of the adds and another who hits the skulls into the flames. There are six skulls and three flames for each element – you can charge multiple skulls at the same time.
You start with one of the three sides of the cube. There, several mines of different elements will appear. Communicate this to your team members and take care of it with the corresponding weapons. Each weapon has enough ammo to destroy one and a half mines. Make sure to shoot all the ammo, as only then will the next skull spawn, which you can then reload.
If you take too long, the mines will explode and you will die. Therefore, ensure that you charge the skulls quickly and communicate well about which skull weapons are needed.
Two Tips:
- Always defeat the mines that spawn first.
- Always ensure your skulls are charging. It is of utmost priority to have charged skulls.

Do this for all three sides of the cube. Then the final boss will break out of it:
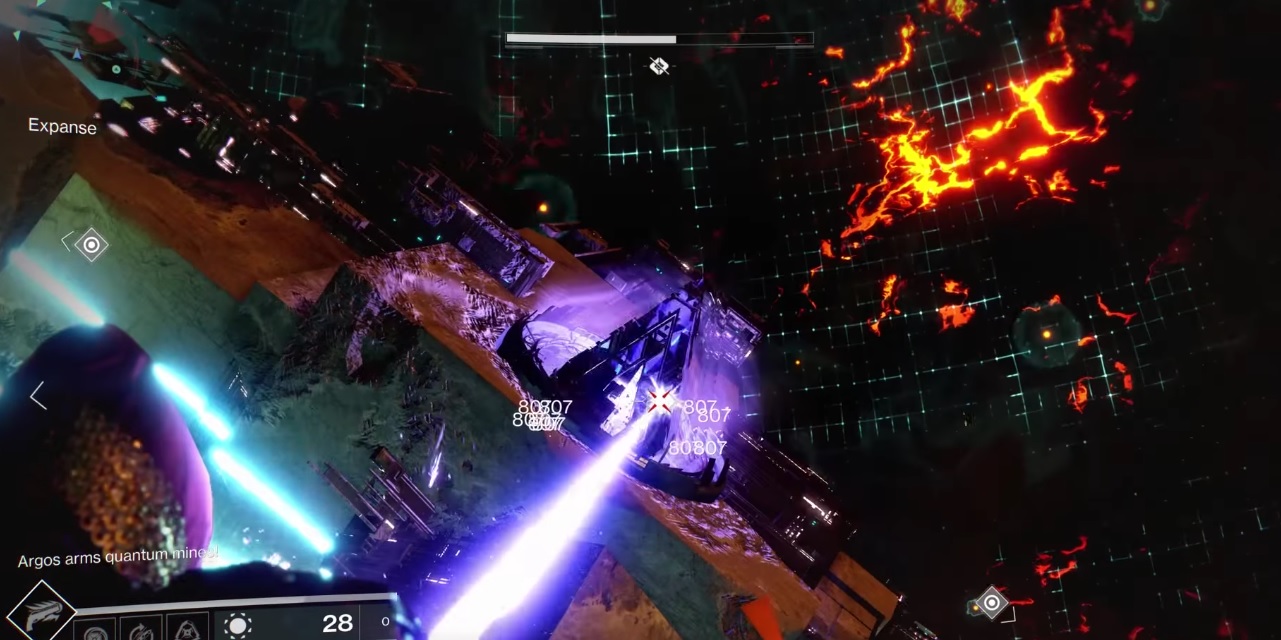
Argos – How to Defeat the Final Boss
The final boss is a Vex enemy. You again need the same “charging skulls” mechanic.
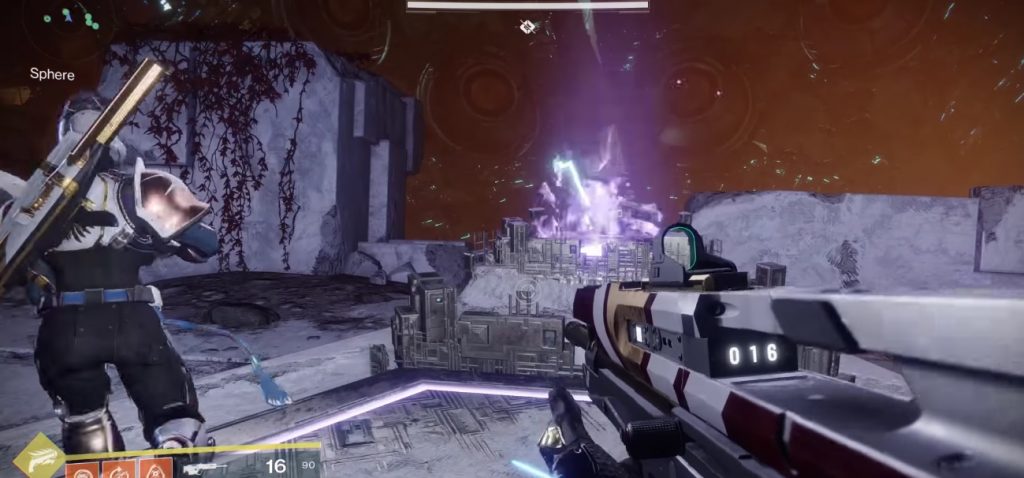
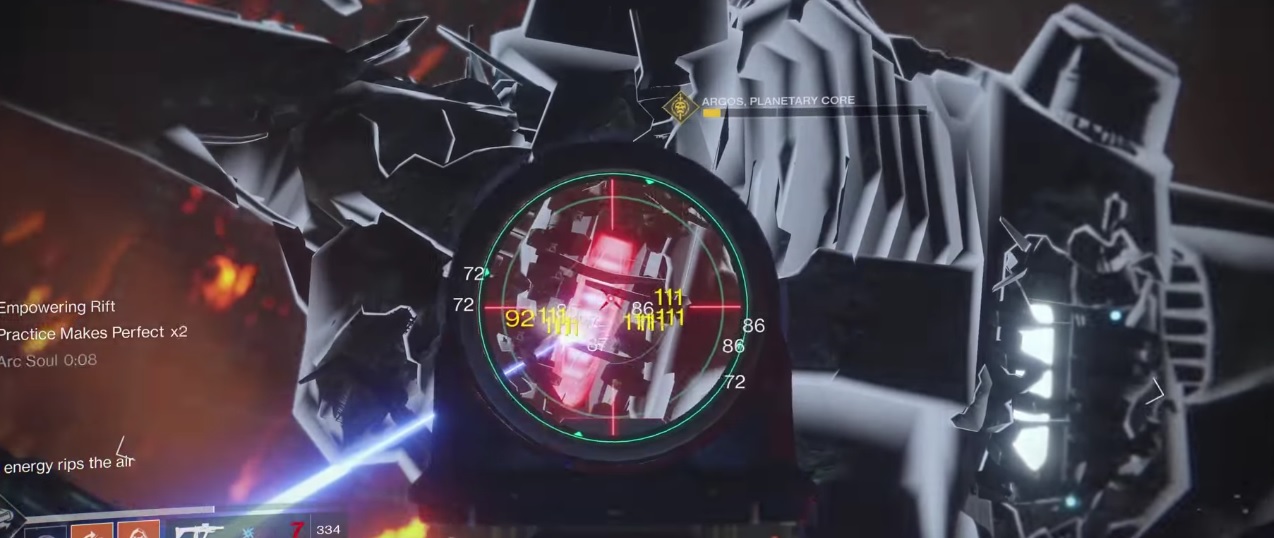
- In the center of the room is Argos. He has a shield around him. You can only deal damage to him when the shield is down.
- Outside of the shield are three of these circles:
- Once one side is “active”, its circle lights up (as shown in the image above). Then, three spheres appear there – one can be seen on the upper image in the bottom right. You must deliver these three spheres into the glowing circle to bring down the shield.
- You can only move the spheres, which always correspond to an element, with the skull laser weapons of the same element. For example, if Solar spheres are floating around, you need Solar skull weapons.
- Once the shield is down, unleash everything you have on the boss (Damage Phase). His weak point is the red “eye”.


But beware: Argos shoots a triangular net: If you are caught in it, you float high into the air and your team members must free you by shooting you.
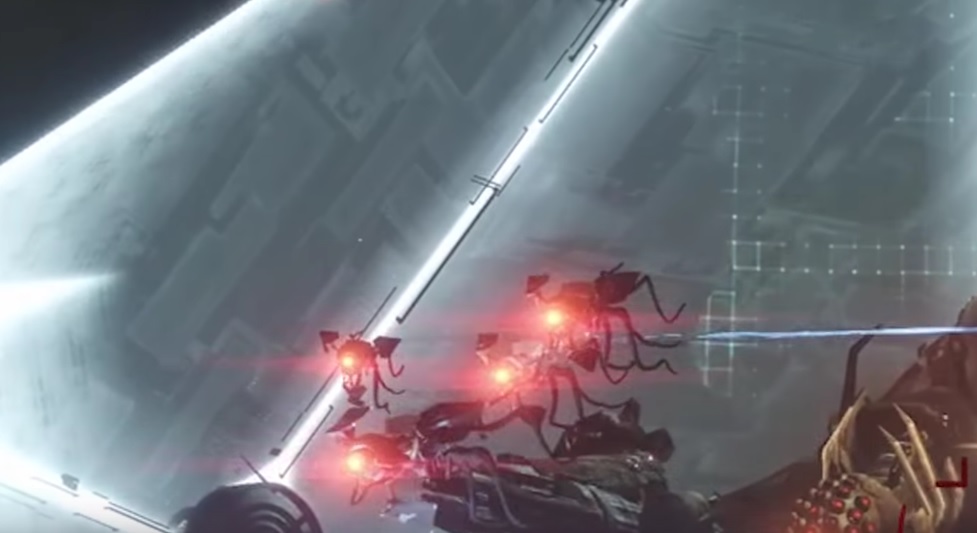
Additionally, during the fight, such floating Vex enemies will appear: They hunt you and explode. Shoot them down before that happens.
But that’s not all. After the damage phase, Argos rebuilds his shield and you repeat the whole thing. However, he will first try to completely destroy you. Platforms will appear that you must quickly climb: You need to get on these platforms to get closer to Argos’s weak points that open up: You must destroy two weak points in one round, otherwise your entire team dies. There are a total of six weak points: two on the head, two on the back, and two on the arms.
The important thing about these weak points is: You must deal continuous damage. Ideally, use a pulse rifle or an auto rifle. A rocket launcher is useless here. Because as soon as you stop shooting, the weak points turn white again (when you shoot at them, they turn red). And you need to keep the weak points red for a while for them to be destroyed.
Divide into two teams of three, with each group shooting at a weak point. And do so continuously, ensuring at least one person is firing at all times. Coordinate with each other.
Tip: Shoot at the weak points on the arms in the first round, as these are the most difficult and sometimes move. In the next round, take the two weak points on the head, and in the last round, those on the back, as these are the easiest.
Once two weak points are destroyed, his shield will rebuild, and you repeat the whole thing. There are a total of four damage phases and three weak point phases.
These are the mechanics you need to know. And here’s how it goes:
- You start the fight by picking up a Vex skull.
- Watch which circle in Argos’s shield becomes active. On this side, three Guardians now position themselves to handle the adds. The other three Guardians charge the skulls you need for the three spheres (according to the elements).
- There are 6 skulls, but you only need three for the spheres. However, you can also charge the other skulls to use them during the damage phase against Argos. Ensure you have plenty of power ammo for the damage phase (rocket launcher!).
- Once the skull cannon is charged, you shoot as simultaneously as possible at the spheres so that they fly into the circle in the shield and bring the shield down.
- Now unleash everything on the boss.
- After the damage phase comes the weak point phase. Keep your teams of three, each focusing on one weak point.
- Repeat this until the boss is down.
Do you have any further tips for the Worlds Collide raid sector?

Your opinion is important to us!
Do you like the article? Then let us know!