
In Destiny 2, Guardians have discovered new puzzles in the Niobe Labs through a mysterious datapad and have already solved it. We will explain to you how to obtain the mysterious datapad, what you can do with it, how the Lost Souvenir mission works, and what the reward is at the end.

What is the mysterious datapad? After the Guardians were unable to solve the puzzle regarding the Niobe Lab for more than 24 hours and thus activate the Bergusia Forge, Bungie reacted and promptly unlocked the forge themselves.
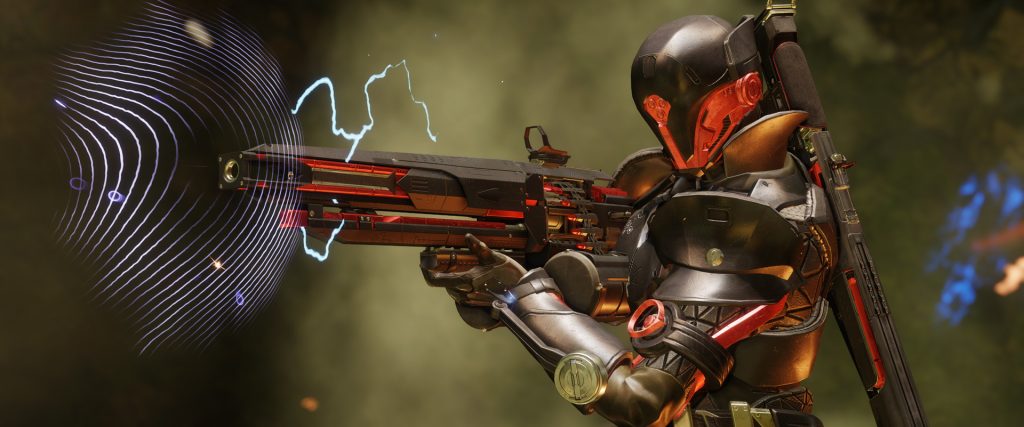
Now it is possible to complete the exotic quest surrounding the mysterious chest, for which the new exotic sniper Izanagi’s Burden is the reward.
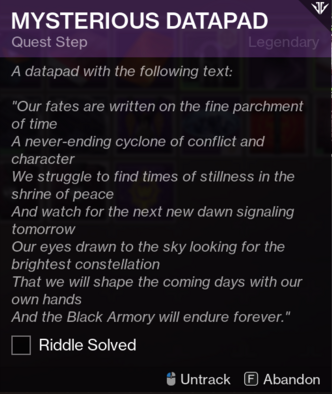
In one of the quest steps for this weapon, the Guardians receive the legendary item “Mysterious Datapad,” which can be found in the inventory.
This datapad has numerous inscriptions and requires the Guardians to solve another puzzle. After numerous clever fans have racked their brains over it, the puzzle was only recently solved. We will show you how.
These are the prerequisites for the puzzle: To solve the puzzle and undertake the corresponding mission called Lost Souvenir, the Guardians must first possess the datapad itself. You can obtain this during the quest for Izanagi’s Burden.
You also need the new exotic sniper, Izanagi’s Burden, as well as the following forge weapons:
- the heavy machine gun Hammerhead
- the bow The Malicious Reaver
- and the sniper rifle Tatara’s Edge
In a later step, you will also need a weapon from the forges in each weapon slot of the Black Armory. Once you have everything, you can start the puzzle.
Step 1: Lost Souvenir Mission – head to the Niobe Lab

How to start the mission Lost Souvenir: Make your way to the Niobe Lab located far south of theEDZ. Once you arrive there, you need to activate the switch in the lower level below the platform and the stairs (to the right of the Bergusia mission trigger). This will start the mission Lost Souvenir.
Activate symbols in Lost Souvenir: Now you need to search for the following symbols through the scope with the following weapons and activate them with a shot:
- Letter/Message with the bow
- Storm with the machine gun
- Pagoda with the sniper
- Morning/Sunrise with the bow
- Star with the machine gun
- Hand with the machine gun
- Symbol of the Black Armory under the platform with the sniper
Where you stand while shooting doesn’t matter, by the way.
You can find the positions of the symbols in this video by cbgray:
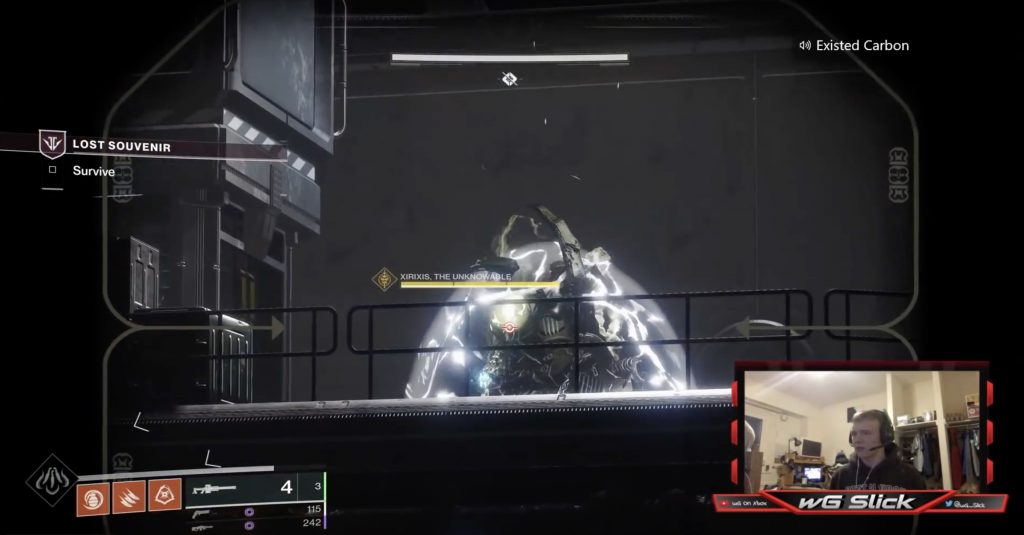
Step 2 – Survive
What you need to do in the “Lost Souvenir” mission: Now the actual mission begins, where your goal is to survive. You will be fighting against Taken. During this, you will encounter two bosses that seem to be immune to any weapon fire. This is where Izanagi’s Burden comes into play.
You can destroy the bosses’ overshield with a fully charged shot from the new sniper. To do this, hold the reload button. Then you can fight the bosses with other weapons. Once you have defeated the bosses and survived the Taken onslaught, the mission is complete and you will receive the next quest step.
Step 3 – Ignite the Forges
How to master the third step: Now you need to complete all four forges of the Black Armory successfully. It sounds simple at first. However, there’s a catch.
You have to do this with a complete armor set from the Black Armory as well as a forge weapon in each weapon slot. Once you’ve done that, there’s a new item, the Obsidian Accelerator, which seems to be very important for Ada. Thus, the third step is completed.
Step 4 – Return to Ada-1
How to receive your reward: Now you need to return to Ada-1 in the Tower. It is best to find her alone and not in a group, as this can avoid problems. Because once you arrive at Ada and interact with her, you will first be rewarded with a new cutscene that sometimes does not trigger in a group.
There you will see why the accelerator was so important for Ada. Afterwards, you will also receive the cool emblem Obsidian Dreams. In addition, there is another quest step that sends you to Spider in the Tangled Shore.
However, when you visit Spider, the quest does not currently progress. It remains to be seen how this storyline will develop further.
You can find a compact overview of the individual steps in this video by wG On Xbox:


Your opinion is important to us!
Do you like the article? Then let us know!