
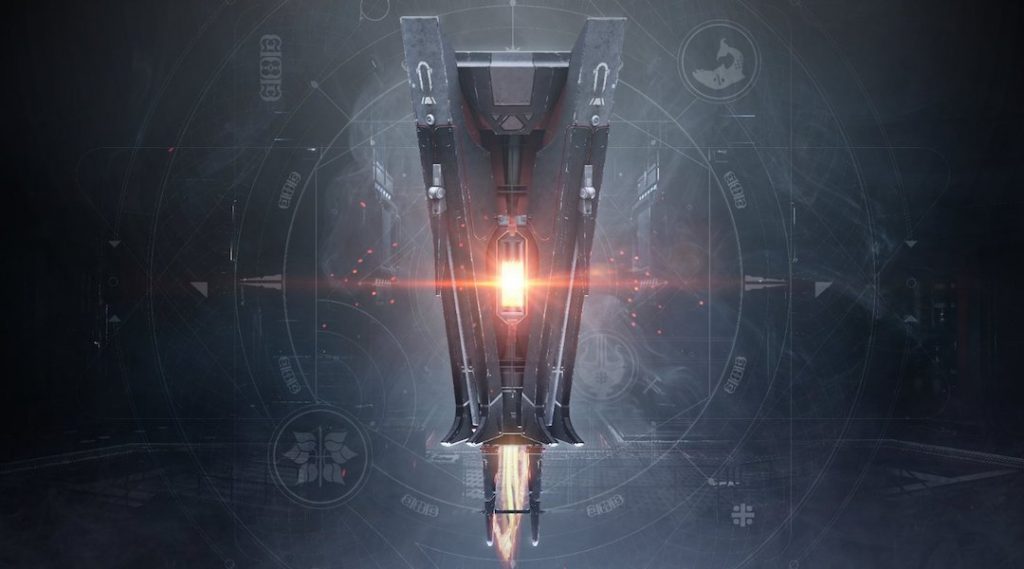
In Destiny 2, the Bergusia Forge is live and the exotic quest surrounding the mysterious box from the Black Armory can now be completed. At the end, you will receive the new exotic sniper rifle Izanagi’s Burden. We will show you how to obtain the sniper.

What happened? After the puzzle surrounding the Niobe Labs could not be solved by the Guardians for more than 24 hours, Bungie decoupled the fourth and final forge of the Black Armory, Bergusia, from the puzzle.
The forge is now accessible to all owners of the Annual Pass.
This now allows you to open the last lock of the mysterious box and thus obtain the new exotic sniper Izanagi’s Burden.
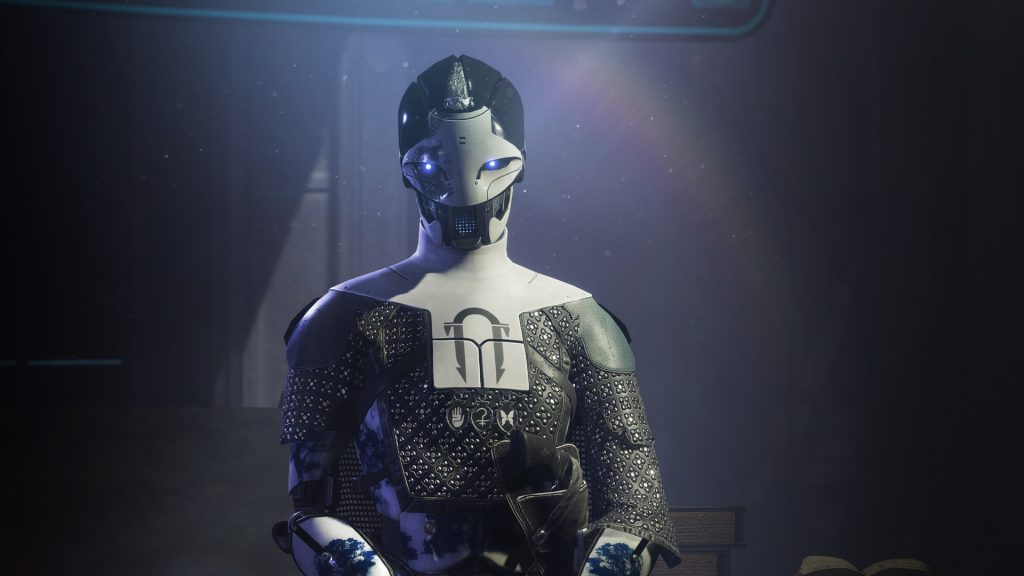
Talk to Ada-1
To advance the quest, you must first speak to Ada-1 in the Tower. There you will receive a key mold for the Black Armory, a key mold that needs to be completed.
Note: Apparently, you must have ignited all three previous forges and collected and used all 3 previous keys for this.
How to do this, you can find out here:
- Unlocking the Völundr Forge – Here’s how
- Here’s how to find the mysterious box and the Angler Key
- Unlocking the Gofannon Forge and getting the Hand Key – Here’s how
- Unlocking the Izanami Forge – Here’s how
- Here’s how to get the Butterfly Key
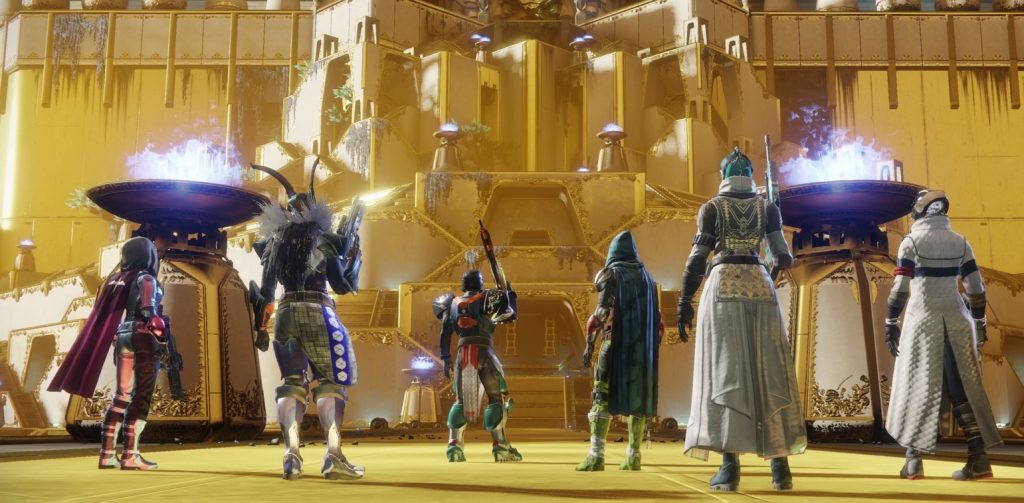
Enter the Leviathan Code and collect 24 Guardian Lenses
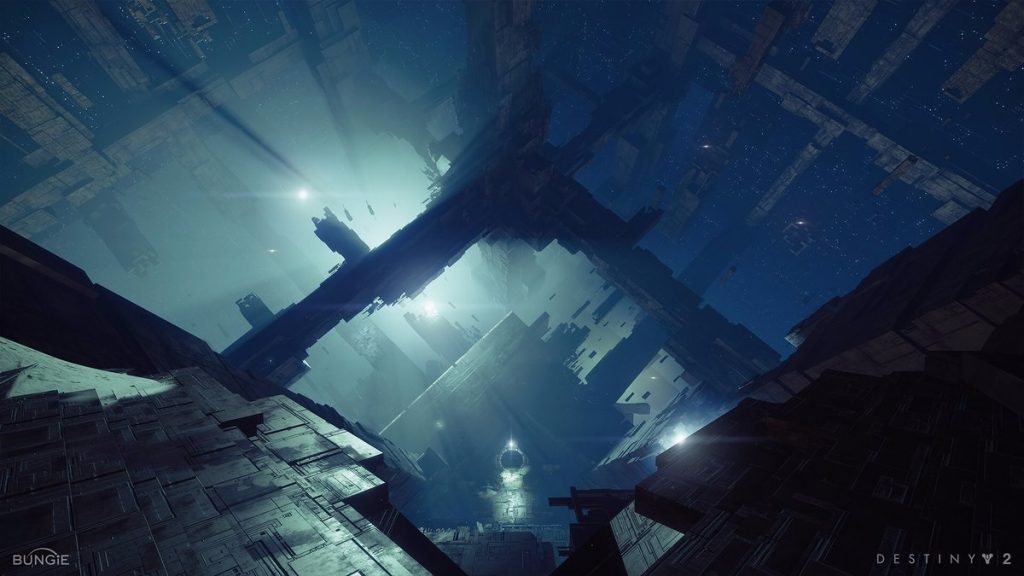
The next step takes you to the Leviathan raid from Year 1. There you need to collect a total of 24 Guardian Lenses from Guardian robots. To do this, you first have to enter a code with the help of levers and then make your way through the sewers of the Leviathan to the engine room. There you can collect the lenses the fastest.
You will reach the levers if you visit a room below the starting area. From left to right, the code is 1-5-3-2-4-6.
How to do this in detail and how exactly to find the room, you can see in this video from Houndish starting at 8:27.
You do not need to kill all guardians in the sewers, but can farm the same section/room repeatedly. The lenses are not a guaranteed drop, so you will not necessarily get them from every guardian.
Find Glimmering Amethysts
The next step requires you to find Glimmering Amethysts. You can get these from chests in the open world, from public events, or at the end of strikes.
The easiest way to farm them is through the strike “The Shattered Sea” in the EDZ on Earth. Generally, each strike gives you 10% progress. Each heroic public event gives you 5% progress. Chests in the open world give you 1% progress each.

How to trigger all public events heroically can be found here: How to trigger all Heroic Events in Destiny 2
Forge keys in the Bergusia Forge
To do this, you need to go to the Bergusia Forge in the very south of the EDZ and ignite the forge with Maximum Hardness. To do this, you start the forge and must first fight your way through the first round. The mechanics remain unchanged compared to the other three forges.
In the first 10 seconds of the second round, two bluish shimmering drones will appear that you need to take out. You will find the positions here:
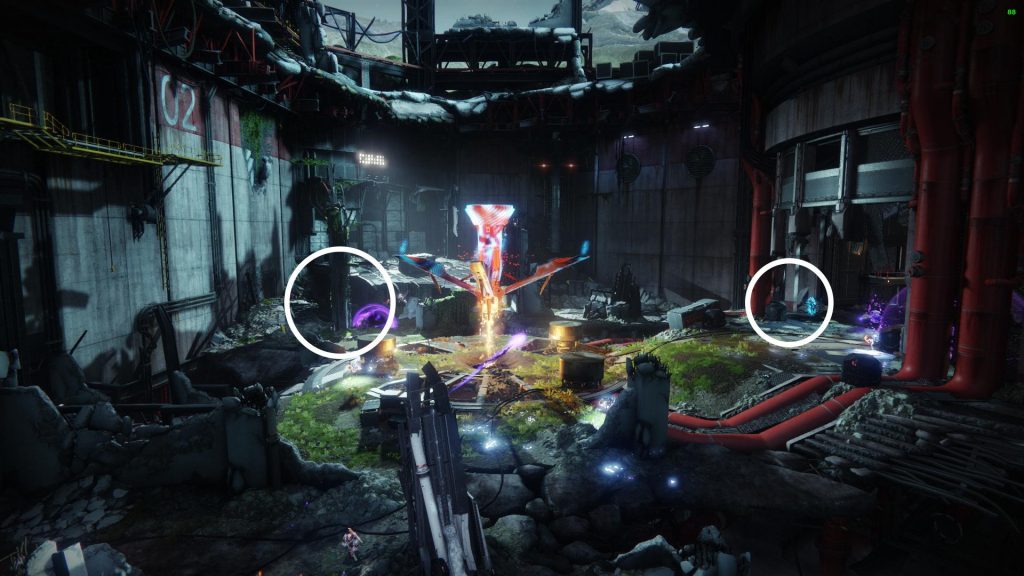
If you successfully take them out, you will receive the message “Maximum Hardness” on the left screen edge. Then you need to survive the second round and finish the forge.
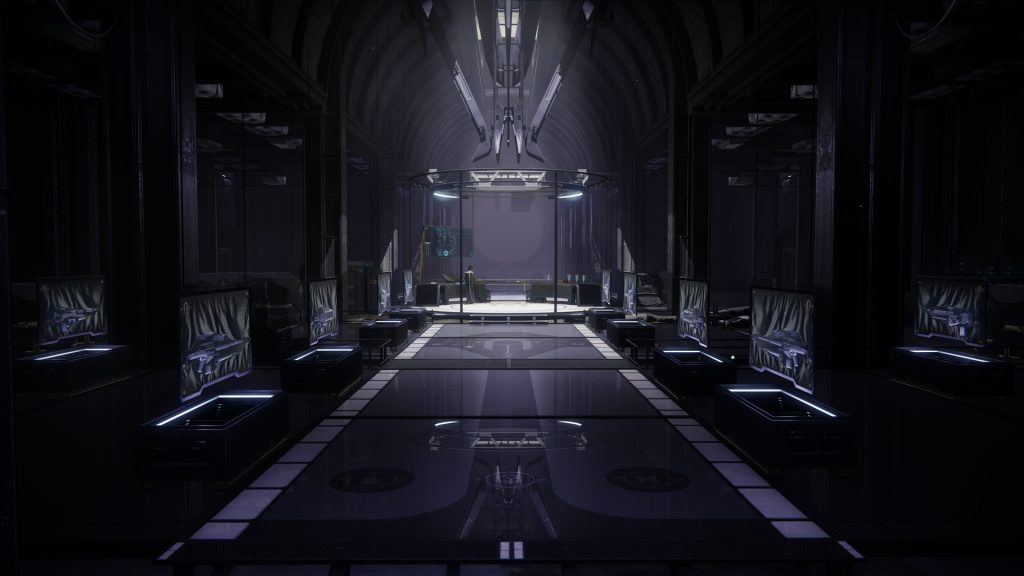
In the end, there is a list of the Black Armory, from which you then get the fourth and final key for the mysterious box. Activate it and you will receive a Mysterious Decryption Device and a mysterious data pad.
With the Decryption Device, you must now go to Ada-1 in the Tower. What you need to do with the mysterious data pad can be found here: The mysterious data pad – Here’s how the new hardcore quest goes
Find the Obsidian Crystal
At Ada, you will receive an unidentified mold, for which you now need an Obsidian Crystal. You receive this from a rare bounty from Ada.
You can also get this as a random drop from the daily and weekly bounties of the Black Armory, which you also receive from Ada. So you will have to complete some of them.
Once you have the crystal, you can insert it into the unidentified mold, which brings you to the next quest step.
Complete the Shattered Throne for the Ascendant Shard
Now you must complete the activity “The Shattered Throne”. You need an Ascendant Shard, which you can only get from the final boss of the Shattered Throne, Dul Incaru.
You can find everything about the Shattered Throne here: Here’s how to complete the Shattered Throne
If you succeed, you’ll get the shard and the next quest step
Complete the hard version of the Pyramidion strike for Radiant Phaseglass
Now, you need the item Radiant Phaseglass. You get this at the end of a harder version of the Pyramidion strike, which you must start through your navigator. It is unmistakably marked with a mission symbol there.
The level requirement is 640, so you should either have a sufficiently high power level or go in with a fireteam. In addition, your gear will be locked. So coordinate beforehand.
Once you have defeated the strike boss, you will receive the Radiant Phaseglass and the final quest step.
Complete the “Lock and Key” mission
Now, you must complete the unidentified frame in the Bergusia Forge. For this, you need to complete the mission “Lock and Key”, which you can select through the ETZ planet map. It is unmistakably marked there.
The recommended power level is 650, so you should already be close to the level cap when completing this mission.
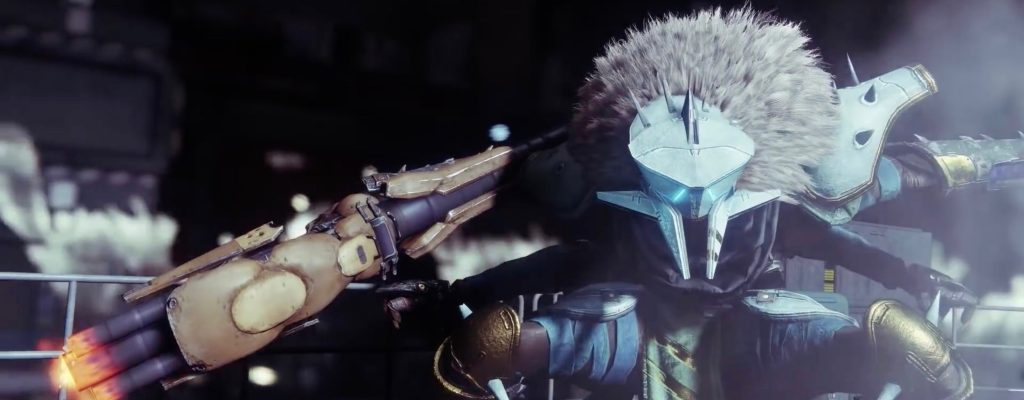
Then proceed to the Bergusia Forge. You do not need to start the activity; it happens automatically. This is essentially a boss fight with Siviks. The mechanics do not differ from the other forge bosses.
Once Siviks has met his end, you will receive the item “No Weapon”
Return to Ada-1 in the tower with “No Weapon”
With the item you received, you must now go to Ada-1 in the Tower. As a reward, you will now receive the exotic sniper rifle Izanagi’s Burden from the exotic arsenal of the Black Armory.
You can find a complete video guide from YouTuber Andy Edition here:

Your opinion is important to us!
Do you like the article? Then let us know!