
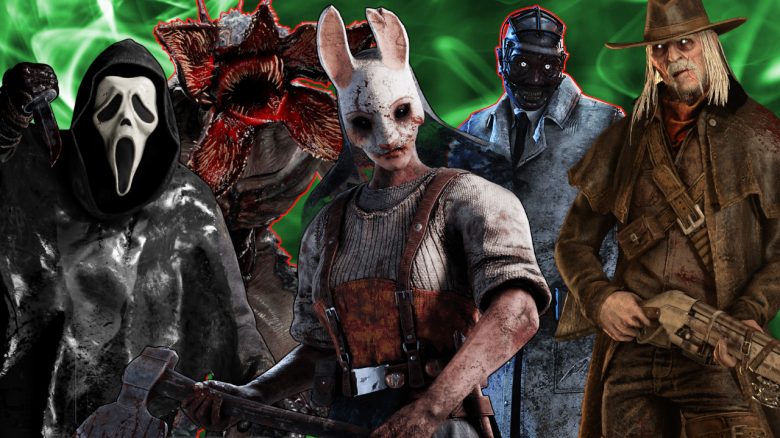
Do you want the perfect perk combination for every killer in Dead by Daylight? That’s exactly what we have here – this will really heat things up for the survivors.

The asymmetrical horror game Dead by Daylight has grown larger and more complex over the years. There are now 27 killers and hundreds of perks for players to choose from. In addition to the list of the 10 best perks for all killers, we want to present another list: The 4 perks that work best for each killer individually. We will explain why exactly these 4 perks are particularly effective for every killer and what advantages they bring to gameplay.
The selected perks are largely based on current matches of professionals. This includes streamers like “not Otzdarva” or “Monto”, who are among the very best players in the game.
The best perk setups for all 27 killers
Update: The list is current as of patch 5.6.2 – the “Sadako Rising” chapter, on April 8, 2022.
Please note that the perks are generally only recommendations. All killers can be played in different ways and various players rely on different strategies. The perk combinations presented here have proven to be very effective as of patch 5.6.1.
The tips mentioned here are mainly suitable for advanced players and professionals. If you are new and looking for generally strong perks to get started, you can find them in our article on the 10 best killer perks.
If you are still struggling with which killer is suitable for you, our detailed overview of all 25 killers can help you.
The best perks for the Trapper
- Corrupt Intervention
- Save The Best For Last
- Pop Goes The Weasel
- Starstruck
The Trapper can work effectively on most maps even without addons, especially in grass, where his traps are extremely effective. However, there are maps without good hiding spots for traps, which is where perks come into play. The mentioned perks help find survivors early, as they spread across a smaller portion of the map, and prolong the match. At the same time, with Starstruck, you can eliminate multiple survivors in succession or make it more difficult for survivors to save their teammates.
The best perks for the Wraith
- Hex: Ruin
- Surge
- A Nurse’s Call
- Barbecue & Chili
The Wraith is strongest when played with a “Hit & Run” strategy, and these perks help significantly. Hex: Ruin ensures that generators are reset when you scare survivors away from them. Surge helps deal damage to multiple generators and creates heavy skill checks that expose survivors nearby. Since the Wraith is completely invisible at over 20 meters, “A Nurse’s Calling” helps find healing survivors before they can notice the killer. Lastly, Barbecue and Chili help locate survivors and determine whether others are nearby or far away.
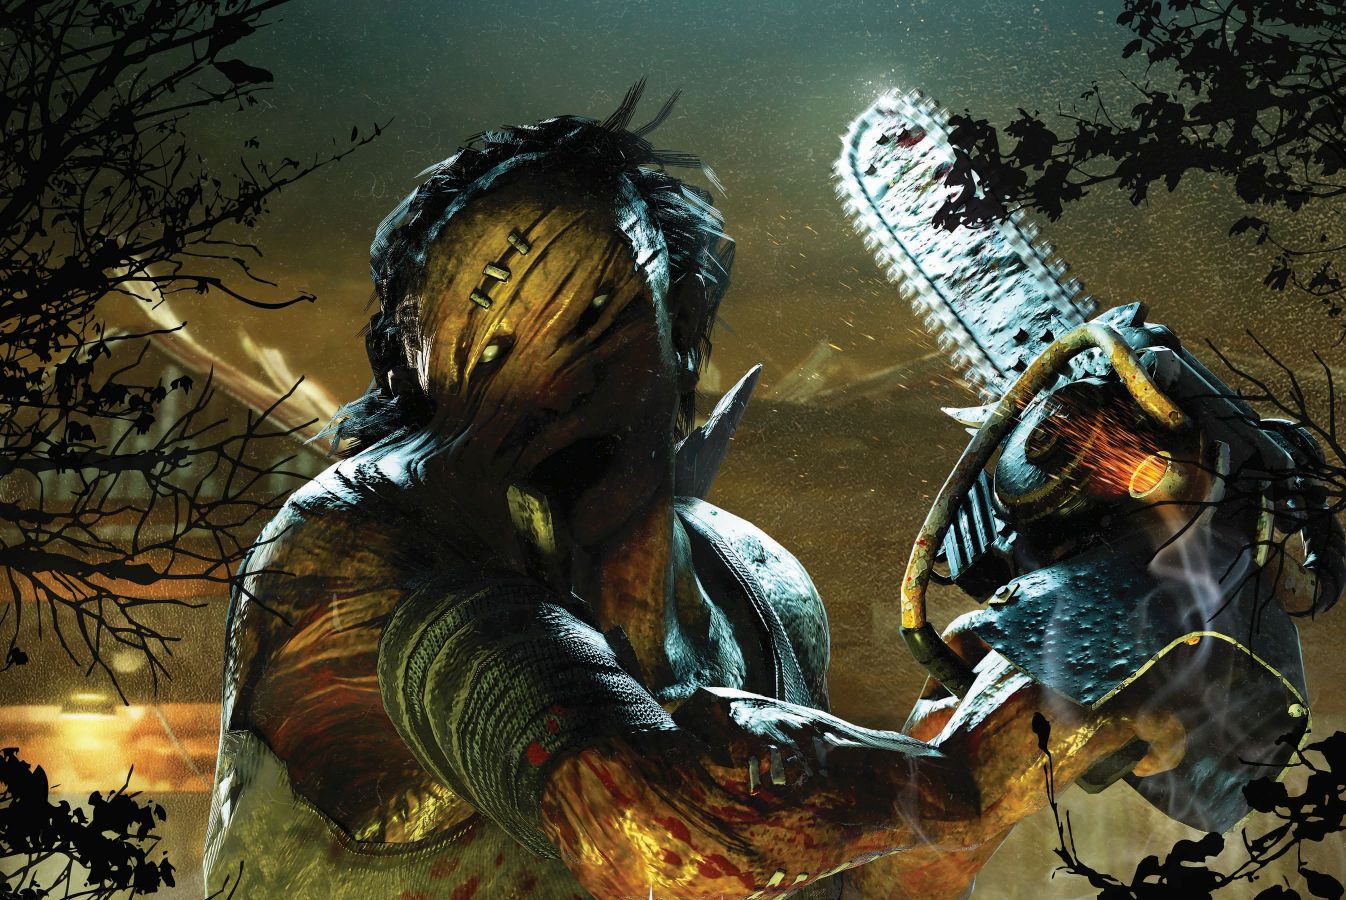
The best perks for the Hillbilly
- Hex: Ruin
- Pop Goes the Weasel
- Barbecue & Chili
- Bamboozle
The Hillbilly benefits from his high speed. He can travel quickly across the entire map and take down survivors with a single blow if he gets the chance. His weakness lies in windows that hinder the use of the chainsaw. This is mitigated by Bamboozle, which specifically blocks windows. Ruin helps slow down the game and is replaced by Pop Goes The Weasel should the totem be destroyed. Barbecue & Chili, on the other hand, helps quickly find the next victim after hanging a survivor.
The best perks for the Nurse
- Corrupt Intervention
- Thrilling Tremors
- Pop Goes the Weasel
- Starstruck
The Nurse is hardly dependent on perks, as almost her entire potential lies in her ability. Anyone who masters her can probably survive even without perks. Corrupt Intervention helps find survivors faster at the beginning, and Thrilling Tremors reveals immediately where more survivors are after the first pickup. The corresponding generator can then be reset significantly with Pop Goes the Weasel. Starstruck fits into this combo and should be used aggressively. After bringing a survivor down, take them towards the generator that is being repaired to hang them. This will likely affect the other survivors with Starstruck, making them vulnerable. This can lead to devastating chain reactions.
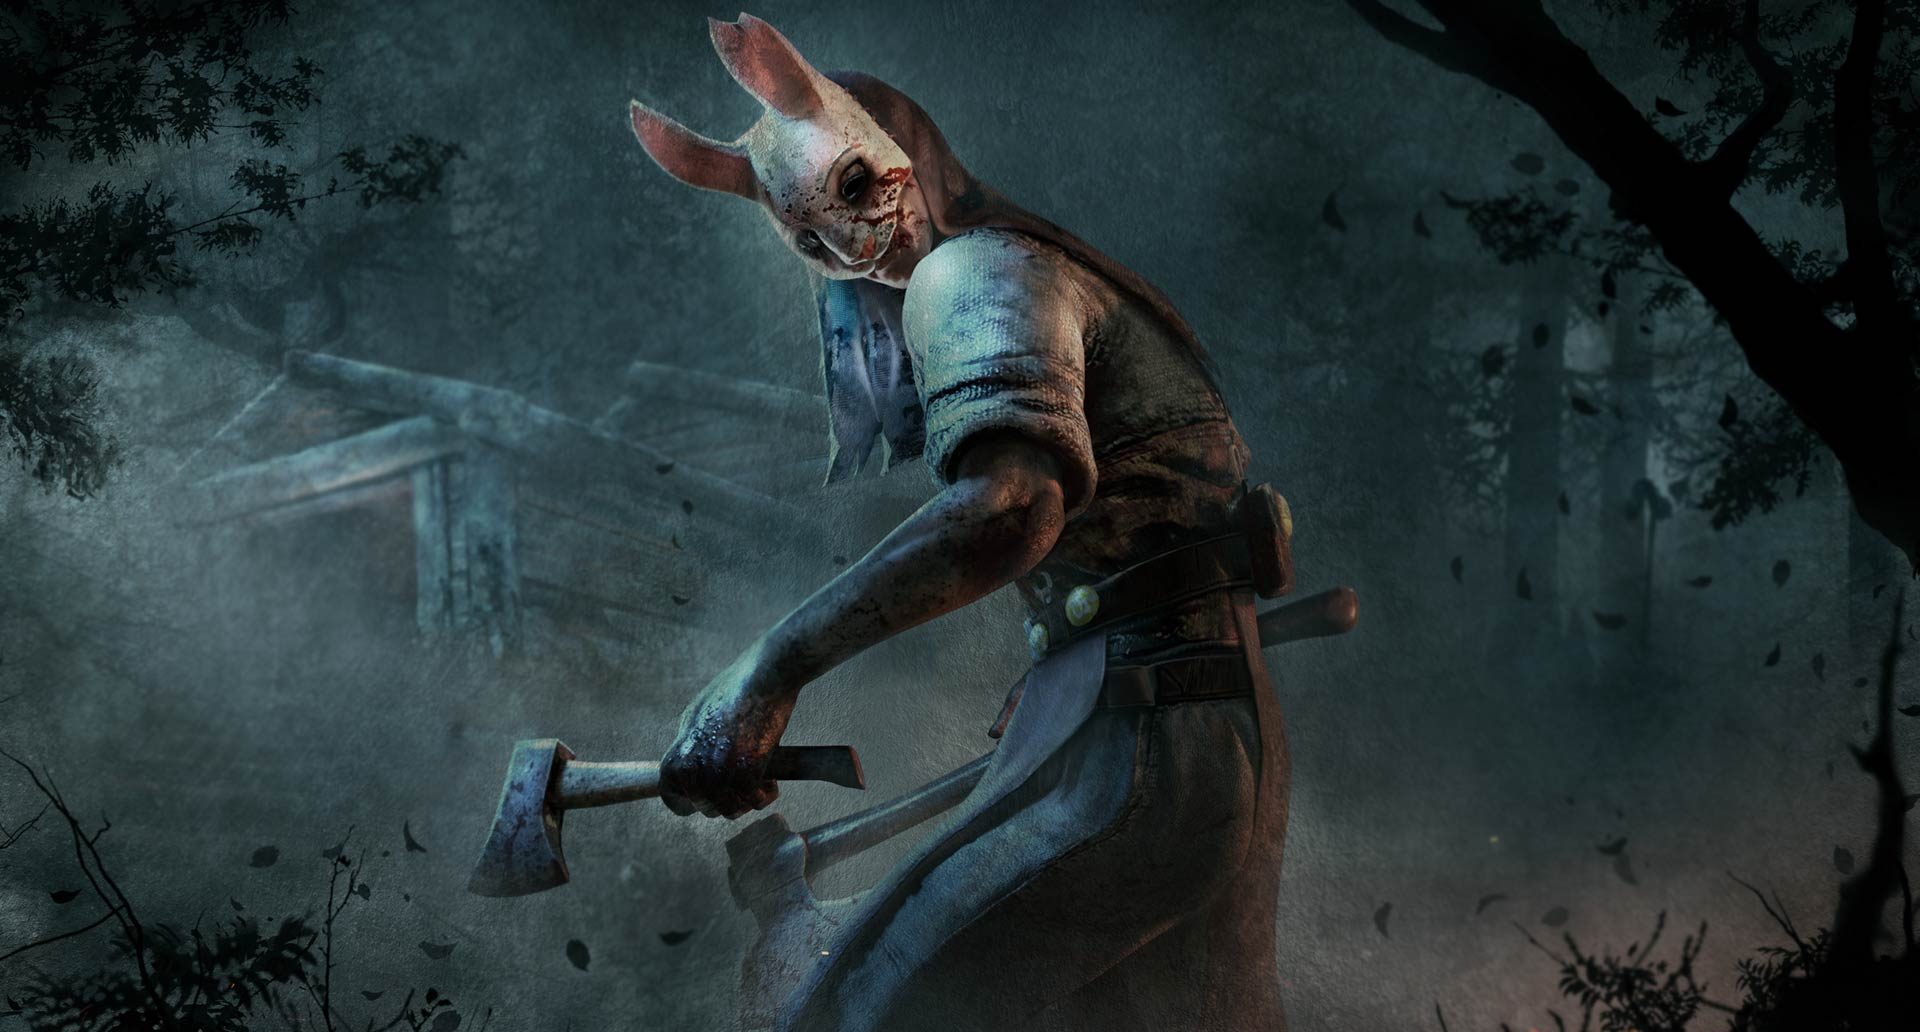
The best perks for the Huntress
- Corrupt Intervention
- Pop Goes the Weasel
- Barbecue & Chili
- Bitter Murmur
Good perks for the Huntress are difficult to find. Like almost all killers, Corrupt Intervention helps find survivors early, and Pop Goes the Weasel helps prolong the game. Barbecue & Chili reveals where survivors are located and can be used to throw axes over long distances, landing a few targeted hits. Bitter Murmur serves as an additional info perk whenever a generator is repaired and can also be used to practice throwing axes at long range, achieving successes.
The best perks for the Shape
- Corrupt Intervention
- Hex: Ruin
- Hex: Undying
- Hex: Retribution
Michael Myers primarily benefits from his ability, but he must first come out of Tier I to reach Tier II and then Tier III. To expedite this process, Corrupt Intervention helps drive survivors close to him. The Hex perks serve multiple purposes. Ruin helps reset the generators when Michael chases the survivors with Tier III of his ability. If survivors then start cleansing the totems, Michael sees the aura of the survivors every time to quickly go from Tier II to Tier III and create a chain reaction. Additionally, the entire process of searching for totems takes a lot of time, further prolonging the match.
The best perks for the Hag
- Whispers
- Agitation
- Starstruck
- Hex: Ruin
As the Hag, it is essential to set up a network of traps early to cover a large area of the map and be able to teleport quickly. Once that is done, Whispers helps find survivors. Thanks to Agitation, you can carry survivors further and even chase other survivors who will go down immediately with Starstruck. Hex: Ruin, as always, helps prolong the match and reset generators faster, giving you more time to catch the survivors.
The best perks for the Doctor
- Distressing
- Unnerving Presence
- Overcharge
- Brutal Strength
This combination of perks enhances the Doctor’s power and makes him extremely annoying for survivors. Distressing increases the size of the terror radius and thus the range of his secondary ability. Unnerving Presence makes skill checks harder within the terror radius, while Overcharge triggers especially difficult skill checks at damaged generators. Since the Doctor already turns skill checks into complete chaos with his power, survivors will frequently betray their position as long as you are near them. Brutal Strength helps quickly clear pallets and damage generators faster – something you should do regularly.
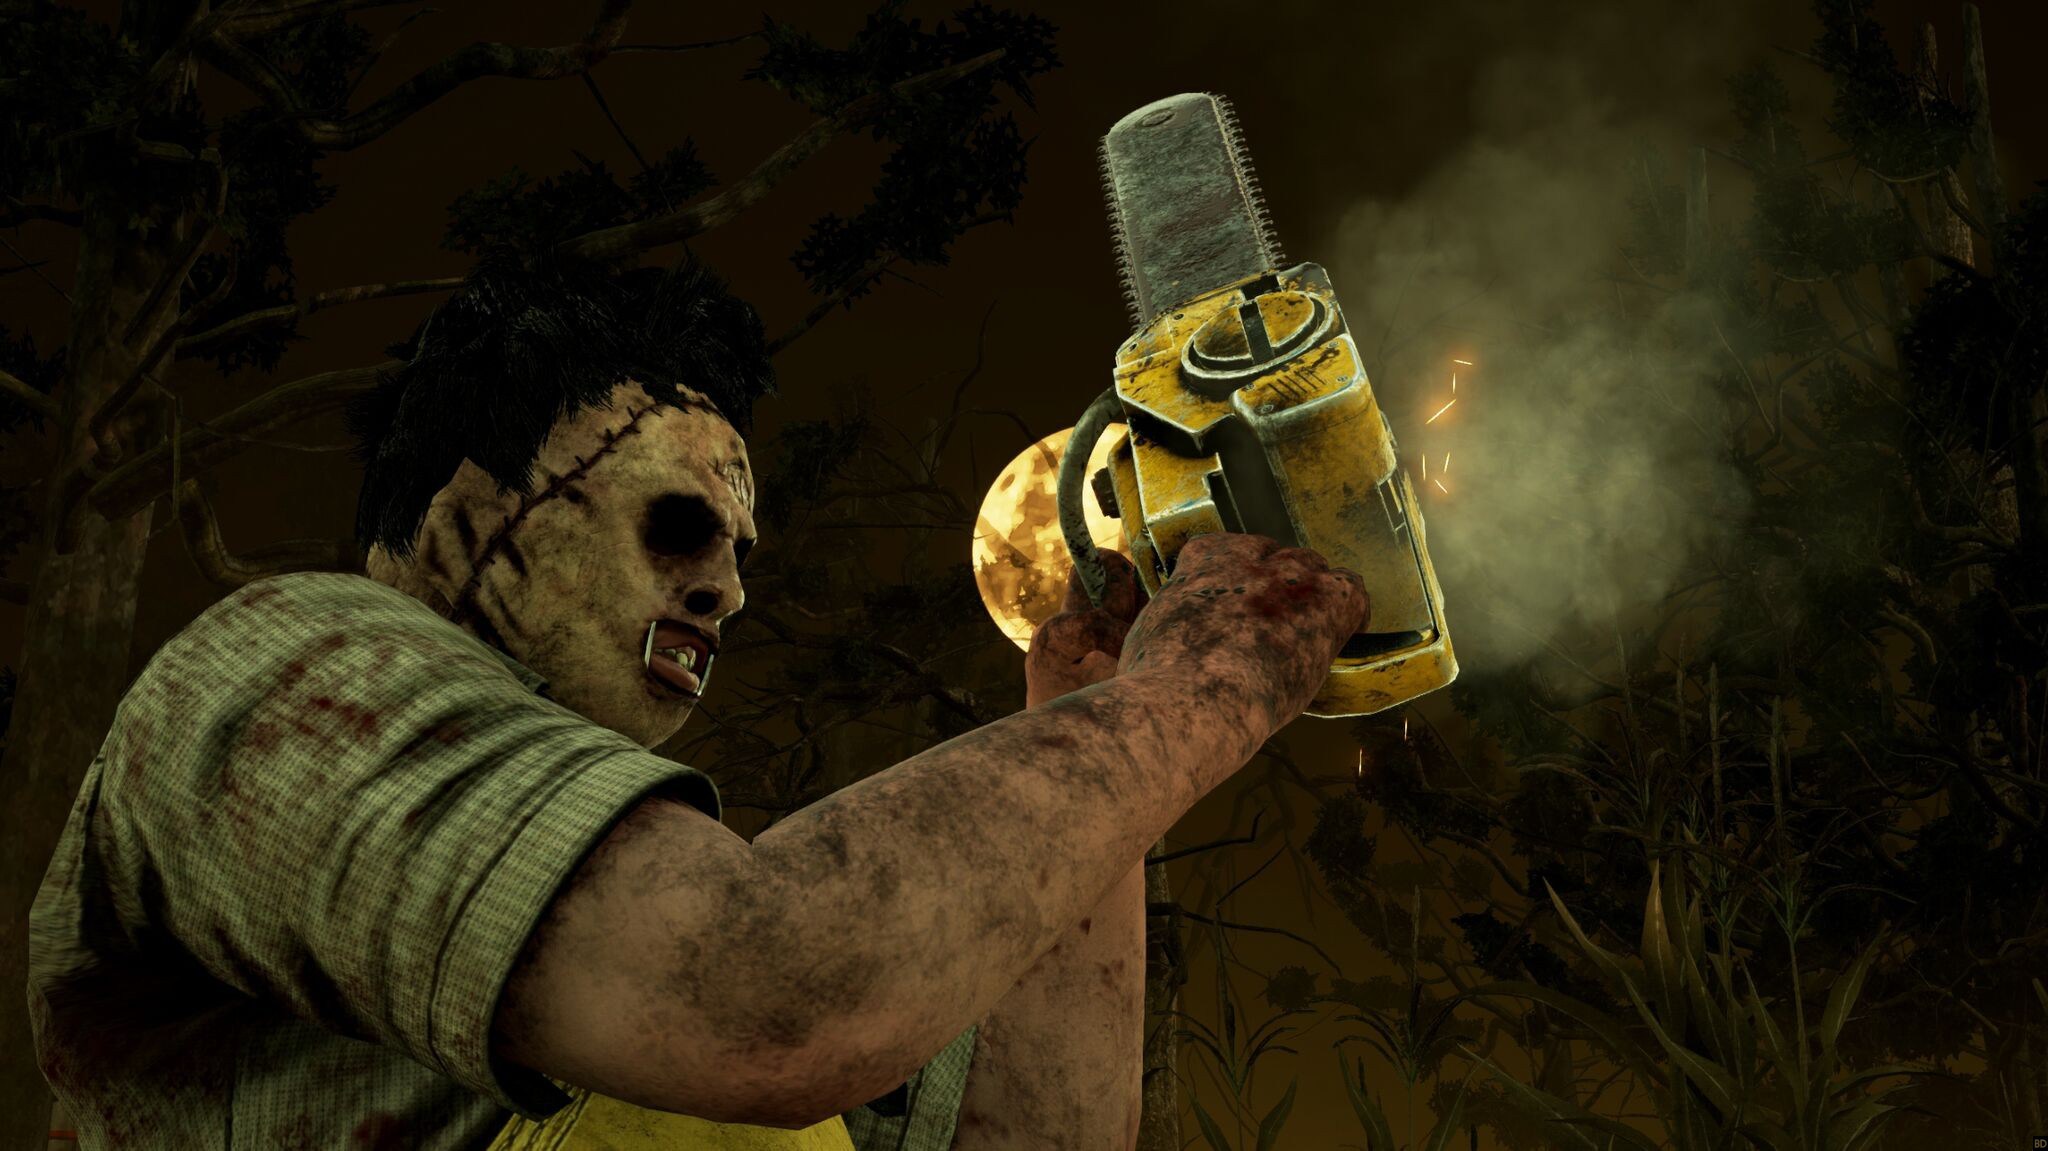
The best perks for the Cannibal
- Hex: Ruin
- Hex: Undying
- Discordance
- Tinkerer
The Cannibal benefits from his chainsaw, especially when he has multiple survivors in front of him. Discordance helps identify generators being repaired by multiple survivors simultaneously. Tinkerer suppresses the terror radius when a generator is close to completion and can help achieve successful stealth kills where multiple survivors go down. Hex: Ruin and Hex: Undying once again help to prolong matches and reset generators to take advantage of Tinkerer multiple times without having to break the chase.
The best perks for the Nightmare
- Corrupt Intervention
- Hex: Ruin
- Pop Goes the Weasel
- Tinkerer
The Nightmare relies on his ability to teleport to generators and set traps. Like most killers, he benefits greatly from prolonging the match, where Hex: Ruin comes into play. Corrupt Intervention helps put the first survivors to sleep early. Tinkerer rarely helps with stealth attacks, as the Nightmare has a unique lullaby radius, but it serves as an indicator of which generator to teleport to immediately to interrupt progress. If Hex: Ruin fails, Pop Goes the Weasel helps quickly weaken generators by many percentage points.
The best perks for the Pig
- Hex: Ruin
- Hex: Devour Hope
- Hex: Undying
- Hex: Thrill of the Hunt
The Pig is a master at giving survivors additional tasks that eat up their time. With these 4 Hex perks, this is taken to the extreme. Survivors must cleanse all totems to get rid of all effects. Hex: Thrill of the Hunt always reveals when they are working on a totem, while Hex: Devour Hope makes you increasingly deadly and Hex: Ruin steals the time from opponents. Even if the totems are cleansed relatively quickly, there should be enough time for you to already inflict significant damage on the survivors’ team.
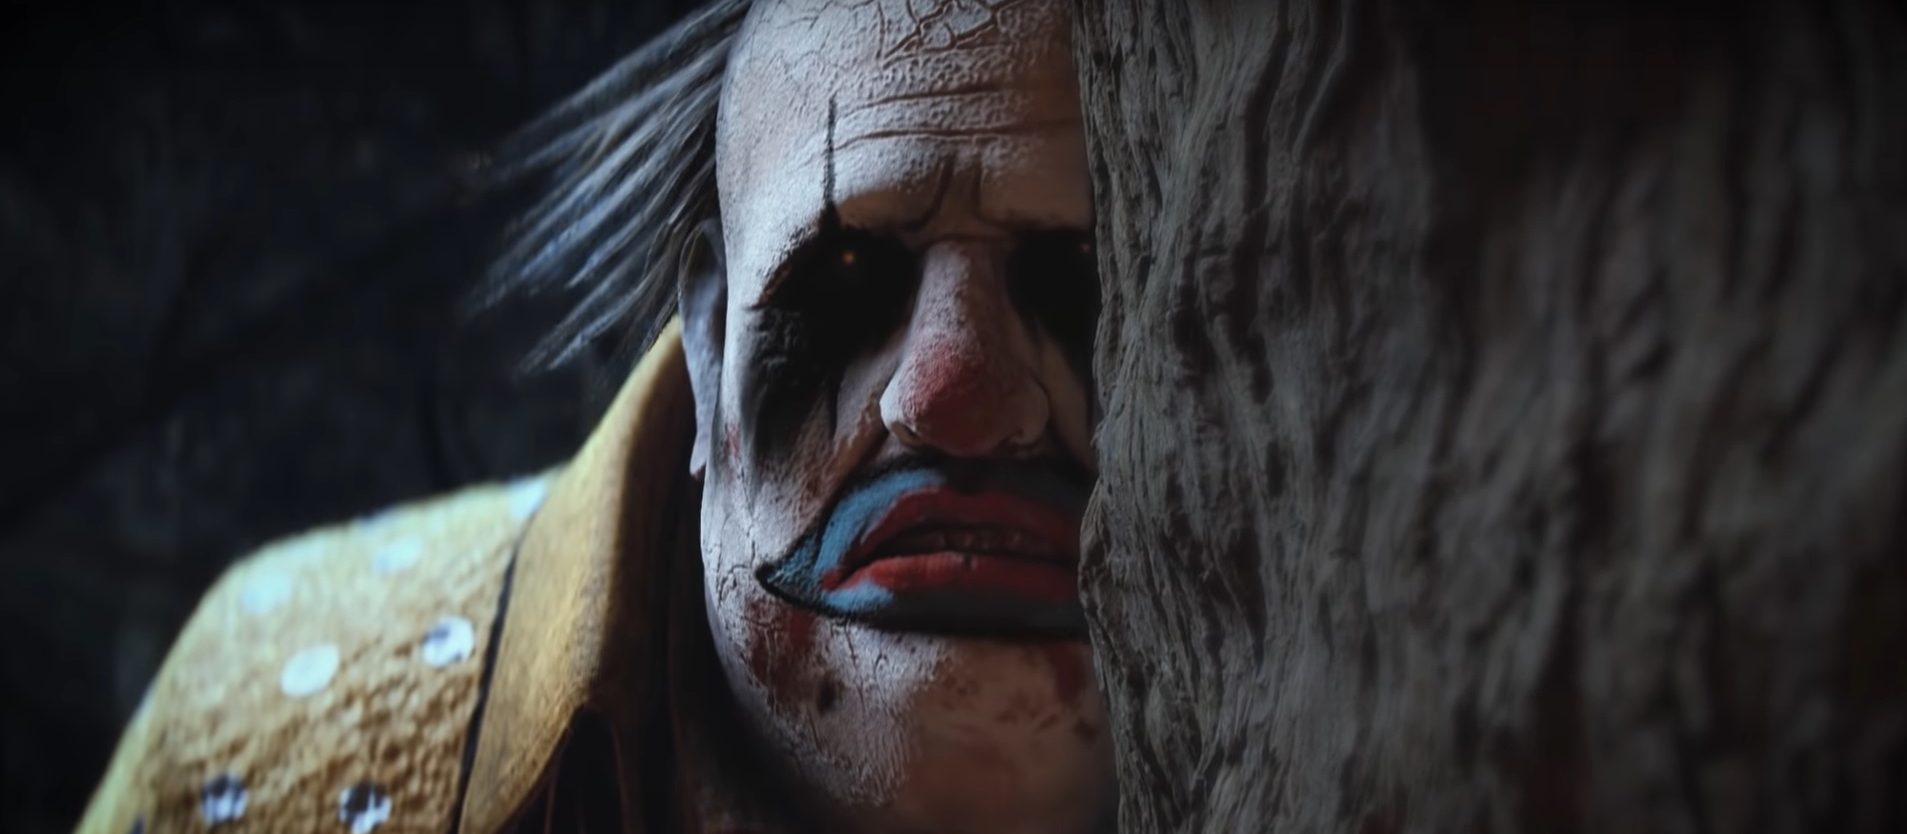
The best perks for the Clown
- Hex: Devour Hope
- Hex: Ruin
- Hex: Undying
- Surge
The Clown also relies on many Hex perks that buy him time to become even deadlier. The Clown is particularly dangerous when he can down survivors with a single blow – this is achieved through Hex: Devour Hope, which is enhanced by Hex: Undying. Hex: Ruin helps further reset generators, while Surge acts as an emergency perk and steals 8% of each generator in a 32-meter radius.
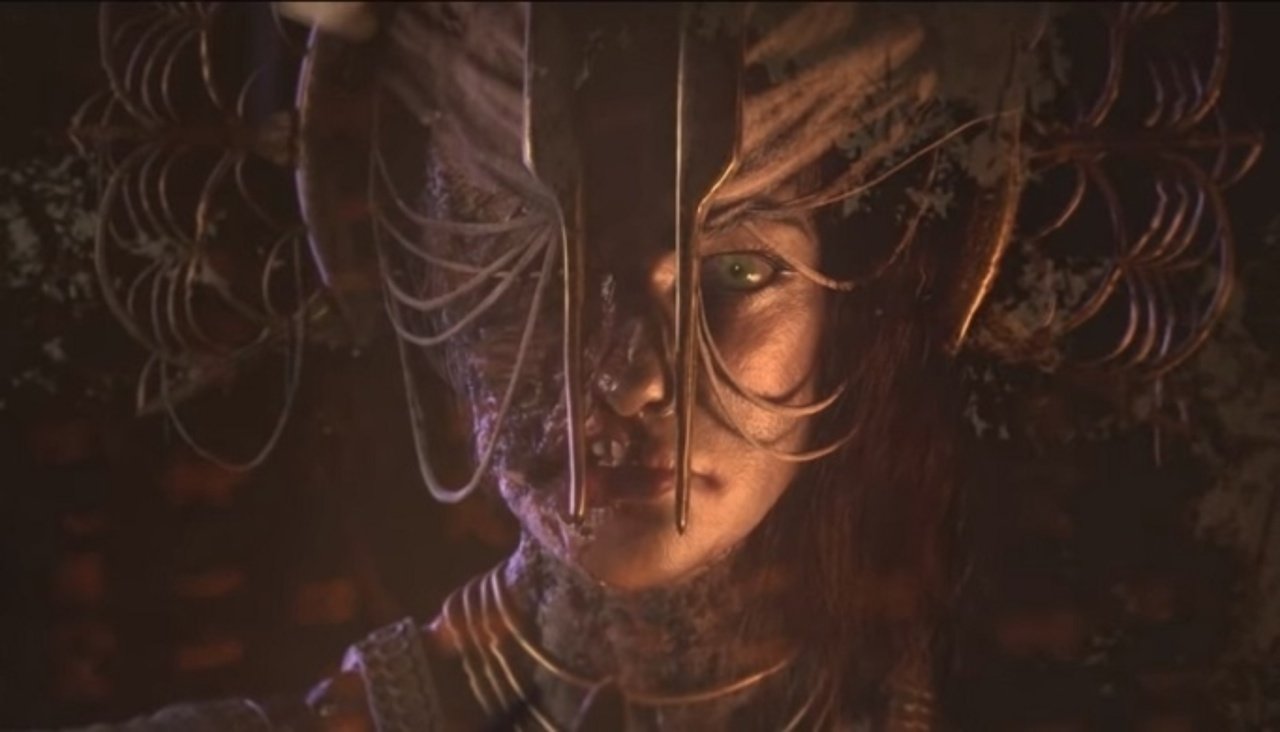
The best perks for the Spirit
- Hex: Ruin
- Hex: Undying
- Surge
- Surveillance
The Spirit is a devastating killer who only gets better with perks. Her only weakness is that games often end quickly before she can unleash her strengths. Hex: Ruin and Hex: Undying ensure that generators are reset, just as Surge does. Paired with Surveillance, you can immediately see which generators are being repaired, so you can appear at the generator with your ability and, with some luck, interrupt and catch a survivor directly at work.
The best perks for the Legion
- Surge
- Thrilling Tremors
- Pop Goes the Weasel
- Hex: Devour Hope
The Legion is particularly good at keeping all survivors in a constant state of injury, which means chases end relatively quickly. Therefore, this perk selection helps locate survivors (Thrilling Tremors), reduce progress (Surge and Pop Goes the Weasel), and increase the lethality of the Legion. Especially with 3 or more tokens on Hex: Devour Hope, the Legion becomes an unexpected, spontaneously deadly threat.
The best perks for the Plague
- Discordance
- Hex: Ruin
- Hex: Undying
- Hex: Retribution
The Plague is also a solid killer even without perks, capable of guaranteeing injuries with delays. With the ability to contaminate generators and objects, all survivors will inevitably be injured sooner or later. Discordance helps find as many survivors as possible at the start and infect them simultaneously. If you don’t catch the survivors, then infect the generator. Now the survivors have no real choice. If they leave the generator alone, it will be reset (by Hex: Ruin); if they work on it, they will become infected. This quickly leads to a chain reaction and many fountains that you can use if survivors try to heal their illness.
The best perks for Ghostface
- Corrupt Intervention
- Pop Goes the Weasel
- Surge
- A Nurse’s Calling
Ghostface is also inherently a solid killer if he can regularly stalk survivors to down them at the right moment with a single attack. Corrupt Intervention helps locate survivors early, while Pop Goes the Weasel and Surge help reset generators. A Nurse’s Calling is beneficial as Ghostface has no terror radius in stealth, allowing him to sneak up on survivors healing.
The best perks for the Demogorgon
- Hex: Ruin
- Hex: Undying
- Save the Best for Last
- Tinkerer
As with most killers, Hex: Ruin and Hex: Undying help to slow down the game. Save the Best for Last helps switch to the special attack quickly after a melee attack. Make sure to only hit the Obsession with the special attack to avoid losing tokens. Finally, Tinkerer ensures that you always know which generator is close to completion, allowing you to sneak up on it unnoticed. With good portal placement, you can do this very quickly.
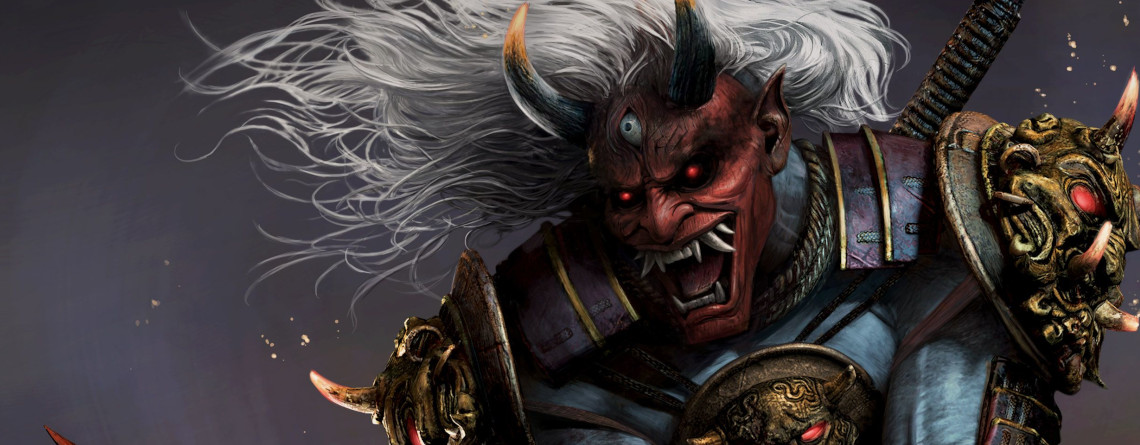
The best perks for the Oni
- Hex: Ruin
- Pop Goes the Weasel
- Discordance
- Tinkerer
The Oni is a devastating killer with his power who relies on Hex: Ruin. Should Hex: Ruin be cleansed, the alternative is Pop Goes the Weasel. Discordance helps quickly identify which generators are being worked on by multiple survivors, and Tinkerer provides a stealth element that allows you to strike unexpectedly and possibly take out multiple survivors at the same time.
The best perks for the Deathslinger
- Hex: Ruin
- Surge
- Agitation
- Starstruck
To slow down the game, the Deathslinger also relies on Hex: Ruin and Surge.
The combination of Agitation and Starstruck allows you to down survivors while carrying another survivor – or shortly after. Thanks to his shot mechanic, he can also achieve high success at distances and deliver one-hits almost continuously. Moreover, you can carry survivors further to bring the deadly terror radius (from Starstruck) closer to the survivors.
The best perks for the Executioner
- Hex: Ruin
- Hex: Undying
- Discordance
- Tinkerer
Even the Executioner benefits from Hex: Ruin and Hex: Undying to prolong the game and reset generators. With Discordance, you can quickly determine which generator is being repaired by multiple survivors, and Tinkerer once again brings the stealth element back. Thanks to his ability, this can lead to multiple hits at once and quickly ensure a victory. Regularly use your cages, especially when all survivors are in one spot. They will then have to run all over the map to help their teammate and cannot block the hanging.

The best perks for the Blight
- Hex: Ruin
- Hex: Undying
- Hex: Devour Hope
- Hex: Haunted Grounds
The standard combo of Hex: Ruin and Hex: Undying is also used by the Blight, but is accompanied by even more Hex perks. The Blight benefits from his extremely high speed and can therefore take advantage of both Hex: Devour Hope and Hex: Haunted Grounds to down multiple survivors with a single blow. Even if these perks risk being disabled altogether, by that point significant damage has usually already been done.
The best perks for the Twins
- Hex: Ruin
- Hex: Undying
- Discordance
- Barbecue & Chili
The Twins do not benefit equally from all perks, as Victor is either unaffected by perks or only affected in exceptional cases. Therefore, a conservative setup of Hex: Ruin, Hex: Undying, and Discordance is also worthwhile for the Twins to quickly locate the majority of survivors and slow down their progress. Barbecue & Chili provides more visibility after hanging a survivor and helps clarify whether survivors are nearby or far away.
The best perks for the Trickster
- Hex: Ruin
- Hex: Undying
- Corrupt Intervention
- Tinkerer
The Trickster also benefits most from a standard build. However, this only works well if you can handle his power well and accurately land knife throws. Corrupt Intervention helps find survivors early, Hex: Ruin and Hex: Undying prolong the match, and Tinkerer helps once again to sneak up on the first hit “for free”.

The best perks for Nemesis
- Barbecue & Chili
- Pop Goes the Weasel
- Save The Best for Last
- Corrupt Intervention
Nemesis also benefits from a standard build but can particularly benefit from “Save the Best for Last”. Thanks to the tentacle strike, Nemesis can take down the obsession without ever using a melee attack. As a result, the perk never loses its stacks, and you can execute sneaky and quick hit combinations on the other survivors. First, give them a melee hit and then benefit from the reduced cooldown to follow up with a tentacle strike.
“Corrupt Intervention” provides a smaller field and Pop Goes the Weasel extends the match.
The best perks for the Cenobite
- Barbecue & Chili
- Hoarder
- Franklin’s Demise
- Save The Best for Last
The Cenobite is the only killer so far who makes good use of the perk “Hoarder,” thanks to his base kit of abilities. Since the puzzle box counts as an item, the Cenobite is alerted as soon as a player picks up the box.
This allows the killer to head directly towards the survivor with the box before they begin solving it. This is particularly insidious when paired with “Franklin’s Demise.” If the survivor is hit by a melee attack, they immediately drop the puzzle box, and the Cenobite picks it up. This immediately triggers a chain hunt that reveals and massively hinders all survivors.
“Barbecue & Chili” and “Save The Best for Last” are standard options that help quickly transition from one survivor to another and always be informed of everyone’s location.
The best perks for the Artist
- Discordance
- Hex: Ruin
- Barbecue & Chili
- No Way Out
The Artist benefits from delaying the game as much as possible. For that, “Hex: Ruin” combined with Discordance is optimal. Once she is informed that survivors are working in pairs at a generator, she can send her crows to interfere or wound the survivors at the generator. Once chased away, this generator will be automatically reset by “Hex: Ruin.” Barbecue & Chili creates a similar benefit, allowing her to attack the next survivor right after hanging.
Finally, “No Way Out” is another way to gain a good minute more of gameplay and hinder survivors from escaping. In 60 seconds, you can often take down 1-2 more survivors and eliminate them from the game.
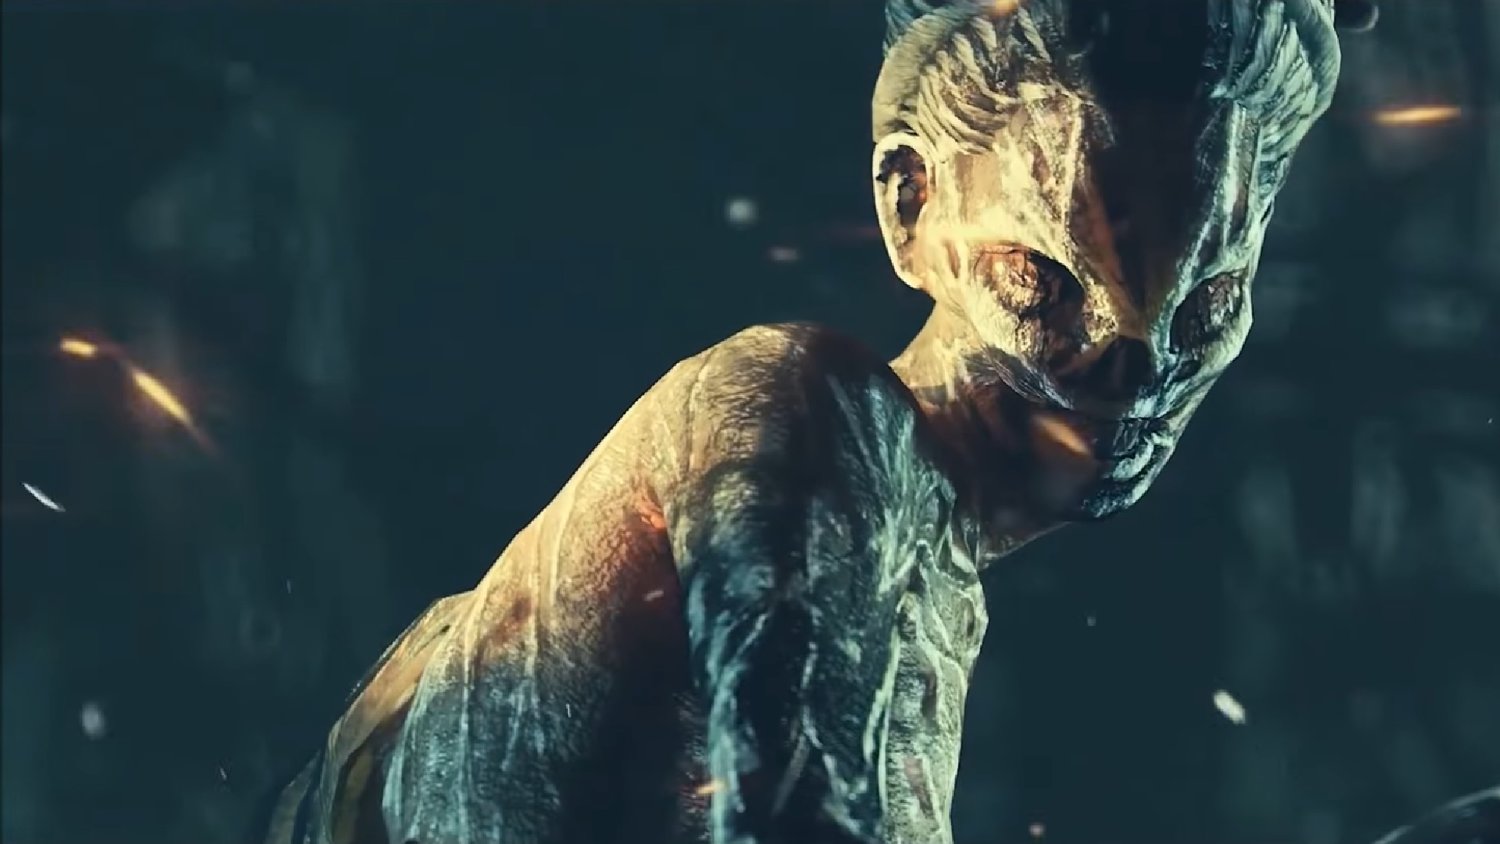
The best perks for Onryō
- Barbecue & Chili
- Make Your Choice
- Scourge Hook: Pain Resonance
- Corrupt Intervention
Like many other killers with teleportation abilities, the Onryō benefits greatly from “Make Your Choice.” If someone is rescued from the hook, she can easily teleport to a nearby TV and hunt the rescuer. Corrupt Intervention and Scourge Hook: Pain Resonance both help slow the game down and drive survivors into the arms of the Onryō early on.
Do you have any other perk combinations that you particularly enjoy using on specific killers? Share your best combos with us and explain how you make it particularly difficult for survivors!
Don’t have a favorite killer yet? Maybe the current tier list of the best killers can help you.

Your opinion is important to us!
Do you like the article? Then let us know!