We will reveal to you which perks allow you to really put pressure as a killer in Dead by Daylight.
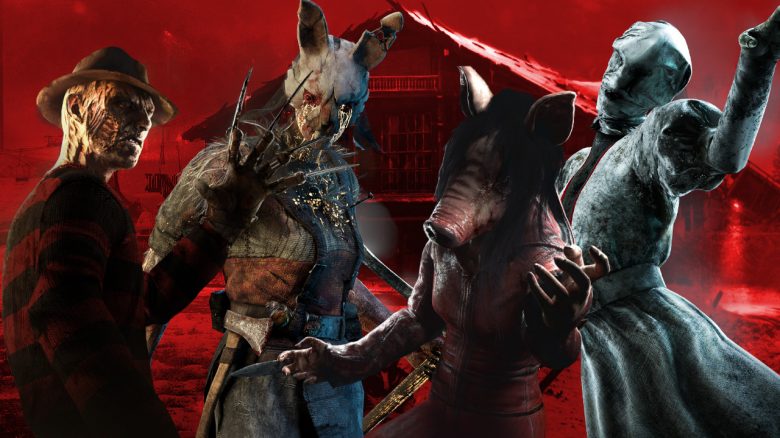
Perks are an important cornerstone for success in Dead by Daylight. They often grant killers or survivors additional abilities, special gifts, or a small advantage in certain situations. Today, we present to you the top 10 perks for killers in Dead by Daylight!
We have already presented to you which killers are currently the best.
Update: The list was updated on 14.10.2024, at the time of patch 8.3.0.
How to unlock perks: Most perks in Dead by Daylight belong to a specific killer. This means that only the corresponding killer can use these perks until they are unlocked at the killer’s prestige levels. Each prestige level makes a rank of all its perks usable for all other killers. We assume in this list that you possess the perks at the highest rank, as their effectiveness decreases significantly below that.

Once a teachable perk has been unlocked, it can also appear in the Bloodweb of all other killers.
Check the Shrine of Secrets: Alternatively, it is also worth taking a regular look at the “Shrine of Secrets.” There, you can buy four randomly selected perks directly for blood shards every week. This skips the unlocking of the teachable perk (for example, if you do not own a killer at all). However, the perk must still appear in the Bloodweb of the desired killer.
Anyone who invests a lot of time and blood points can unlock all perks on all killers.
The 10 Top Perks for Killers in Dead by Daylight
We consider the highest level (3) for all perks. Below that, many perks lose their value drastically.
1. Scourge Hook: Pain Resonance
Teachable by: The Artist
At the start of a match, four hooks are used in Scourge Hooks
which you can recognize by their white aura. You start with four tokens on this perk. Each time you hang a survivor for the first time, a token is consumed and the following effects are applied:
- The generator with the most progress explodes and immediately loses 20% of its maximum possible progress.
- After the explosion, the normal damage to the generator begins.
- All survivors at the affected generator scream, but do not reveal their position.
Once all tokens have been consumed, the perk is disabled for the rest of the match.
Scourge Hook: Pain Resonance is another perk that simply buys you more time. And that’s exactly what you want as a killer.
Especially suitable for: All killers.
2. Corrupt Intervention
Teachable by: Plague
At the start of the round, the 3 generators farthest from the killer are blocked for 120 seconds. This means survivors cannot make progress on these generators for 2 minutes.
This forces survivors closer to the killer and allows you to find one or two survivors early on.
The perk is deactivated prematurely if a survivor reaches the downed state (= goes down).
Especially suitable for: All killers.
3. Grim Embrace
Teachable by: The Artist
Grim Embrace
is another perk that can buy you a lot of time, as it keeps all survivors from working on generators simultaneously. It works quite simply, but requires you to focus on different survivors.
Each time you hang a survivor for the first time, Grim Embrace gets a token. As soon as you move at least 16 meters away from the hung survivor, the effect is triggered – depending on the current tokens that the perk has.
- 1-3 tokens: Blocks all generators for 12 seconds.
- 4 tokens: Blocks all generators for 40 seconds.
Survivors are thus practically forced to wait a few seconds or make their way to free their comrade.
Especially suitable for: All killers.
4. Pop Goes the Weasel
Teachable by: Clown
Whenever you hang a survivor on a hook, the next generator you damage within 45 seconds is additionally reset by 20% progress. This perk thus gives you significantly more time, as survivors have to repair generators multiple times, and the regression is much greater than with normal damaging of a generator.
Especially suitable for: All killers who manually hang survivors.
5. Barbecue & Chili
Teachable by: Cannibal
A classic among perks and still one that has never lost its use. Barbecue & Chili gives you information about where the survivors are located – even when the effect does not seem to be triggered.
Whenever a survivor is hung on a hook, the aura of other survivors who are at least 40 meters away from the killer is revealed. If no survivor is shown, that is a good indication that the other survivors are all in close proximity.
Especially suitable for: Killers with high mobility who can cover large distances quickly.
6. Nowhere to Hide
Teachable by: Knight
Few other perks are as universally strong as Nowhere to Hide
. And no other perk helps you panic survivors as well. Each time you damage a generator, the auras of all survivors within a radius of 24 meters are revealed to you for five seconds. Since survivors usually stay quite close to their generator even when the killer approaches, you should almost always find a survivor this way and almost never have downtime.
You will often use the perk many times in a single round and benefit from it each time. Because even if you do not discover a survivor, it is an indication – they might be stuck in a closet or that generator is indeed safe
.
Especially suitable for: All killers.
7. Tinkerer
Teachable by: Hillbilly
When a generator is 70% repaired, you will be informed by a loud noise. Additionally, you are undetectable for 16 seconds – during this time you have no killer radius and no red glow. This is the perfect opportunity to surprise survivors at the generator and possibly capture them.
The perk can only be triggered once per generator.
Especially suitable for: Killers with fast movement.
8. Deadlock
Teachable by: Cenobite
The perk Deadlock
is simple and efficient. Whenever a generator is fully repaired, the generator with the highest progress is completely blocked by the Entity for 30 seconds. The aura of the affected generator is then displayed in white.
This perk prevents generators from being repaired in quick succession and provides enough time to reach the vulnerable generator and disturb its progress before the survivors can finish it as well. The perk also reliably reveals where the survivors are currently working.
Especially suitable for: All killers.
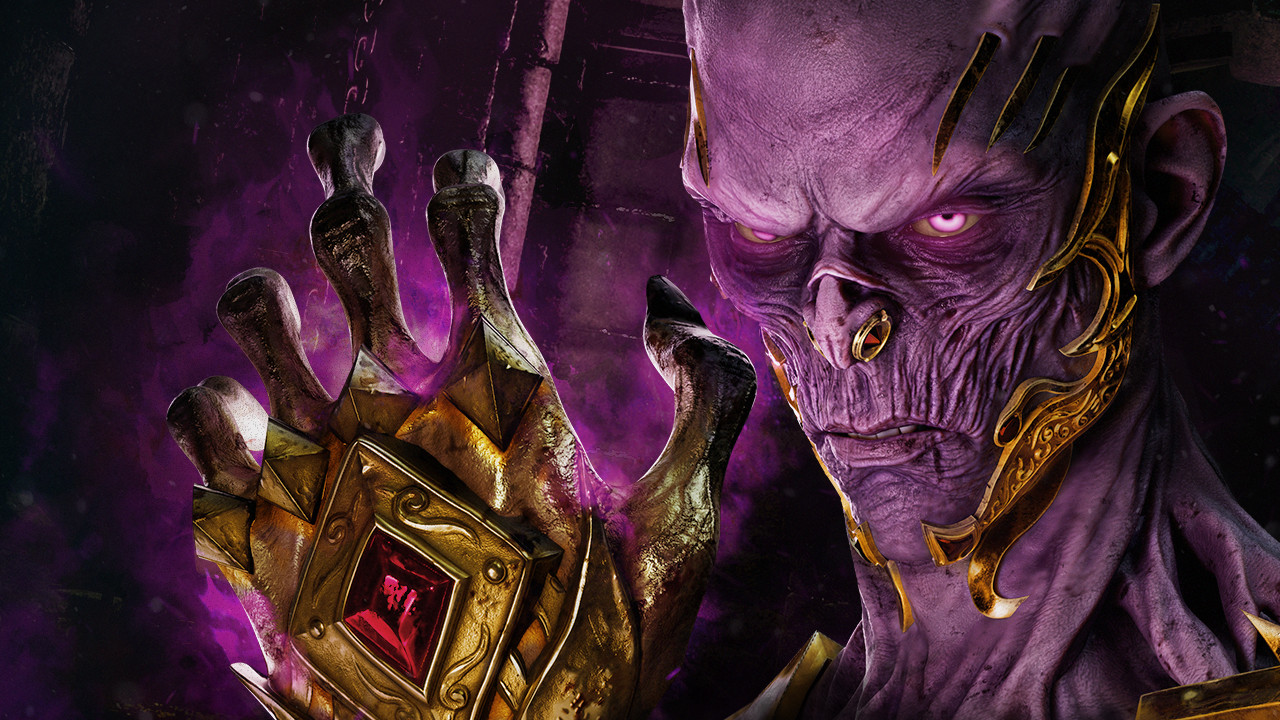
9. Hex: Pentimento
Teachable by: The Artist
With Hex: Pentimento, the killer gets a new secondary objective that he can only fulfill if the survivors cleanse the totems. Because with Pentimento, cleansed totems can be repositioned once and made into new escape totems. These grant different effects depending on how many of them exist:
- 1 Totem: The repair speed of survivors is reduced by 30%.
- 2 Totems: The healing speed of survivors is reduced by 30%.
- 3 Totems: The recovery speed of survivors who are in the downed state is reduced by 30%.
- 4 Totems: The speed of opening exit gates by survivors is reduced by 30%.
- 5 Totems: All totems are permanently blocked by the Entity.
If it is possible to reposition all 5 totems with Pentimento, the survivors can no longer cancel these effects.
Especially suitable for: Anyone who already uses curse perks.
10. Zanshin Tactics
Teachable by: Oni
The aura of survivors is revealed who knock over a pallet near you. The survivor remains visible for a full 10 seconds, which is more than enough time to start pursuing and even potentially destroy the pallet.
Especially suitable for: All killers.
Alternative Perks
Perks that may not be in the top 10 but should still be considered are listed here:
Surge
Teachable by: Demogorgon
This perk is also simple and efficient as it does not require much thought.
Once a survivor is downed by a normal melee attack, all generators within a radius of 32 meters explode, losing 8% of their progress and then beginning their usual regression.
Especially suitable for: Killers who rely on melee attacks.

Lethal Pursuer
Teachable by: Nemesis
Lethal Pursuer
is the perfect perk for any killer who has a bit of trouble getting going at the start. Instead of having to painstakingly search for survivors, the perk activates at the start of the match and reveals the auras of all survivors for 11 seconds. This way, the killer knows right from the start where to go to find their first victim.
Additionally, the perk enhances all other aura perks, as the duration of the displayed aura is extended by two seconds. It combines well with other aura perks but is powerful even on its own.
Especially suitable for: All killers, but especially those with fast movement abilities.
Weave Attunement
Teachable by: Lich
This perk offers you new possibilities when survivors use many items.
When an item is fully consumed for the first time, the survivor automatically drops the item. Survivors within a radius of 12 meters around the dropped items have their auras revealed.
Survivors who pick up an item suffer from the status effect Disoriented for 30 seconds – during this time, they cannot perceive the killer’s terror radius and are therefore much easier to attack.
Especially suitable for: All killers.
Discordance
Teachable by: Legion
Discordance is the perfect perk when survivors work together too often at generators and therefore achieve progress quickly.
Whenever two survivors first work together on a generator, a loud warning sound is triggered. Each time two survivors work on a generator, the aura of that generator is additionally highlighted in yellow. The highlighting remains for 4 seconds after less than 2 survivors work on the generator.
Especially suitable for: All killers.


No Way Out
Teachable by: Trickster
This perk allows you to stretch out the match a little more and prevent survivors from being able to escape immediately through the gates after the last generator.
Each time the killer hangs a survivor for the first time, they obtain a token.
As soon as a survivor interacts with the exit gate, it is blocked by the Entity and a loud warning sound is triggered. The gate blocking lasts for 12 seconds + 12 additional seconds for each token – up to a maximum of 60 seconds.
Only then can survivors open the door and escape.
Especially suitable for: All killers.
Which perks do you particularly like to use in Dead by Daylight as a killer? Do you base your choices on the “strongest” perks? Or do you also like to use the less popular perks to achieve a special playstyle?