
On the vast battlefield of Call of Duty: Warzone, you will find equipment and loot everywhere – not just weapons. What perks and upgrades you should use and how to counter strong loadouts, you will find out here.
What is this guide about? To gain an advantage in Call of Duty: Warzone, you should always rely on the best equipment in the CoD battle royale. This includes the best weapons in Warzone, grenades, tactical equipment, or ammo packs. Therefore, you will find here:
- Strong equipment and how to counter it
- Important perks (English: extras) for personal loadouts
- Useful field upgrades that provide a decisive advantage
To provide you with the best equipment for your loadouts, we at MeinMMO regularly monitor the latest player trends, review analyses, and spice it up with a dash of our own experience. Important links with expert videos can be found below in the references.
Proper equipment can provide a significant advantage
How do I choose my equipment? In Call of Duty, you typically have two types of equipment: Primary and Tactical. To get the helpers in Warzone, there are two options:
- Loot on the battlefield
- Via equipment drops
Everywhere, grenades, explosives, or stims are lying around that can provide a decisive advantage in the right situations. With supplies from supply stations or the free loadouts, you can specifically obtain your preferred items.
Which primary equipment helps? The primary slot is occupied by effective kill tools. Here you will find proximity mines, throwable plastic explosives, and knives, along with an interesting selection of grenades. Here are the best for Warzone:
- Semtex – Sticky grenade with a short, well-planned timer. It can be quickly attached to vehicles and allows precise throws.
- Claymore – Explosive that reacts to movement. These mines provide good opportunities to cover your back when, for example, defending a roof or house. If you find Claymores in the match that you do not need, place them right away.
- C4 – Throwable explosive with high damage to vehicles and enemies. It doesn’t fly as far as grenades but hits hard.
- Thermite – Incendiary grenade that can be thrown very far and precisely.
Among the primary equipment, these 4 often give you an advantage. However, the guidelines are not quite so strict. With the Molotov cocktail, you can block areas for a while, and throwing knives are powerful to quickly finish off a downed opponent and then pick up the knife again.
Try to experiment a bit and find the primary equipment that brings the highest benefit to your playstyle.
What helps against strong equipment? Many advantages that certain equipment provides can be countered if you are well prepared:
- Against grenades: Field upgrade Trophy System – Destroys up to 3 thrown equipment in the vicinity. If you’ve taken cover somewhere, throw this device to protect yourself from grenades and rocket fire.
- Against mines: Perk “Recon” – With this yellow extra, enemy explosives are highlighted, even through walls. If you have the time, you can hack the equipment and make the mines work for you.
- Against explosive damage: Perk “KRD” – Reduces explosive damage from grenades and rocket launchers.
Recon can be very helpful, but it only gives you an advantage if you spot mines. Weigh here whether it’s worth it for your team if one of you takes the perk.
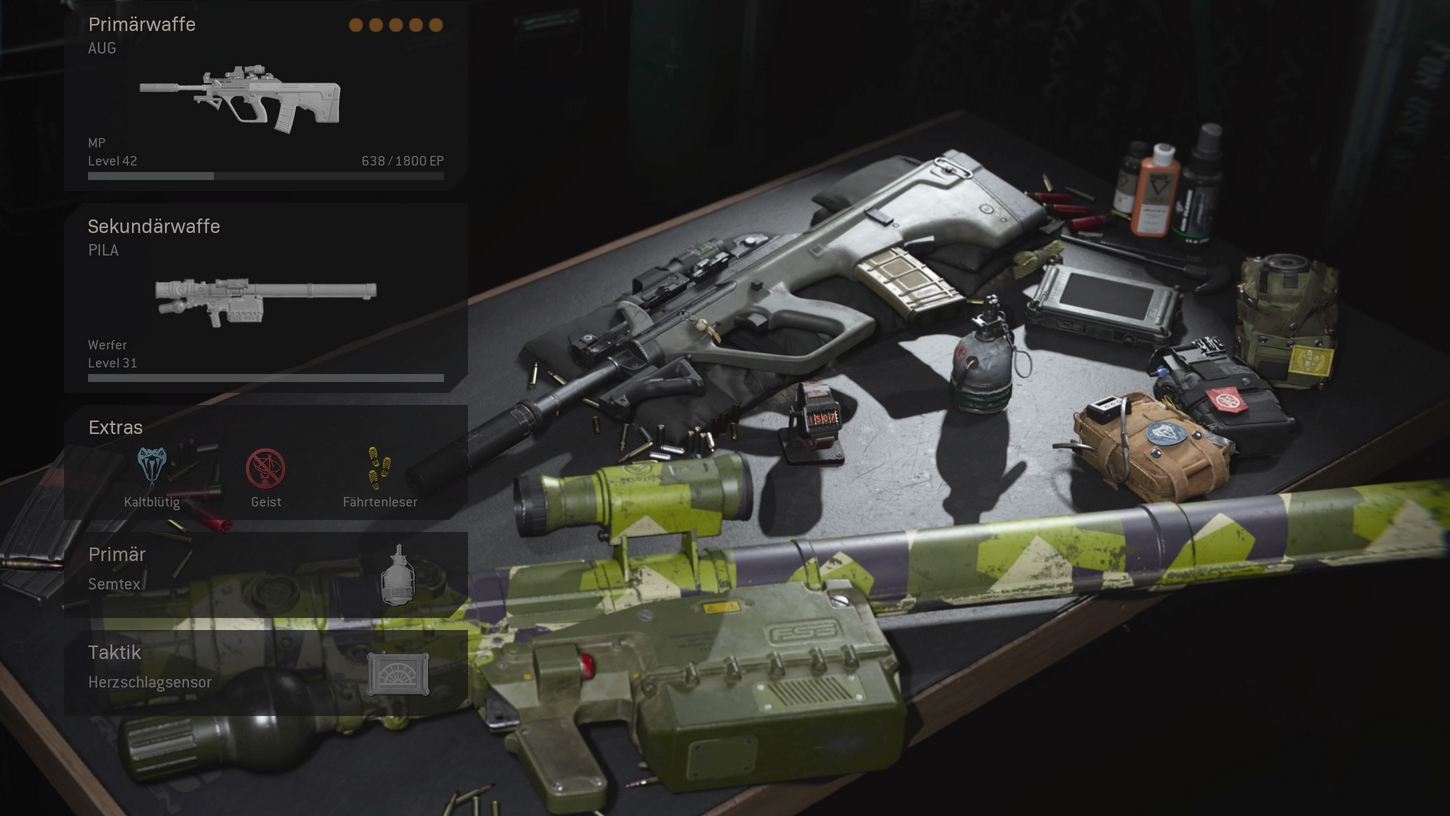
Tactical equipment – Recon or Attack
Which tactical equipment will take me further? Here, it’s all about your playstyle. Do you want to use your equipment for reconnaissance or for attack?
- Recon
- Heartbeat Sensor – Shows enemies in front of you on a small display.
- Snapshot Grenade – Reveals enemies in the immediate vicinity for your entire team. Also works through walls.
- Attack
- Flash Grenade – The enemy has distorted vision and cannot move properly for a short time.
- Stun Grenade – Hit enemies see only a white screen for a moment.
- Read here for which situations the items are suitable.
How can I counter this? These equipment can also be countered in part:
- Against Heartbeat Sensor: Perk “Ghost” – With this extra, the enemy does not get a reading from you on their sensor.
- Against attack equipment: Perk “Battle Hardened” – Reduces the effectiveness of flash and stun grenades.
Everyone should consider the extra “Ghost”. You are not visible on the heartbeat sensor and drones cannot capture your signature.
The right perks for your loadouts
How do I get the extras? Perks are not found in Warzone, but are only available through personal loadouts. You must therefore use an equipment crate. Overall, you can choose from three categories here – red, blue, and yellow.
Some of the extras work differently in Warzone than in regular multiplayer. Be sure to read the displayed descriptions carefully.
Blue Extra
- Cold-Blooded – You cannot be marked by the perk Combat Scout, thermal sights do not highlight you, and turrets do not detect you.
- KRD – Reduces explosive damage from grenades and rocket launchers.
“KRD” was for a long time the best choice in Warzone, providing you with the greatest advantage. However, with the introduction of 2 new perks, “Cold-Blooded” is now also a strong choice to avoid detection by “Combat Scout,” a yellow perk.
Red Extra
- Ghost – Not visible to standard drones and heartbeat sensors.
- Overkill – You can get a second primary weapon fully equipped with attachments from your loadout.
- Alerted – When an enemy sees you, you get a signal from the direction on the screen and can hear the footsteps of enemies with the field upgrade “Dead Silence”.
“Ghost” makes the heartbeat sensor useless against you, thereby countering one of the best equipment in Warzone. Standard reconnaissance drones cannot detect you either.
In contrast, “Overkill” and “Alerted” are both strong perks for aggressive playstyles. Overkill immediately gives you 2 strong weapons from your arsenal, and Alerted helps detect enemies. Additionally, you can hear enemies who suppress their footsteps with “Dead Silence.”.
Yellow Extra
- Tracker – Very helpful in the endgame and house combat, lets you track the last steps of opponents.
- Eager – Faster weapon swapping and quicker reloading of rocket launchers.
- Combat Scout – If you hit an enemy with your bullets, they are briefly marked and visible through walls.
This is not as important a decision as between “Ghost” and “Overkill,” but rather quality-of-life perks. If you prefer more reconnaissance, choose “Tracker” or “Combat Scout.” For a better game feel in your fights, “Eager” helps because you can really swap weapons much faster.
Field upgrades can save matches and lives
Where can I find field upgrades? You can find 7 of these bonuses in Warzone, but not acquire them through equipment drops. You find the gadgets as loot in Warzone and can also purchase some at the buying stations.
Field upgrades in Battle Royale
- Ammo crate – Full ammo reserves
- Armor crate – Fills your armor supplies
- Recon drone – Controllable drone, also carries C4.
- Dead Silence – You make no noise when walking or running and move faster on foot.
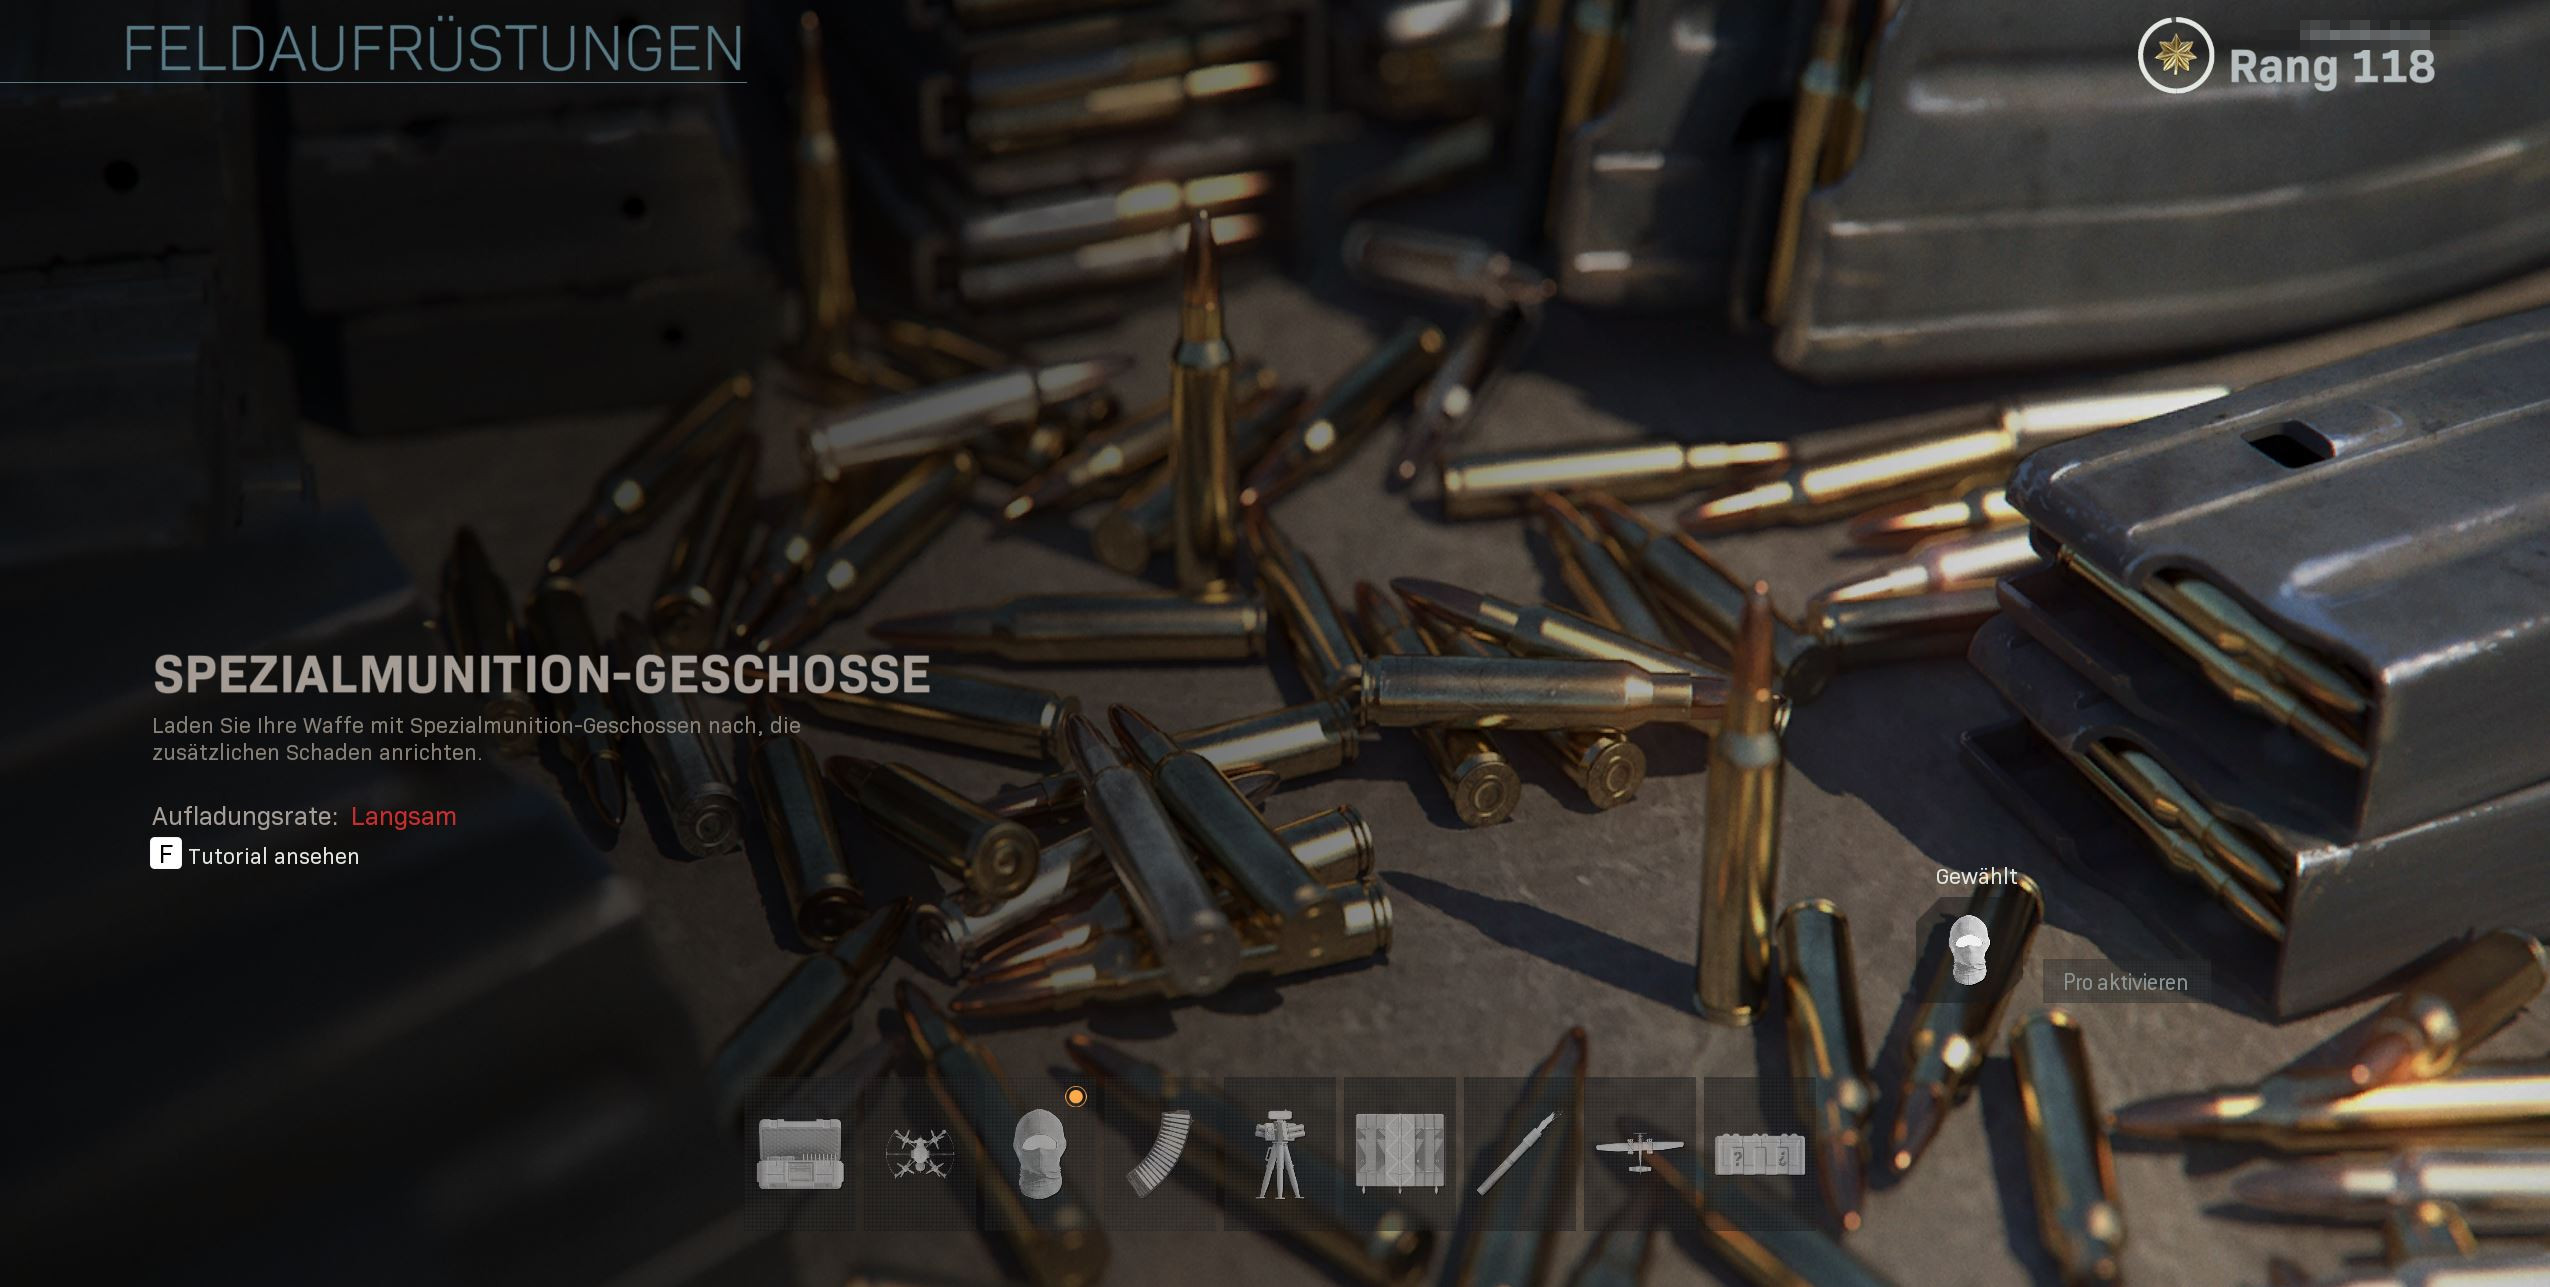
- Special ammunition rounds – The current weapon receives a magazine (maximum 30 rounds) with a larger caliber. Changes handling characteristics and damage.
- Trophy system – Destroys up to three equipment items and explosive projectiles that come too close to the device.
- Mobile cover – A ballistic shield that you can set up almost anywhere.
Which upgrades are strong? The supply crates are very helpful because your whole team can use them. If you have an empty field upgrade slot, always take the crates with you. Also strong are the Trophy System, Dead Silence, and special ammunition.
You can place the Trophy System on a vehicle and easily survive enemy fire from rocket launchers. The systems are also helpful when holding a position to neutralize incoming explosives.
Special ammunition gives you a magazine with up to 30 rounds and boosts the damage of your weapons. The weapon you are holding at the time of activation then receives up to 30 rounds of special ammunition which does more damage to enemies. But be especially careful with assault rifles and SMGs, as larger calibers can affect weapon handling.
Dead Silence is extremely powerful when pushing enemies. The foes cannot hear you, making it difficult for them to determine where you are. Additionally, you move faster – the optimal equipment to aggressively approach other teams.
All field upgrades can be quite helpful in the right situations. Try to experiment a bit and see which works best for your playstyle.
The choice of the right equipment and perks largely depends on your playstyle and the situations you encounter during your matches. More defensive players choose equipment to counter, while aggressive players opt for reconnaissance mechanics.
Stay open to different playstyles, experiment and see which equipment brings you the most benefit. Because that’s really what it’s about: using the available resources as effectively and efficiently as possible.

Your opinion is important to us!
Do you like the article? Then let us know!