
If you want to progress from Act 2 to Act 3 in Baldur’s Gate 3, you first need to successfully navigate through the Shadowlands. An essential part that is not optional are the Trials of Shar. We have the answers to all your questions about the Shar trials.
Attention, Spoiler: We go into detail here on how to face the Trials of Shar and what they are. So there are plenty of spoilers for Acts 1 and 2 of Baldur’s Gate 3.
The Trials of Shar are one of the most important things you complete in Act 2. They are not optional and an important part of the personal quest of Shadowheart. Additionally, you need to pass them to find the Night Song and progress to the finale of Act 2.
You will find them in a hidden temple of Shar, which also turns out to be a real labyrinth. To avoid wandering aimlessly through the world and potentially getting lost, we have gathered everything you need here: namely where to find the trials, how to reach them, and how to master them.
Depending on which step you need support with, you can jump to it using the table of contents.
Trials of Shar – how to find the temple
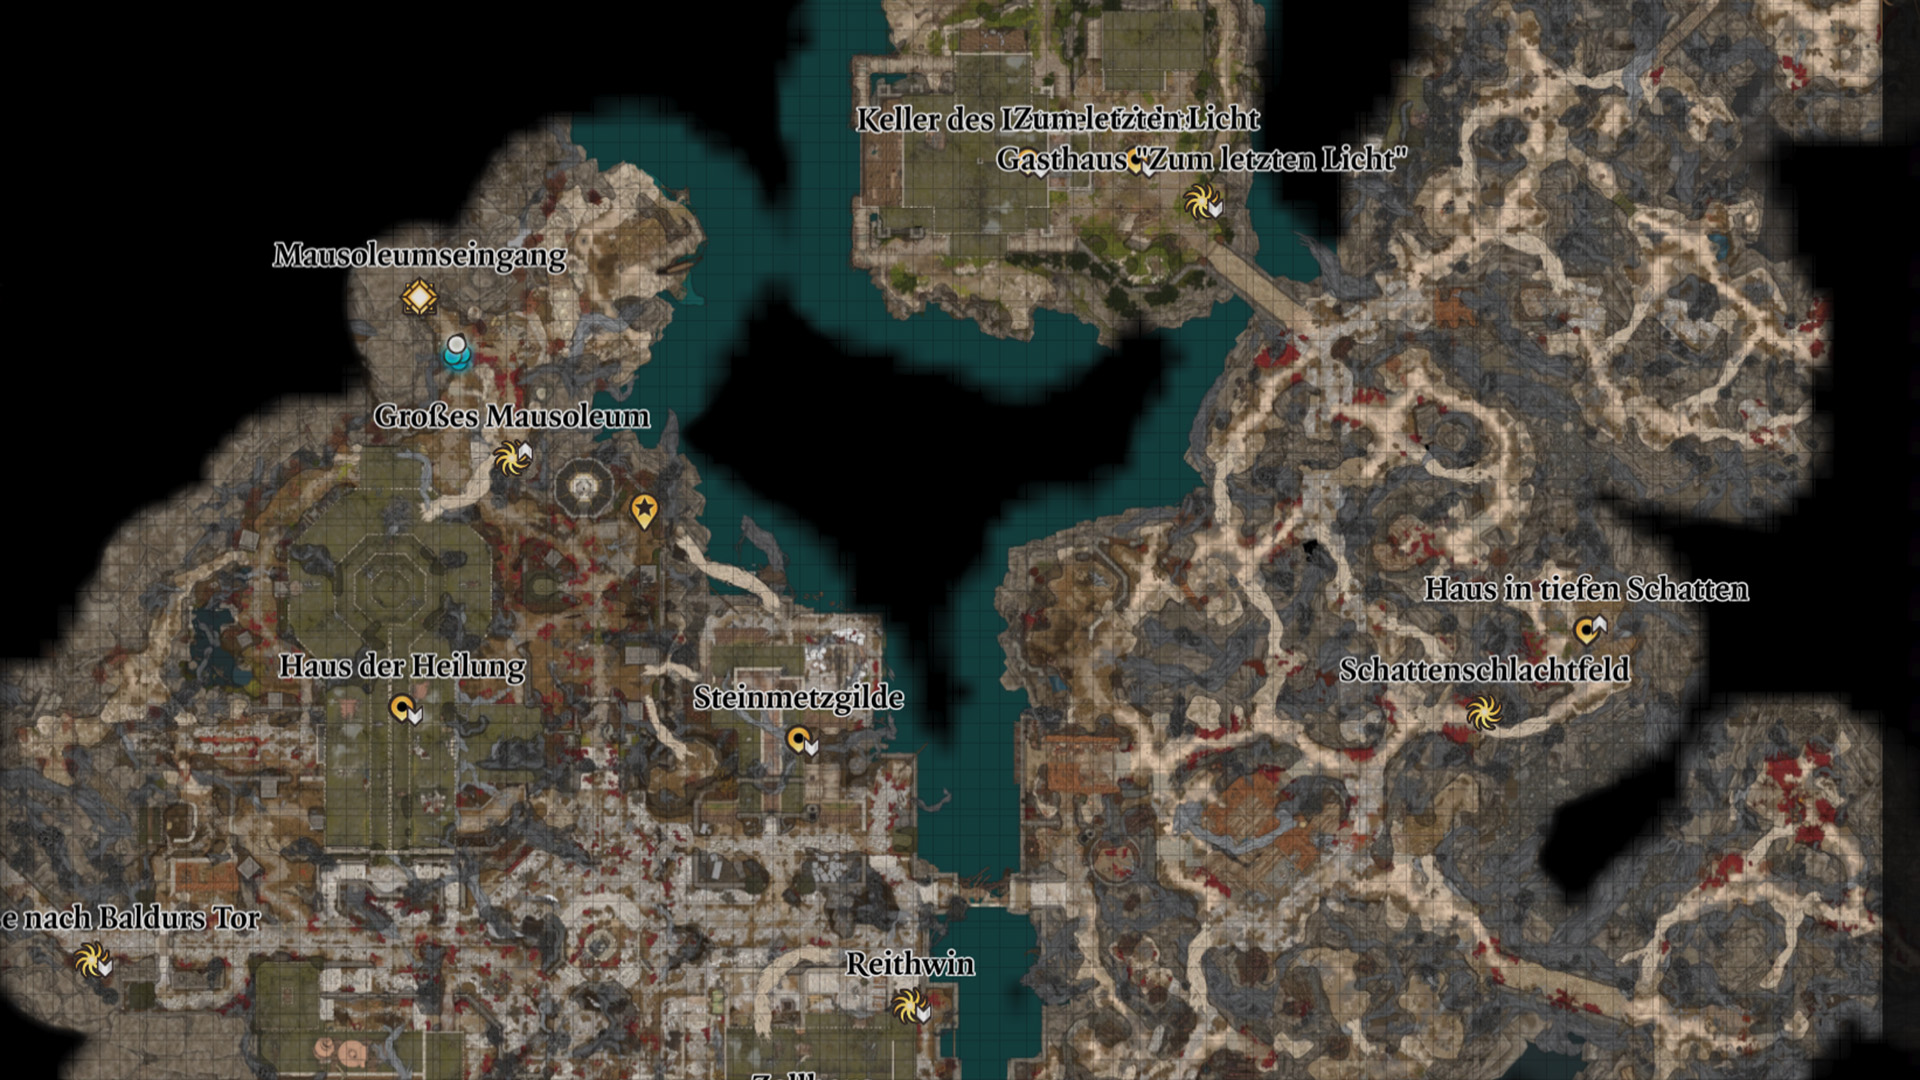
How to reach the Trials of Shar in the Overworld
You can find the Trials of Shar north of Reithwin in Act 2. The entrance is located in the mausoleum of the Thorm family. If the devil Raphael has gotten in your way, you know it is nearby. Depending on the run, you might also meet the young Tiefling Arabella on your way there.
How to unlock the entrance to the Shar temple
In the mausoleum itself, you will face a few challenges. Once all opponents and traps are cleared, make your way to the northernmost chamber. Don’t forget to loot everything you can – you’ll find a lot of background story about Baldur’s Gate 3 and the Shadow Curse specifically. Not to mention the actual loot.

In the northernmost room, you will find a picture puzzle: Three large pictures hang on the walls. Each depicts a moment in the life of Ketheric Thorm. Below each picture is a button. You need to activate them in chronological order. To determine the correct order, you can read several books, notes, and stone tablets in the main chamber.
This is the correct order:
- The painting Towers of the Moonrise
- The painting of Grief
- The painting of the General
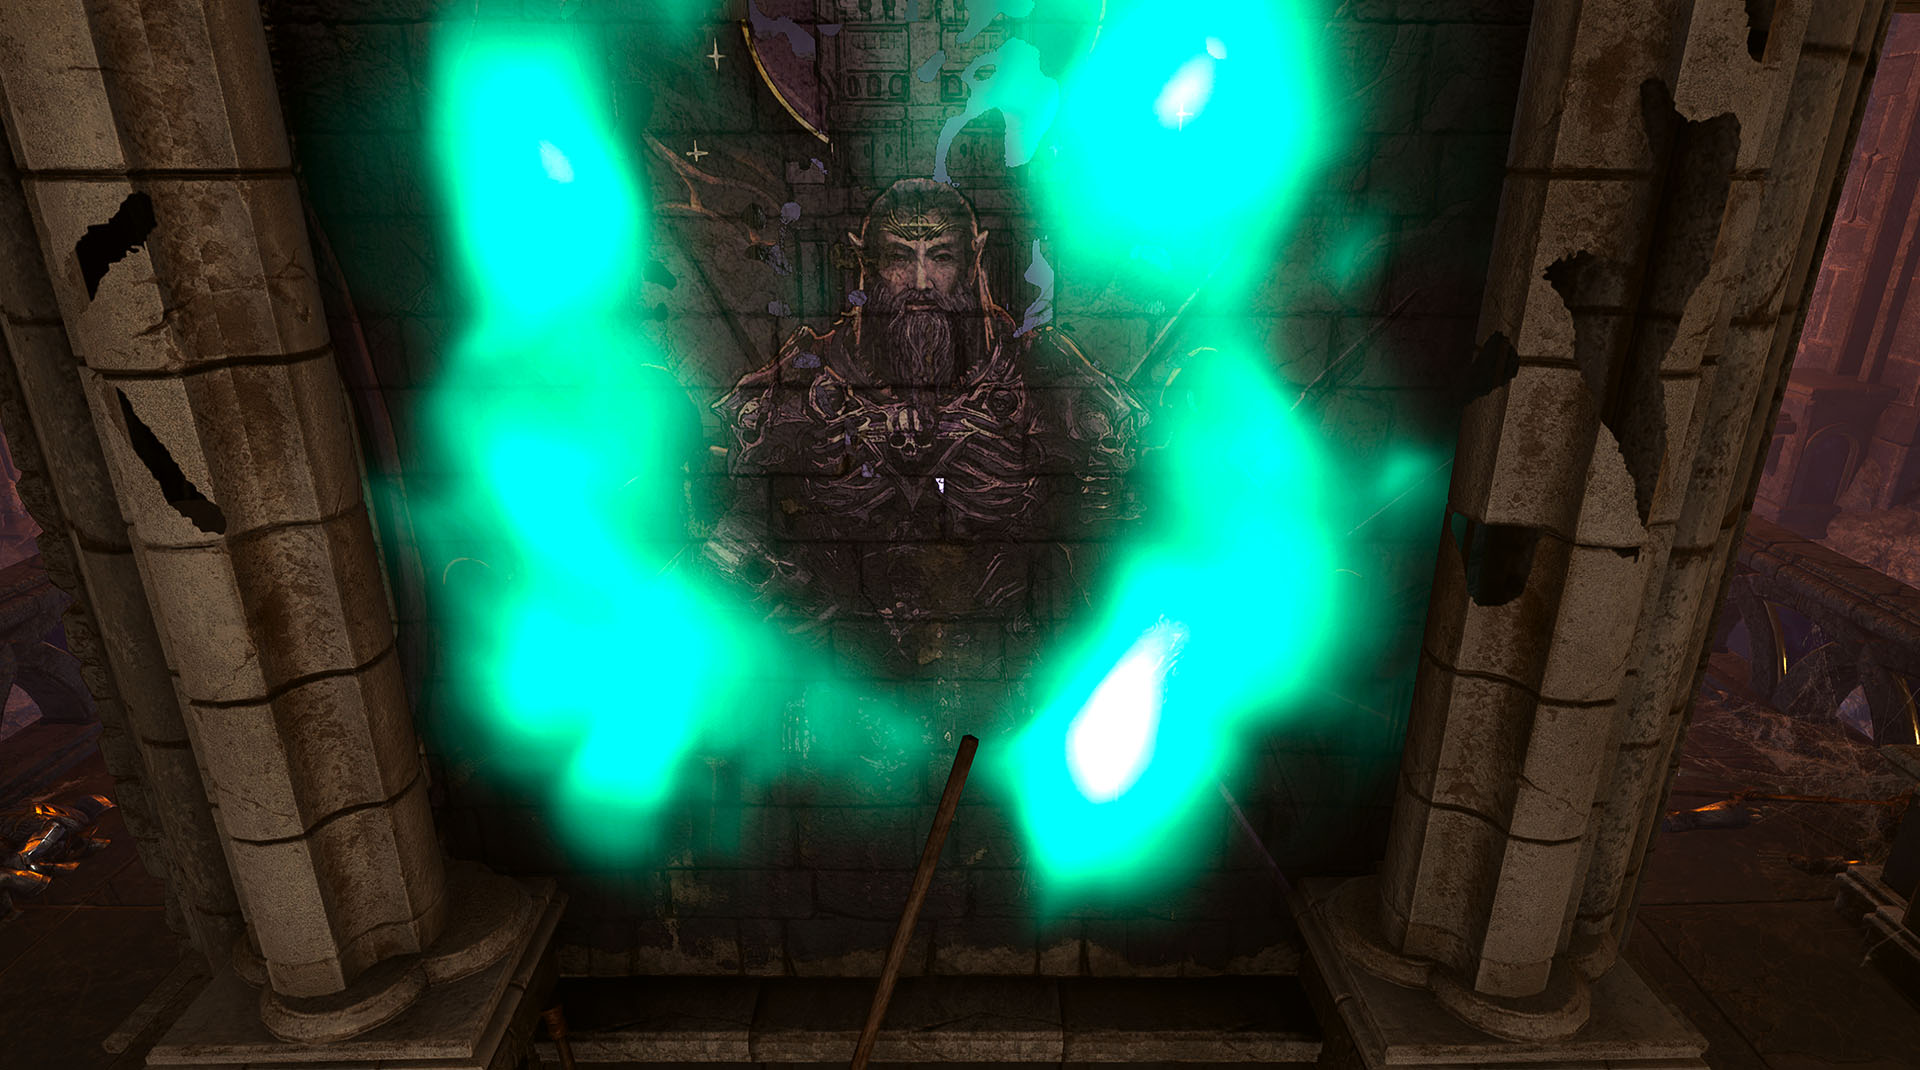
Once you solve the picture puzzle, the northern wall will open. You can now enter the temple of Shar.
Entering the Temple of Shar and unlocking the main part
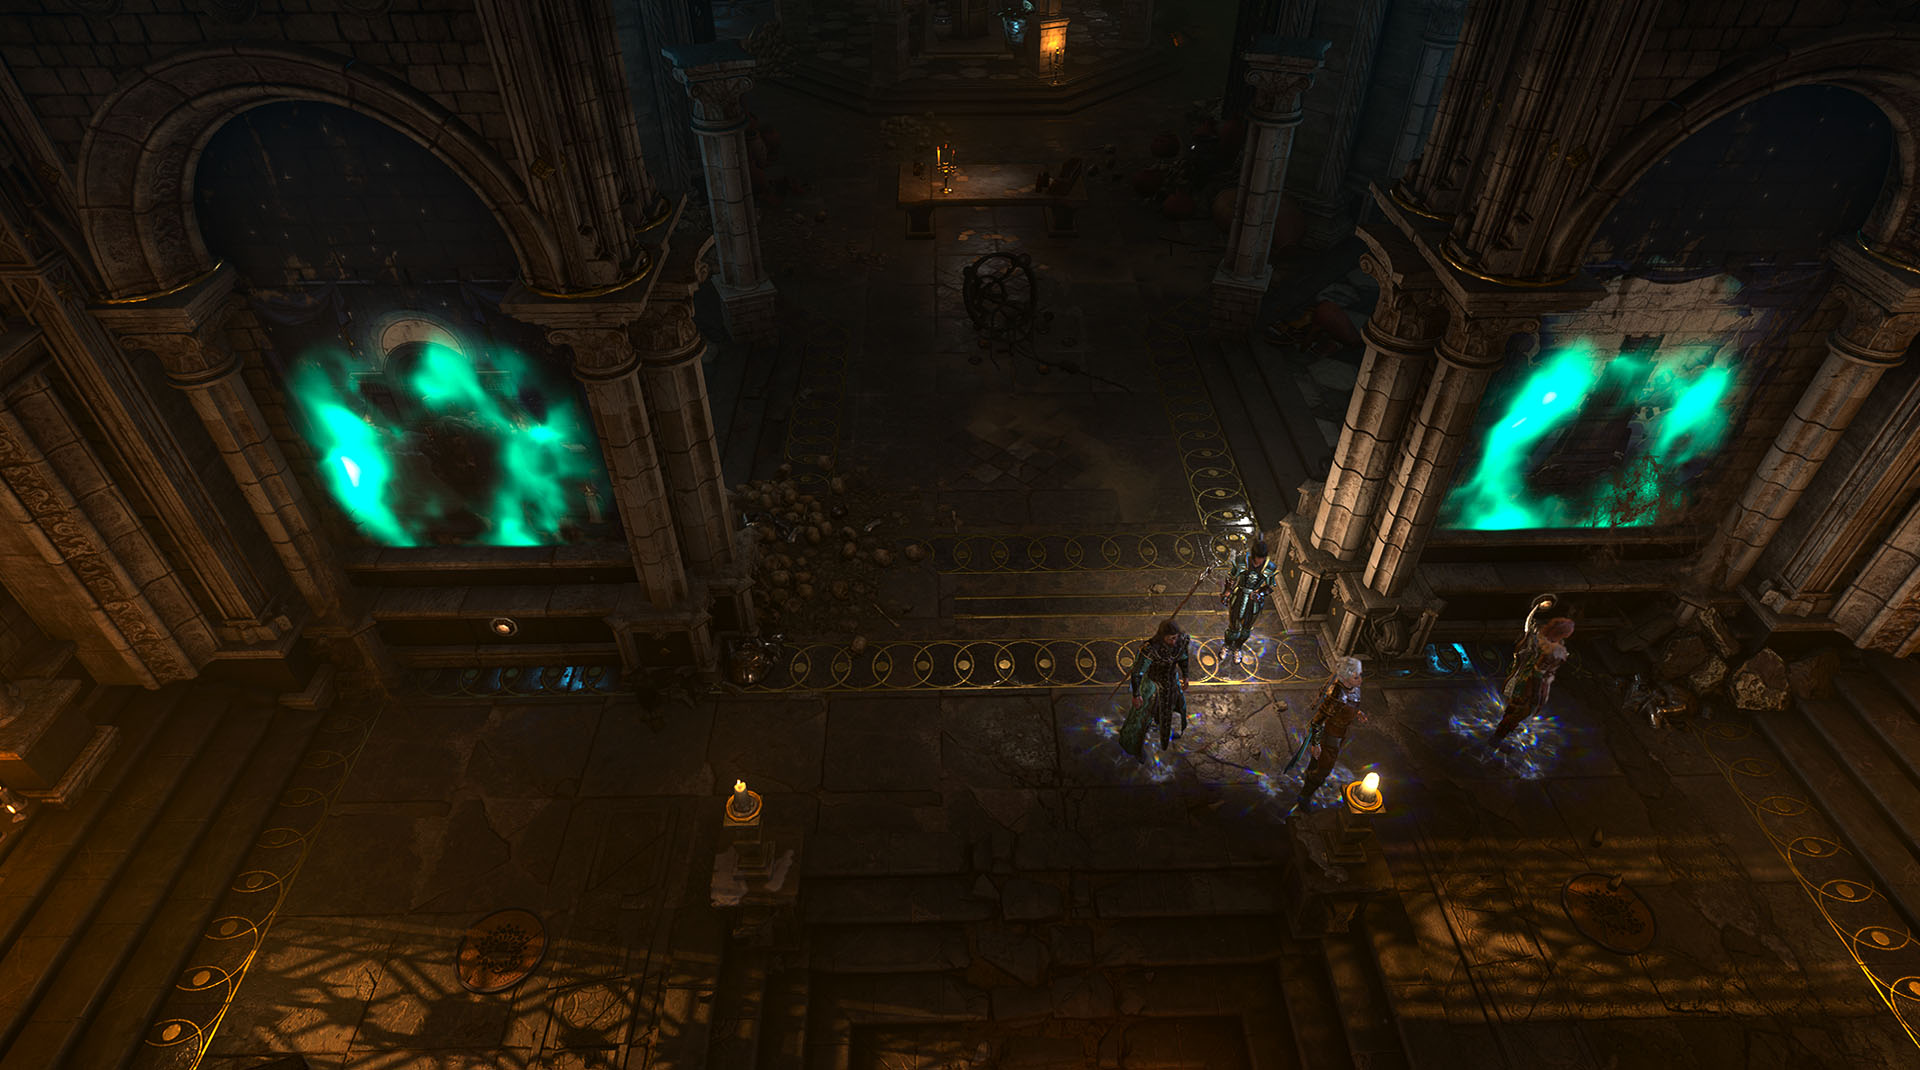
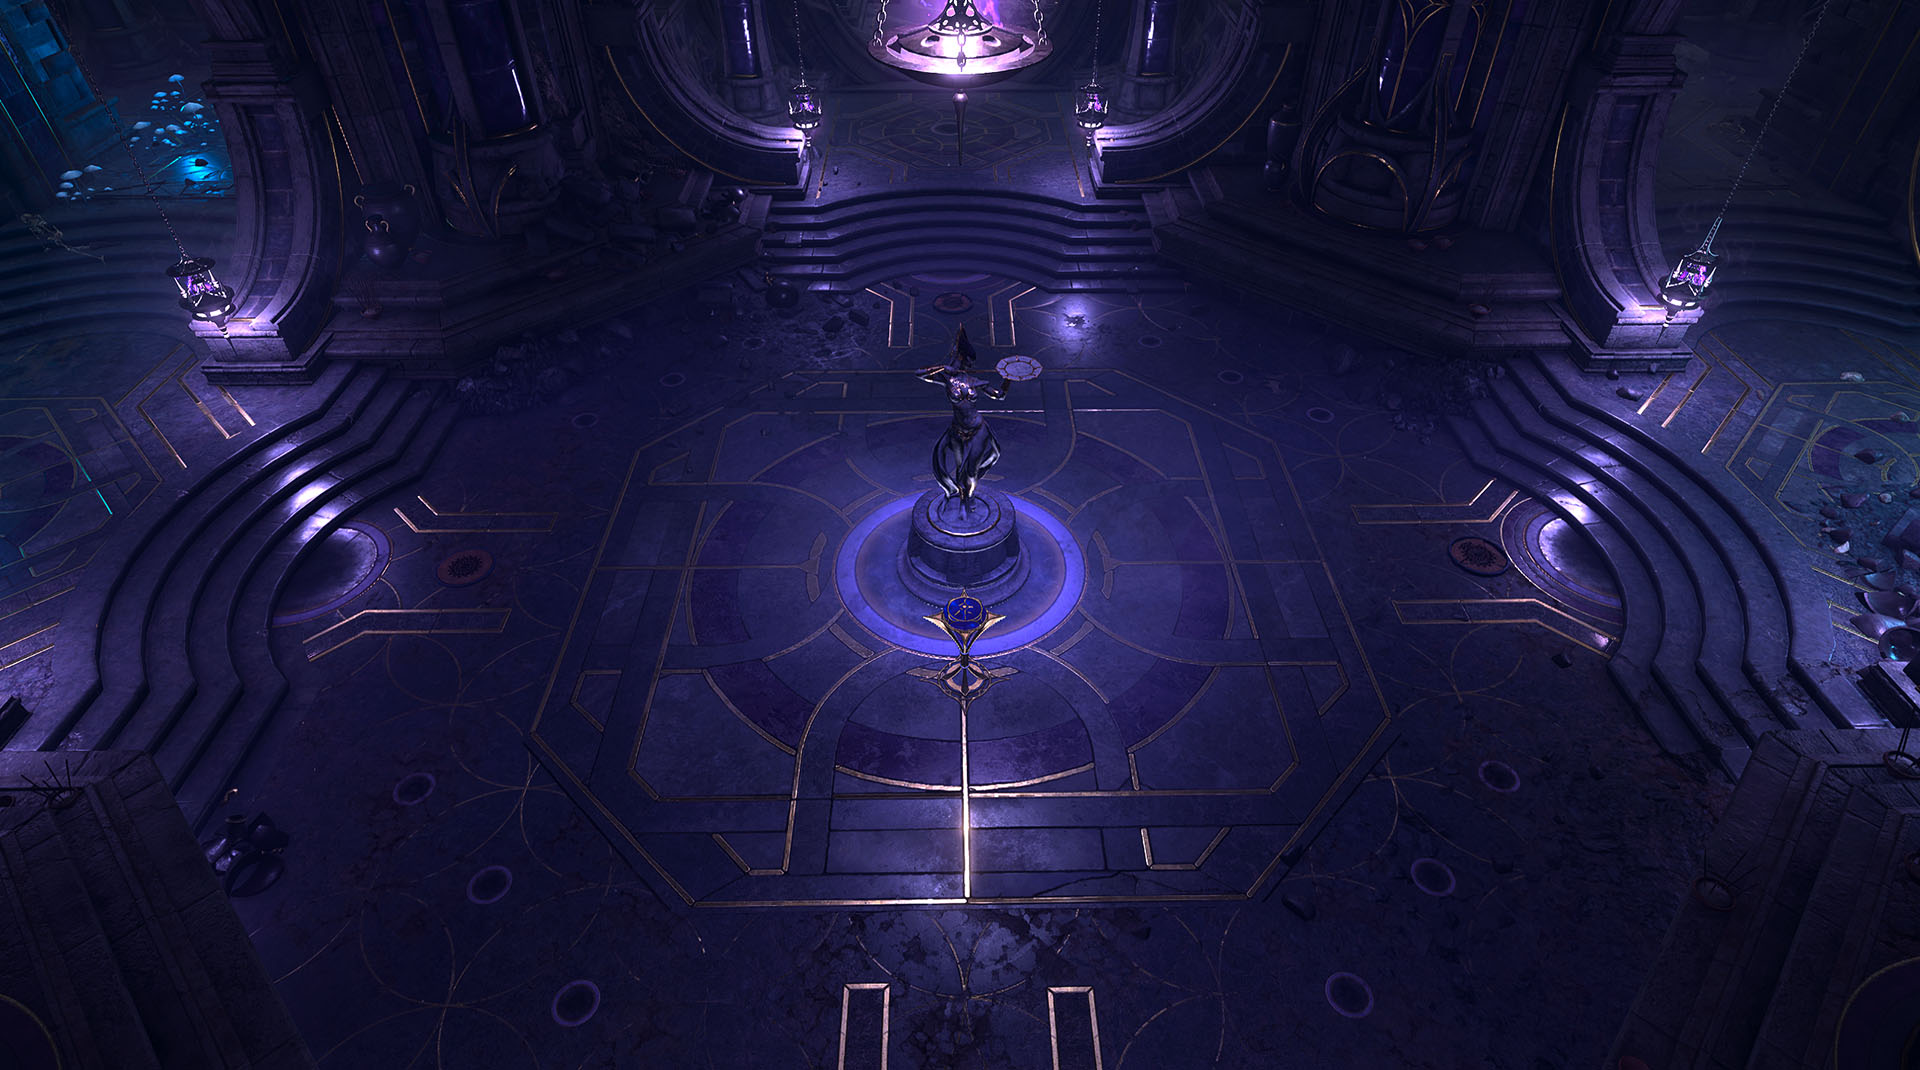
Before you can delve deeper into the sanctuary, you need to solve another puzzle. If you go straight from your spawn point, you will reach a chamber with a statue.
To fully open the temple, you need to get to the statue. Unfortunately, you cannot do this as your characters keep getting thrown back. To circumvent this barrier, you need to lower the lamps from the ceiling and extinguish all lights – you must also not carry any light source with you.
You can lower the lamps with levers. These can be found on the sides of the corridors leading directly from the main chamber. Disarm the preceding traps and activate the levers. Each lever lowers a lantern to the ground, whose light you can then extinguish.
When it’s dark and you’ve done everything correctly, you should see a circle of runes around the statue. You cannot walk over the runes themselves. However, they have holes through which you can reach the statue like through a mini-labyrinth.
Once you reach the statue, interact with it and the gate to the temple should open.
Mastering the Trials of Shar – here’s how
The temple of Shar and the trials are on multiple levels. Navigation is therefore not particularly easy. Here we describe the path through the temple as suggested by the layout of the sanctuary.
Important: You do not have to complete the trials with Shadowheart or any other single character. You can have your whole party help, which at least makes the Gentle Step
and Same
trials easier.
We have walked through the temple for you to show you exactly where to find what:
Trials of Shar: Find all Shadow Gems
To complete the temple, you must collect a Shadow Gem at the end of each trial. These spheres open the way to the final room and towards the Night Song.
The first three spheres can be found at the end of the trials described here. The fourth sphere, on the other hand, is hoarded by the Orthon Yurgir. If the devil Raphael encountered you at the beginning, the name might ring a bell. The encounter with the Orthon can happen in various ways. In the end, just make sure to search his belongings after the last Shadow Gem.
Trials of Shar 1: Gentle Step Trial – find & solve
The first trial takes place down the western stairs. Activate the waypoint and go down further stairs to the right from there. The door to the Gentle Step Trial
is labeled Your Most Desired Treasure
.
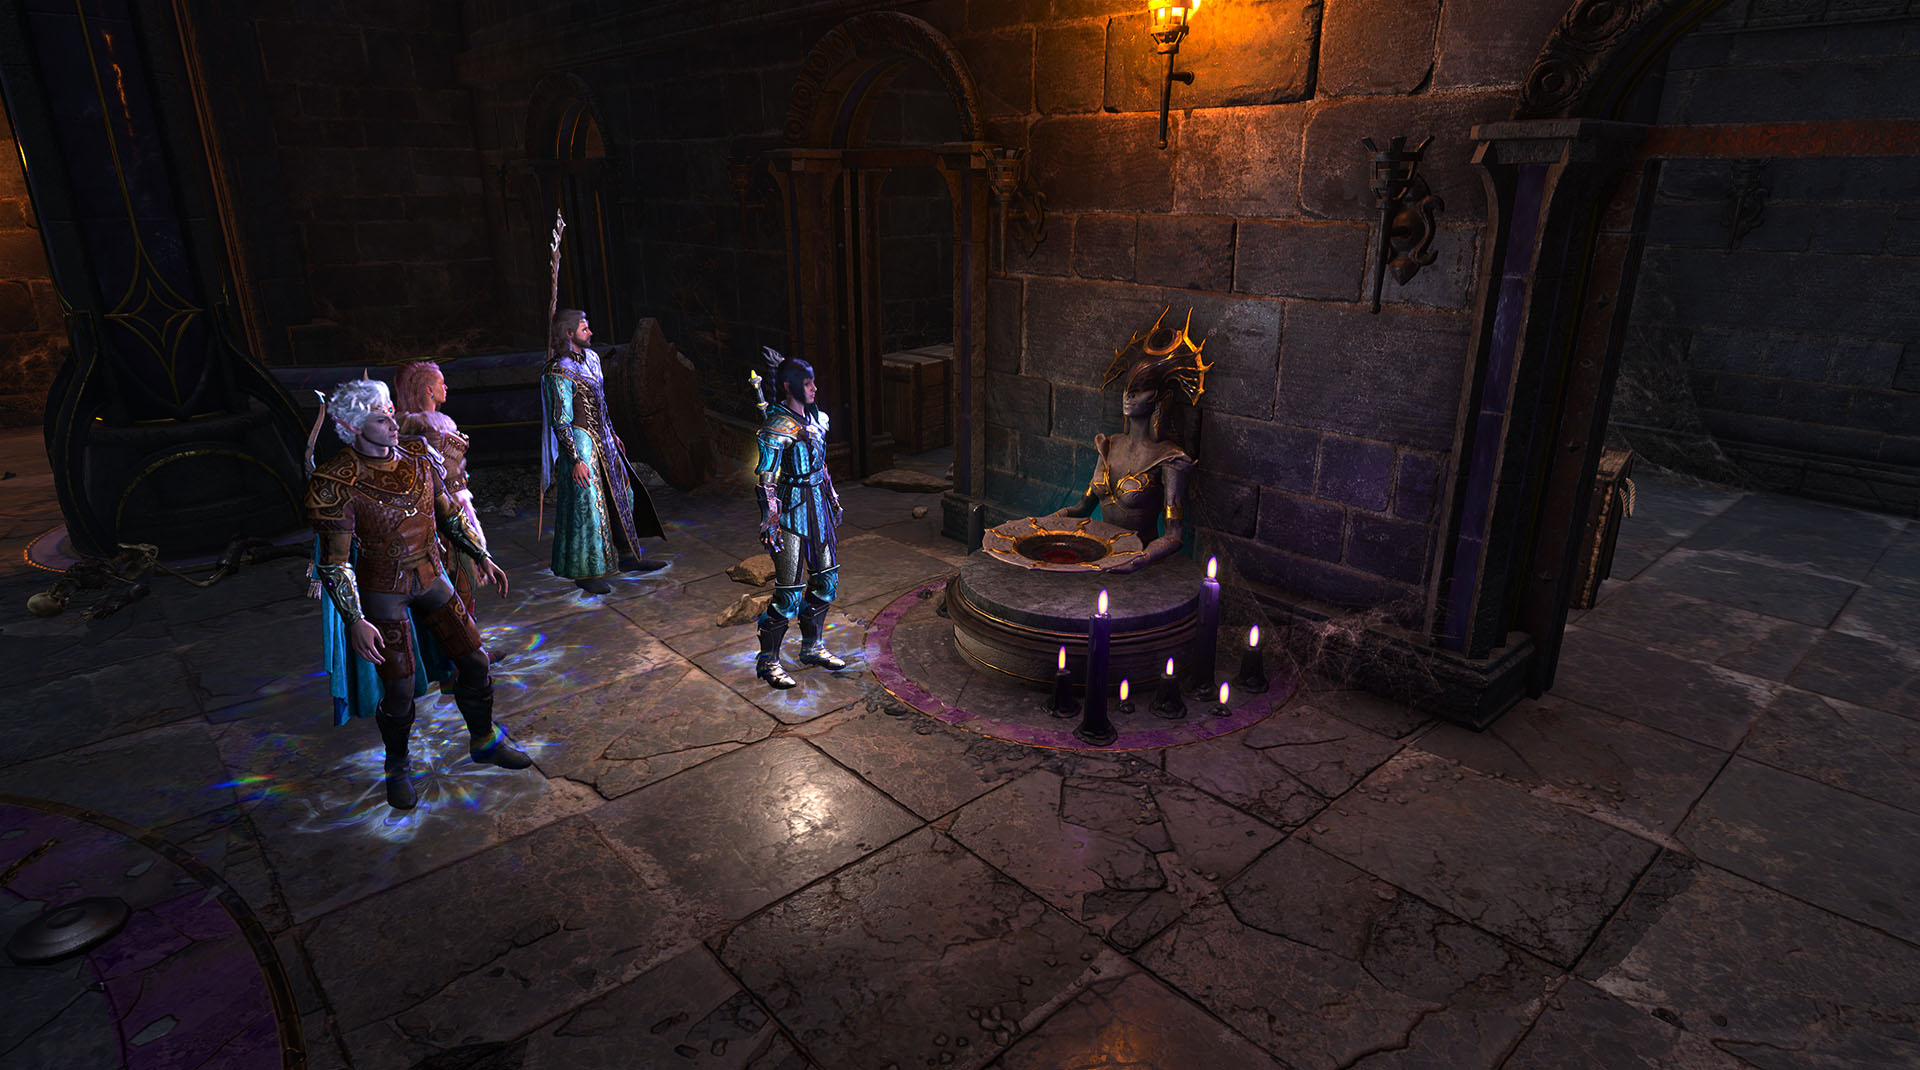
Once you go through the door, you are in the trial area. However, before you can start, you must make a blood sacrifice. This starts the challenge.
How do you solve the trial? The fundamental goal for you is to obtain a crystal sphere at the other end of a labyrinth. The path through the labyrinth is not straightforward: with levers and buttons, you can adjust and change the layout. Watch out for traps and enemy shadows.
There are several ways to solve it. The easiest is to send a party member through the labyrinth and to the other end before you start the trial. This way, you can take your time to explore everything and find a safe path before the enemies spawn and make it harder for you.
If you don’t want to cheat
, grab your character with the highest stealth score. Here is your route:
- Start the trial.
- Have the selected character use the
Hide
action. - Send this character through the gate to the left of the Shar statue where you started the trial.
- Take the first left turn. Continue west until you reach the slimy ground.
- Use the jump action to jump through the window.
- Then continue west until the end of the trial.
Here are some additional tips:
- Try to disarm the traps while passing through.
- The skeleton to the left of the entrance to the trial has an invisibility potion that makes the trial much easier.
Don’t forget to collect the Shadow Gem at the end.
Trials of Shar 2: Same Trial – find & solve
The so-called Same Trial
can be reached if you turn left after the Gentle Step Trial. It is the next door on the same wall as the first trial. Also start this trial by making a blood sacrifice at the statue of Shar.
How do you solve the trial? This trial is relatively simple: Once you have started the trial and entered the area, doppelgangers of your current party will appear. They attack you, and what follows is a normal fight – only this time against yourselves.
The twist: Your evil selves can become invisible and distribute the debuff Cheater’s Folly
. Cheater’s Folly, translated as Betrayer’s Folly, lowers an attribute by 1. The debuff is triggered when your character attacks a doppelganger that is not their own. The effect can be applied up to four times – so you can temporarily lose up to 4 attribute points.
To avoid the debuff, let your characters always fight their own doppelgänger first. Once a doppelgänger is defeated, its original can attack whoever they want.
Here are some tips to make it easier for you:
- Once the trial has started, sneak into the battle area and overwhelm your opponents from the shadows.
- Make sure to have Shadowheart with magic/weapons/attacks that deal radiant damage. This makes the invisible enemies visible. Just make sure they defeat their own doppelgänger first so the debuff is not transferred.
Also, don’t forget to take the Shadow Gem with you.
Trials of Shar 3: Trust Leap – find & solve
The third and final trial can be found one floor down. To do this, exit the second trial and go left down the stairs. There are a few more steps down on your right – that’s where you’ll find the trial.

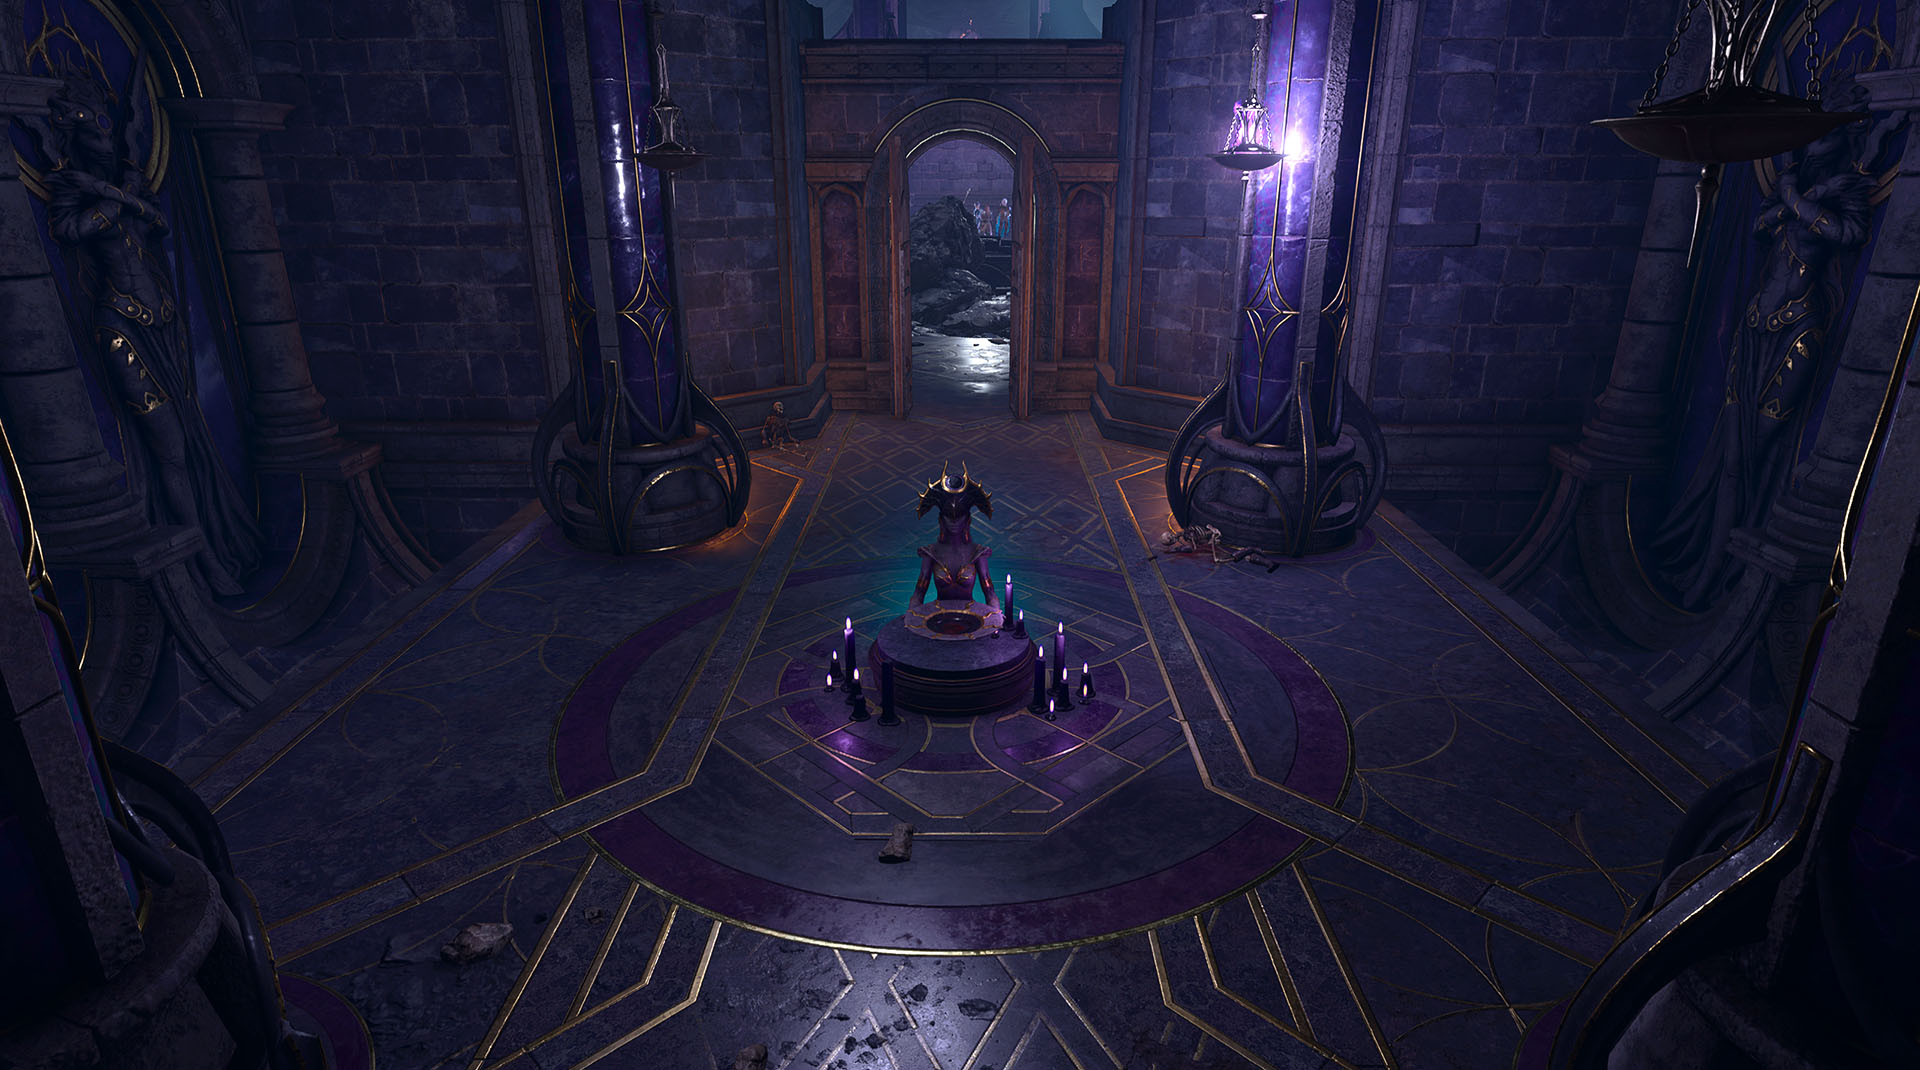
How do you solve the trial? Before you now stands a statue and behind it a deep abyss. The object of your desire, another Shadow Gem, is placed on a platform above the void. So now it’s about overcoming the abyss in order to collect the sphere.
So how to overcome the abyss?
On the floor in front of the statue where you start the trial, you will see a floor plate with weird patterns. They show you where there are invisible but walkable paths above the abyss. You can also make these paths visible with a lever next to the entrance door.
Alternatively, you can fly over the abyss. Or jump with a character who has a long jump distance from visible platform to visible platform.
However, if your character falls into the abyss, they are immediately dead. The corpse will reappear at the starting point and can be resurrected with the spell Revive
or a scroll.
Once you have collected the gem, the Trials of Shar are finished. You can now return towards the entrance and continue the quest towards the Night Song. But if you want, you can also go one room further into the Silent Library – where you can obtain the Night Spear, among other things.
One last word of warning: When you make your way to the Night Song, you will be asked if you are sure you want to proceed. This decision can exclude you from a lot of content. All about it can be found here: A decision in Baldur’s Gate 3 costs you many quests – here’s how to prevent it

Your opinion is important to us!
Do you like the article? Then let us know!