

At the Githyanki Cradle in Baldur’s Gate 3, you can face several challenges. MyMMO tells you how to get to the cradle and what to expect there.

Find the Githyanki Cradle
is a quest in Baldur’s Gate 3 that you can receive in Act 1. It serves as a potential side quest for your main goal of finding a cure.
When you free Lae’zel, she informs you that she knows a cure that can help you with your larva problem. After the rescue, she explains that the cure is located in the Githyanki Cradle. Of course, you can also travel to the Githyanki Cradle independently of Lae’zel, and it’s definitely worth it.
How to get to the cradle (independently of Lae’zel) and what you can do there is explained in this short guide.
Where can I find the Githyanki Cradle? The Githyanki Cradle is located on the mountain pass, which you can reach west of Waukeen’s Rest and north of the Goblin Camp.
Note: The mountain pass is a challenging area and is marked as such. You can either go directly there or experience adventures in the Underdark first. So definitely take a long rest and make sure you reach at least level 5 ideally.
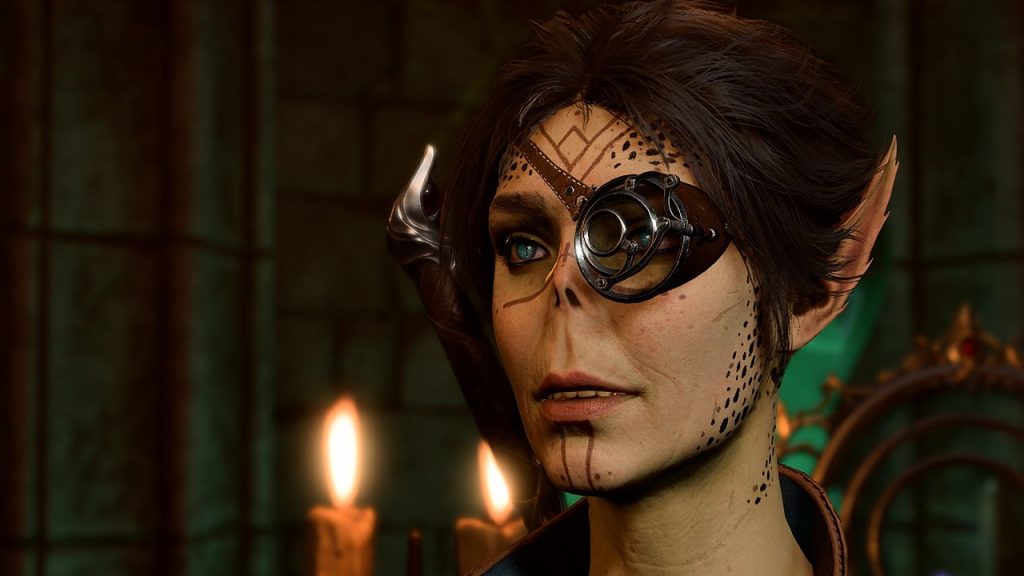
Meeting Lady Esther
When you reach the mountain pass, you will meet Lady Esther. She offers you the optional quest to steal a Githyanki egg. She is also a merchant who sells powerful items. Inside the Githyanki Cradle, you will also meet the Githyanki quartermaster, who is also a merchant and sells some cool items. It’s definitely worth taking a look.
Next Steps: From her, continue north where you will encounter the monastery ruins and activate the waypoint Monastery Rosenmorg
. In the monastery itself, you can obtain a legendary weapon – the Blood of Lathander.
We have explained how to do this here: Baldur’s Gate 3: Ceremonial Weapons and how to obtain a powerful item with them
Which entrance should I use? There are several entrances to the Githyanki Cradle, which represents the lower level of the monastery. No matter which one you choose: You need to convince the guards to let you through – unless you have Lae’zel with you, then she will handle it for you.

What you can do in the Githyanki Cradle
Search for the cure and use Zaith’isk
To start your search for the cure, head east (X: 1284, Y: -798) in the cradle to reach the infirmary. There you will meet Doctor Ghustil, who is trying to free herself from the larva with the help of a machine.
What can the machine do? The machine cannot remove your parasite or that of a party member. However, you can sit in it to receive a buff for your illithid powers if you want to use them.
- For this, you need to succeed in heavy saving throws and each failed saving throw imposes -2 on Intelligence, Wisdom, and Constitution. However, you can remove the debuff by consuming a parasite.
If you succeed in all saving throws, you will receive a strong passive for your illithid powers. With this passive, you can use all illithid powers as a bonus action.
Stealing a Githyanki Egg
Above the infirmary, you will find the breeding ground, where you can steal the Githyanki egg. The egg is protected by guards and traps.
You have the following options to get the egg:
- Fight the guards
- Convince the NPC Varsh to give you the egg
- Or you can go sneaky with an invisibility potion, which is quite difficult
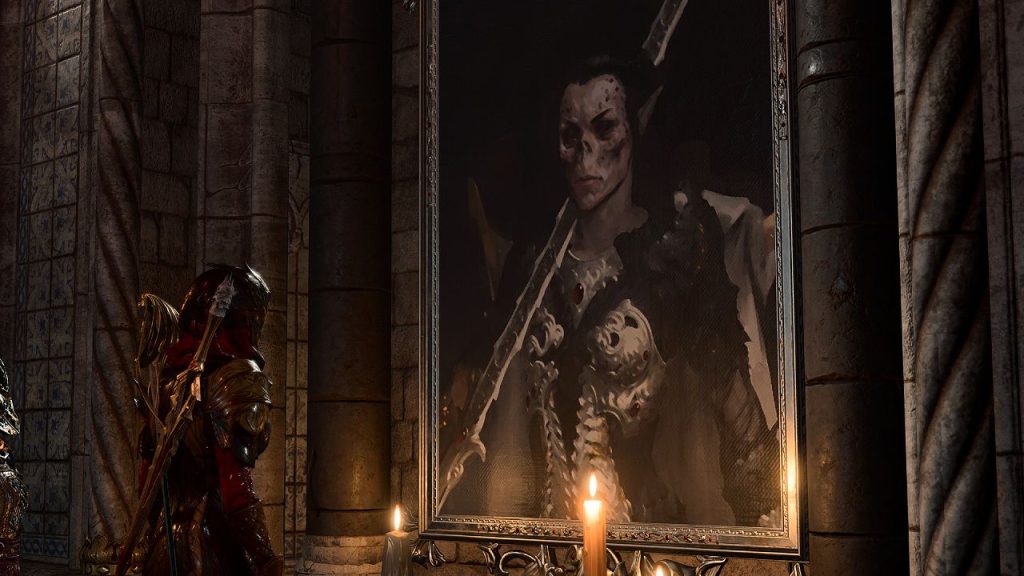
Graffiti on the Vlaakith Portrait
In the cradle, you will also find a sacred painting of Vlaakith herself that you can paint on. You just need to succeed on a Dexterity roll of 16. However, Lae’zel will not be pleased with this, but it won’t have a major impact.
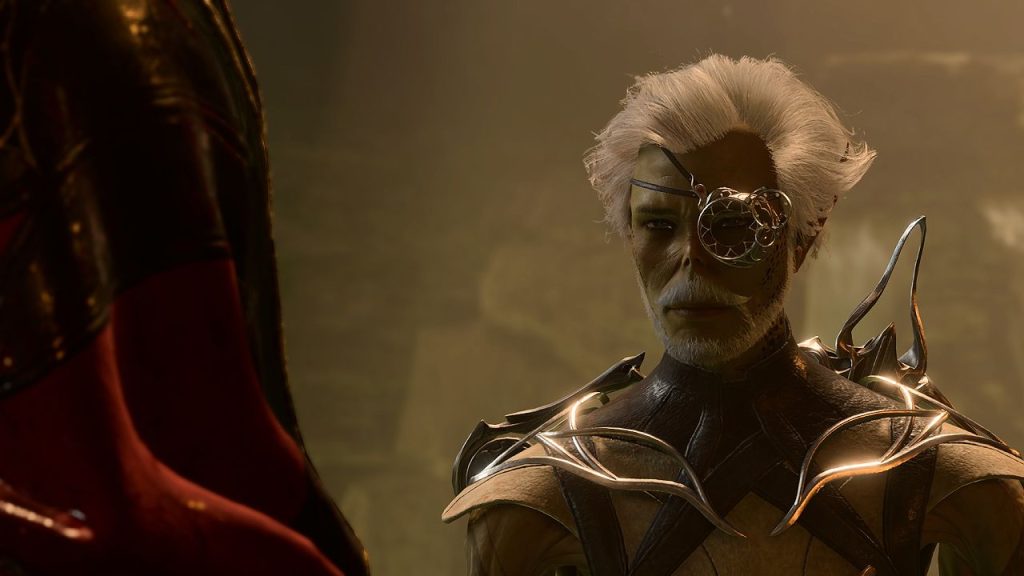
Meeting with the Githyanki Inquisitor
On the way to the Inquisitor, go to the Captain’s Quarters and talk to Commander Kith’rak Therezzyn. She has the Gith Shard that you need to unlock the Inquisitor’s chamber.
You have the following options to get the shard:
- Steal from her
- Kill her
- Or you can show her the artifact and persuade her not to attack you. She will then send you to the Inquisitor.
Note: The artifact will always automatically return to you.
How does it continue? Go through the door in the north of the Captain’s Quarters and continue heading north until you go through a double iron door.
The Inquisitor will demand that you hand over the artifact. You can ask the Inquisitor questions, say no
, or explain why you do not want to give over the artifact. If you refuse to hand over the artifact, the Githyanki around you will become hostile and Vlaakith will appear after the battle.
Trusting Vlaakith or the Guardian?
Vlaakith will appear either after you kill the Inquisitor or when you hand over the artifact. She will demand that you kill the Guardian. You can then enter the Astral Plane when Vlaakith prompts you to kill your Guardian.
- You should comply with this, otherwise, the Githyanki (including Lae’zel, if you have her with you) will become hostile towards you.

Game Over.
We recommend not killing the Guardian, as he cannot die at all and will only be disappointed in you. Instead, if you spare him, he will tell you more about your parasite and about Vlaakith.
- Because Vlaakith is deceiving you in truth and wants to kill you. Moreover, there are no advantages in trusting the ruler.


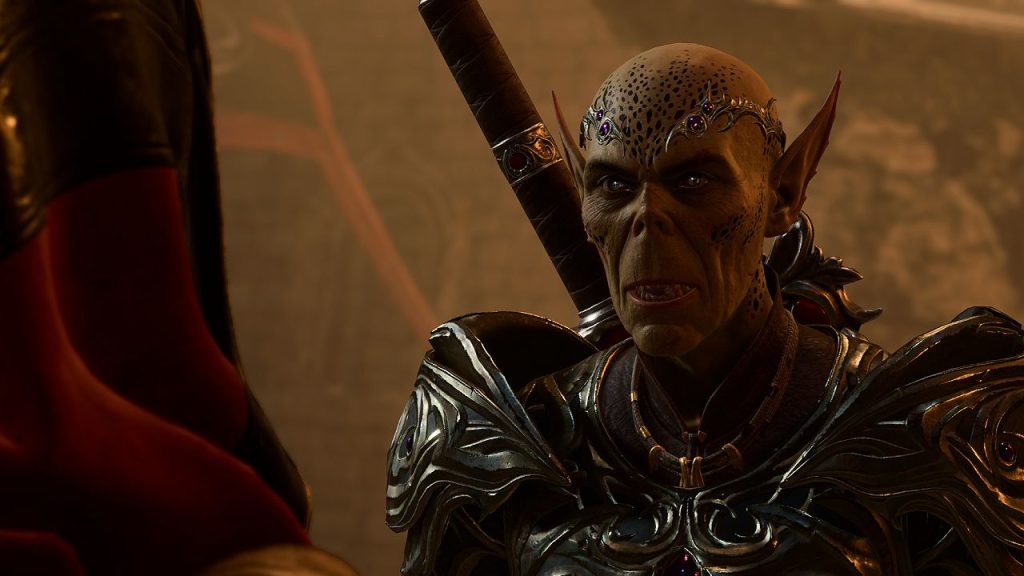
Killing the Inquisitor
Finally, you will not be able to avoid a confrontation with Vlaakith’s Inquisitor in the cradle. The battle against Ch’r’ai W’wargaz is somewhat tricky. This is mainly due to his ability called Mindsteal Link
, with which he can connect with each surrounding creature.
As a result, he gains:
- +1 to Armor Class (AC) for each creature
- He also deals an additional 1d4 psychic damage for each creature
- The connected creatures become more vulnerable to psychic damage and receive -2 to their Armor Class
How do you proceed now? The connection with his group strengthens him, so it is advisable to focus on the connected fighters (a total of 4) first before attacking the boss. It is best to take out the crossbowman first.
Tip: Avoid summoning pets and familiars, as the Inquisitor can connect with these as well.
Players warn: You miss important things in Baldur’s Gate 3 if you don’t sleep enough

Your opinion is important to us!
Do you like the article? Then let us know!