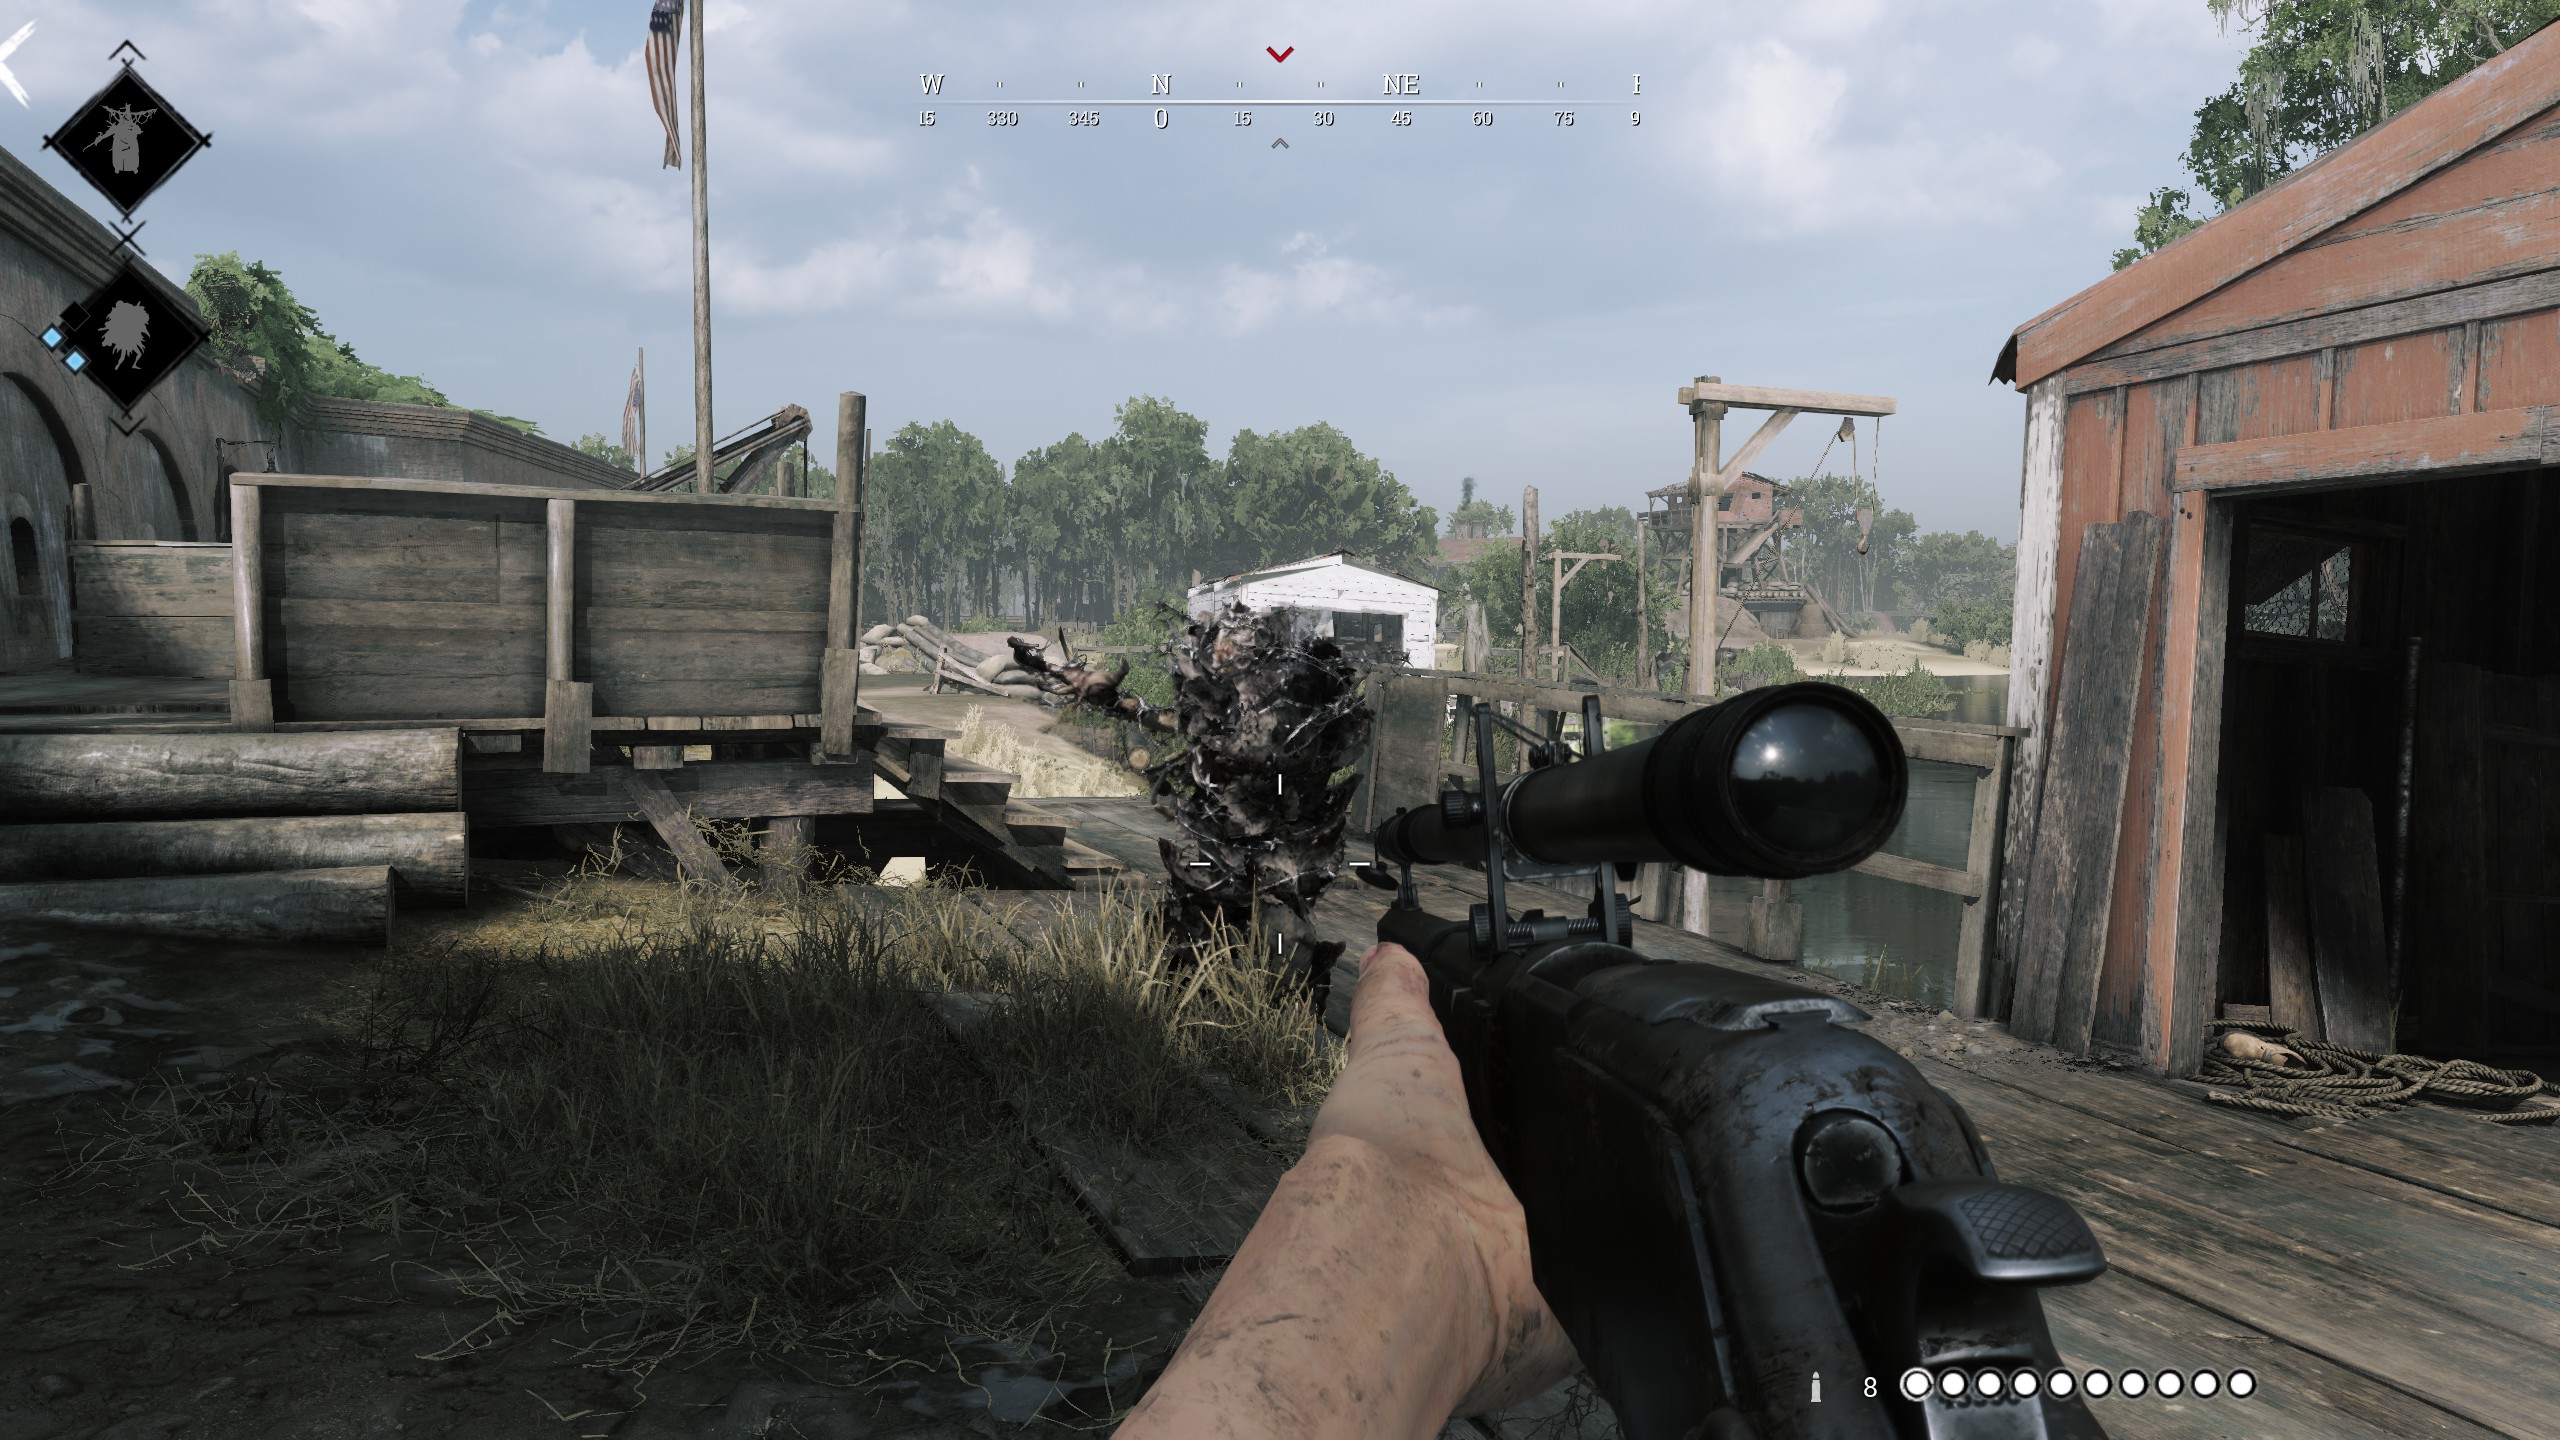
Hunt: Showdown, the shooter from Crytek (PC/PS4/Xbox One), can cause a lot of frustration at the beginning. MeinMMO has tested the best weapons and loadouts for you and believes: ‘This makes getting started in Hunt: Showdown easier.’
Where do the information come from? To give you the best loadouts and weapons, we looked at player opinions and incorporated our own expertise.
Every player feels a bit more comfortable with a different weapon. We want to give you the best tips to help you better handle the game’s mechanics and the dangers of the Bayou, especially at the beginning.
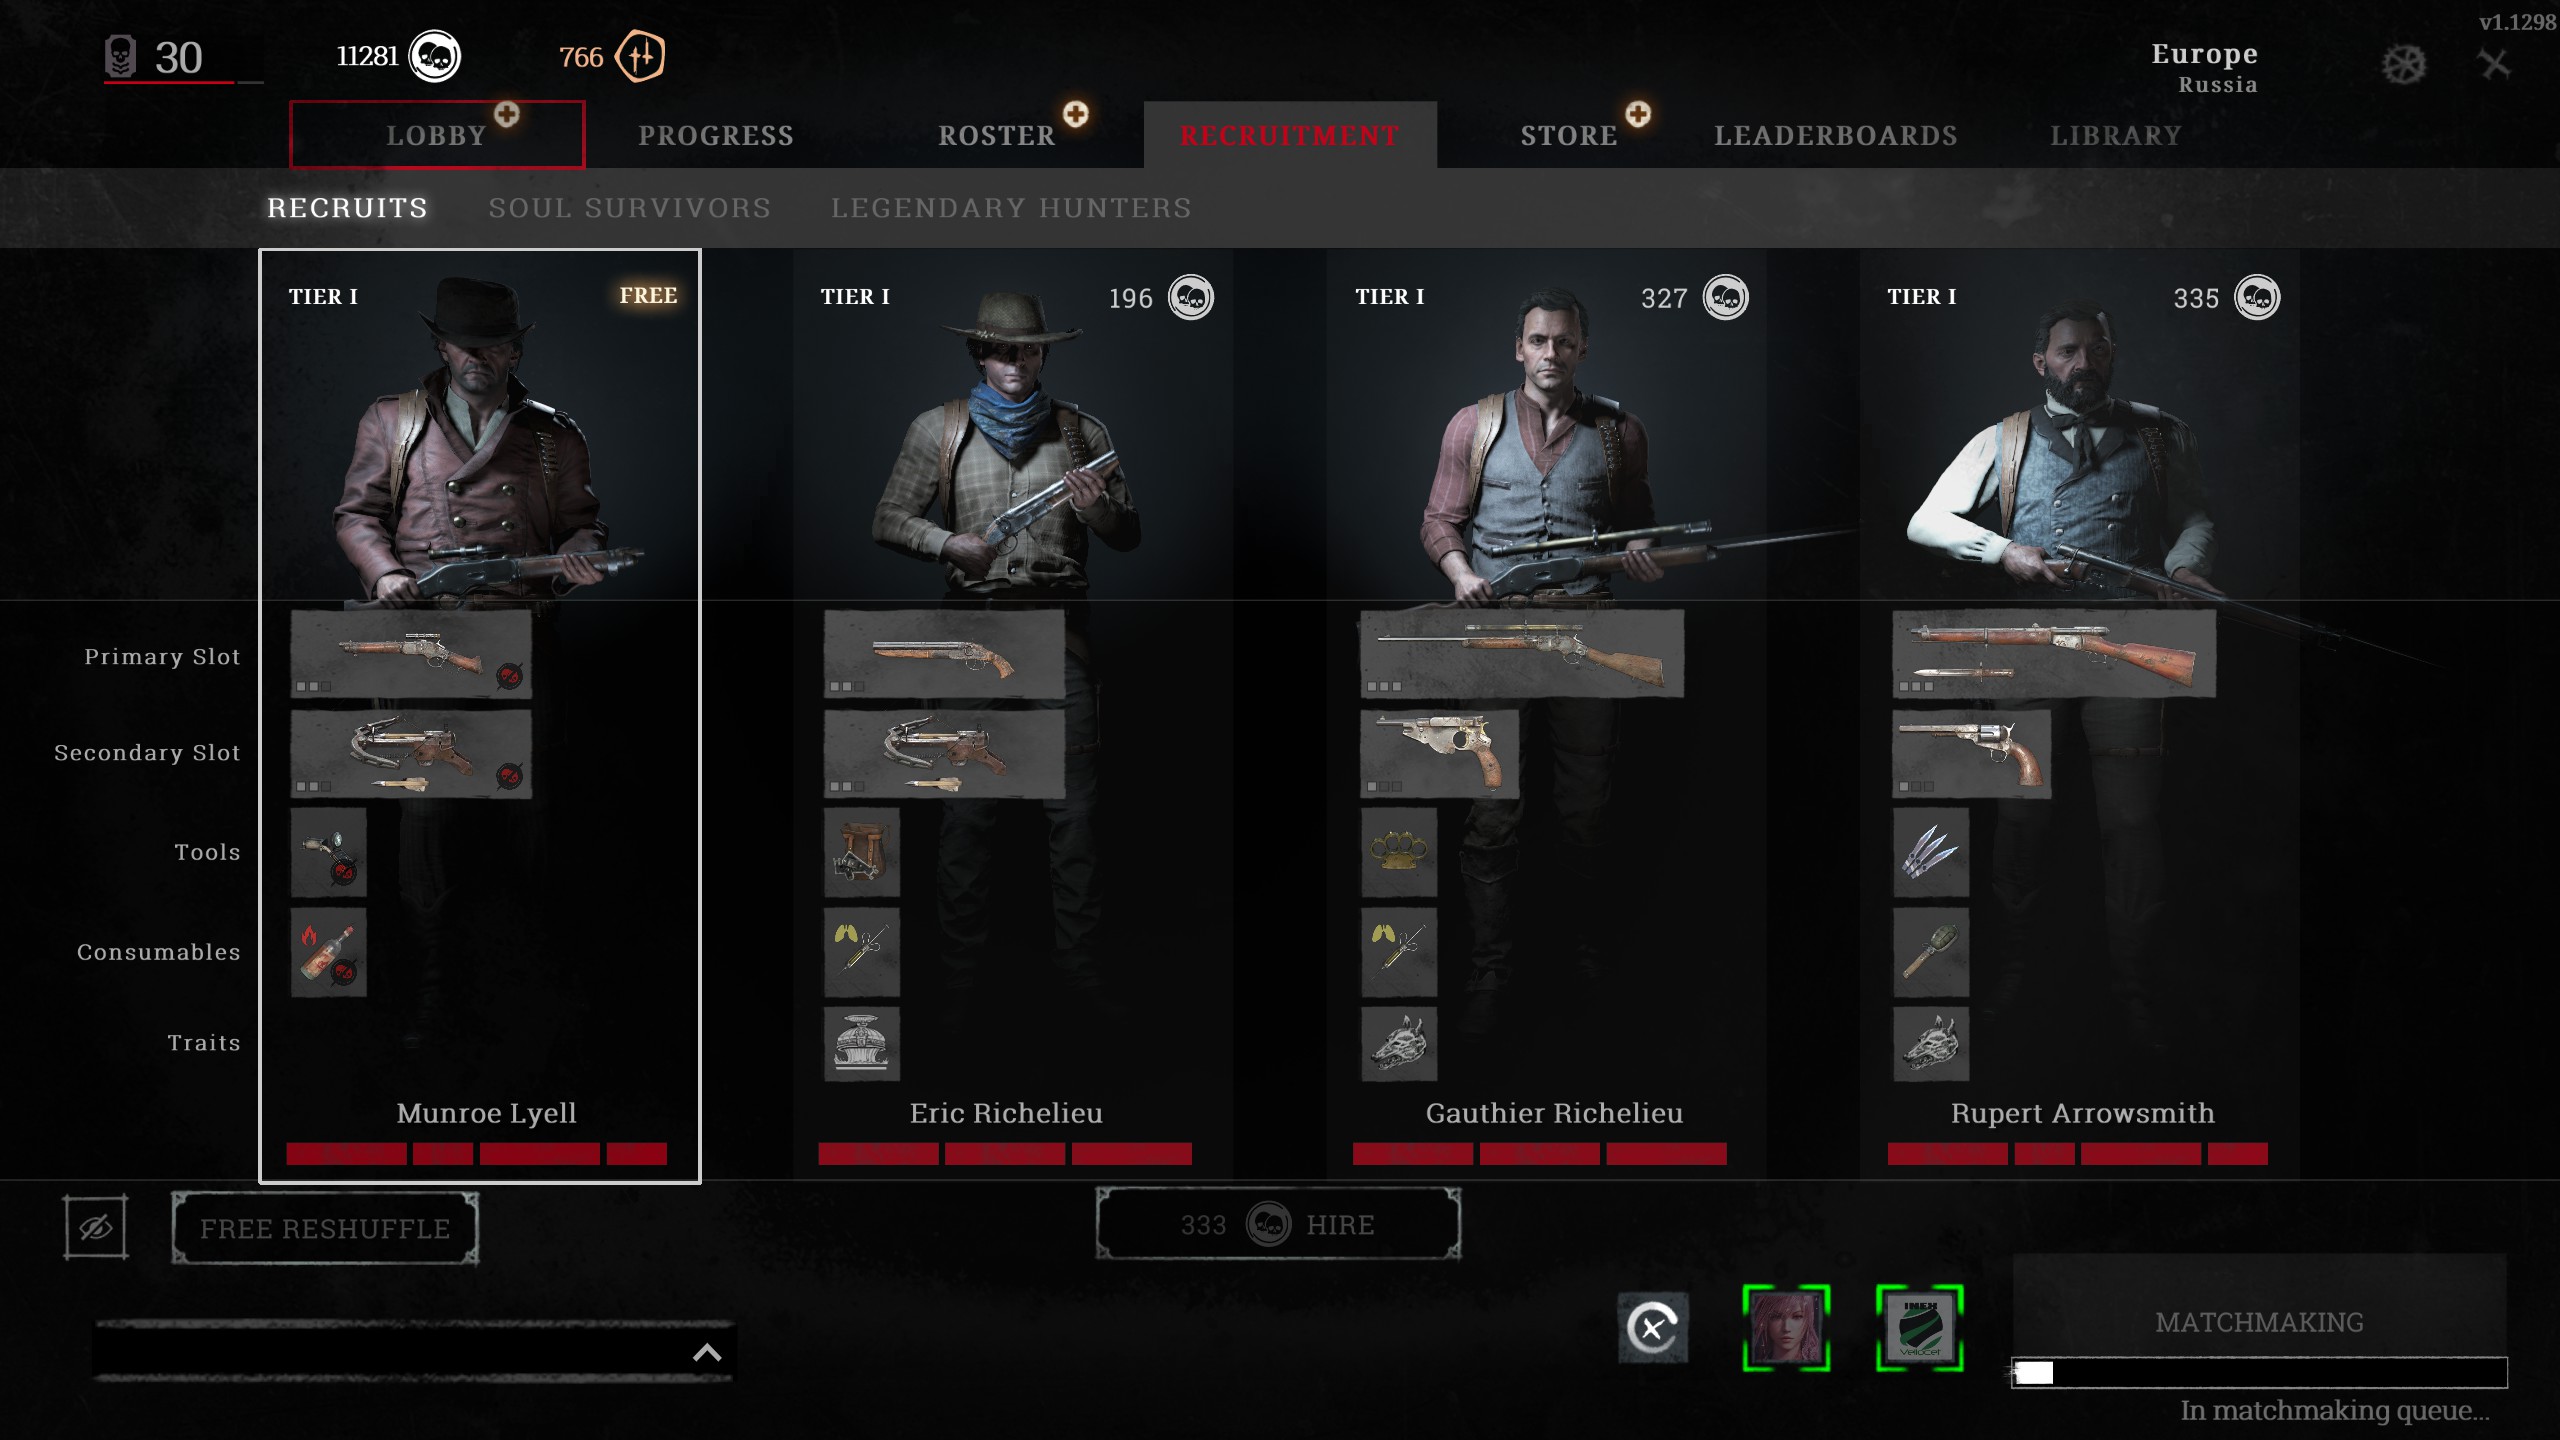
What are beginner loadouts? We provide you with loadouts and weapons that are all located in the first tier of bloodline levels. This means you can implement everything you read here before reaching level 34, so within the first 10-20 hours of gameplay.
In addition, we explain what the best weapons are and how they best harmonize with which abilities, consumable items, and tools.
It is fundamentally important to state: No weapon in Hunt: Showdown is bad. All weapons can kill with a single shot to the head in the right situation, but each has its own advantages and disadvantages as well as playstyles.
Acquiring new weapons in Hunt: Here’s how to get started
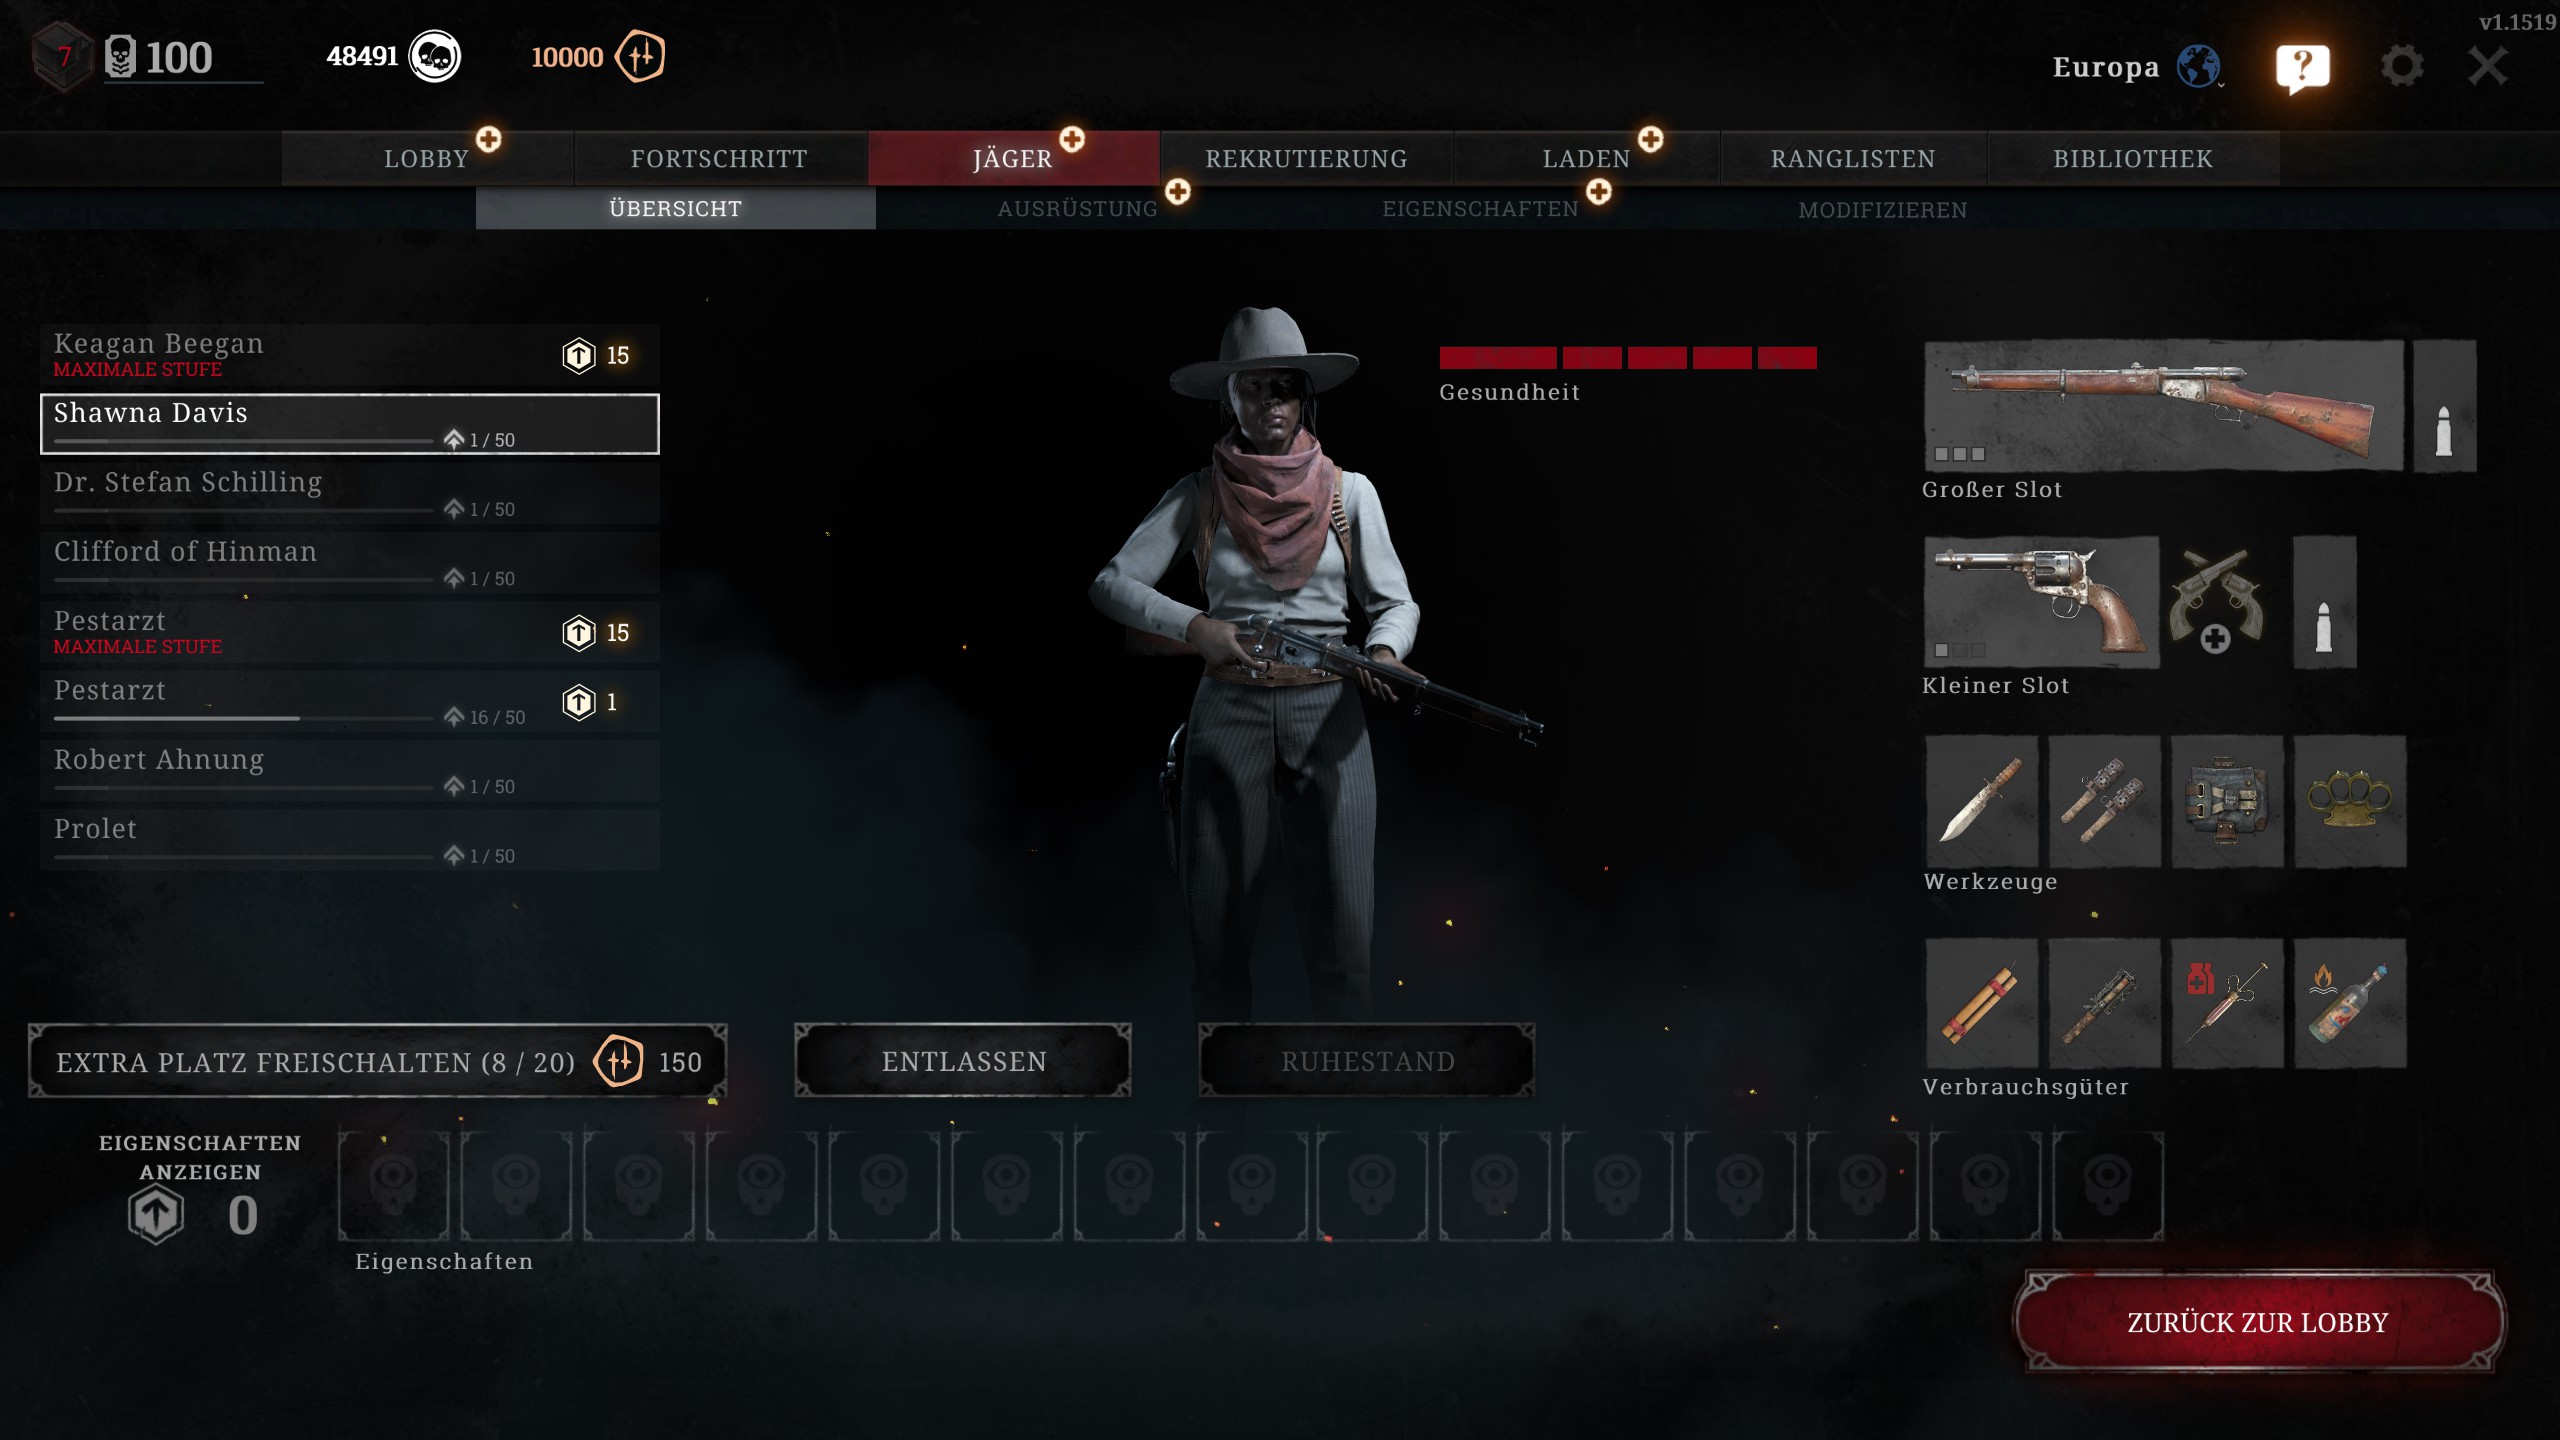
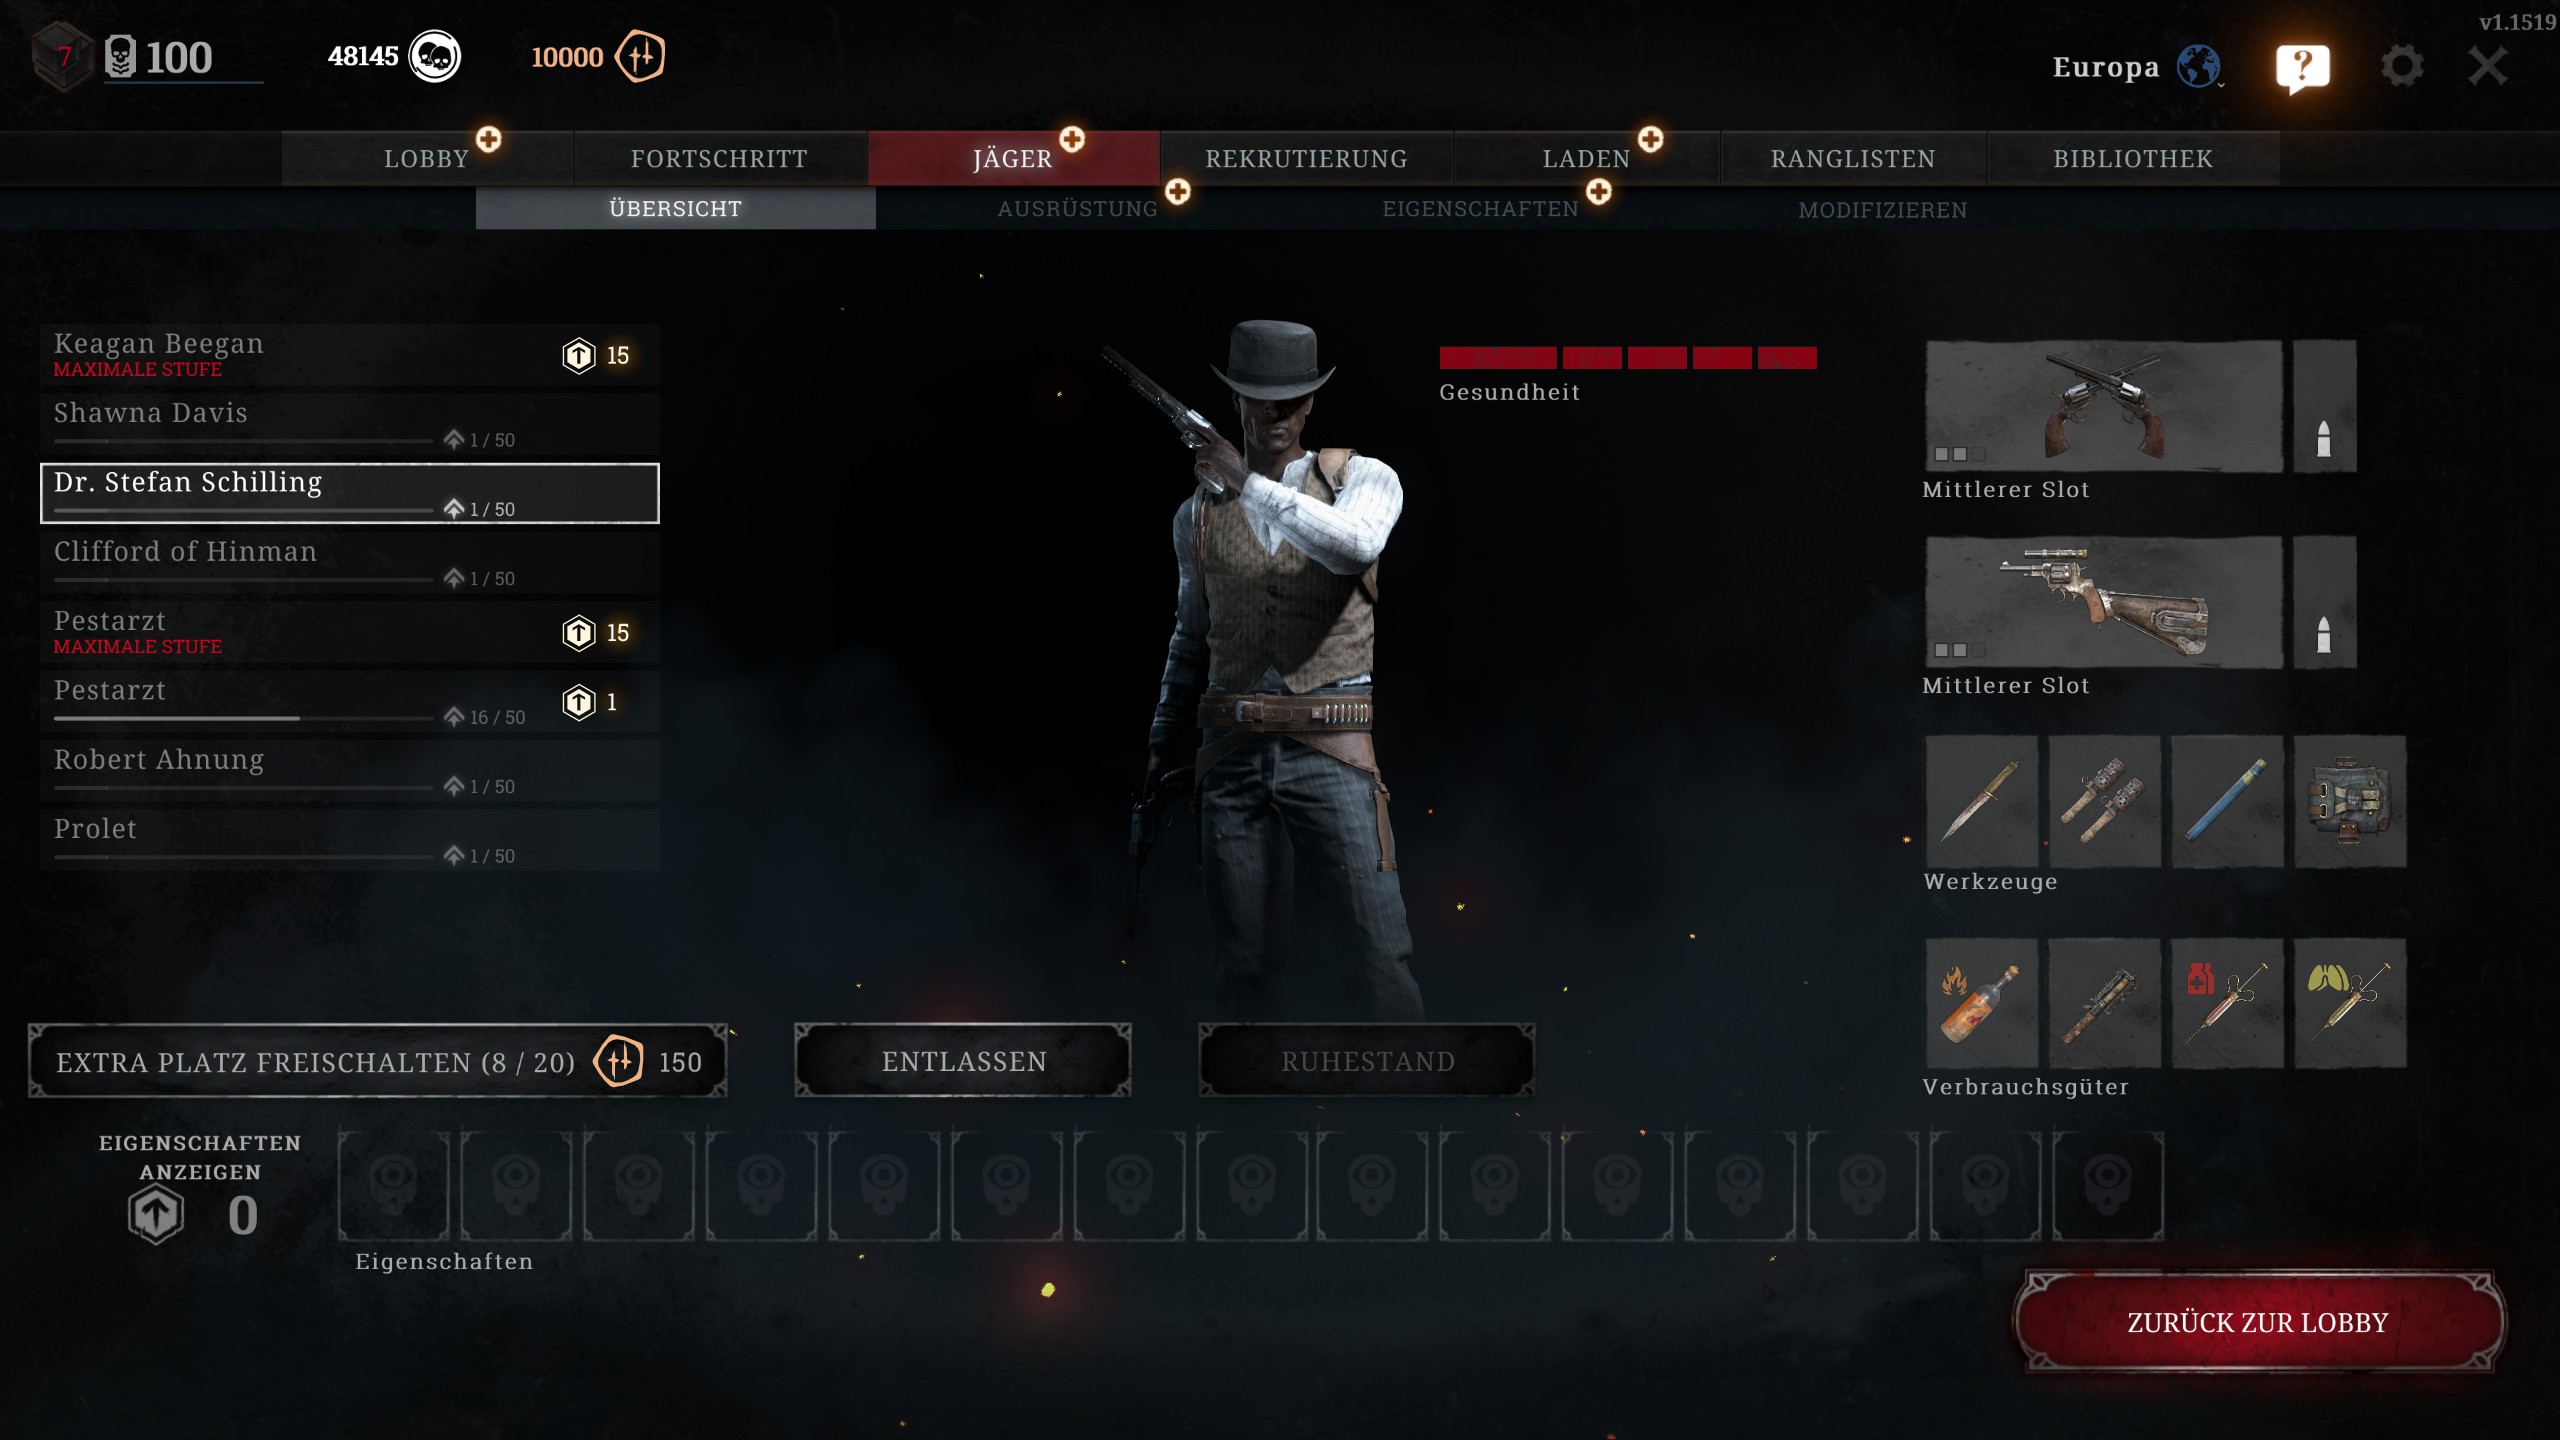
How do I get new weapons? To unlock weapons in Hunt: Showdown, you first need a certain bloodline level. This will unlock the basic version of the weapon. To further modify the weapon, you need to gain weapon experience with your weapon of choice.
You gain weapon experience with a kill made with that weapon. You also get points for grunt and boss kills, but player kills are by far the most rewarding. Grunts are the regular NPC zombies that wander around the map.
With more weapon experience, you unlock new variants of the gun.
For example, you can saw off the barrel to make room for another weapon or attach a scope to it. If you prefer a more unusual setup, many weapons allow you to attach a melee weapon like an axe.
What types of weapons are there?
When it comes to weapon types, Hunt: Showdown is a bit more straightforward than most modern shooters. We basically differentiate between 8 different weapon types, each working slightly differently than their counterparts.
In addition, each weapon requires a different number of “slots” in your equipment. Overall, you have four of these slots available for both weapons. Rifles usually occupy three of those, and pistols only one. Sawed-off weapons and melee weapons typically use two slots, so you can carry two medium weapons. The following types of weapons exist:
- Sniper rifles: Just one round in the chamber, but a lot of punch.
- Repeaters: Small magazine but high damage. You need to reload after each shot, so the rate of fire is relatively low, but higher than that of snipers.
- Lever action rifles: The counterpart to the repeaters – fast firing rate and large magazines but less damage.
- Shotguns: Designed for close combat and can be lethal with a single shot to the body at close range. There are semi-automatic, pump-action models as well as single-shot versions.
- Pistols: As a secondary weapon, you usually carry a pistol that takes only one slot. It can inflict high damage and comes in various variations.
- Crossbows: You have a choice between two crossbows in the game: one large as a primary weapon and a small one as a compact secondary weapon.
- Melee weapons: Since most weapons in the game fire very slowly, a melee weapon is often a viable alternative. An encounter with a zig-zagging axe attacker often ends fatally.
- Special weapons: Special weapons include the explosive lance, the Caldwell Rival pistol, and the Nitro Express rifle. They inflict particularly high damage, are quite expensive, and are usually only effective in certain situations. In those situations, they are unparalleled.
The best loadouts for getting started in Hunt: Showdown
How are loadouts selected? When equipping loadouts, we focus on the following characteristics:
- What is the effective primary weapon?
- Why is the secondary weapon fitting?
- Which tools and consumables are useful?
- Why do these characteristics complement the playstyle well?
- What alternatives are available?
In doing so, we try to provide you with an optimal loadout for each playstyle for beginners. The loadouts are our recommendations to you. Feel free to adjust them to better suit your playstyle. The loadouts are sorted by “classes”, allowing you to choose according to your preferences.
The Sniper – Perfect for long distances
The loadout:
- Requirement: Level 1
- Primary weapon: Springfield 1866
- Secondary weapon: Nagant M1895
- Tools: Knife, brass knuckles, signal flare, first aid kit
- Consumables: Molotov cocktail, weak health syringe, stick of dynamite
Who is this loadout suitable for? The sniper is best suited for cautious players who prefer to assess the situation from a distance. All those seeking fast action and firefights should avoid this loadout.
What makes the loadout strong: The Springfield 1866 is the first sniper rifle in the game. It has great range and can kill with a headshot at up to 175 meters. You always have only one round in the chamber before you need to reload. Like all sniper rifles, you can equip the Springfield with two different ammunition types simultaneously once you have unlocked them. By default, the Springfield fires medium ammunition.
As a secondary weapon, we recommend the “Nagant M1895” pistol for starters. It fires compact ammunition and you can rely on its high rate of fire in close combat. If your shot with the Springfield misses and the enemy approaches you, simply switch to the pistol and put pressure on the attacker.
In terms of tools, we recommend bringing both the knife and brass knuckles. With these two tools, you are equipped to handle almost all NPC enemies in the world.
The loadout is also stronger because it works very well even without special traits.
Regarding the tools, the signal flare is a real all-rounder. You unlock it after successfully exiting a game twice equipped with the electric lamp. The flares can be thrown and will ignite their target.
Especially effective against armored grunts with barbed wire, the signal flare will make them die instantly when they come into contact with fire. You can also use them to take out swarm mothers on roofs without needing to shoot.
The first aid kit can heal you up to three times in the game. It’s considered an absolute must-have and is used in every loadout.
Regarding consumables, unfortunately, you have limited options at the start, so we recommend packing the small health syringes for extra healing. Dynamite sticks can serve as a grenade substitute, and Molotov cocktails can be used to set dead enemy hunters on fire.
Here are the alternatives: As an alternative to the primary weapon, almost any sniper rifle that you will unlock as you level up is suitable. We recommend the Sparks LRR as the best option, which you will receive at level 26. It fires long ammunition and inflicts a solid 149 damage. Hunters only have 150 health points.
For the secondary weapon, you can alternatively bring a “Caldwell Pax” revolver. It uses medium ammunition and thus shares the ammunition supply with the primary weapon, Springfield 1866.
The Pathfinder – Suitable for any terrain
The loadout:
- Requirement: Level 11
- Primary weapon: Vetterli 71 Carbine
- Secondary weapon: Caldwell Pax
- Tools: Knife/Heavy Knife, brass knuckles, choking bombs, first aid kit
- Consumables: Dynamite stick/Bundle, sticky bomb, small antivenom syringe, liquid Molotov cocktail
- Useful traits: Adrenaline, Determination, Reload sight
Who is this loadout suitable for? The Pathfinder is the all-rounder in this collection. It can perform particularly well at medium range, but it is also suitable for firefights in tight terrain.
What makes the loadout strong: With the Vetterli 71 Carbine, you are prepared for any situation. Thanks to a range of nearly 200 meters, it can be used effectively in both long and close combat. It fires medium ammunition for increased penetrating power. Its rate of fire is also relatively high.
It is optimized by the “Caldwell Pax” revolver in the second weapon slot. If you run out of ammunition for the Vetterli, you can confidently switch to the revolver.
The Caldwell Pax has a relatively high range among pistols and uses medium ammunition. Your two weapons therefore share the same ammunition supply. This means you have much more ammunition on you than you would with other medium ammunition weapons, which also gives you more leeway when you miss often.
For the tools, we recommend the knife or the heavy knife if you have unlocked it. It can kill several of the standard NPC enemies (“Grunts”) with a single blow and inflicts more damage than the light knife, but at the cost of more stamina.
The choking bombs can be used in a versatile manner. They extinguish any fire and deprive hunters of air, causing them to cough, allowing you to hear them. You can use choking bombs to extinguish burning teammates from a distance. Even against the butcher, one of the bosses, they can be employed very effectively.
The first aid kit should always be carried with you to heal yourself. Brass knuckles make it significantly easier to deal with the nasty Immolators.
The consumables here are more optional. You acquire sticky bombs by gaining experience with dynamite. This is done most quickly by killing the large meat heads. Once unlocked, it is extremely useful for dealing with bosses. Molotov cocktails can be used to set enemy hunters on fire. The small antivenom syringe grants you immunity to poison for 10 minutes. It is particularly useful against Hives and especially against the Spider. Dynamite can also be used as a grenade alternative.
These are the alternatives: As an alternative to the Vetterli, you could bring one of the Winfield variants. They have less damage and range, but have increased rate of fire. If you make this choice, you should grab the Nagant M1895 or the Caldwell Conversion pistol as your secondary weapon since they will share the ammunition supply with the primary weapon.
An alternative pistol would be the Scottfield Model 3, as it also uses medium ammunition, benefiting your Vetterli’s supply.
Instead of brass knuckles, you can also bring signal flares and take out the Immolator with the charged strike of your weapon. The sticky bomb can be easily replaced by another stick of dynamite.
The Gunslinger – Fast and deadly at close range
The loadout:
- Requirement: Level 22
- Primary weapons: Two “Caldwell Conversion” pistols
- Secondary weapon: Nagant M1895 Eagle Eye
- Tools: Knife, choking bombs, signal flares, first aid kit
- Consumables: a variation of Molotov cocktails, sticky bomb, health syringe, and small antivenom syringe
- Useful traits: Adrenaline, Doublehand, Packmule, Steady Hand
Who is this loadout suitable for? The gunslinger is suited for fans of shooting action. Thanks to the secondary weapon, he can inflict 50 to 70 damage even at medium range. However, he is best suited for close combat. Players who prefer to stay away from the hustle and bustle will not be happy here.
What makes the loadout strong: With two pistols as primary weapons, you are extremely deadly in close combat. While you do lose some precision, your secondary weapon can make up for that. Since all three weapons use compact ammunition, your ammunition supply is huge and you can shoot like you’re in a crappy Western.
Basically, any pistol would work, but the Caldwell Conversion has a special quality: if you get a few kills with it, after the chain pistol you will unlock the “Uppercut” variant. This revolver fires long ammunition and is therefore effective even at long distances. It will become essential in later builds and is perfect as a high-reach weapon for shotgun players. You essentially play this loadout partly for the future.
The secondary weapon is the Nagant M1895 Eagle Eye; due to its scope and the scope, the weapon is particularly stable and precise. However, you should remember that it is still a pistol—long ranges are taboo here.
To unlock this variant of the Nagant, you need to get a few kills with the Nagant pistol. You can also play the loadout with two Nagant pistols until you unlock the conversion at level 22.
Regarding tools, we trust the knife again, which is your best friend against NPC foes. For the armored grunts, we have the signal flares, but you should handle the Immolators with this loadout carefully.
Regarding consumables, we adhere to the previously established rule: something that burns, something that heals, and something that explodes. Here, you can of course vary accordingly. The antivenom syringe is personally a must-have for me because it makes your life much easier.
The stamina syringe is recommended for this loadout, as it allows you to sprint and strike without restrictions and stamina consumption for a limited time. This way, you can quickly engage in battle or retreat with your two pistols.
As optional traits, we recommend Adrenaline, which refills your stamina when your health drops to a critical level. Also, Packmule is very useful here, as you will receive two tools from the boxes on the map instead of one, so you won’t need to be quite as stingy with choking bombs and signal flares.
Furthermore, the Doublehand trait fits well here, as it significantly increases your reload speed with two pistols. The Steady Hand trait helps you hold pistols with a scope much steadier, benefiting your secondary weapon significantly.
These are the alternatives: Actually, you can use any pistol you like for this loadout. The Caldwell Conversion chain pistol would be particularly well suited, but you unlock that only later.
An alternative secondary weapon would be one of the sawed-off Winfield variants or even a sawed-off Springfield. This way, you would be better equipped at medium range but lose some effectiveness in close combat.
If you want to go completely melee, an axe would also be a good idea to come out victorious from close combat situations even after shooting your ammo.
Instead of the signal flare, you can also bring brass knuckles to better deal with the Immolators and avoid using choking bombs for that. As a substitute for the sticky bomb, you can always use dynamite.
The One-Shot Killer – If you fall into his trap, there’s no escape at close range

The loadout:
- Requirement: Level 1
- Primary weapon: Romero 77
- Secondary weapon: Caldwell Conversion pistol (later the Uppercut variant)
- Tools: Knife, choking bombs, brass knuckles, first aid kit
- Consumables: 2x Molotov cocktails, large health syringe, dynamite
Who is this loadout suitable for? The One-Shot Killer plays with a shotgun that holds exactly one shot in the chamber. Anything that dares to approach him within 10 meters is as good as lost. If you don’t like to be in close combat or avoid buildings, this loadout is not for you.
What makes the loadout strong: Although the Romero 77 is available from level 1, it is a feared shotgun. It has only one shot in the chamber, but it packs quite a punch. The Romero has the highest effective range of all shotguns and inflicts substantial damage. An encounter with a Romero within a building rarely ends well for your opponent.
As a secondary weapon, we resort to the Caldwell Conversion; however, only because you probably have not yet unlocked the Uppercut version of the weapon. That’s your goal to get the most out of the loadout. Because once you have the Uppercut, you become a serious threat to your enemy even at medium ranges.
Regarding tools, we again rely on the knife, which is your best friend against NPC enemies. The first aid kit is, as always, included. Brass knuckles make you more effective against the Immolators that roam the world and choking bombs serve as a multifunctional tool for saving teammates and extinguishing fires.
What the consumables are concerned, we choose two Molotov cocktails. The reasoning behind this is that you ideally want to encounter enemies in buildings. If an enemy hunter runs into you and you kill him, his team has all the time in the world to pick him up.
Unless, of course, you set him on fire. When you throw the Molotov cocktail on the dead enemy hunter’s body, it slowly burns his health away. This puts pressure on his teammates and forces them to come close to you. There, you can then kill them with the shotgun.
The health syringe is for additional healing since you often take a bit more damage in close combat than a sniper. You have the dynamite with you to lure enemy hunters out of cover and into your sight.
This loadout is also strong in that it requires no additional traits to fully exploit its potential.
These are the alternatives: In Hunt: Showdown, there are various shotguns, but none is as powerful with one shot as the Romero. However, if you don’t want to rely solely on your single shot, feel free to opt for the Caldwell Rival. The shotgun also inflicts a lot of damage, but it has two shots in the chamber and is available from level 10.
As an alternative secondary weapon, the Caldwell Pax revolver is suitable as it offers a bit more range than the Caldwell Conversion pistol, but you won’t progress towards unlocking the Uppercut that way – which is a small disadvantage in long-term play.
For tools, you can also bring the signal flare instead of the brass knuckles, depending on whether the Immolators or armored grunts annoy you more. For consumables, you can take two health syringes or two dynamite sticks.
If you’re playing in a duo, you only really need one Molotov cocktail. In a trio, however, we always recommend having two Molotov cocktails.
The Spray’n’Pray – Shoot a lot, aim little
The loadout:
- Requirement: Level 17
- Primary weapon: Winfield M1873C
- Secondary weapon: Caldwell Conversion Chain Pistol
- Tools: Brass knuckles, choking bombs, throwing knives, first aid kit
- Consumables: Molotov cocktails, dynamite, health syringe, sticky bomb
- Required traits: Lever and Fanning
Who is this loadout suitable for? Dangerous at medium distance, absolutely deadly at close range. If you like to operate in this spectrum and perhaps don’t like to aim precisely, this loadout is perfect for you. For the quiet sniper who waits for their opportunity, it’s rather unsuitable.
What makes the loadout strong: You already have the Winfield at level 1; it is characterized by a lot of ammo and a high rate of fire. It is a good all-round weapon for beginners, but it becomes especially deadly in this loadout.
As a secondary weapon, you can also take any other pistol, but the plan works best when you use the Caldwell Conversion chain pistol, as it comes with a lot of ammunition.
Through the trait Lever (level 14), the Winfield can fire much faster when fired from the hip. The trait Fanning (level 17) allows you to convert pistols into semi-automatic monsters; it also greatly increases the rate of fire.
Now, both of your weapons don’t actually inflict much damage. However, keep in mind that every headshot in Hunt: Showdown is fatal within the range of your weapon. The key to this loadout is to simply try enough times to hit the head – or just multiple hits to the body.
You should keep moving while firing since precision isn’t one of your strengths in this loadout anyway, and you want to make it especially hard for your opponent to hit you while trying to hit them. Your chances should significantly increase due to your constant barrage of bullets.
For tools, we choose brass knuckles against grunts and Immolators. Also, choking bombs are back as multifunctional tools along with the always useful first aid kit. If you ever need to kill silently, throwing knives work excellently – but be careful, hitting with them requires practice.
When it comes to consumables, we fall back to the tried and true combination of burning, exploding, and healing. We use Molotov cocktails to ignite dead hunters and draw enemies out of hiding, as well as sticky bombs for fighting bosses more quickly.
The health syringe is included because you have few good alternatives at the start, and healing is always beneficial.
More useful traits would be Determination and Adrenaline. Both increase your stamina regeneration. Since your enemy with this build will likely run out of ammunition before you, he will probably flee. With these traits, you can chase after him. Packmule is also a great trait to add to balance the missed throwing knives.
These are the alternatives: Even though Lever works for all lever-action rifles, you won’t have any alternatives to the Winfield at the beginning; it has to be. However, it’s also very cheap and available from level 1.
For pistols, we can also recommend the Nagant M1895. It is also deadly with Fanning and even more precise than the Chain Pistol in the original loadout. However, it obviously cannot provide nearly as much ammunition.
As an alternative to the throwing knives, you can also take a light knife or a heavy knife, although you lose the range. Another option for the sticky bomb would be to carry a stick of dynamite so you can control enemies better.
As always, I also recommend packing the antivenom syringe. It greatly simplifies your life in dealing with NPC enemies.
The zig-zagging axe wielder – When short range isn’t close enough

The loadout:
- Requirement: Level 1
- Primary weapon: Combat axe
- Secondary weapon: Winfield M1873C Vandal
- Tools: Brass knuckles, decoys, signal flares, first aid kit
- Consumables: 2x health syringes, stamina syringe, Molotov cocktail
- Useful traits: Adrenaline, Determination
Who is this loadout suitable for? For anyone who may not be optimal with the slow weapons in the game. In close combat, you don’t need to aim; you just need to be fast. If you enjoy toying with your opponent and find that even short range is too far away, this loadout is perfect for you.
What makes the loadout strong: Most weapons in Hunt: Showdown are relatively slow. If you plan from the outset to challenge an opponent in close combat, they usually have only one to three chances to hit you before your axe is embedded in their back. Besides, many especially new players quickly become overwhelmed when an opponent runs at them instead of shooting back.
If you run quickly and in a zig-zag manner, alternating between walking and running while randomly changing direction, it is also very difficult for experienced players to hit you.
A charged strike with your axe to the upper body of the opponent is deadly. If that turns out to be inconvenient in that situation, you still have a sawed-off shotgun with you to heat the enemy up a bit.
Regarding tools, you don’t need a knife here because you already have your axe. However, a brass knuckle for the Immolators is still recommended, as is a signal flare for the armored, barbed-wire zombies. Additionally, we use decoys that imitate sounds and can lure enemy players into your trap – or into your axe.
For consumables, we focus on healing, as you will likely take a hit or two, but you can easily heal after the fight in a quiet corner. Plus, you will have a stamina syringe with you to prevent you from running out of breath while zig-zagging and swinging your axe.
This loadout is rounded out by the Molotov cocktail, which sets dead hunters on fire and forces their teammates to come to you.
While not strictly necessary, the traits Adrenaline and Determination will make your life a lot easier. Adrenaline refills your stamina when your health is low, while Determination allows your stamina to regenerate sooner. Both are incredibly helpful when swinging an axe successfully.
These are the alternatives: In addition to the combat axe, you will unlock the machete and cavalry saber throughout the game. Both are solid alternatives to the axe. Additionally, there are various weapon versions with bayonets – those can also be very strong.
As a secondary weapon, you may also bring two pistols to be more agile in close combat, but at the cost of strength at medium range. Instead of decoys, choking bombs can be used, which are an absolutely sensible multifunctional tool.
General tips for your first excursions into the Bayou
What will you learn here? The following tips are particularly useful for beginners and will help you in many situations within the game:
- Charge your melee weapon of choice before entering a combat situation. This saves stamina and time in battle.
- With the sharpshooter variant of the Winfield, which you unlock later, you can keep an eye on your opponent at longer distances and put them under pressure – but you shouldn’t expect much damage.
- Shotguns have a major advantage in Hunt: Showdown: They don’t care what you do. Whether standing, running, crouching, aiming, or firing from the hip, shotguns in the game have the same spread. This makes them particularly interesting for beginners.
- If things get tight, you can also kill an enemy hunter with a charged strike of the knife to the head.
- Use all syringes early and often, as you can find them in rounds in supplies and must use multiple syringes to unlock better variants.
These traits are a must!
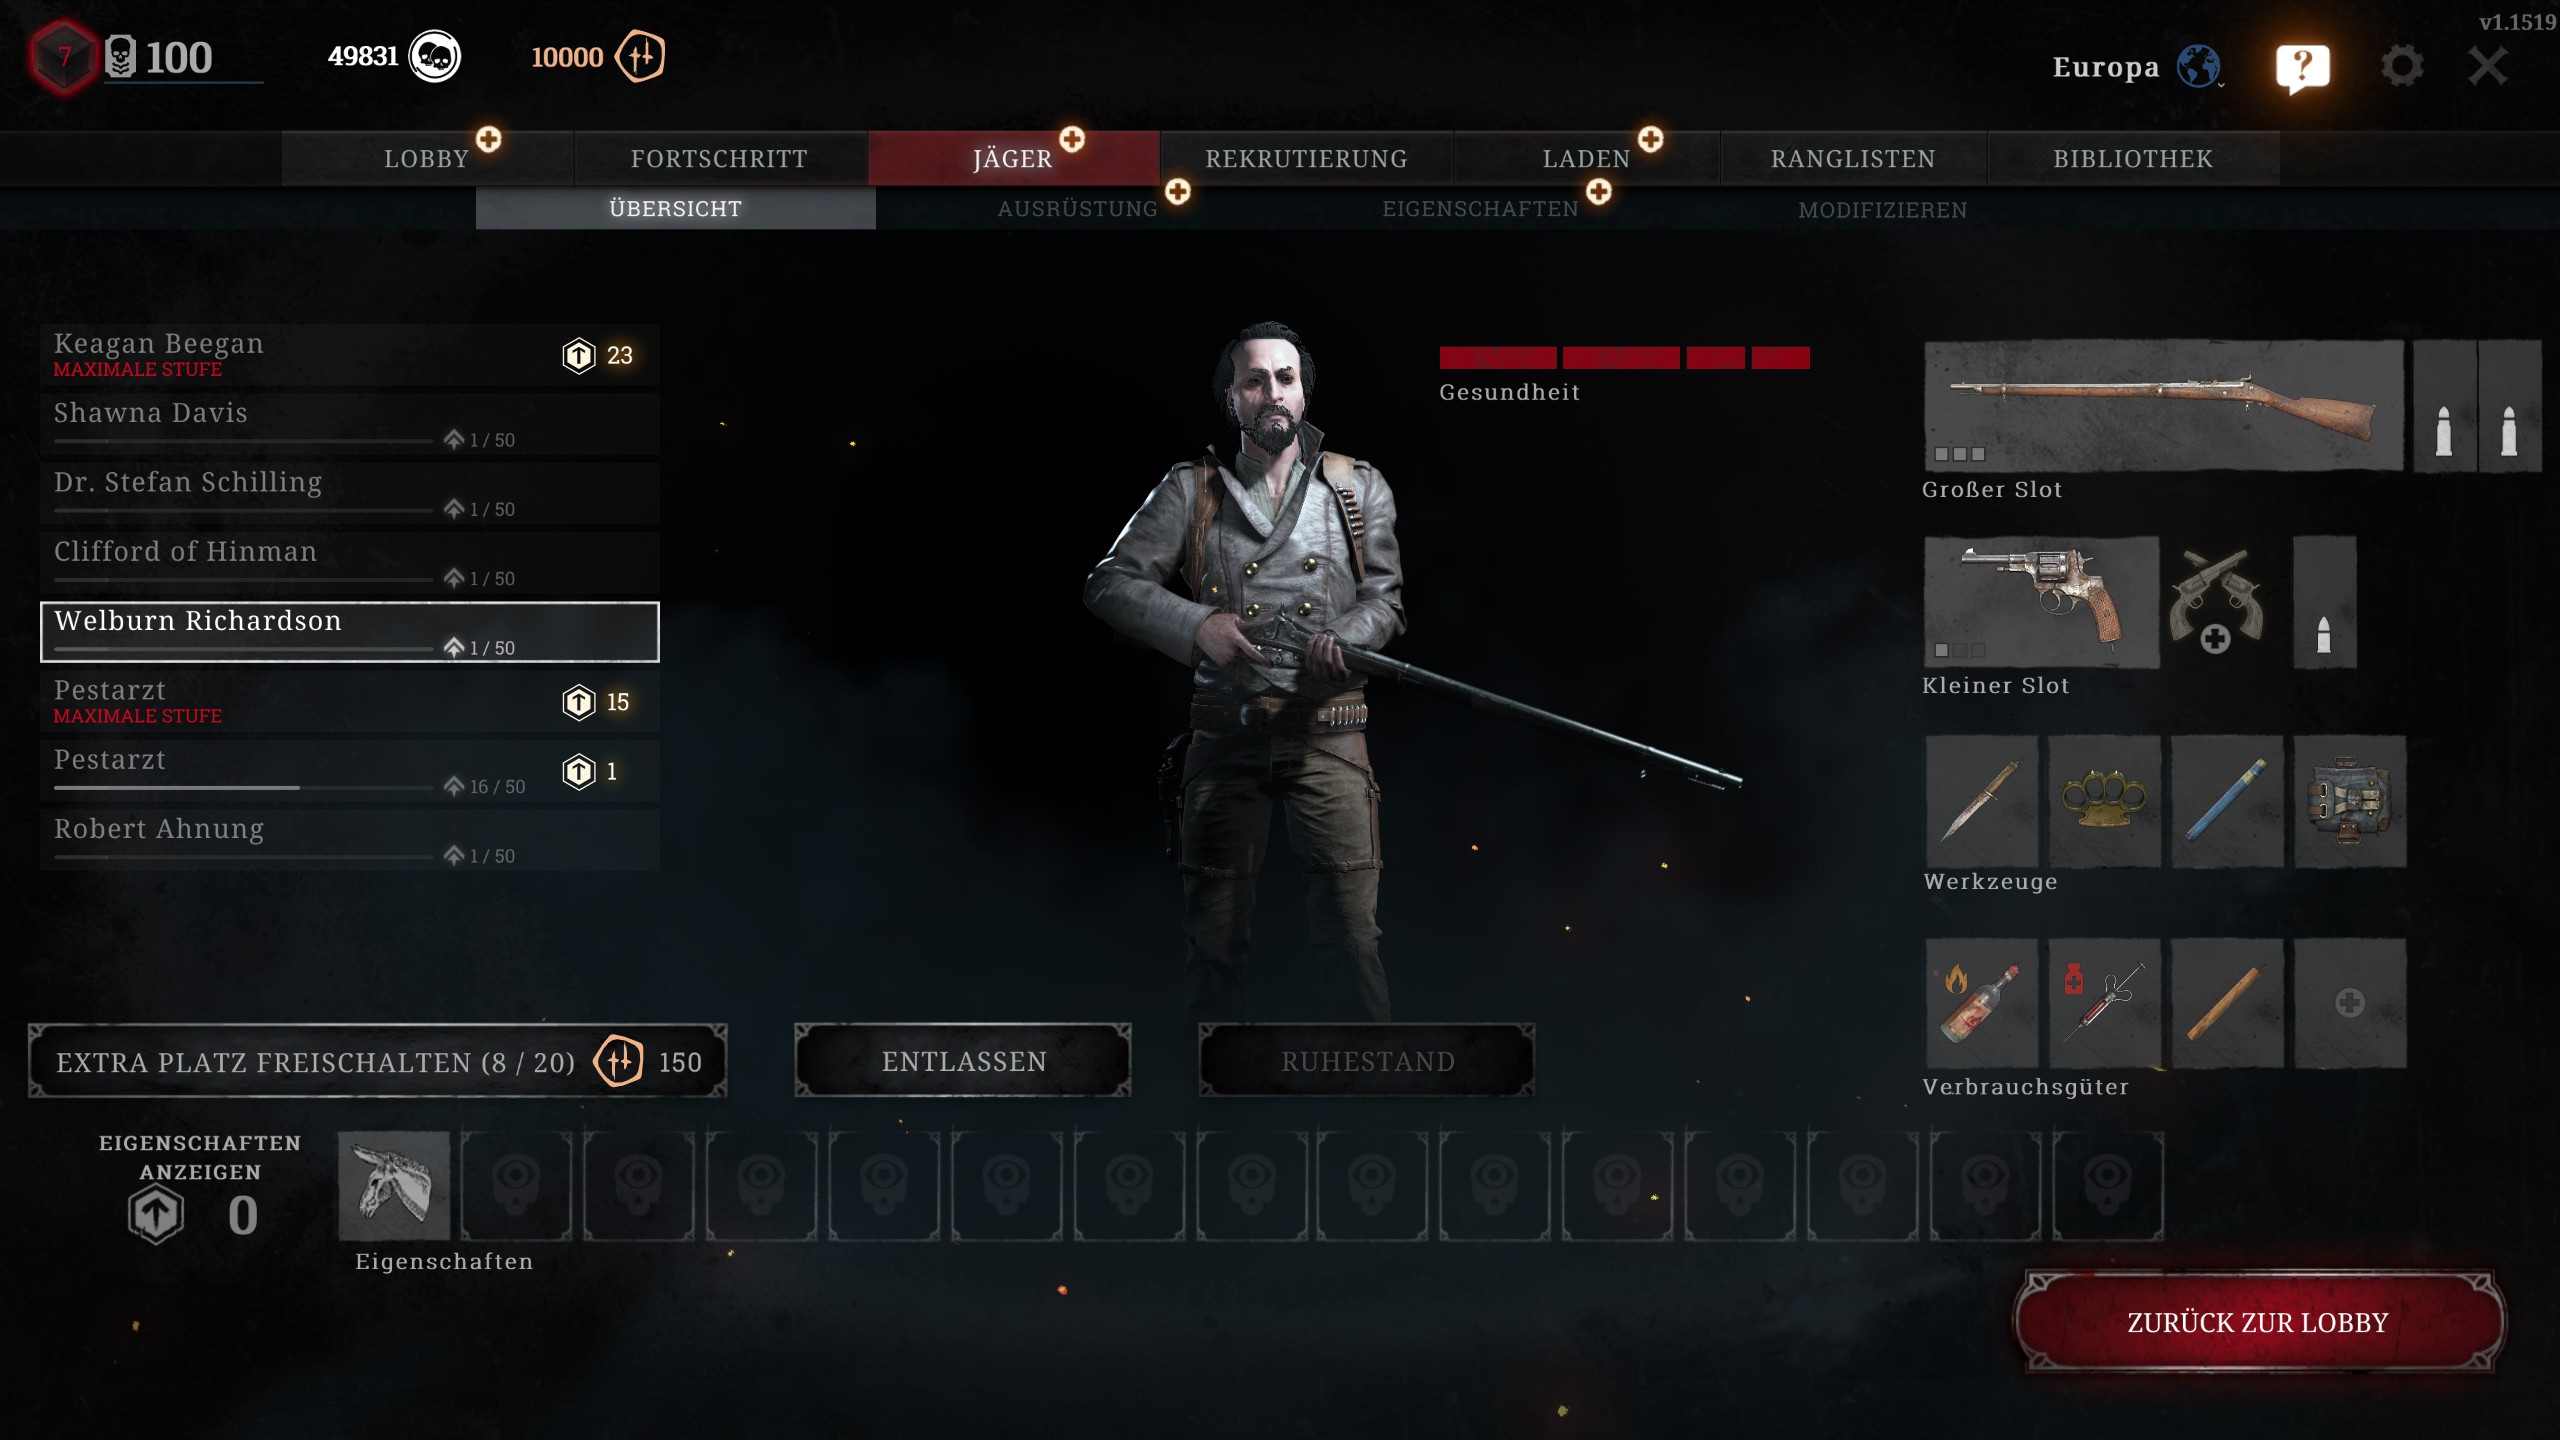
What are traits? If you survive a round, your hunter gains experience points and can level up to 50 levels. Each level grants you a point that you can spend on traits, i.e., passive abilities. You also need to unlock those by reaching the required bloodline level.
What traits are useful? In addition to the specific traits mentioned in the loadouts, there are some traits that make sense across the board in any loadout. We would like to briefly discuss these as well.
This is what “Alligator Legs” can do: With the trait Alligator Legs, you can move faster in water and are quieter when crouched in water. Since there is a lot of water on the maps in Hunt: Showdown and making noise is rarely a good idea, this trait is always a good addition.
This is what “Greyhound” can do: The trait Greyhound allows you to sprint at full speed for longer. If you have the loot and need to disappear quickly or pursue hunters with the loot, it can make things much easier for you.
This is what “Lightfoot” can do: Lightfoot allows you to climb, jump, and fall much more quietly. Quieter movement through terrain is especially useful in many situations – definitely take it!
This is what “Ghoul” can do: The trait Ghoul lets you regenerate some health when you kill grunts. Since a broken health bar for your hunter automatically heals completely, Ghoul can often save you a bandage.
This is what “Salamander” can do: This ability is particularly useful in trios, as you can be ignited faster than in duos. Salamander reduces fire damage taken by 25%, even in death. Your teammates then have 25% longer to rescue you – very sensible!
How do the weapons in Hunt: Showdown work?
We want to not only tell you which weapon to take but also help you figure out how to choose the best weapons for yourself. Thus, we explain how weapons fundamentally work.
What values does a weapon have?
The values of a weapon are at least as important as its shooting feeling and price. But what values can you even look for? These are the weapon values in the game and how they work:
- Range: The range value indicated with weapons refers to a hit to the upper body at a distance of 10 meters. This is especially tricky with shotguns, as they lose a significant portion of their damage after 10 meters.
- Effective Range: Headshots in Hunt: Showdown are generally fatal. The effective range of a weapon refers to the number of meters at which a single headshot instantly kills an enemy player. If the enemy is outside the range, the one-shot kill is not guaranteed. If you exceed the effective range significantly, the shot may not reach at all.
- Rate of Fire: The rate of fire indicates the number of shots a weapon fires per minute. Reload interruptions are not included!
- Handling: Calculating handling is more complex than other values. It includes recoil, weapon movement, and bullet spread. The higher the percentage, the better. For melee weapons, stamina consumption, range, and impact angle are considered instead.
- Reloading: The reloading time indicates the time it takes to completely reload the weapon when it is empty. Partially reloading a weapon often takes more time.
- Muzzle Velocity: The speed in meters per second at which a projectile travels.
- Close Combat: Indicates the damage of the weapon scored in a light melee attack to the upper body.
- Heavy Close Combat: Indicates the damage of the weapon caused by a charged melee attack to the upper body.

What types of ammunition are there in the game?
In addition to the base values of a weapon, there are various types of ammunition for most weapons in the game. These also influence the weapon values and your best play style with your weapon. These are the types of ammunition in the game:
Some of the ammunition types are presented by YouTuber Oceanium in this video:
- Compact ammunition: Many of the first weapons you unlock in Hunt: Showdown use compact ammunition. It can be fired quickly, and you usually have a large supply of shots, and it is the easiest to find in the world. It deals less damage than the other ammunition types and has less penetrating power.
- Medium ammunition: As its name implies, medium ammunition serves as the middle ground between the other types. It is harder to find than compact ammunition and you usually have less of it on hand. However, medium ammunition does a better job of overcoming obstacles like wood and overall distance.
- Long ammunition: Long ammunition is usually used by sniper rifles or the later unlockable repeaters. It is particularly rare, and your magazine supply is always limited. However, long ammunition can cover distances of up to 350 meters and even penetrate metal at close range.
- Shell ammunition: Shell ammunition is used exclusively by shotguns and is therefore optimal for close combat but loses considerable effectiveness depending on the weapon type after 10 meters.
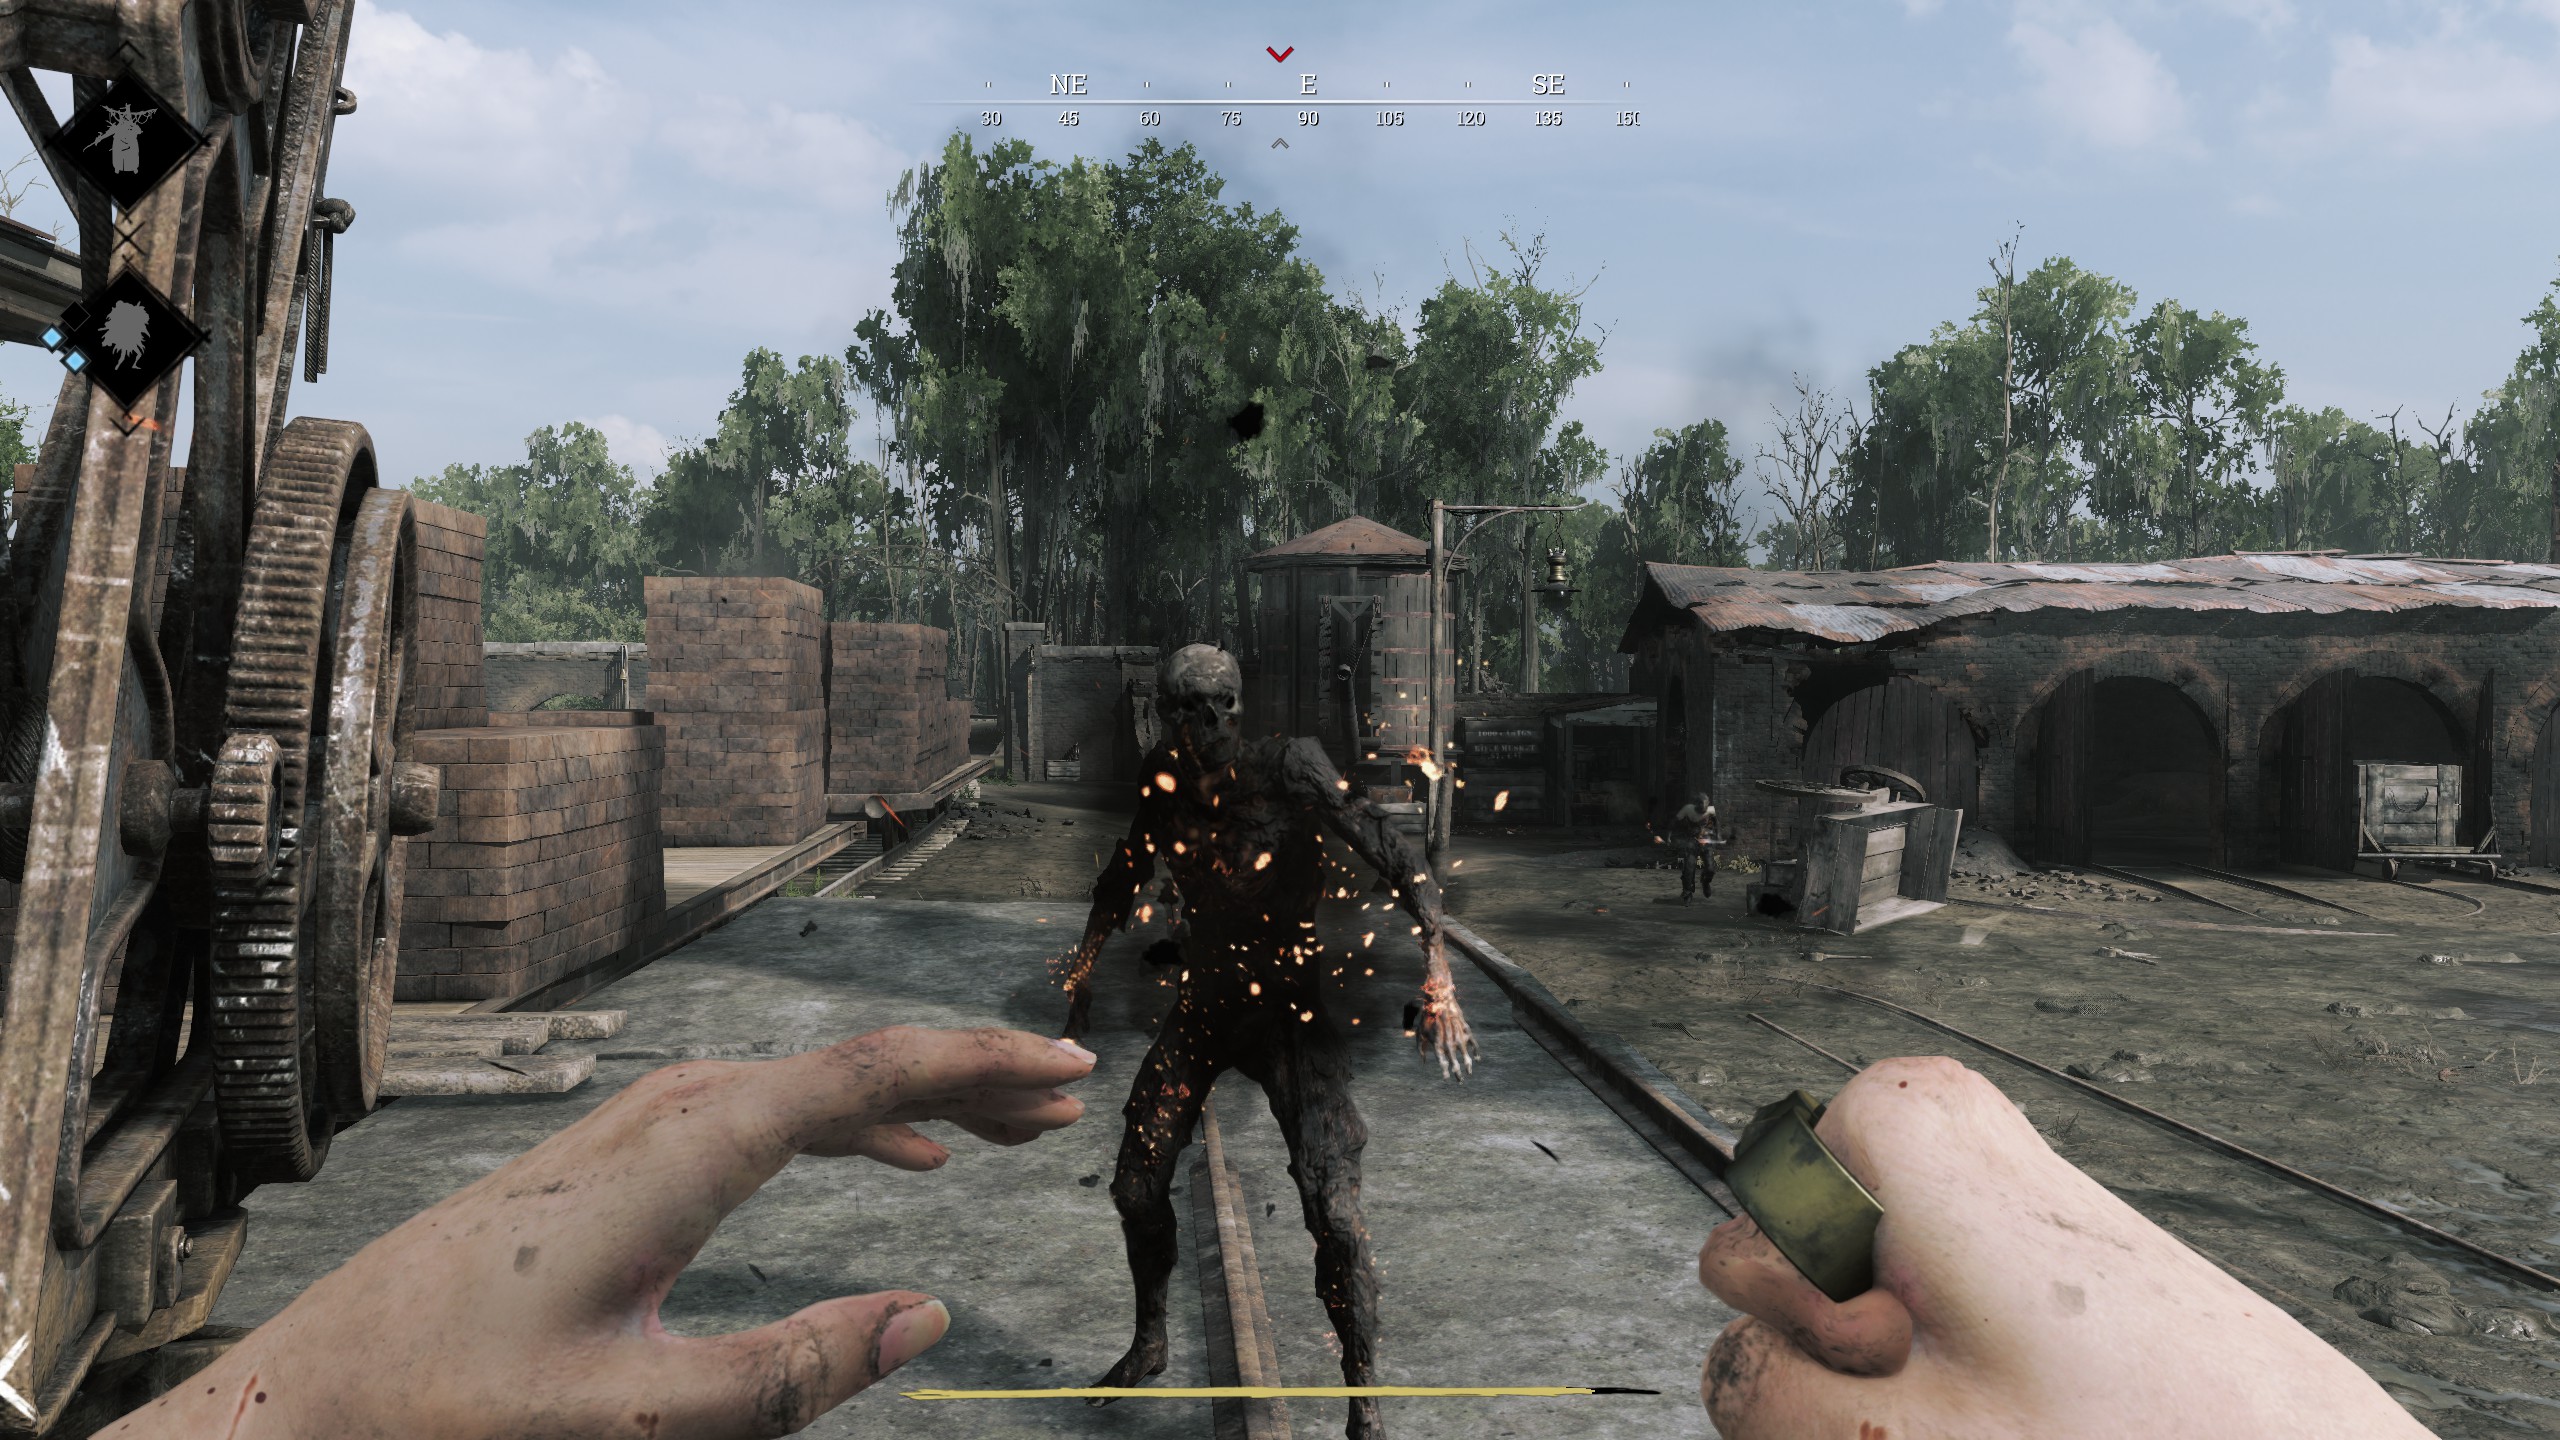
- Fire ammunition: No weapon is equipped with fire ammunition by default. You must always unlock it and it is also not available for all weapons. It falls under the category of special ammunition and is therefore particularly difficult to find. Upon impact, it ignites fire on your opponent, which they must extinguish. It is particularly effective against NPC foes in the game.
- Explosive ammunition: Also falling under the special ammunition category, it is similarly difficult to find. It is not available for all weapons and has to be unlocked. Upon impact, the bullet explodes, causing area damage.
- Poison ammunition: This is added to the last two entries on the roster and fits into the special ammunition category. Poison ammunition must also be unlocked and causes poison damage upon impact. Poison ammunition, however, has no penetrating power, as it bursts the poison container upon hitting the first surface it contacts. Thus, it is only suitable as the sole projectile against the nasty Immolator zombies.
- Special ammunition: Under this point are all other types of ammunition listed. For instance, there is ammunition that increases penetrating power or causes bleeding. Some weapons in the game, such as the explosive lance, the Dolch 96, or the Nitro Express, can only use special ammunition, so you must be mindful of that.
What do you think of the loadouts? Would you adjust anything and do you have any suggestions for improvement? Feel free to share in the comments!
By the way, Hunt: Showdown is currently more popular than ever on Steam – but why is that?