When replacing a motherboard, there are some things to avoid. Due to ignorance and hasty action, unnecessary mistakes can quickly occur. Therefore, we will show you what you should pay attention to when installing and removing the motherboard in your gaming PC.
The replacement of the motherboard in your gaming PC can have various reasons. In some cases, there is a defect, and you are forced to ensure suitable replacements if you want to continue using the computer.
Other users may want to upgrade their system specifically and therefore change their motherboard during a hardware upgrade. Regardless of the reason, there are things that should be considered when successfully replacing a motherboard.
1. Find a suitable replacement
What is important when buying new? Before you can take the screwdriver in hand, you first need a suitable replacement for your old motherboard. There are several things to consider so that you don’t experience any unpleasant surprises when installing the new hardware.
Ideally, the new motherboard of your choice should have the same form factor regarding size and exact dimensions. This ensures that the motherboard fits into your existing case.
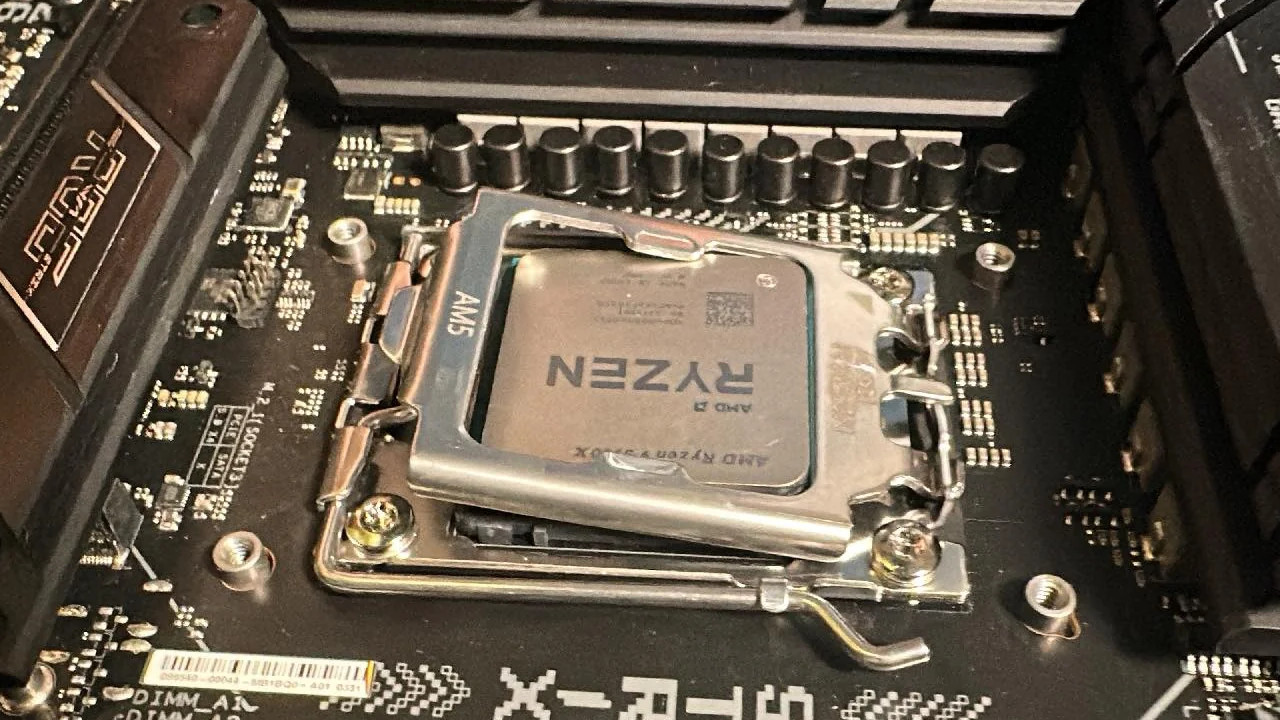
Also, make sure to buy the same socket for your processor. For example, an AMD AM4 processor will not fit on an AM5 motherboard. When trying to install the processor, one or both components could be damaged.
The connection options for internal and external components should at least be identical if you want to reconnect all devices in your PC setup. Or you take the opportunity and buy a new motherboard that additionally expands your future connection options.

What else should be considered? To avoid problems after installation, it is advisable to buy a motherboard that uses the same chipset as its predecessor. After the hardware change, some adjustments to the operating system may be necessary. This could save you the installation of new drivers.
Generally, it is always a good idea to have a backup of your data and the operating system on hand. If your system drive no longer works after the replacement, a backup can save you a lot of time and trouble when restoring individual files or the entire operating system.
2. Important preparations for disassembly
What should be done first? Before opening the PC, it should be turned off and the power cord unplugged. Once all other cables connected to the back of the computer have been disconnected, the case can be opened. For better accessibility, it is best to lay the case on its side.
Before the next steps, it may be useful to take a few photos of the internal wiring and possible expansion cards. This will help you later with the correct assignment and can also shorten intensive troubleshooting in case of a problem.
What is the next step? Carefully pull all cables from the motherboard and push them slightly to the side to avoid damage. If you are using a modular power supply, you can completely remove the power cables for the upcoming work and have more space for installation and removal.
Graphics cards and other expansion cards are unscrewed, their power connection to the power supply is disconnected, and they are pulled out of the slots. Pay attention to any quick releases on the slots to avoid damaging your hardware.
3. Steps for removing the old motherboard
How do I detach the motherboard from the case? To remove the old motherboard, all mounting screws must still be loosened. These hold the motherboard on the spacers, which in turn are screwed into the PC case. The motherboard can now be carefully removed.
If the old board has a separate cover for the external rear connections, it can be removed directly afterwards.
What about the components on the motherboard? In the disassembled state, the CPU cooler, the processor underneath, and the RAM modules can now be more easily removed from the old motherboard. The CPU cooler and CPU should be cleaned of remnants of the old thermal paste.
If one or more SSDs in M.2 form factor are on the motherboard and should be continued to be used like the other components, they must also be removed from the old board.


4. Prepare and install the new motherboard
How to prepare the new motherboard? The new motherboard ideally lies unpacked next to the computer for the next steps. Insert the processor into the CPU socket, apply new thermal paste, and immediately attach the CPU cooler. Don’t forget to connect the cooler’s fan cables to the new board. Existing M.2 SSDs can now be installed in the corresponding slots.
If the new motherboard, like its predecessor, requires an additional I/O shield, install that now in the case. When inserting the motherboard, ensure that the screw holes align with the spacers in the case, and correct this if necessary.
What are the next steps? Once the motherboard is securely screwed, all cables, graphics cards, and other components are reconnected or plugged in again. This includes connectors for the front panel and external USB ports, as well as all case fans and storage devices like hard drives and SSDs.
If you are unsure about certain connections and additional cables on the new motherboard, a glance at the manual often helps. Ideally, you have already downloaded the PDF document in advance and can open it, for example, on your phone while you proceed with the build.
5. Final steps after a successful installation
What needs to be done after the switch? When all cables and hardware components inside the PC are connected to the new motherboard, all external cable connections can be reconnected. If you have done everything correctly and turn on the PC now, the device should output a picture on the monitor and start the operating system.
Today’s systems like Windows 10/11 usually handle a motherboard replacement without major problems. If you consider our tip in point 1 and have installed a motherboard with the same chipset, only a few or even no drivers may need to be reinstalled. If so, you can find them on the respective manufacturer’s page.
In most cases, the operating system will prompt for reactivation after a major hardware change. Ideally, you have your Windows license key at hand. If you have linked your user account in Windows 10/11 to a Microsoft account, the new activation process typically occurs automatically via that account.
What should be tested after the switch? Before you close the PC case, it is advisable to perform a functionality test. Check if all devices connected both internally and externally are recognized and can be used.
Do image and sound function flawlessly? Are all storage devices with content displayed? Do programs and games run without issues? If you can answer all these questions with “Yes”, you have succeeded and successfully replaced the motherboard.
If you encounter problems and the system runs unstably or even crashes, updating the BIOS to a newer version may help. Motherboard manufacturers regularly provide BIOS updates to solve known issues or support newer processors technically. You can also find these on the manufacturer’s sites.
Changing the motherboard can come with some hurdles. With our tips, you are well prepared for this task.
If you are planning a more comprehensive hardware upgrade or even want to build a completely new gaming PC from scratch, good planning will help save your nerves and wallet. Also, improper procedures during subsequent PC assembly can cause unnecessary time consumption and significant frustration: 5 beginner mistakes you should avoid when assembling a new gaming PC