
WoW Raid Guide – The Council of Shivarra – Against Council and Souls
The fight against the three highest torturers in Antorus is a council fight. The three multi-armed demons share health points, but only 2 are active at a time, while the third attacks the raid from outside.

Each active Shivarra has its own set of abilities that come into play when it is active. The abilities of the inactive Shivarra remain consistent. This one tortures the soul of one of the four Titans until it triggers an effect on the raid.
Setup: The room is very large and should be utilized for its size, as dodging is key to victory here. The active bosses should be tanked 20 meters apart, as being less than 18 meters apart will trigger Pact of the Shivarra, reducing damage taken by 99%.
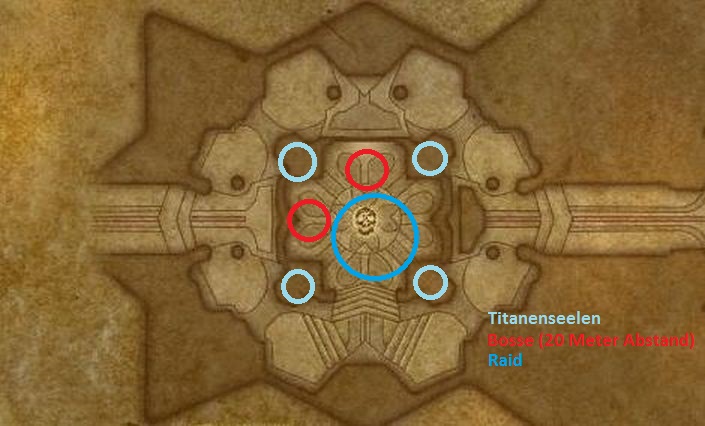
The rest of the raid loosely spreads out in the room to minimize movement when avoiding various abilities.
The Shivarra each use only two abilities (three in heroic mode), making the fight very straightforward. At the start, Noura and Asara are active, with Diima taking over from Noura after about 3 minutes into the fight.
After approximately 160 seconds, or after the second use of a torture on a Titan, one active and one inactive Shivarra will switch.
Noura, Mother of Flames
- Flaming Thrust: Deals high fire damage to enemies in a cone-shaped area in front of Noura and increases the damage taken from the ability by 100%. Therefore, Noura should never be turned towards the group, and a tank swap occurs at about 5 stacks of the debuff.
- This may cause the Shivarra to come too close together, which is not a problem for the short duration.
- Whirling Sabre: A burning sword is thrown towards a player, where it begins to whirl and return to the boss. The damage is not particularly high and the sword moves very slowly, so dodging should not be a problem.
- Explosive Pulse (only heroic): Random players are afflicted with a damage-over-time spell that detonates after 10 seconds and deals damage to all targets within 6 meters. The range is indicated by a red circle. Affected players should remove themselves from the group to avoid additional damage.
Asara, Mother of Night
- Touch of Darkness: Deals shadow damage to random targets. This spell cannot be prevented and requires the healers’ attention.
- Shadow Blades: Three shadowy blades fly in a straight line from the boss through the room. Upon contact, they deal damage and knock back. They move slowly and are well visible, making it easy to step aside to avoid them.
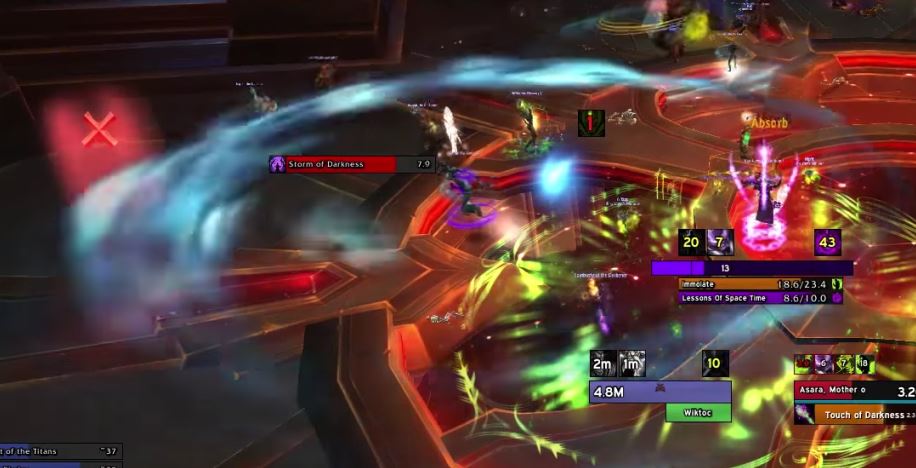
- Storm of Darkness (only heroic): The entire room fills with darkness that deals damage every second. While the effect lasts, square glowing areas appear in the room that provide protection against the damage. Tanks should seek out distant areas to avoid triggering Pact of the Shivarra.
- The remaining players can retreat to the zones nearest to them. However, there will be overlaps with Noura’s Explosive Pulses. If there are few players in an area, they can dodge the Pulse there. If there are too many, affected players must move outside shortly before expiration to avoid blowing up the group.
Diima, Mother of Desolation
- Frostbolt: A very strong attack that leaves a debuff slowing movement speed by 10% for 20 seconds. The blow must be intercepted by the tank with active mitigation, and a tank swap should occur at 4-6 stacks. If this does not happen, the active tank will become bound in place and will be unable to dodge other abilities.
- Chilled Blood: Random players are afflicted with a healing absorption. This must be healed by healers as soon as possible. Affected players will be stunned after the effect ends, with the duration of the stun scaling with the remaining healing absorption.
- Orb of Frost (only heroic): An orb wanders through the room, dealing frost damage upon appearance. It moves very slowly and slows all enemies within 30 meters by 85%. The effect weakens the farther away it gets from the orb.
- It is therefore not dangerous but can complicate dodging and should be avoided.
The Titan Souls
While two of the Shivarra are active, the third can only be seen at the edge, torturing Titan souls. The torture lasts 80 seconds and burdens the group with stacks of dread. These cause damage and increase until the spell ends.
This damage is unavoidable and takes up most of the healing in the fight. After 80 seconds, the ability of the tortured Titan takes effect, which varies depending on the Titan. Which Titan is being tortured is random each time but can be read from the spell bar of the inactive Shivarra.
Each variant of torture always summons adds into the room that will affect the fight and use the corresponding ability. They must be eliminated as quickly as possible but do not require tank attention.
The Torture of the Titans
- Torture of Aman’thul – Aman’thul’s Schemes: The images cast a spell that leaves a stackable damage-over-time spell on each player for 21 seconds and heals the images themselves to 100% health.
- Before the first casting, as many images as possible should be eliminated. Single-target damage is significantly more effective than spreading DoTs over many targets. 2-3 adds should die before the second casting, the rest shortly thereafter.
- Torture of Golganneth – Wrath of Golganneth: Whenever players are within 2 meters of other players, both take high nature damage. As long as the raid is spread out, these adds pose no problem. As the adds do not heal, no single-target focus is necessary. They just need to die quickly.
- Torture of Khaz’goroth – Flames of Khaz’goroth: Around the inner circle of the room, images appear that cast a cone of fire into the center. The cone deals high damage every second. The group should gather outside before the cast, between the adds, and fight them from there.
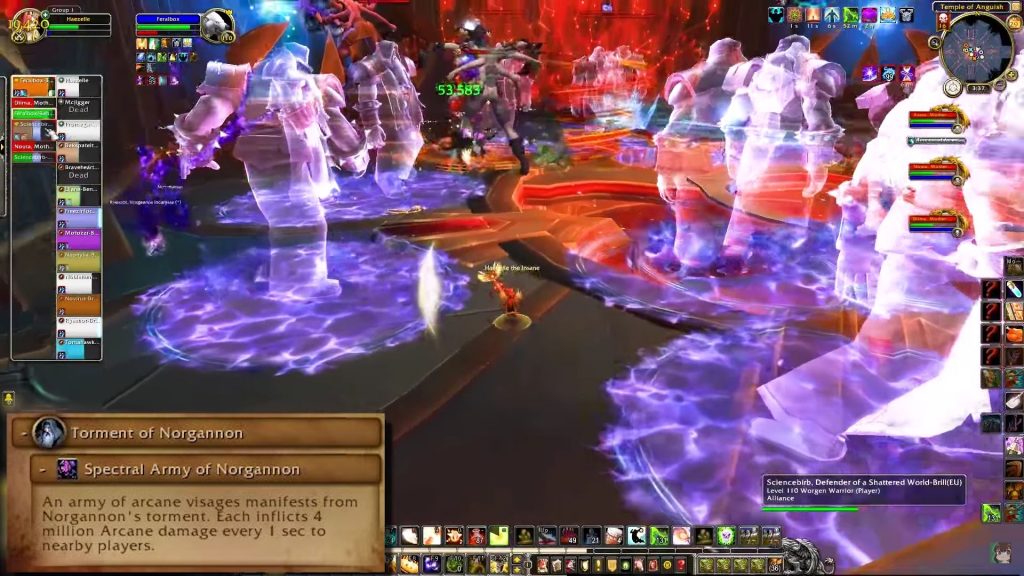
- Torture of Norgannon – Norgannon’s spectral army: Images move into the center of the room as a phalanx from the edges. These are immune to attack for 30 seconds and deal extremely high arcane damage to any target near them every 0.3 seconds.
- The adds are fully controllable and must be distributed using knocks, slows, or other effects to create gaps. Players can dodge through these. After 30 seconds, they can be immediately killed as they have very few hit points.
The biggest challenge in this fight is overlapping abilities that restrict movement and require movement. Otherwise, most of it is predictable and straightforward and requires more practice than coordination.

Your opinion is important to us!
Do you like the article? Then let us know!