
In World of Warcraft: Legion (WoW), Antorus, the Burning Throne is accessible. Antorus is the last raid of the addon. We present to you the bosses of the third wing with a detailed raid boss guide: the bosses Kin’garoth, Varimathras, and the Council of Shivarra in Antorus.

Note: The basic videos are gameplay from the PTR version of the raid. There may be deviations from the release version!
The guides are intended for the normal and heroic modes of Antorus. The mythic mode will be available at a later time.
You can find out when the individual wings open for LFR in our announcement!
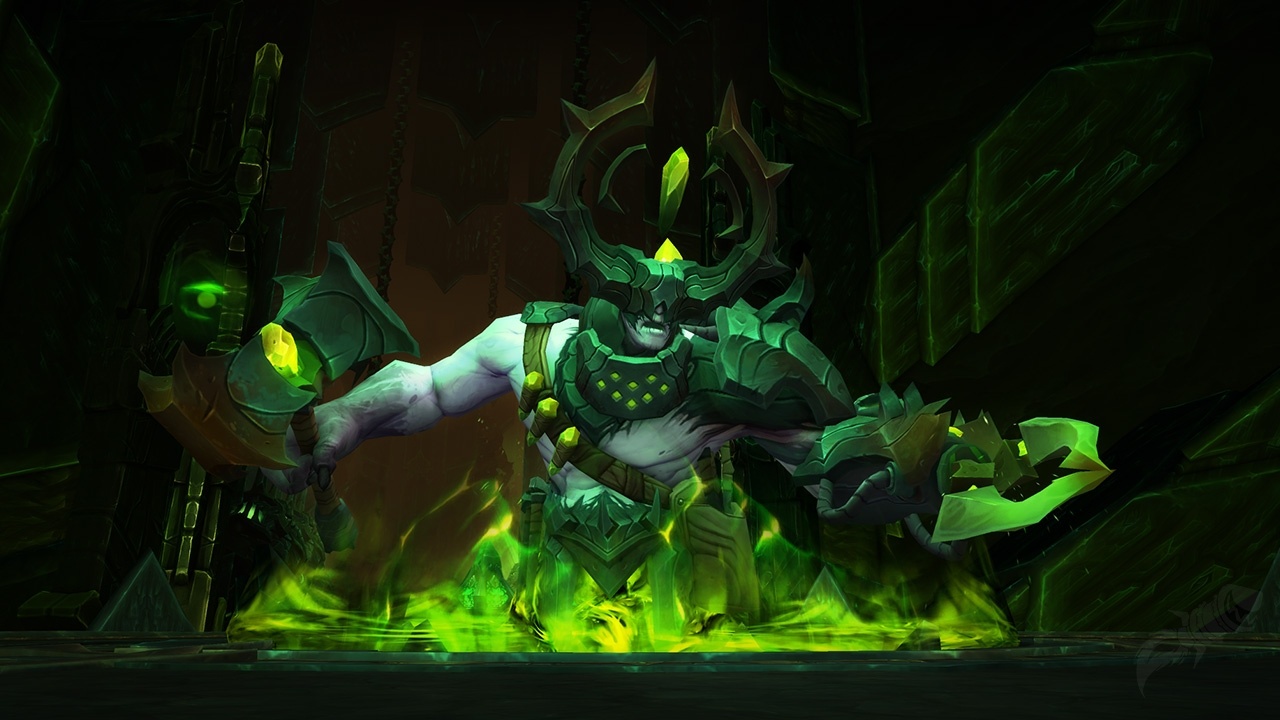
WoW: Raid Guide Antorus – Kin’garoth and more Hell Hounds!
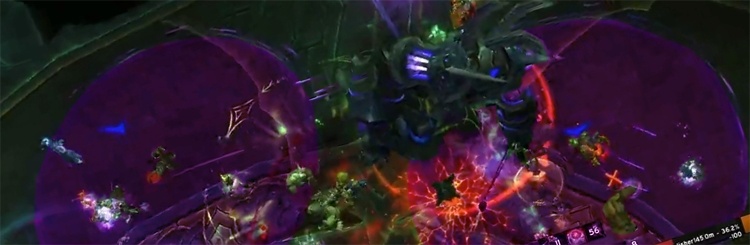
The fight against the first boss of the wing, Kin’garoth, is straightforward. The boss himself is firmly anchored on the middle platform of the room and alternates between two phases, in which either he or his Hell Hounds are active.
Phase 1: Deployment
In this phase, Kin’garoth is active on the middle platform and can be attacked. He must be constantly engaged in melee, as he will otherwise deal continuous raid-wide damage.
- Forgemaster’s Strike: Deals extremely high damage to the active tank and targets within 5 meters, and increases the damage taken from Forgemaster’s Strike by 200% for 20 seconds. The active tank must absorb the strikes alone and with active mitigation. Once the debuff expires, usually at 2 stacks, a tank swap occurs.
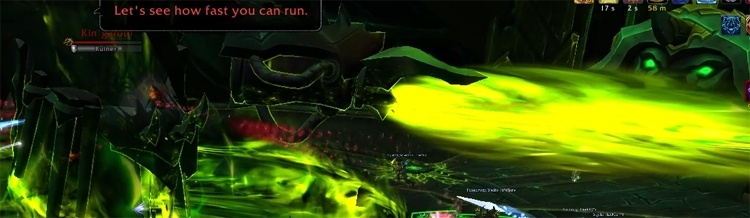
- Rupturer: Kin’garoth looks in one direction and shortly thereafter fires a green beam in that direction. The beam deals high damage every 0.3 seconds and is very likely to kill anyone it hits. Kin’garoth moves in about a quarter circle in one direction.
- The boss announces where the beam will appear by his gaze. This time should be used to avoid him and to know in which direction he is turning.
- Echoing Strike: Hits a random target and targets within 5 meters for moderate damage and leaves a detonation charge under the character. The detonation charges deal high damage to all characters nearby each time Echoing Strike is cast again.
- The strike favors melee fighters as targets. The detonation charges should therefore be distributed closely and gather together, so that other space is not too severely restricted. Players should not remain near the charges.
- Diabolical Bomb: At regular intervals, Kin’garoth throws a bomb (three in heroic mode) into the outer area, which circles around him in a fixed radius. Upon contact, these bombs deal high damage, which decreases with greater distance.
- The raid groups on one side of the boss. The inactive tank stands on the other side and intercepts the bombs so that they do not explode in the raid.
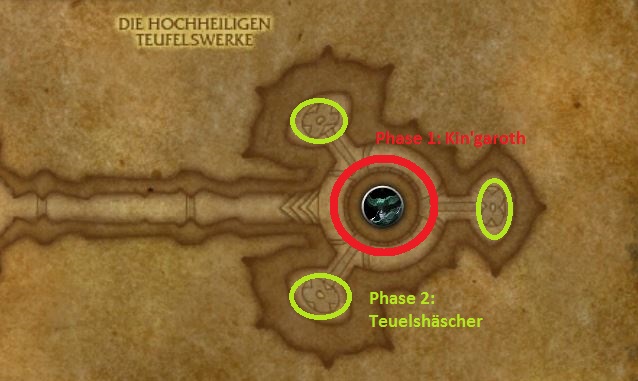
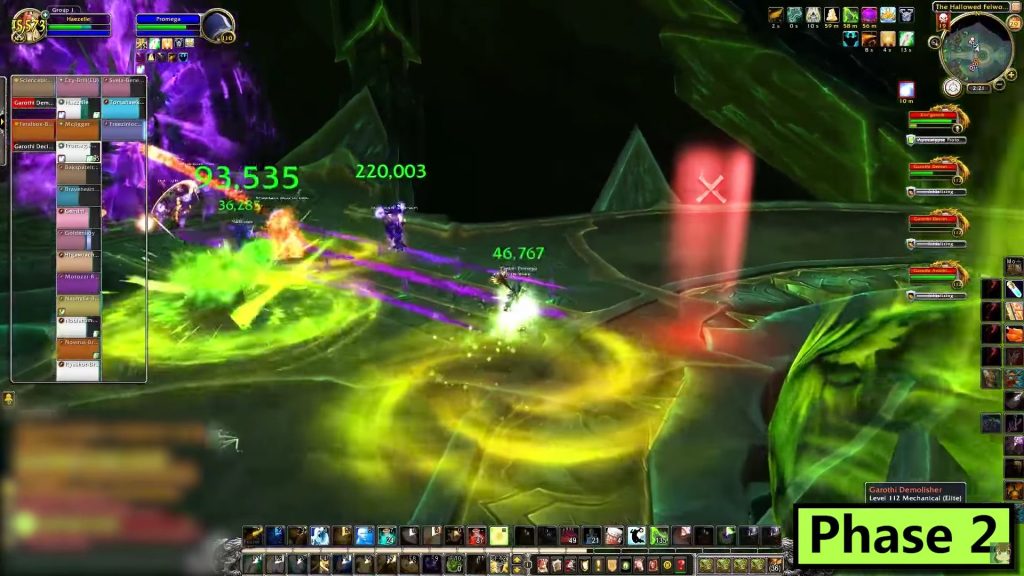
Phase 2: Construction
Upon reaching 100 energy, Kin’garoth envelops himself in a shield that reduces damage taken by 99%. The shield lasts for 40 seconds, during which he loses the abilities from phase 1 and gains new ones.
- Flames of the Forge: Deals damage to all characters every 2 seconds. This is unavoidable and must be absorbed by the healers.
- Apocalyptic Barrage: Green areas appear on the ground that explode and cause damage. These must be avoided.
- The main part of this phase takes place on the three outer platforms, where various Hell Hounds appear. These are inactive for 30 seconds and take additional damage from attacks during this time. The raid should be split into two groups, each focusing on one of the Hounds, so that only one survives until the next phase.
After the 30 seconds, the Hounds awaken and join the fight. They should be tanked immediately and pulled out of the area, as the platforms will soon close and kill everyone inside. There are three different Hounds:
- Garothi Destroyer: Casts Annihilation, creating circles on the ground that must be intercepted by individual players. The impacts deal moderate damage that is not split between the affected players, so one player is enough.
- Each circle not intercepted deals the same damage to every player.
- Garothi Decimator: Casts Decimation. Random players are marked with a very large circle. This deals moderate damage to those affected after a certain time and slight damage to the entire raid.
- Affected players should carry the circles outside while the remaining group members avoid the areas. The raid should preferably gather around the Decimator to minimize movement and make healing the damage easier.
- Garothi Ruin: Casts Ruin. A target is marked, which will shortly thereafter take damage that is split among all players within 10 meters. 2-3 additional players are sufficient for interception.
- The spell leaves a debuff that increases shadow damage taken by 100%. Players intercepting must therefore be rotated. Affected players should not stand too close to each other as the spells expire at different times.
The Fight Against the Hell Hounds
Defeating the Hounds deals 6% of Kin’garoth’s maximum health as damage (4% in heroic mode). Therefore, they should all be prioritized for death.
Once the constructs become active, the fight returns to phase 1 and repeats until the end. After about three rotations, the boss should meet his demise. However, the individual phases differ in the distribution of active Hounds:
First Rotation: One Ruin, one Demolisher, and one Decimator, of which only the Decimator should be taken into the next phase.
Second Rotation: Two Demolishers and one Ruin, of which only the Ruin should be taken into the next phase.
Third Rotation: Two Decimators and one Ruin, of which only one Decimator should be taken into the next phase.

Your opinion is important to us!
Do you like the article? Then let us know!