

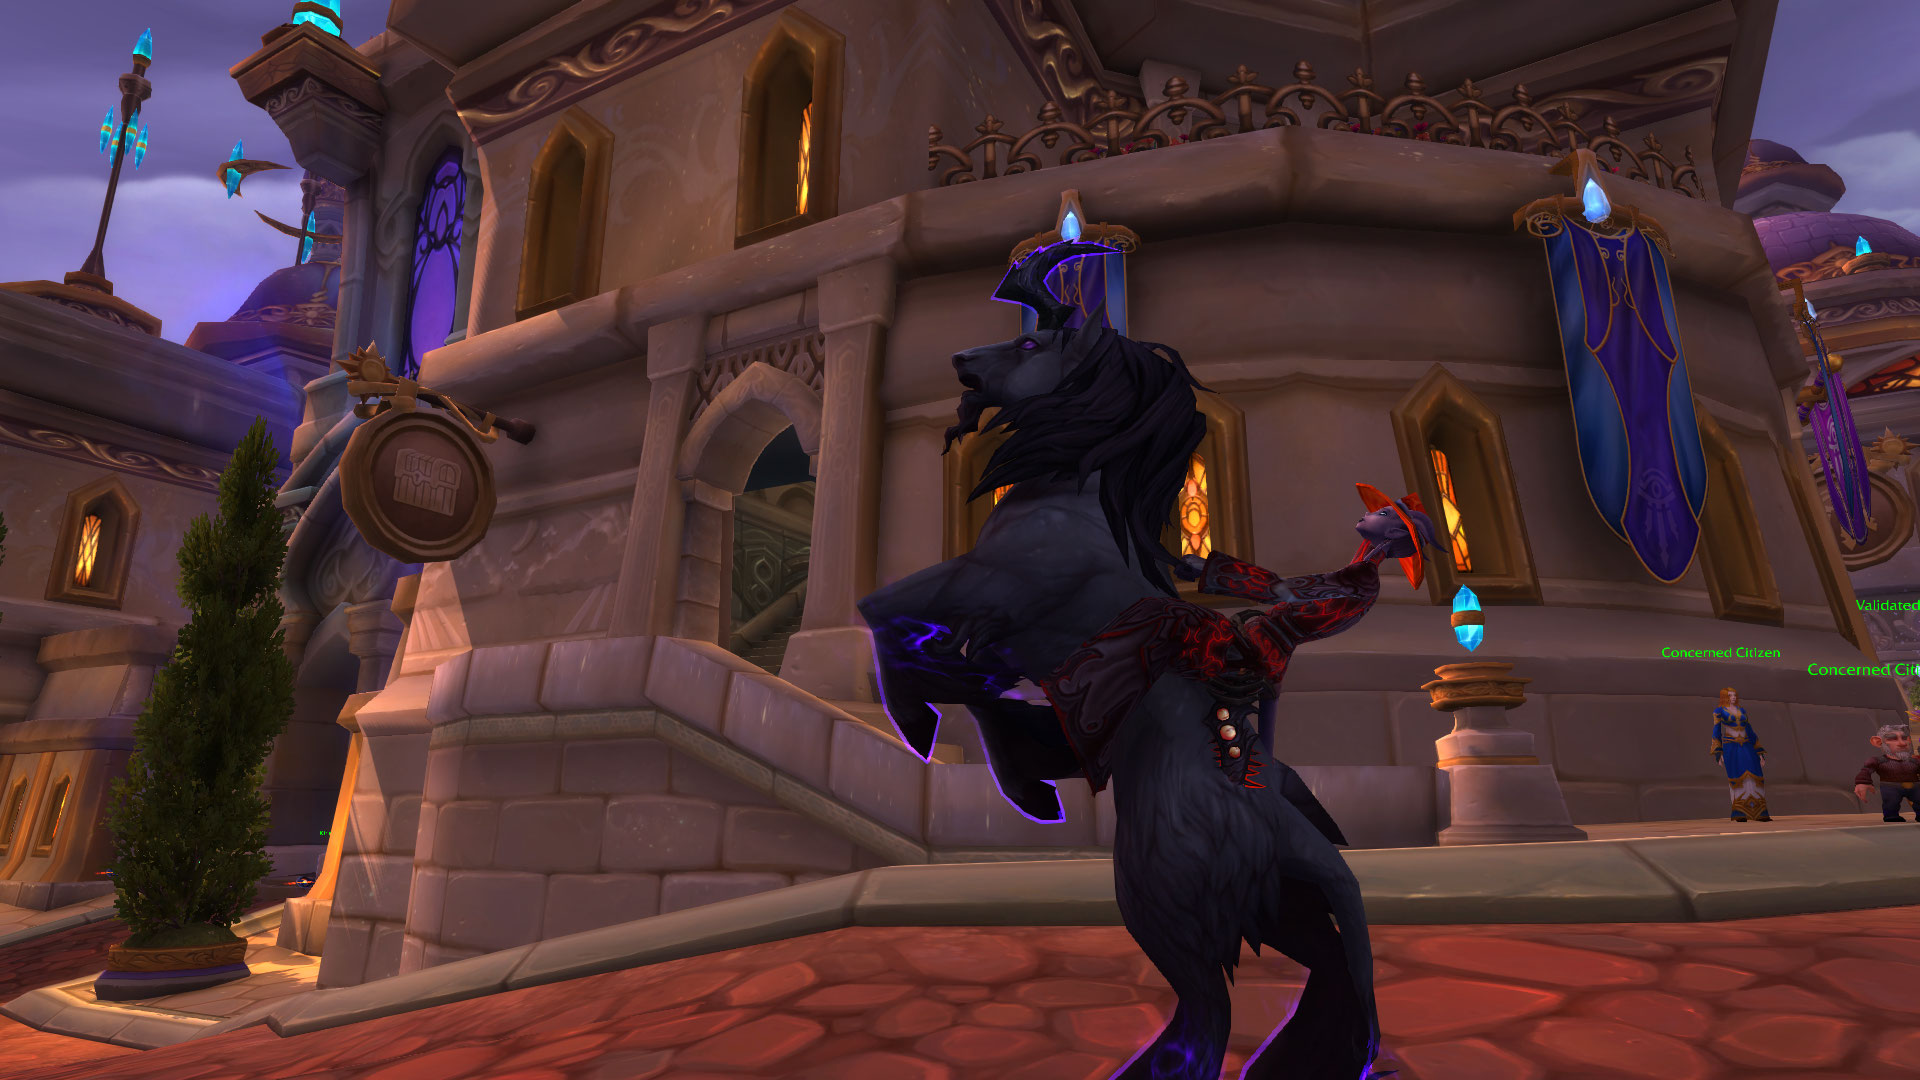
The riddle of the Lucid Nightmare has been solved. We will tell you how to get the black monocorn in World of Warcraft.

It took just under 3 days for the big riddle in World of Warcraft to finish. With Patch 7.3 of Legion, the developers had hidden a new mount in the game – the Lucid Nightmare. The community from the “WoW Secret Finding” Discord worked hard for three days and finally cracked the riddle. We will tell you the steps to obtain the dark monocorn Lucid Nightmare.
There are many curious things in WoW anyway:
WoW Mount Guide for the Lucid Nightmare
It is important that you follow the steps in the correct order. Jumping straight to the last step is not possible. All steps must be handled individually and in sequence to ultimately obtain the mount.
Additionally, it is important for many steps that you are not in a group – that can be a bug, but it’s better to disband your group beforehand.
Moreover, you should bring at least 3 hours of time. The riddles can be quite complex, requiring time and a lot of brainpower – even with a guide.
Step 1: Dalaran & Ulduar
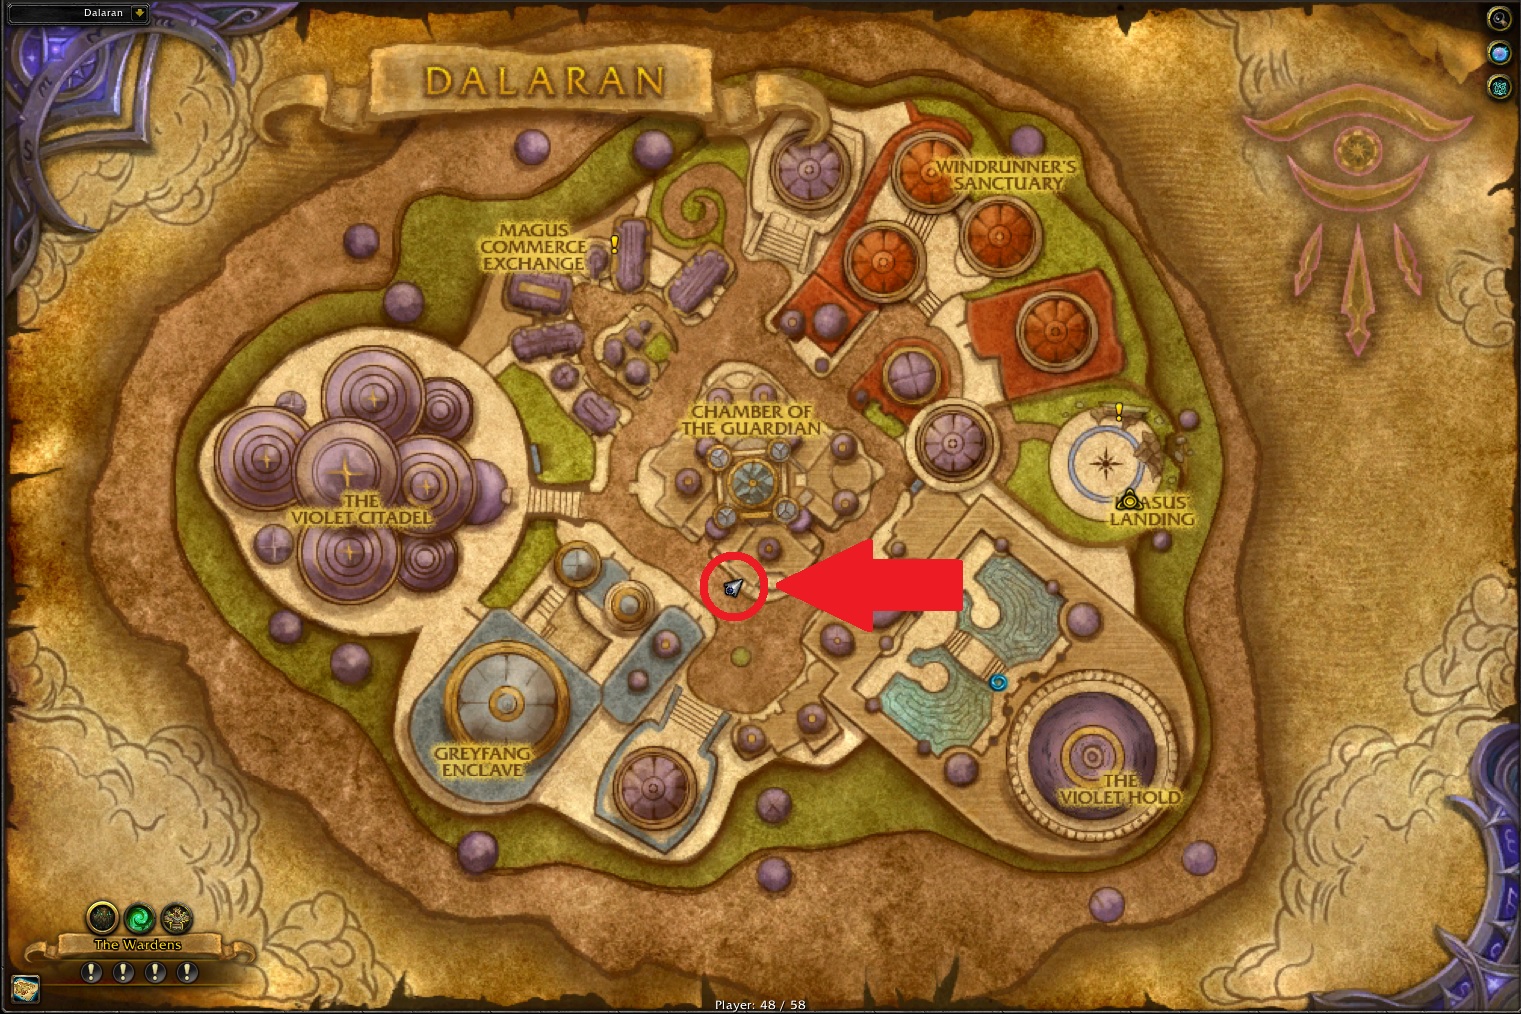
The first note can be found in Dalaran (Legion), on the upper floor of the shop “Curiosities and More” on a table. Most characters can reach Dalaran via their “Dalaran Hearthstone” or a friendly mage who provides a portal. If you don’t have either, you can also visit the portal room in Stormwind or Orgrimmar and take the portal to Azsuna. From there, simply fly to Dalaran by griffon. Click the note in the “Curiosities and More” shop, after which a purple brain briefly lights up and the first hint is readable.
Now travel to Northrend to the raid Ulduar. You can find a portal to Northrend-Dalaran again in Stormwind or Orgrimmar. Fly from there to the north of the Storm Peaks to the raid entrance of Ulduar.
Defeat the Flame Leviathan and proceed to the room of the 2nd boss: XT-OO2. In the corners of the room, there are various hills with metal debris. On one of the hills (back left) a lever protrudes from the “head” of a mechagnome. Pull the lever, causing the entire room to fill with a 20×20 grid of lights. According to the 1st hint, one must draw a specific “sign” in the room – Mimiron’s symbol is the key.
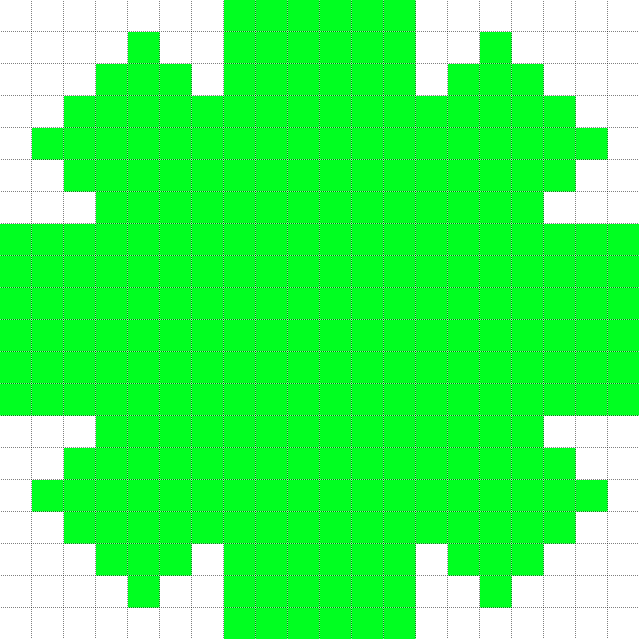
Activate the lights so that the following pattern is formed:
Important: Each field in the representation stands for a lamp in the game and NOT for a rectangular area consisting of 4 lamps.
Then, a new hint appears in the center of the room (which you need to click) from a creature that was “imprisoned for 1000 years” – that’s C’thun.
Step 2: The Temple of Ahn’Qiraj
Hop on your flying mount and fly to Silithus (to the south of the continent Kalimdor) to the raid Temple of Ahn’Qiraj.
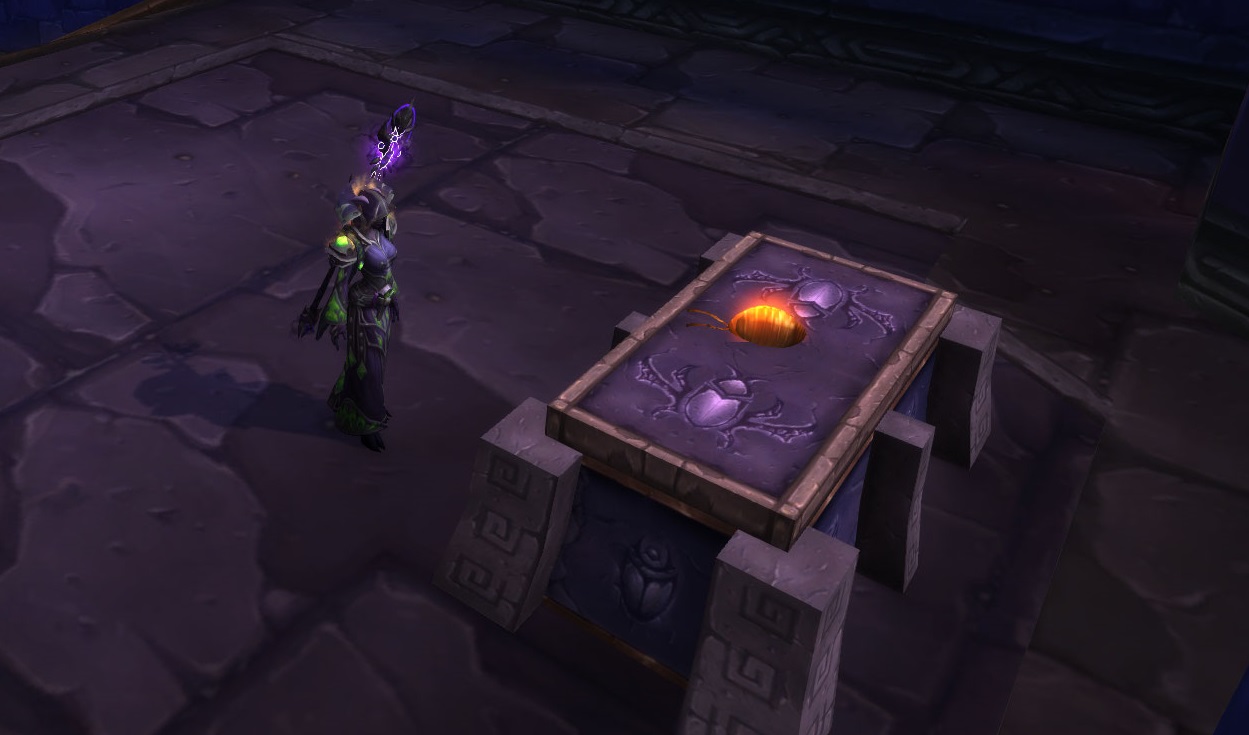
Completely traverse the raid until just before the chamber of the final boss C’thun. However, do not turn into the final room, but go a little further – past the three trapped “dragon” NPCs. A small altar stands at the end of a staircase with a mind larva.
The typical “Bejeweled” mini-game begins. Create rows of the same symbols to dissolve them and collect points. The exact victory conditions are unknown and player reports yield different results. In case of doubt, just keep playing and collect points; eventually, the next hint will forcibly appear before the altar – click on it.
Step 3: The Deepest Depths of Deepholm
For the next step, you definitely need the item Shadowweave Mask. Tailors can craft this if they have learned the recipe. It drops in the Searing Gorge from dark iron dwarves. Craft the mask yourself or buy it in the auction house or from a tailor.
The next note says that you must go “deeper than deep” – this refers to the area Deepholm. Fly here to the northeast of the area (stay close to the ground) and enter the cave at coordinates 58 / 26. Follow the cave until you can see a “dark crevice” at coordinates 64 / 23 – click on it and jump in.
Inside the cave, there is a chair, and on its back is a small plaque – the next hint. Click the plaque and then the skull while wearing the Shadowweave Mask.
Stay in the cave and put on the Shadowweave Mask. Now you can interact with the skull that is on the chair! This generates the next hint, which lies on the ground. If the skull is not clickable, then relog in the cave while wearing the mask.
Step 4: Gnomeregan
This hint leads you to the instance Gnomeregan in Dun Morogh. Alliance players can ask a mage for a portal to Ironforge, which is located directly in Dun Morogh. Horde players take the zeppelin from Orgrimmar to Stranglethorn Vale and manually fly from there to Dun Morogh. Then enter the Gnomeregan instance, the entrance is marked on the map.
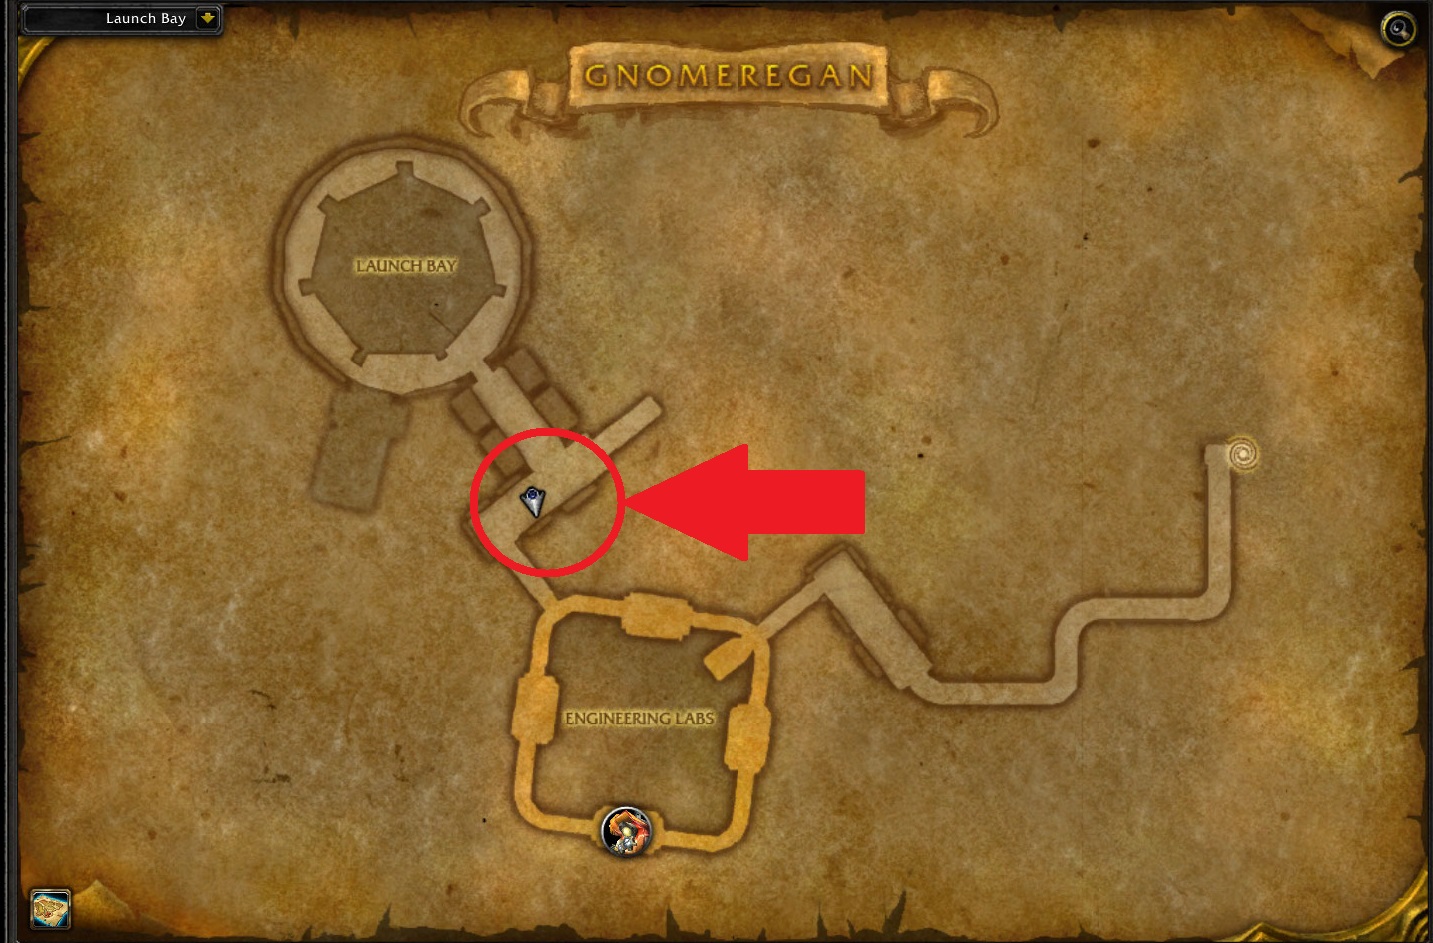
Go to the coordinates 37 / 55 in the instance (see screenshot). Here you will find a set of 10 consoles, on which you can set numbers. A hint is written on the plaque in binary code – what it means exactly is still a mystery to some players. To shorten it: Enter the following number combination from left to right with the 10 consoles: 1222176597.
This will make the next hint visible, which also needs to be clicked.
Step 5: Val’Sharah
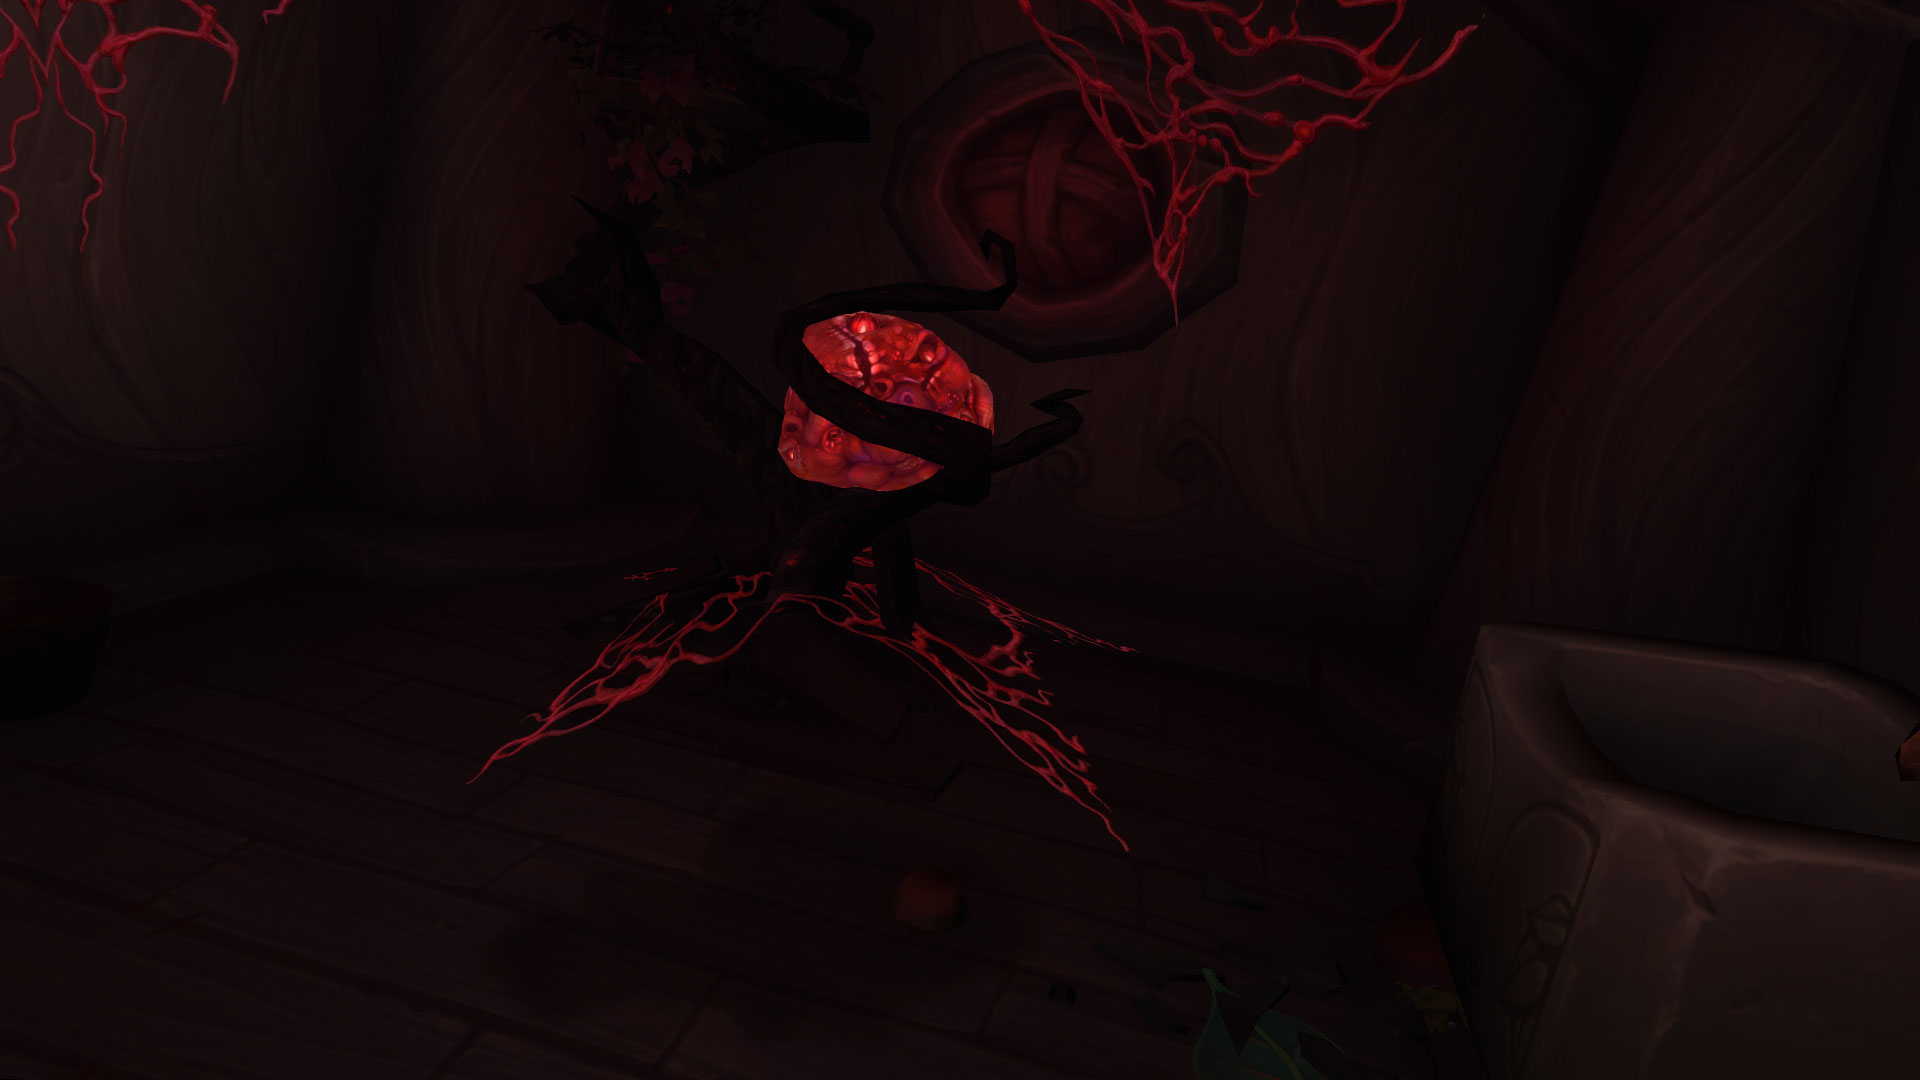
Whoever “wakes up screaming” clearly had a nightmare. Nightmare? That sounds suspiciously like Val’Sharah! Travel to coordinates 66 / 36 and enter the small house on the hill (where the rare mob hippogriff circles). Inside, you will find a pulsating tumor that you must eat. Don’t ask, just do it.
Afterward, you need to solve the small “Blingtron” game. Here, you must arrange the “threads” so that there are no overlaps. If two points do not have overlaps with each other, the connection turns blue. You win when all connections are blue.
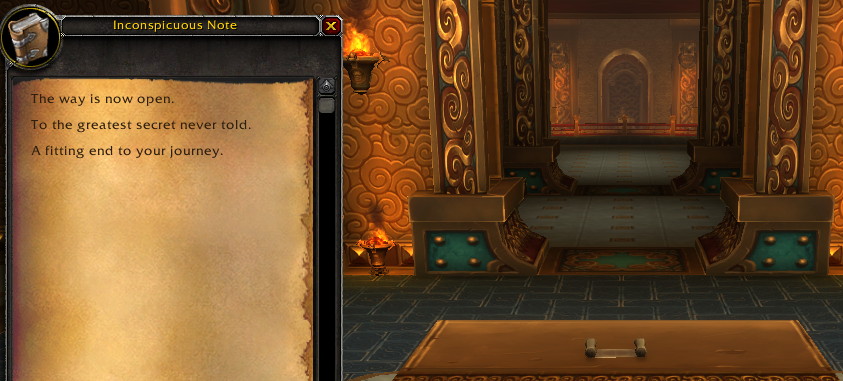
Once you succeed, the penultimate hint becomes visible. Click on it, use your hearthstone and head to Pandaria!
Step 6: Kun-Lai’s Endless Halls
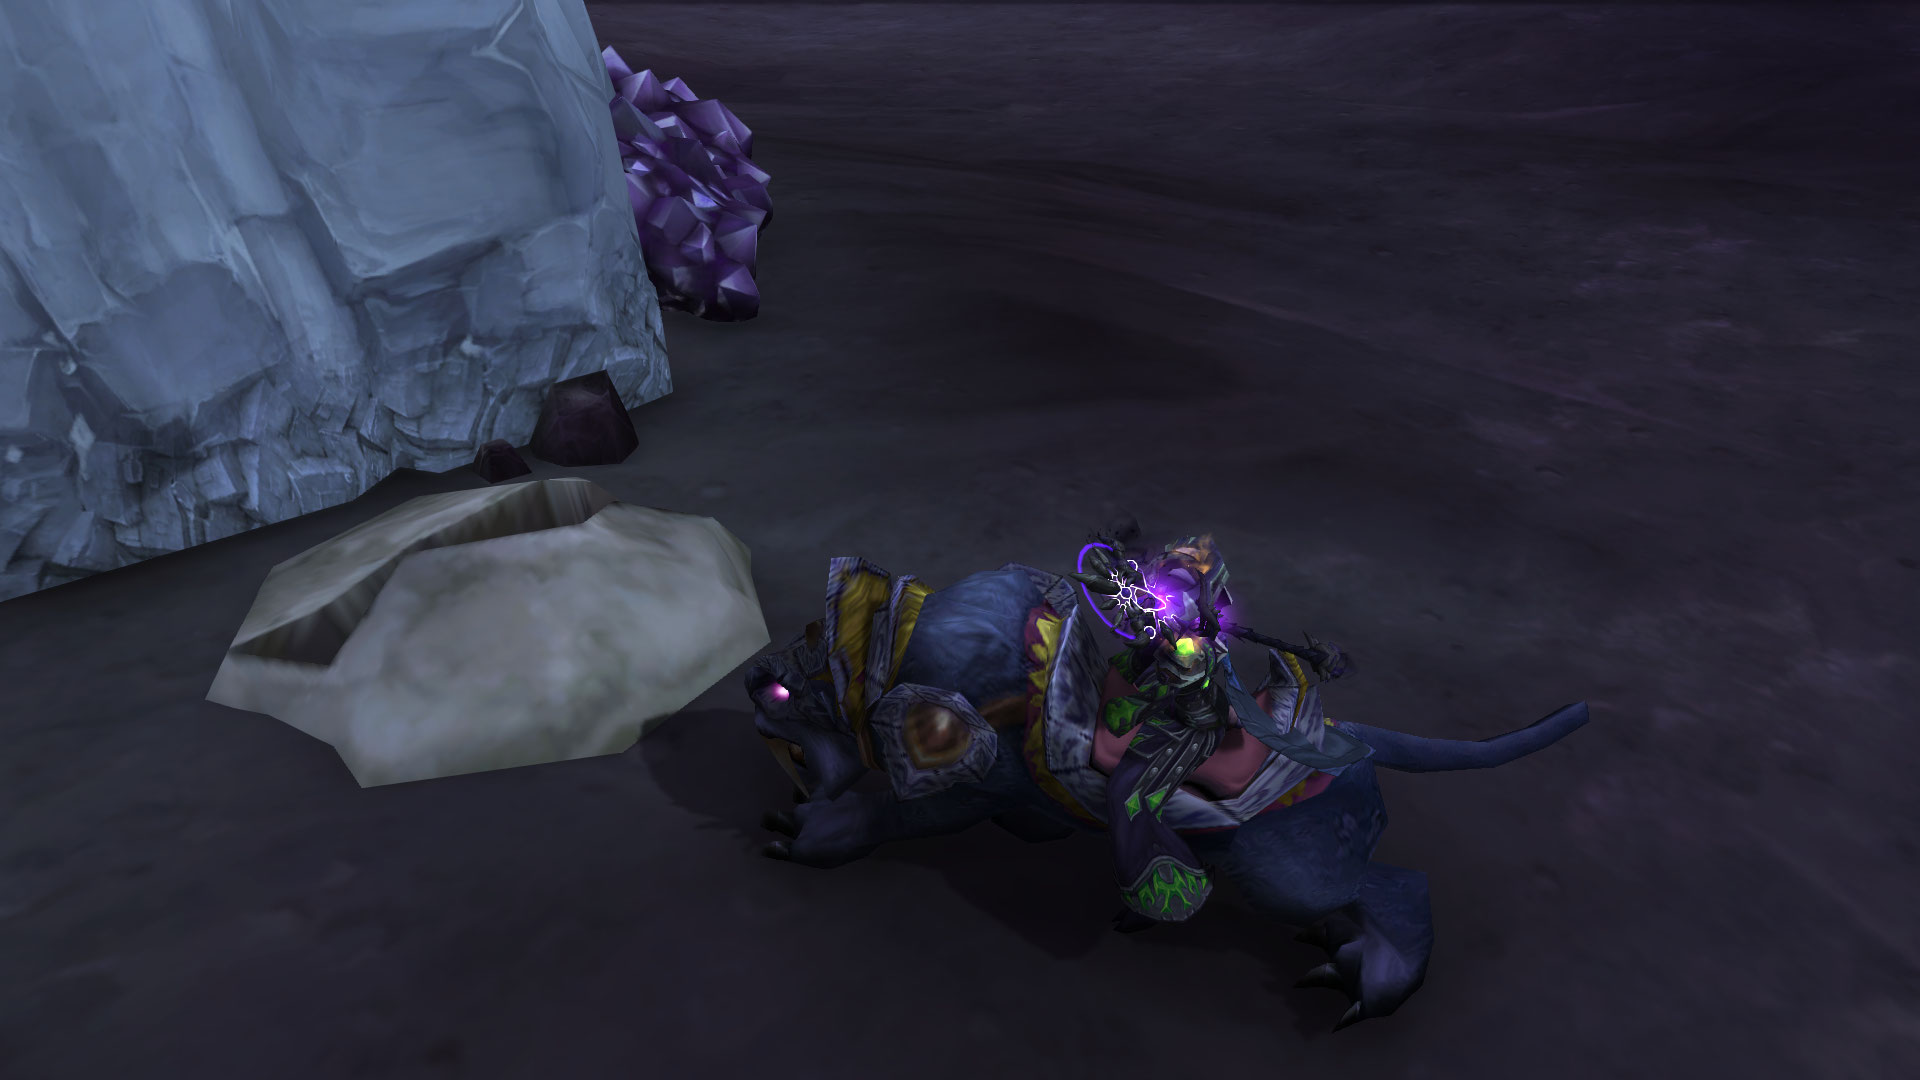
Travel to Kun-Lai Summit and enter one of the Mogu ruins at 53 / 49. At the feet of the large statue, there is an urn. Grab the ashes and eat them. What could possibly go wrong?
Now you find yourself in the endless halls. They essentially consist of “one room,” but this repeats over and over. When you leave the room in one direction, you enter another room that looks identical. Only some entrances are sometimes blocked. This creates a very complex maze with more than 50 different rooms.
In some rooms, there is a colorful torch near the central altar – red, yellow, green, blue, and violet. By clicking on the torch, you receive a ball of the same color. You must now bring the ball to a room whose altar is marked with a symbol of the same color – that is, a red ball to a red altar, a blue ball to a blue altar, and so on.
It might help to draw a map by hand in a very old-fashioned way, because currently, it seems the maze is different for each player. An example of how to draw the map is shown in this YouTube video:
Once you have brought all 5 balls to their altars and leave the room another time, the last hint will appear before you – click on it!
Step 7: Karazhan’s Crypt
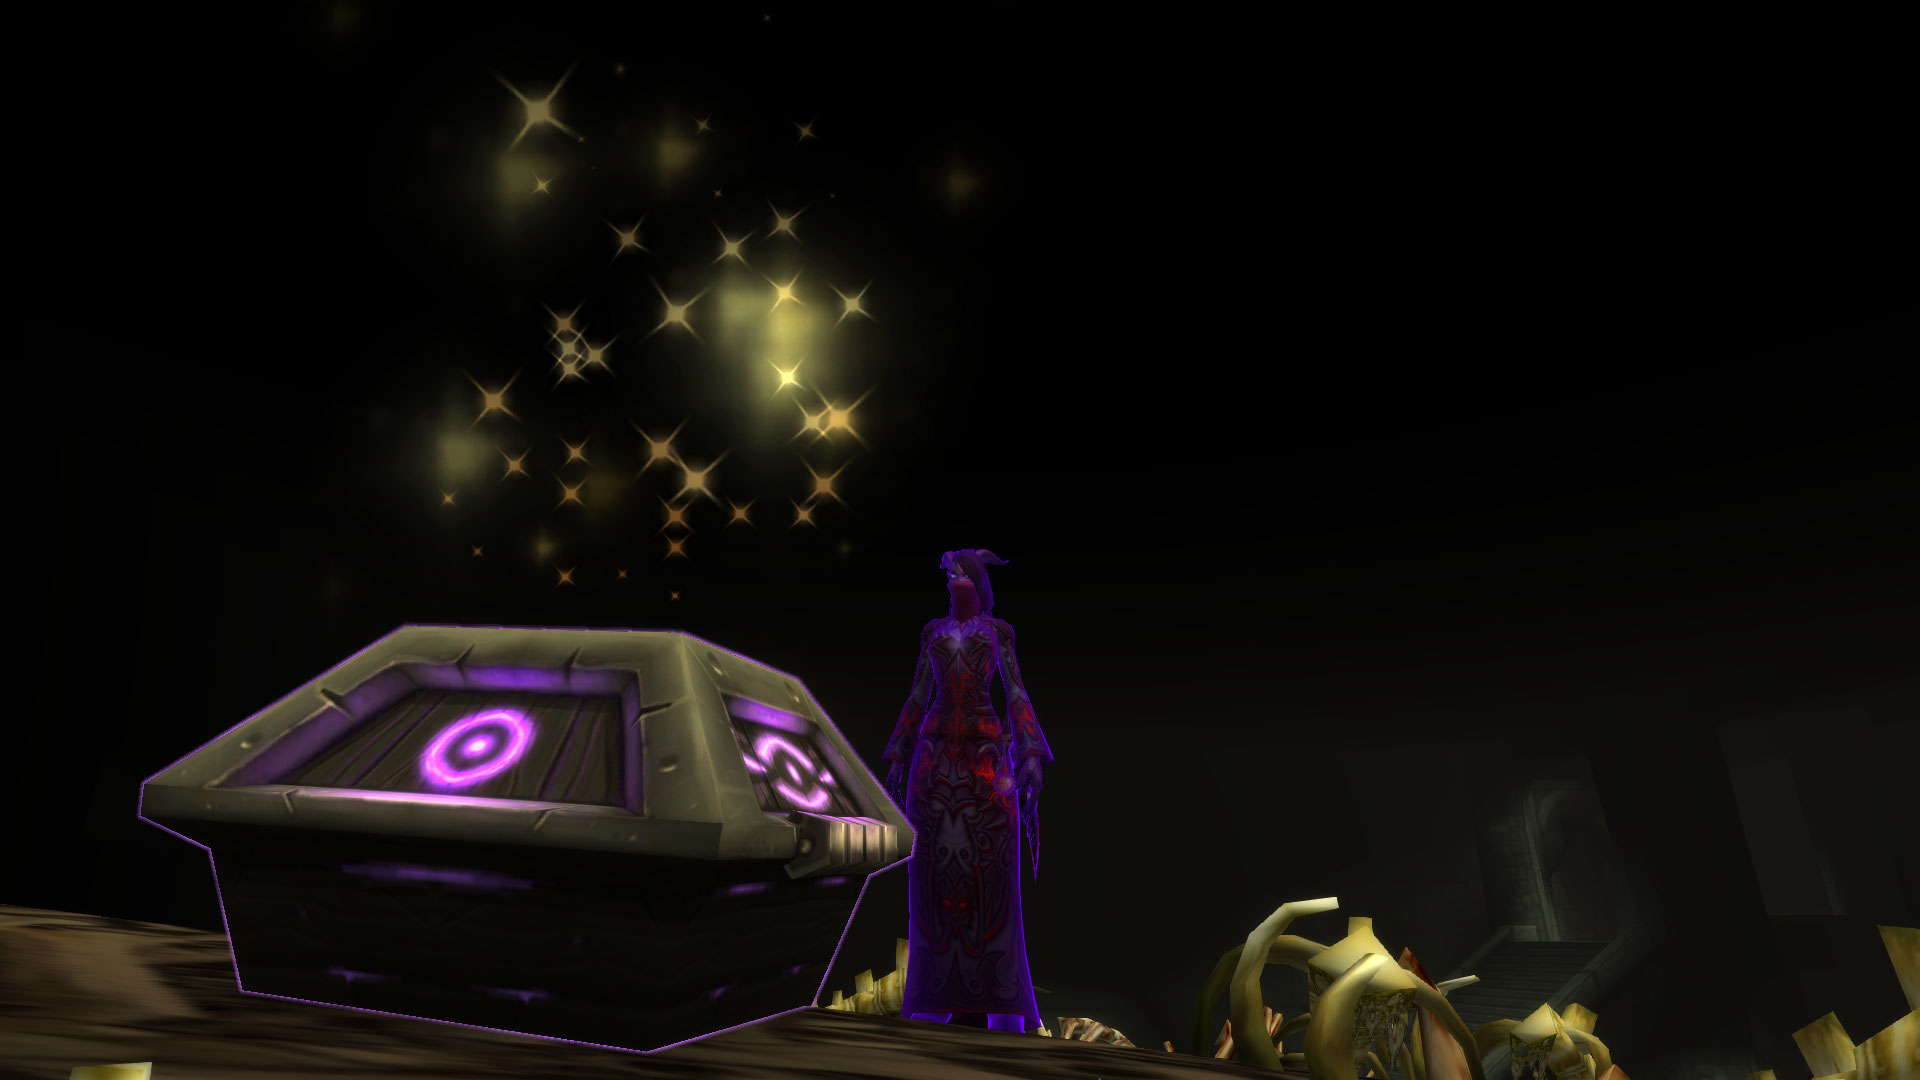
The end of the riddle can be found at the mountain pass of the dead winds. Behind Karazhan is the entrance to the Forgotten Crypt – a new gate is now open there. The entire crypt is now accessible. In these rooms, it’s quite eerie – plenty of corpses and strange sounds. In the largest room of the crypt stands a huge pile of skeletons – and on top of it a treasure chest.
Open the chest and you finally have the Lucid Nightmare in your hands! Congratulations!
What do you think of this riddle? Is it getting too crazy for “normal players” to keep up? Or can it “not be that hard”, since it was solved after just 3 days?

Your opinion is important to us!
Do you like the article? Then let us know!