
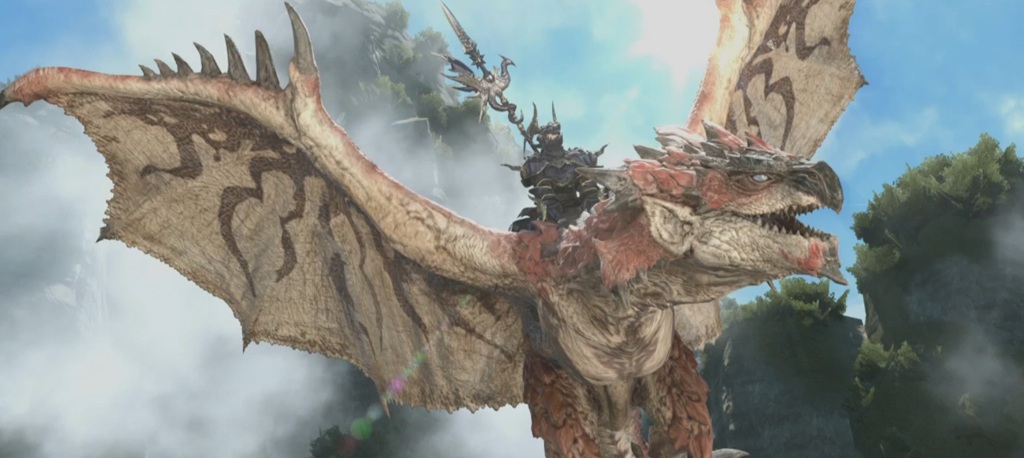
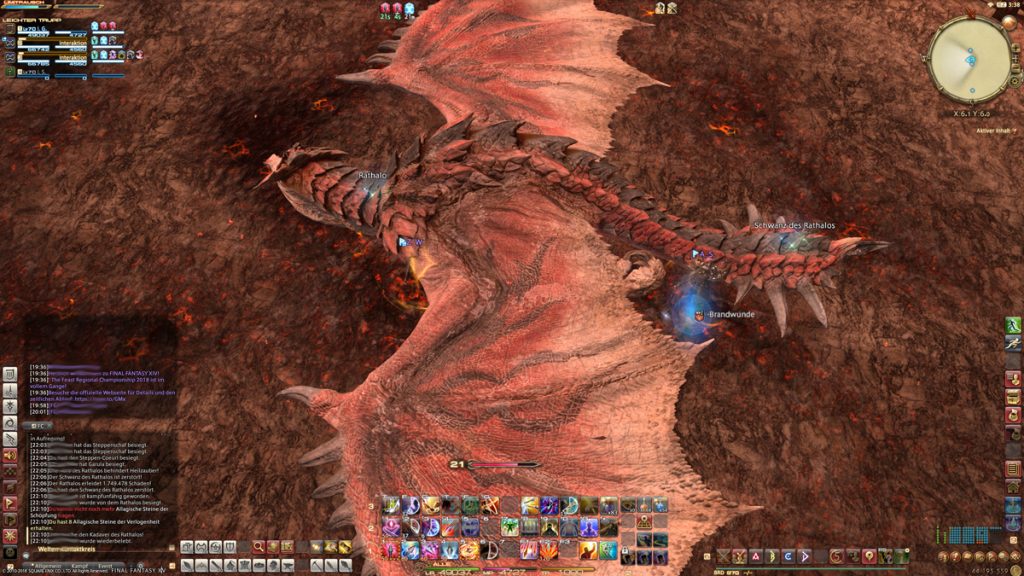
Rathalos from Monster Hunter: World terrorizes the world of Final Fantasy XIV. We have created a guide for you to the Extreme version of the fight, so you can snag the cool loot from Rathalos (Heavy).

The fight against Rathalos in FFXIV is very different from other trials. It has special mechanics taken from MHW to keep Rathalos as authentic as possible.
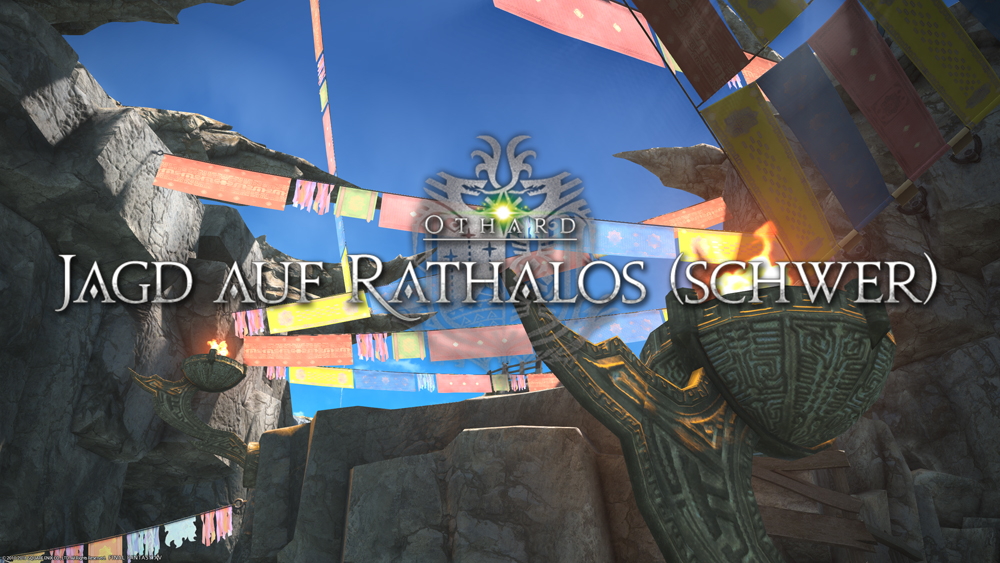
Guide: King of the Skies
Where can I find the extreme version? After defeating the normal version of Rathalos in a group of 8 players, you can take on the challenge in the extreme version:
- Quest Name: The King of the Skies Returns
- Location: Kugane (X: 9.7 / Y: 8.9)
- NPC: Monster Hunter
- Requirements: Completion of the quest “King of the Skies”, item level 350+
What are the features of the EX version? The extreme trial is similar to the normal version in many mechanics; however, there are two important differences:
- A maximum of 4 players are allowed to participate. The group composition can consist of any jobs.
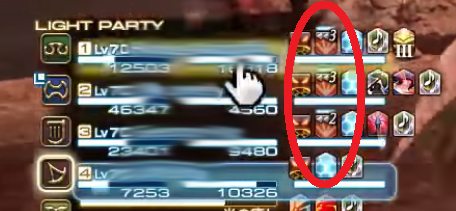
- The players in the group can go down a maximum of 3 times: A total of 3 KOs is allowed during the entire fight, not 3 times per player.
Players therefore have much more individual responsibility than in the normal version and must always know what Rathalos is doing and who he is currently targeting.
As in the normal version, there are no ground indicators when Rathalos executes his attacks, and players must pay attention to how the beast moves and who he looks at to dodge in time.
Strategy for Rathalos EX in Final Fantasy XIV
Before the Fight
Rathalos appears to be a chaotic fight at first glance. However, you can quickly get used to it. Generally, there are some rules of thumb to follow to deal with the fight effectively:
- Medica is a must for healers: Without this ability, the fight is very hard. Ideally, you should bring a Scholar with Selene’s “Fairy Wind” ability. “Paean of the Guardian” from the Bard or “Erasure” from the mages is helpful in later phases.
- Healers should never revive: Players can return and continue participating in the fight. Normal rising does not incur disadvantages like weakness, and you regain full HP and MP immediately.
- Save the Mega-Potions for the last phase: As in the normal version, the healers can use their magic in the first phase, and they should do so. The potions should be saved for the phase in which healing magic is blocked.
- Try to spread out during the fight in the arena: Even though Rathalos always targets one player, all of his attacks are AOEs. If you have aggro and are near group members, you risk hitting them as well.
- Don’t get one-shot: If your HP in the group is below approximately 40,000, you should equip Constitution Materia until you exceed 40,000. Most of Rathalos’s attacks deal such high damage that they would instantly kill any player with HP below 40,000 without shields. High HP gives you a chance to survive.
- All attacks can stun: If you get hit by several attacks in succession and survive, your character will be briefly stunned.
- Rule of Thumb: If Rathalos turns towards you, run to the side!
The fight does not have super complicated mechanics, as one might know from other EX trials. In general, you should always keep an eye on Rathalos and be careful of which movements he performs to successfully dodge his attacks.
First Phase of the Rathalos Fight in Final Fantasy XIV
Right at the beginning, Rathalos will roar. It is an AOE. He reduces the group’s HP by about 40%. Healers should, therefore, ideally set up shields beforehand to absorb the damage. Rathalos will use this attack multiple times throughout the fight.
Rathalos will also use his attacks from the normal mode in this fight, but they now hurt much more.
Tail Swipe: This is a 180° attack that hits all players near Rathalos. The attack causes high damage and can stun players. It is usually executed two to three times.
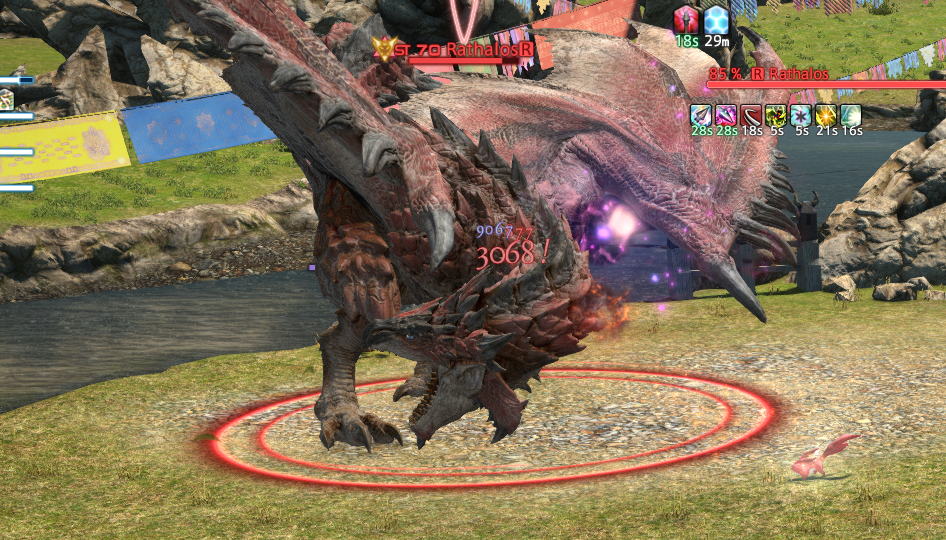
Shortly before executing the attack, Rathalos will bend his head, roar and swing his tail to the side. He always looks in the direction from which the tail swipe will come. When he does this, melee fighters should position themselves in front of him, at his knees, to avoid the attack while still being able to attack.
Maul: Rathalos will perform an attack where he spits fire in front of him and strikes behind him with his tail. You can recognize this attack when Rathalos lifts his tail shortly before and small flames come out of his mouth. To dodge, you should get away from him as quickly as possible.
Charge: Rathalos will target a player to charge at, causing massive damage. Anyone in his path will also take damage.
This attack is preceded by the beast turning towards the player, leaning forward, and loudly roaring. Players need to run to the side immediately to dodge the attack.
Flame Recoil: It is one of Rathalos’s more difficult attacks. It involves a fireball that deals significant damage, can stun players, and is hard to recognize.
When Rathalos is about to cast this attack, he will turn towards the targeted player, raise his wings slightly, and hold still for a few moments.
Fire Breath: This fireball mechanic is one of the few that is actually displayed as AOE on the ground in this fight. It targets a player, who will receive a marker. This player will then be hit by a fireball and receive a stack of the DoT “Burning Wound”.
The attack itself causes about 20,000 HP damage, and the burning wound stacks will become stronger the more a character is hit by the fireball. Therefore, it should ideally be removed with Medica or a similar ability.
While the animals are on the battlefield, Rathalos will continue to execute the above-mentioned attacks normally, so always keep an eye on what he is currently doing.
DPS Check
At about 70% HP, and after all the animals have been taken down, the DPS check phase of the fight begins. As in the normal mode, a Garula will appear and knock Rathalos over. After that, a DPS should use the special command and jump on his back.
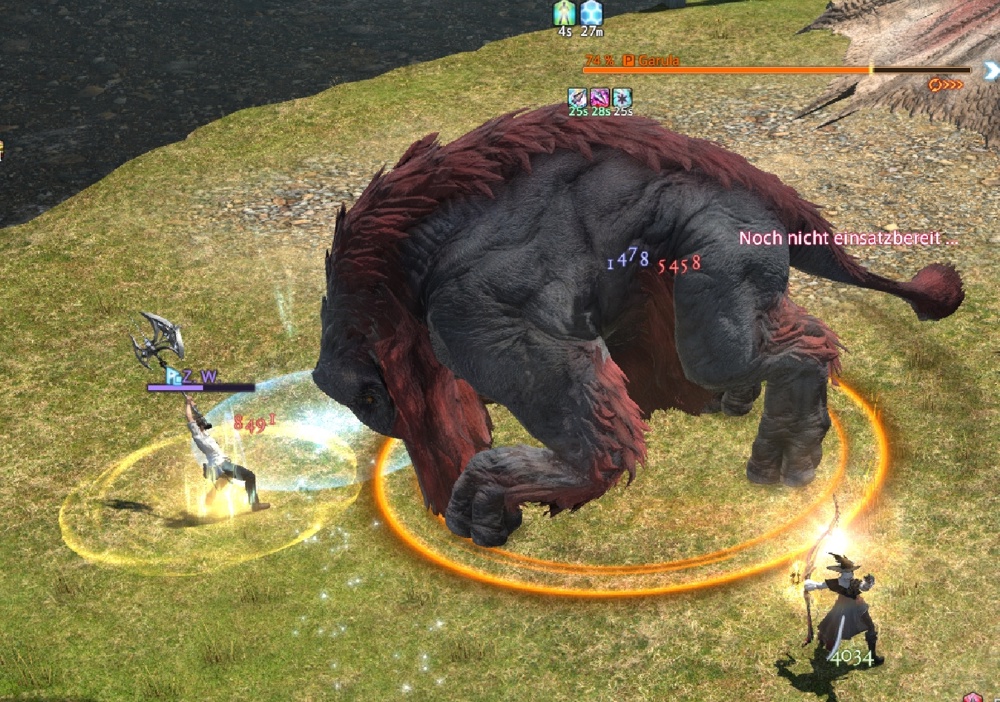
The remaining group must now defeat the Garula as quickly as possible so that they can hide behind its corpse from Rathalos’s fire.
There are two important differences from the normal mode:
- Garula deals massive damage to the tank and should be tanked against the wall because it uses an extremely strong frontal AOE. Therefore, the healer should focus on keeping the group alive.
- The player climbing onto Rathalos’s back will receive a heavy DoT. He will die quickly if the healer does not take care of him.

The group has about 25 seconds to defeat Garula before Rathalos unleashes his ultimate attack. Otherwise, Garula will run away and the group will wipe.
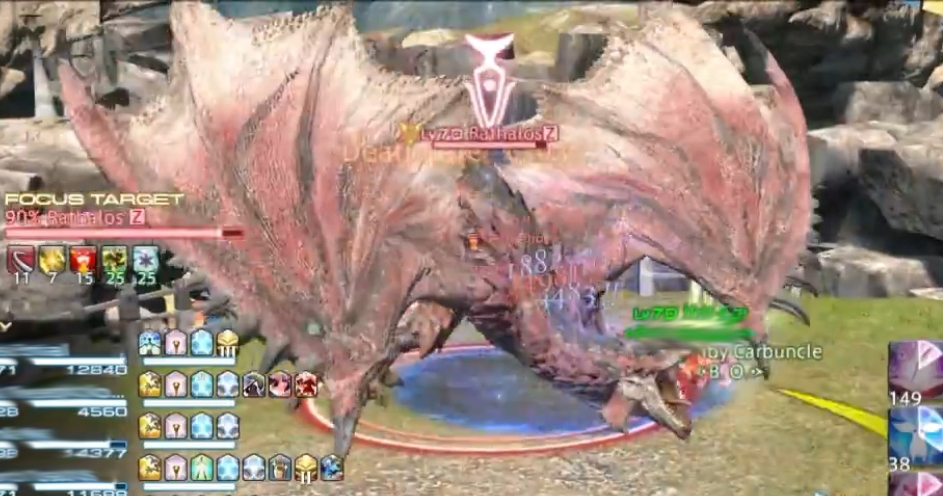
Third Phase of the Rathalos Fight in Final Fantasy XIV
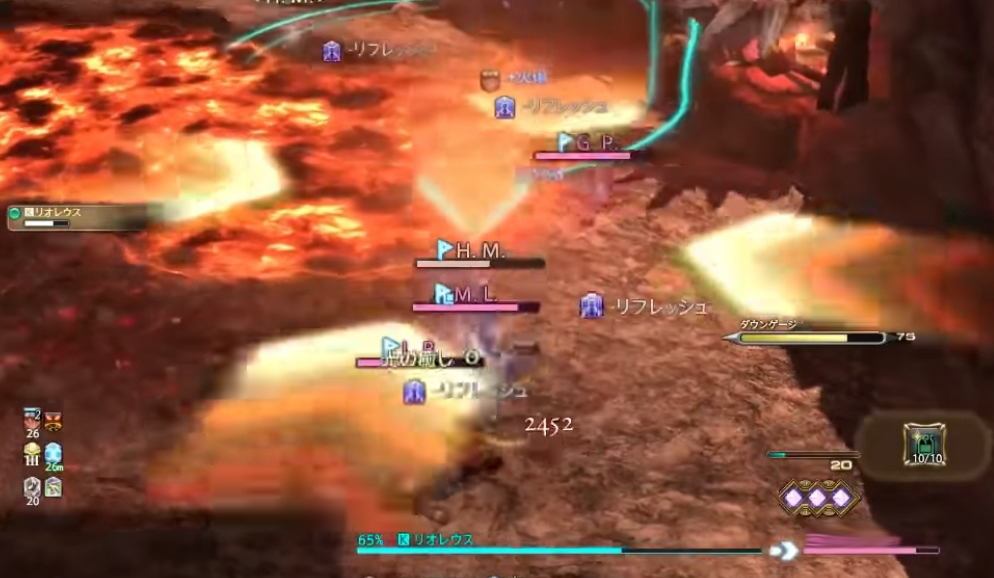
Rathalos will now fly permanently: This also changes his attack behavior and adds a new mechanic to the fight. While he is in the air, the beast will take significantly reduced damage. However, he now gets a new status bar indicating when the group has inflicted enough damage to bring Rathalos down.
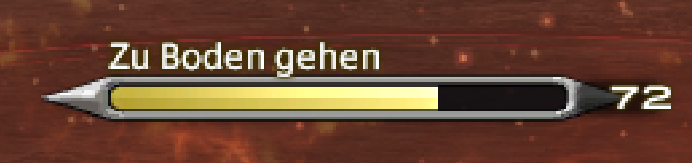
It is not worth dealing with Rathalos using strong abilities while he is still in the air. Rather wait until the bar is full and Rathalos falls down.
Once he is on the ground, he will take increased damage. So keep an eye on the bar and save your buff skills for the moment Rathalos comes down.
From this phase onward, all abilities that regenerate HP will also have no effect. Healers should focus on damage and removing negative status effects such as Burning Wound and Poison.

After Rathalos returns to the battle arena, the group should immediately spread out again to avoid his first attack.
As Rathalos is now permanently in the air, his set of attacks has also changed:
- Charge: The attack changes in that Rathalos now attacks with his claws from the air. He will again target a random player, roar, and fly toward him. His attack now inflicts not only extremely high damage but also poison, which must be removed as quickly as possible.
Rathalos will execute this attack multiple times in succession. To dodge, players must run out of his way.
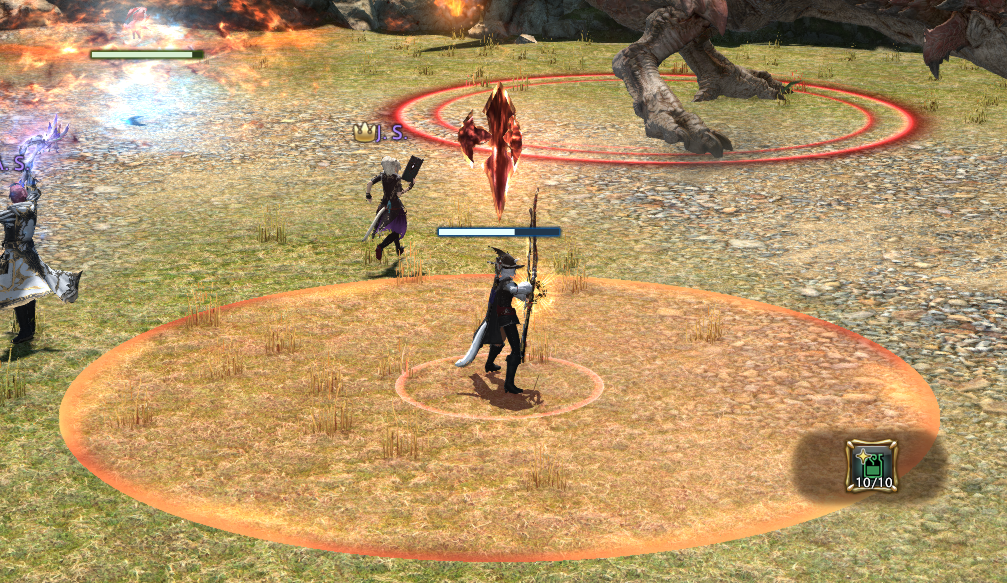
- Triple Fireball: This is the second mechanic that is actually displayed. A random player in the group will receive an AOE marker, followed by three fireballs from Rathalos. They work as follows:
- Players must gather next to the marker to share the damage.
- Each fireball leaves an AOE puddle on the ground that will remain for a very long time. Therefore, players must keep moving after each fireball. Place your puddles such that they do not obstruct your movement on the field.
- With each fireball, affected players receive a stack of “Burning Wound” DoT. It does not hurt too much, but it should be removed with Medica or a similar ability by at least 3-4 stacks.
- A tank can and should take their fireball stack alone. This reduces the number of players who later need Medica from the healer.
- Fegende Flames: Similar to the first phase, Rathalos will turn towards the player and fire will appear in his mouth, which he will then spit out. It causes heavy damage and gives the player a Burning Wound stack.
Once the group has managed to fill the “Come Down” bar, Rathalos will crash.

On the first crash, the group will have the option to attack his tail, which they should do. If the HP of the tail can be brought to 0 before Rathalos recovers, he will suffer massive damage.
If you have a mage or ranged fighter in the group, they can use their Limit burst at this moment to hit both the tail and Rathalos for high damage.
Afterwards, Rathalos will rotate through the above-listed abilities until the end of the fight. No further surprises will come.
You will likely manage to fill his bar two to three more times and bring him to the ground. If his tail is already severed by then, you can just attack him directly. So keep your eyes open and you will get through the fight well.
Good luck farming!
The summer event Fire Moon Dance is coming to Final Fantasy XIV soon:
Summer event in Final Fantasy XIV brings emote and new outfits
These attacks will be executed in a random order, and it is also a coincidence which player in the group he targets.
Second Phase of the Rathalos Fight in Final Fantasy XIV
At about 80% HP, Rathalos will roar again and deal heavy AOE damage to the group. Afterwards, new monsters will enter the arena. These are sheep, goats, and a Coeurl, which you can otherwise encounter in the first boss fight of the dungeon “Bardam’s Test”.
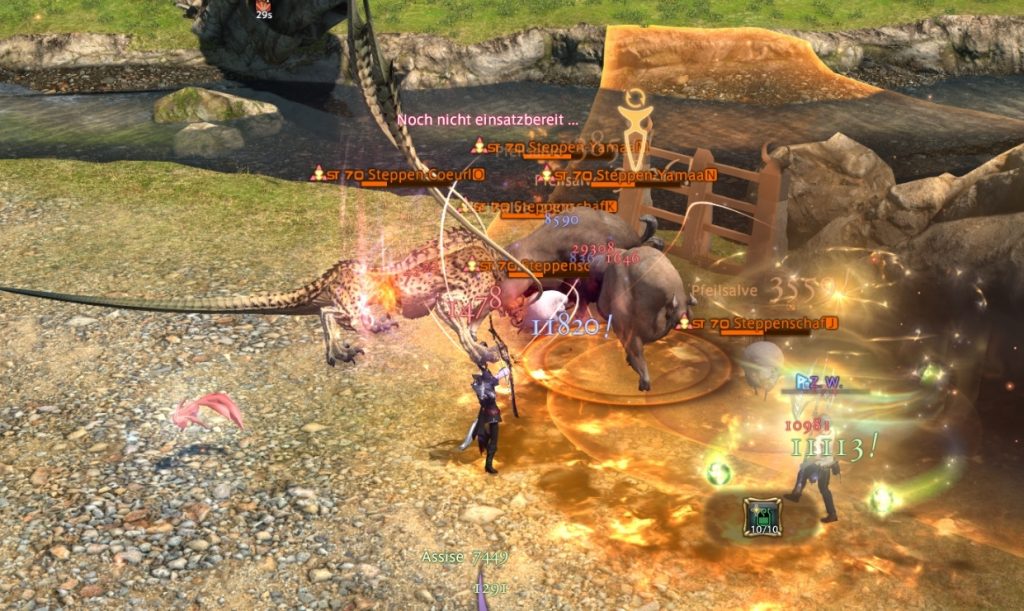
They will all primarily focus on Rathalos, but their AOEs are very annoying and disruptive. Unlike Rathalos, they have normal aggro behavior and can be tanked. Therefore, it is advisable to take care of them as quickly as possible.
- Steppe Sheep: Place a small AOE around themselves, putting asleep any players standing in it.
- Steppe Yamaa: Attack Rathalos with unannounced frontal AOEs.
- Steppe Coeurl: Performs a massive frontal AOE that causes paralysis. It should be tanked by the tank with the AOE towards the wall.
All attacks from Rathalos also deal damage to the animals. If a player is, for example, targeted by a marked fireball, it is advisable that he stands next to the sheep and goats to ensure they are also hit.
While the animals are on the battlefield, Rathalos will continue to execute the above-mentioned attacks normally, so always keep an eye on what he is currently doing.
DPS Check
At about 70% HP, and after all the animals have been taken down, the DPS check phase of the fight begins. As in the normal mode, a Garula will appear and knock Rathalos over. After that, a DPS should use the special command and jump on his back.
The remaining group must now defeat the Garula as quickly as possible so that they can hide behind its corpse from Rathalos’s fire.
There are two important differences from the normal mode:
- Garula deals massive damage to the tank and should be tanked against the wall because it uses an extremely strong frontal AOE. Therefore, the healer should focus on keeping the group alive.
- The player climbing onto Rathalos’s back will receive a heavy DoT. He will die quickly if the healer does not take care of him.
The group has about 25 seconds to defeat Garula before Rathalos unleashes his ultimate attack. Otherwise, Garula will run away and the group will wipe.
Third Phase of the Rathalos Fight in Final Fantasy XIV
Rathalos will now fly permanently: This also changes his attack behavior and adds a new mechanic to the fight. While he is in the air, the beast will take significantly reduced damage. However, he now gets a new status bar indicating when the group has inflicted enough damage to bring Rathalos down.
It is not worth dealing with Rathalos using strong abilities while he is still in the air. Rather wait until the bar is full and Rathalos falls down.
Once he is on the ground, he will take increased damage. So keep an eye on the bar and save your buff skills for the moment Rathalos comes down.
From this phase onward, all abilities that regenerate HP will also have no effect. Healers should focus on damage and removing negative status effects such as Burning Wound and Poison.
After Rathalos returns to the battle arena, the group should immediately spread out again to avoid his first attack.
As Rathalos is now permanently in the air, his set of attacks has also changed:
- Charge: The attack changes in that Rathalos now attacks with his claws from the air. He will again target a random player, roar, and fly toward him. His attack now inflicts not only extremely high damage but also poison, which must be removed as quickly as possible.
Rathalos will execute this attack multiple times in succession. To dodge, players must run out of his way.
- Triple Fireball: This is the second mechanic that is actually displayed. A random player in the group will receive an AOE marker, followed by three fireballs from Rathalos. They work as follows:
- Players must gather next to the marker to share the damage.
- Each fireball leaves an AOE puddle on the ground that will remain for a very long time. Therefore, players must keep moving after each fireball. Place your puddles such that they do not obstruct your movement on the field.
- With each fireball, affected players receive a stack of “Burning Wound” DoT. It does not hurt too much, but it should be removed with Medica or a similar ability by at least 3-4 stacks.
- A tank can and should take their fireball stack alone. This reduces the number of players who later need Medica from the healer.
- Fegende Flames: Similar to the first phase, Rathalos will turn towards the player and fire will appear in his mouth, which he will then spit out. It causes heavy damage and gives the player a Burning Wound stack.
Once the group has managed to fill the “Come Down” bar, Rathalos will crash.
On the first crash, the group will have the option to attack his tail, which they should do. If the HP of the tail can be brought to 0 before Rathalos recovers, he will suffer massive damage.
If you have a mage or ranged fighter in the group, they can use their Limit burst at this moment to hit both the tail and Rathalos for high damage.
Afterwards, Rathalos will rotate through the above-listed abilities until the end of the fight. No further surprises will come.
You will likely manage to fill his bar two to three more times and bring him to the ground. If his tail is already severed by then, you can just attack him directly. So keep your eyes open and you will get through the fight well.
Good luck farming!
The summer event Fire Moon Dance is coming to Final Fantasy XIV soon:
Summer event in Final Fantasy XIV brings emote and new outfits

Your opinion is important to us!
Do you like the article? Then let us know!