
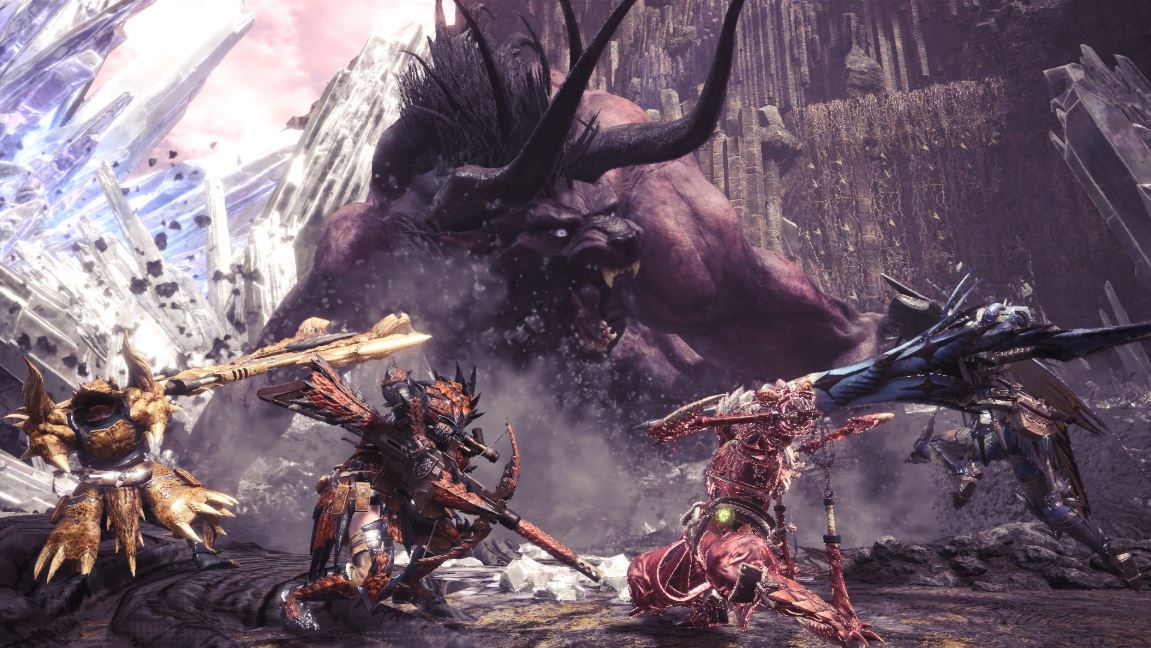
The Behemoth is giving players quite a bit of trouble in Monster Hunter: World. However, a Korean player has managed to take down the beast in a speed kill solo. We show you his builds.

For nearly a week now, Behemoth has been rampaging in Monster Hunter: World and has already taken down countless hunter groups. YouTuber United Potatoes has found a build that allows him to take down Behemoth solo in just 11:11 minutes.
If you no longer want to rely on other players in the group, then check out his video of the solo kill.
Utilized Builds
Phase 1
Used Armor:
- Head: Kulve Taroth’s Fury Beta
- Torso: Empress Armor Beta
- Arms: Xeno’jiiva Armguards Beta
- Belt: Xeno’jiiva Waistband Beta
- Legs: Xeno’jiiva Greaves Beta
Skills:
- Attack Boost Level 7
- Slingshot Capacity Level 3
- Peak Performance Level 3
- Fortify Level 1
- Xeno’jiiva Set Bonus
Phase 2
Used Armor:
- Head: Kulve Taroth’s Fury Beta
- Torso: Empress Armor Beta
- Arms: Xeno’jiiva Armguards Beta
- Belt: Xeno’jiiva Waistband Beta
- Legs: Xeno’jiiva Greaves Beta
Skills:
- Attack Boost Level 6
- Slingshot Capacity Level 3
- Peak Performance Level 3
- Artillery Level 3
- Fortify Level 1
- Xeno’jiiva Set Bonus
Phase 3
Used Armor:
- Head: Xeno’jiiva Helm Beta
- Torso: Empress Armor Beta
- Arms: Xeno’jiiva Armguards Beta
- Belt: Xeno’jiiva Waistband Beta
- Legs: Kirin Greaves Beta
Skills:
- Attack Boost Level 6
- Slingshot Capacity Level 3
- Peak Performance Level 3
- Health Boost Level 2
- Fortify Level 1
- Xeno’jiiva Set Bonus
Phase 4
- Head: Bazel Helm Beta
- Torso: Kirin Jacket Beta
- Arms: Xeno’jiiva Armguards Beta
- Belt: Xeno’jiiva Waistband Beta
- Legs: Xeno’jiiva Greaves Beta
Skills:
- Earmuffs Level 5
- Attack Boost Level 5
- Slingshot Capacity Level 3
- Peak Performance Level 2
- Fortify Level 1
- Xeno’jiiva Set Bonus
Can’t get enough of the Behemoth? No worries, a stronger one is coming soon:
At the end of August, an extremely strong Behemoth will arrive in Monster Hunter World

Your opinion is important to us!
Do you like the article? Then let us know!