
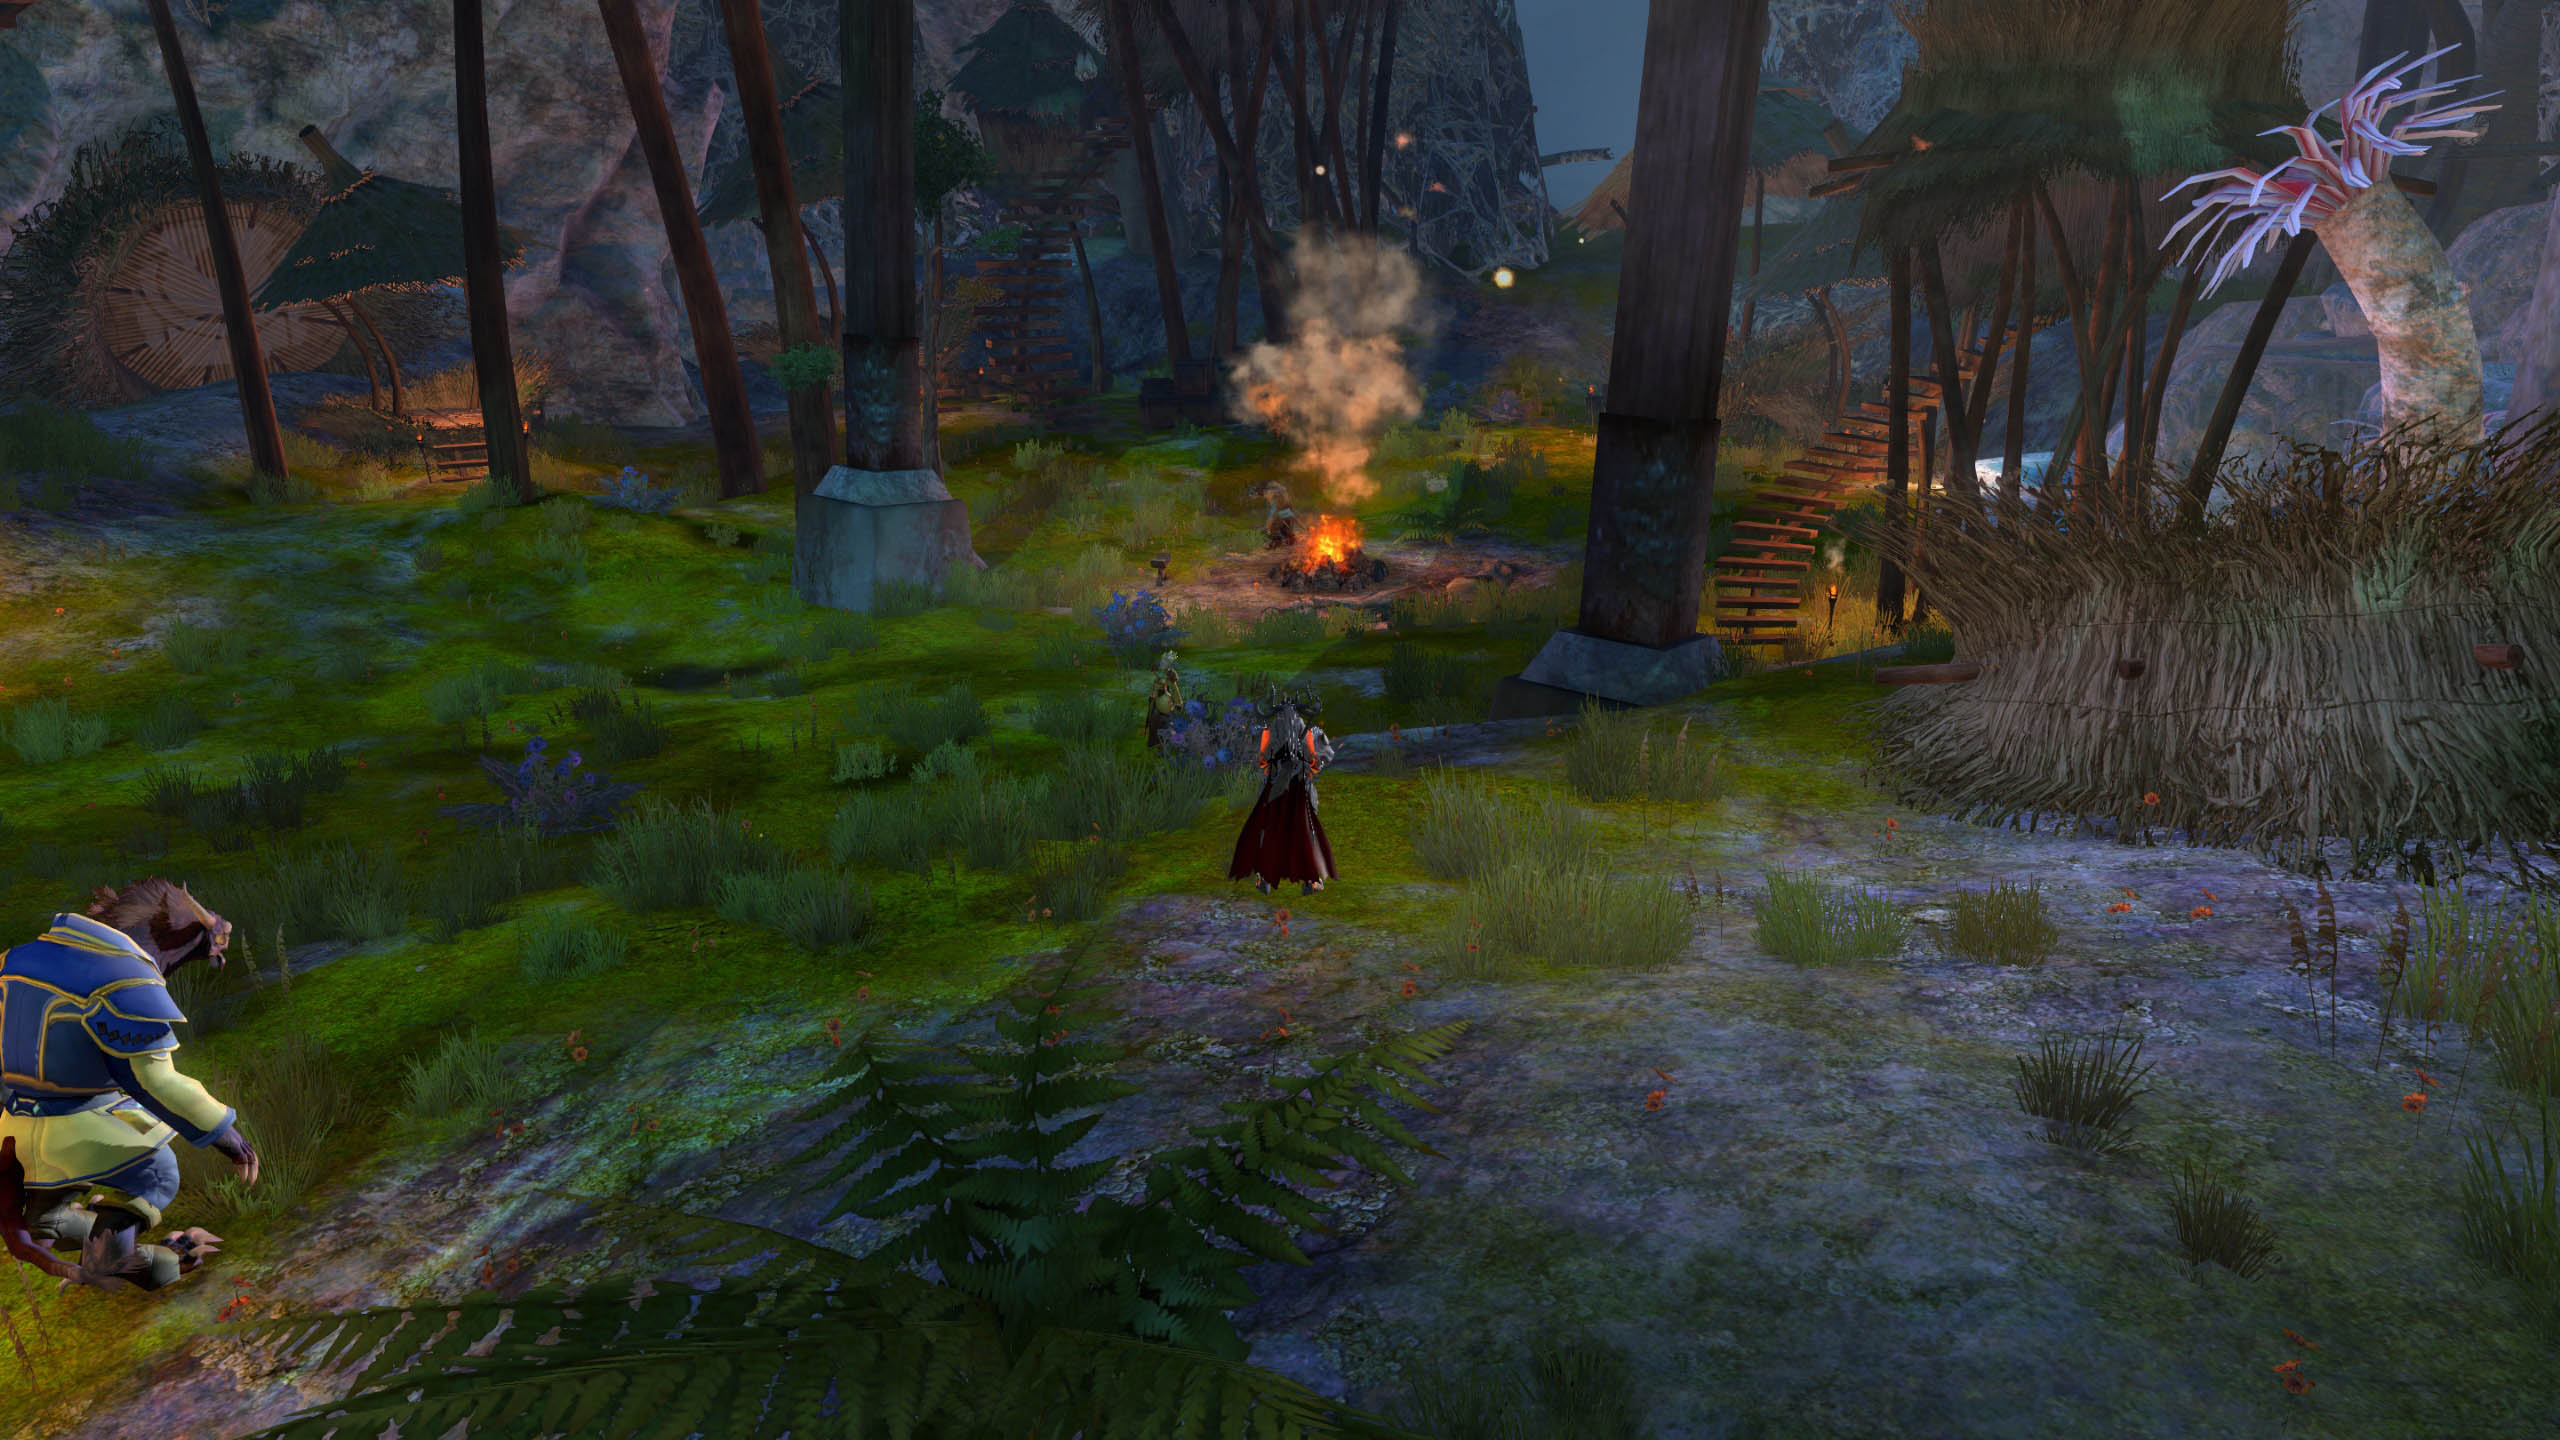
With GEMFX, both single-player and multiplayer titles can be graphically enhanced. Using Guild Wars 2 as an example, we want to introduce you to GEMFX.
GEM stands for Graphic Enhancement Mod and aims to improve graphics. This includes adjusting colors or contrasts and enhancing light sources. This software can be applied to almost any game, and we will explain it here for Guild Wars 2. If the game does not start or crashes immediately, it may be due to a faulty setting. Therefore, we recommend that when using the shader, you only make a few adjustments at a time and test it afterwards.
Can the account be banned?
Probably not, but there is never a guarantee. The reason is that no developer or publisher will grant permission to use external programs. Because then they would have to regularly monitor the application and check comparable software. Therefore, everyone is responsible for themselves and acts at their own risk. In general, such software is allowed as long as it does not provide an advantage.
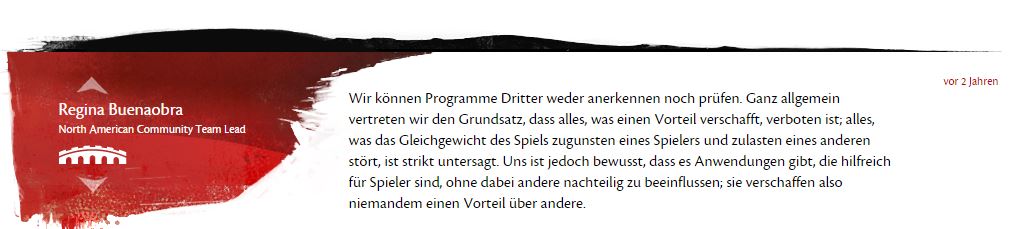
The only advantage that this software provides is a manipulation of the gamma value. This can be quite relevant in a PvP game. However, this option is already available in Guild Wars 2, so at least for this game, GemFX does not provide any advantages.
Furthermore, this topic is freely discussed in the official English forums. If the program were banned, such threads would likely be deleted or closed. However, regulations can change at any time. What is allowed today may be banned tomorrow. A certain risk remains.
On the internet, you can certainly find stories of people who were banned shortly after using the shader. You should not be overly alarmed by this. Especially with very recent bans, there is usually another reason. After all, there are ban waves, precisely so that you do not recognize why you are affected. Additionally, it is easier in the forum to claim that one was banned due to the shader rather than due to bots or gold buying. Therefore, such texts should only be read with a certain degree of skepticism.
Installation
First, the shader must be installed. This is quite simple. The program is downloaded from twcenter.net. Then the installer is started, and the “bin” folder is selected as the directory. So, for example, “C:ProgramsGuild Wars 2bin”. Afterwards, Guild Wars 2 must be restarted.

In the stated bin folder, there is a file named “GEMFX_Configurator,” which is needed to adjust the shader. We activate it in the game. In the directory “..Guild Wars 2binGEMFXPresetscurrent,” the currently used settings are stored. If you want to test something new, it’s better to make a backup copy.
Now let’s focus on the application itself. First, the top tab “SweetFX” should be selected to adjust the key settings. Toggle is the most critical here because with the key there, you can (de)activate the shader in-game. The key is specified in the keyCode. The key “A,” for example, has 65. On mediaevent.de, you can find an input field further down where you can enter the key and output the keyCode.
Once that is done, everything must be saved using “Save Configuration.” By now, you should also start the game to experience changes in real time. Perhaps you will notice a difference, just don’t forget to press the toggle key. However, since this appearance is designed for the TW games, some further adjustments should be made.
SweetFX
With the software, we receive two shaders: GemFX and SweetFX. For starters, we recommend that you disable everything under GemFX by selecting “No GEM Shader” and remove all checkmarks under Additional Shader. This way, you can initially test SweetFX in peace.
SweetFX also has several shaders to choose from (tab SweetFX – General “Select Shader”). It is important that a checkmark is also set there if the corresponding shader is being affected. It only makes sense to change something under “Bloom” if the Bloom Shader has been activated under “General” beforehand. The settings are abundant and invite experimentation, and changes are not always predictable; for example, increasing the Brightness level can lead to the brightness being reduced instead of increased.

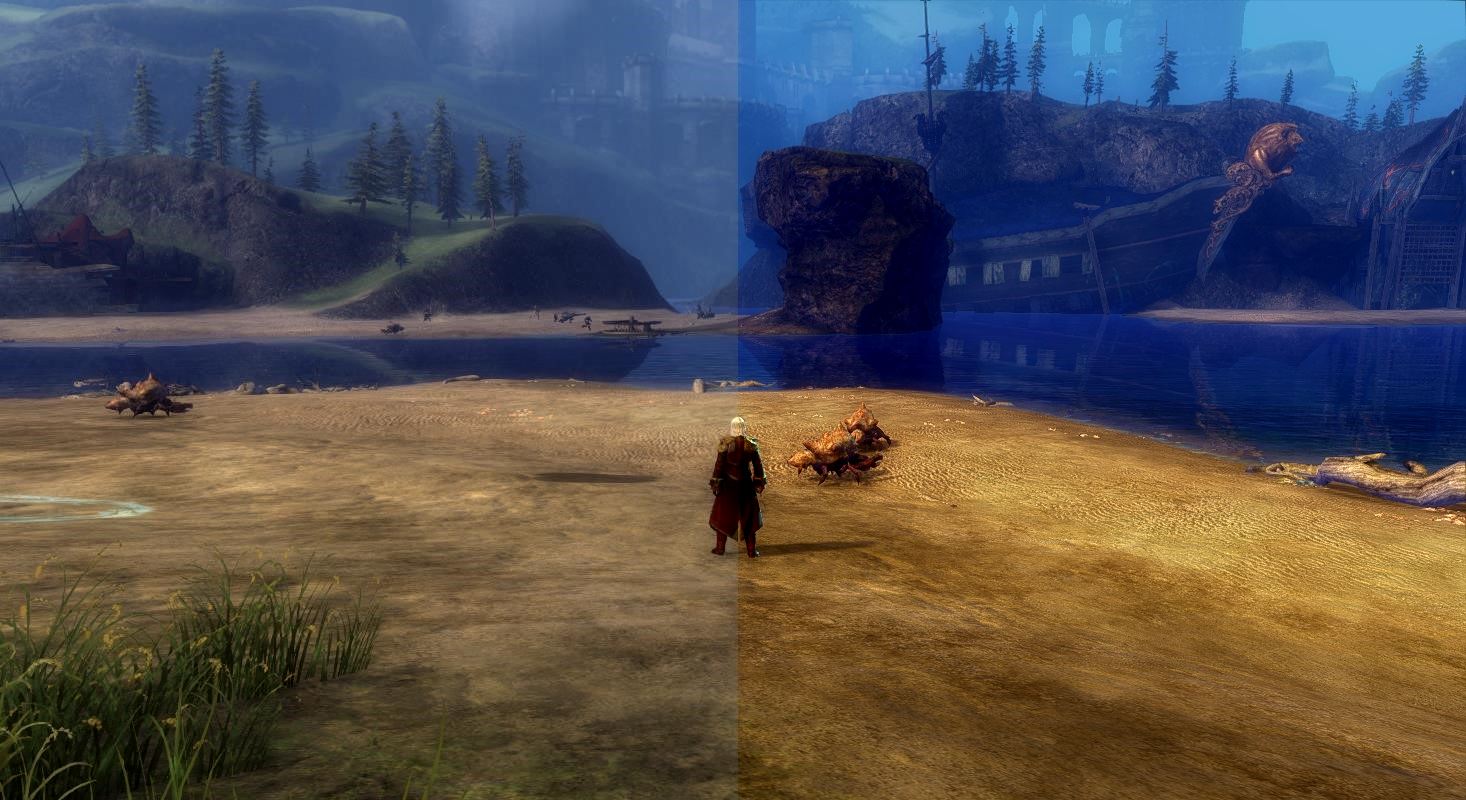
- SplitScreen: The image is divided into an area with and one without the shader. This way, you don’t have to constantly use the toggle key to see differences. The splitscreen is very noticeable, especially in connection with TechniColor.
- Explosion: All pixels are scattered. At low values, it makes it look as if you are looking through a frozen pane.
- Cartoon: Thick, black borders lead to a Borderlands-like style. For maximum cartoon effect, Power should be high and Edge low, around 1.
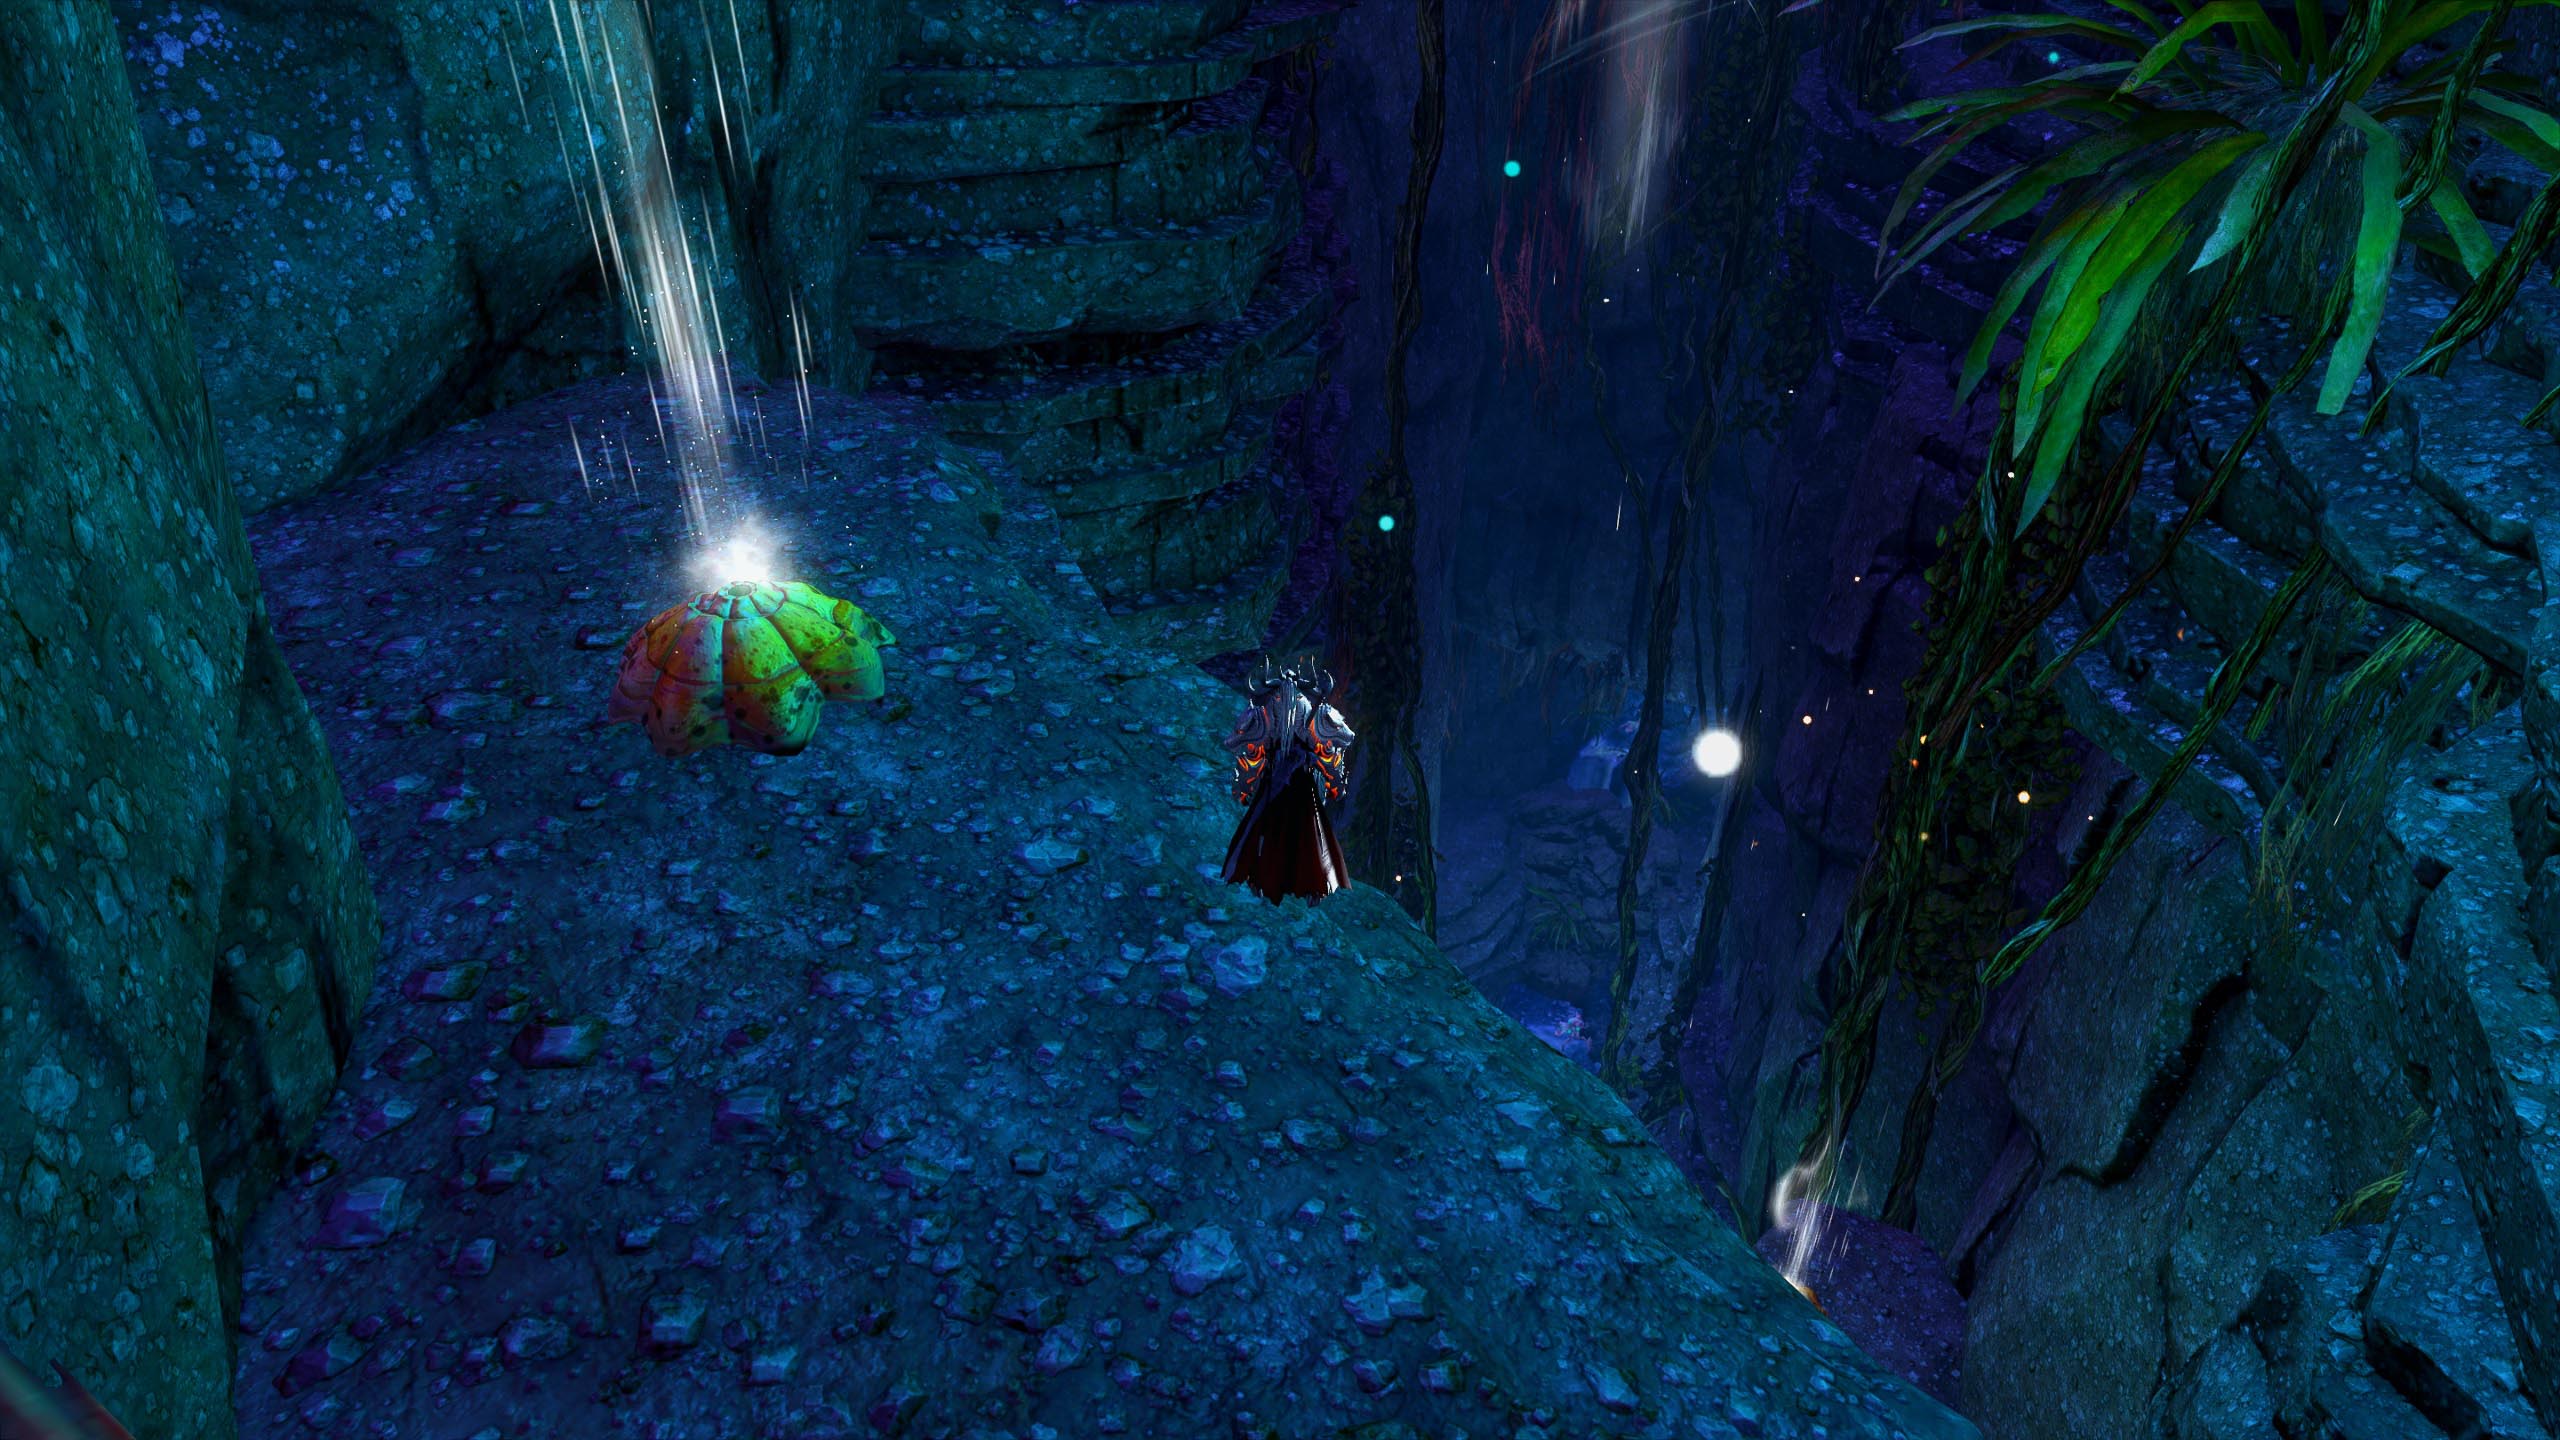
- Bloom: Bright areas become brighter, while dark areas remain as dark as possible. So it is more than just an increase in gamma. It is not very easy to see the difference using SplitScreen. The snowy windows in Hoelbrak, surrounded by dark wood, are suitable for this purpose. You can see that the windows are significantly brighter while the wood remains almost the same as without the shader.
- HDR: Bright and dark colors are represented better. Colors appear more intense. You can again play with the sliders; Radius should be less than Power. However, if you increase Power, you also need to increase the Radius. If you don’t, the image will become darker. Ideally, the Radius is at 0.8 to 0.9 and Power around 0.4-0.5 higher.
- LumaSharpen: The image becomes sharper and the details improve. However, this effect is hardly noticeable on its own.
- TechniColor: This creates the Technicolor effect used in early color films. If all sliders are around the middle, the image looks significantly bleached. RNegAmnt should always stay over 0 if the shader is active. Otherwise, the game will crash.
- DPX: The alternative to TechniColor. The advantage of DPX is that there are many settings, such as color and saturation. Especially in combination with the other shaders, this leads to very good results.
- MonoChrome: Black and white will be the dominant colors. Brightness can also be adjusted for this.
- LiftGammaGain: This allows for a detailed adjustment of the gamma value. Lift is for dark areas, Gamma for mid-tones, and Gain for bright areas.
- ToneMap: Numerous general image settings, such as saturation and gamma, are available. It is suitable for only minor changes.
- Vibrance: This allows the saturation of the 3 colors to be increased or decreased individually. Setting Amount to 0.4 and the Balance values to 1 makes the game particularly colorful. Definitely combine with HDR for even better graphics.
- Sepia: Saturation is reduced, and the image resembles old photos – under normal circumstances. Playing with the sliders gives the image a turquoise hue instead of yellow. All of this can also be combined very well with monochrome.
- Vignette: This adds rounded edges. Depending on the setting, it can look like you are looking through a hole.
- Border: It also adds edges; color and whether left/right or top/bottom can be chosen. The resolution is not changed, meaning parts of the image are simply covered.
A significantly more detailed explanation of the settings can be found on this page.
GemFX
Next, we turn to GemFX. The settings from SweetFX remain in place. Unfortunately, SplitScreen does not work for this; it does not show you all the changes. For almost every setting, you receive a tooltip in the black box at the bottom. Many adjustments are made with each shader, all of which can be modified in the further tabs.
- Base Shader: Allows for basic settings for RealisticColor and TrueColor: Brightness, saturation, etc.
- Additional Shader: This includes HBO, Gaussian, and Blur. HBO creates the color variations of HBO films. Gaussian provides numerous settings for Blur.
- FilmGrain: This is meant to make the image grainier. However, it seems that it does not work, as there are no visual effects.
- Lightning: GodRays, AmbientLight, AnamorphicFlares, and LensFlares can be found here. AmbientLight must be active to use the other lightning shaders. This improves light sources. To see an effect, intensity and limit need to be significantly increased.
- DirtLens: DirtLens is clearer. When looking at a light source through it, it appears as though you are looking through a dirty lens. The light refracts and brings slight color deviations.
- MotionBlur: This is the corresponding motion blur effect for quickly moving objects.
Your creativity is required
Now that all shaders have been addressed, you can start right away. Begin with small steps to make the changes manageable. Start with SweetFX, as it offers significantly more settings. Finally, you can use some of the additional shaders from GemFX, such as the lens effects.
Have fun testing!

Your opinion is important to us!
Do you like the article? Then let us know!