
In Bless Online, there are many dungeons that reward brave players with diverse loot. We have the essential information for you so you can complete the dungeons quickly: We have maps of the dungeons and details on the loot available there. What enemies can you expect and what level are the instances suitable for?

The dungeons in Bless Online serve several important functions:
- You will gain a lot of experience points, helping you shorten the level grind.
- You will receive rare equipment that increases your equipment level.
- In dungeons, you will find recipes and resources.
The first two dungeons of each faction can be completed solo by players. Starting from level 31 dungeons, you will need to look for companions for your adventure.
Where we gathered our information: In Bless Online, there are 8 dungeons in the normal version. Some players have already written guides for selected dungeons, but we have dived into the exclusive dungeons of Hieron and diligently noted the boss mechanics. For the high-level dungeons Migra Turis and Patala Ruins, we have collected information from the Japanese version of Bless Online.
Guiscardo’s Hideout (Union)
Level: 13
Equipment Level: 1655

What loot is available?
- Blue recipes
- Green equipment (Level 19)
- Copper
- Trash items
- Dungeon points
- Gem fragments
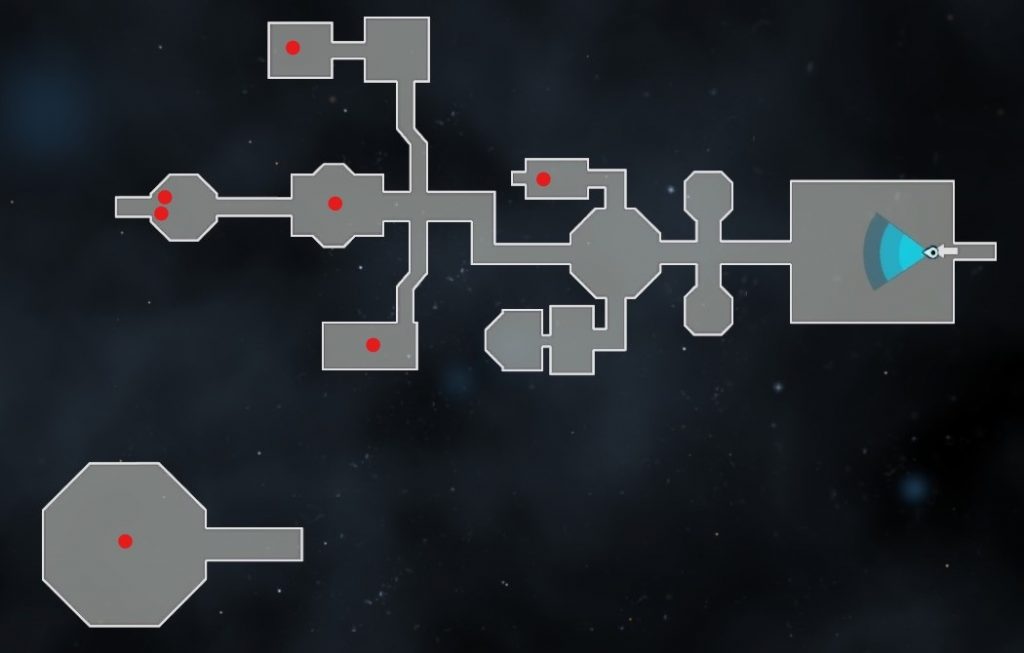
Dungeon mechanics: The enemies in the dungeon are not dangerous. Simply take them out one by one and make your way to the bosses. The dungeon does not have any special mechanics.
Chief Jailer: No special mechanics.
Right-Hand of Guiscardo: During the fight, the boss raises his right hand in the air, creating an AoE area around him that causes medium to high damage. Try to move out of this area to avoid the damage.
Guiscardo: Guiscardo also raises his right hand during the battle and creates an AoE area that deals damage. In addition to his area attack, he calls elite military dogs for assistance. Try to take them down before they become too many.
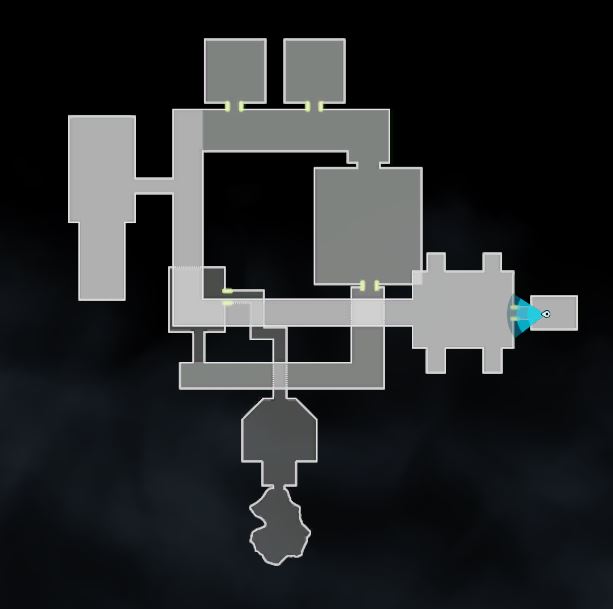
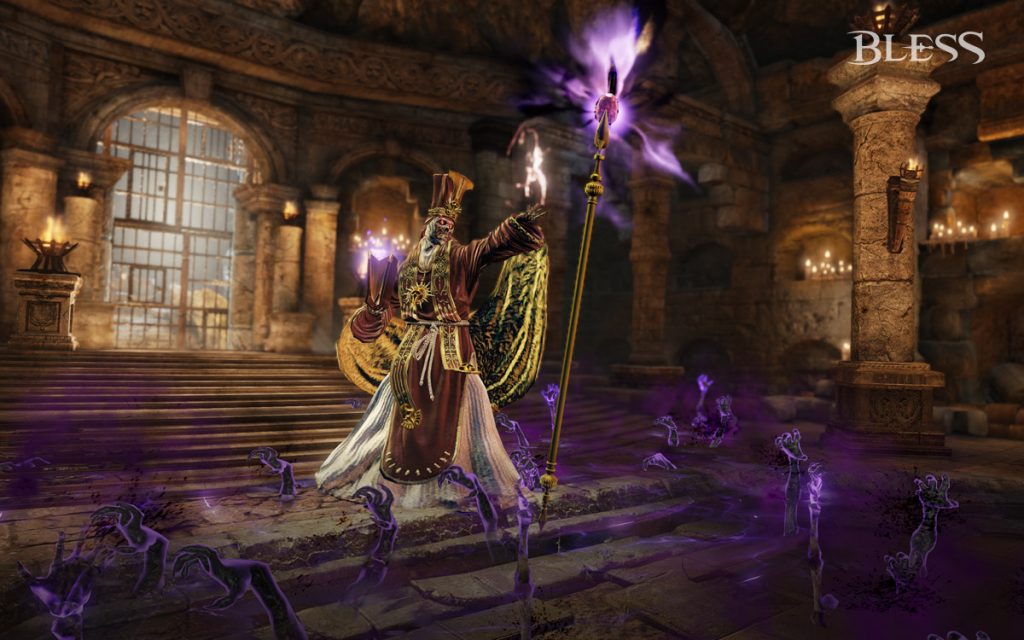
Underground Prison of Balmont (Hieron)
Level: 13
Equipment Level: 1655
What loot is available?
- Blue recipes
- Green equipment (Level 19)
- Copper
- Trash items
- Dungeon points
- Gem fragments
Dungeon mechanics: The enemies in the dungeon are not a significant challenge and can be easily dealt with. Watch out for the glowing tripwires and the hidden traps in the ground.
Drychin Stillet: This boss has no special mechanics. Just be careful not to walk into the traps at the edge of the combat arena.
Heinz Quizle: The boss has an AoE attack that causes damage in a circular area around him. He is also supported by a few mobs during the fight, which you should take out.
Starving Sattheit: The boss is assisted by many corpse flies, which you should take out before they become a problem.
Sleeping Scale Remains (Union)
Level: 22
Equipment Level: 2284
What loot is available?
- Blue recipes
- Crafting materials
- Blue equipment (Level 23)
- Dungeon points
- Gem fragments
Dungeon mechanics: Watch out for mad spiders during the dungeon. These are small enemies that roll on the ground. Once you attack them, they can explode in an AoE attack and deal high damage. The spiders alone won’t kill you, but if other mobs are nearby, it can get dangerous.
Predator Worm: An easy boss without many mechanics.
Anaconda: The anaconda has an attack that stuns players and blocks abilities for a few seconds. Charged abilities will also be interrupted.
Parrot of Memory: The boss places an AoE attack on the ground that should be avoided. During the fight, Parrot will apply 8 stacks of a shield on itself that prevent any damage. At the same time, it will place a Crystal of Memory. If players interact with it, they will receive the “Happy Memories” buff, which allows them to remove stacks of the shield when hit for 16 seconds.
Black Sun Commander: During the fight, the boss calls various mobs to assist him. He also targets a player and follows them with an AoE attack. The affected player should move the attack away from the other players.
Chief Themasu & High Shaman Chitly: You first fight against Chief Themasu, followed by High Shaman Chitly. Chitly will place circular AoEs during the battle that you should avoid.
Descendant Kuatrana: The boss has no special mechanics.
Mausoleum of the Wise Ones (Hieron):
Level: 22
Equipment Level: 2284
What loot is available?
- Blue recipes
- Crafting materials
- Blue equipment (Level 23)
- Dungeon points
- Gem fragments
Dungeon mechanics: In the dungeon, you encounter Mausoleum Watchmen, who project a red area in front of them that petrifies you if you stand in it. Wandering Souls also appear, who may either attack you or apply a buff that lasts 60 seconds and can stack up to 3 times.
The buff grants you:
- +5% attack and movement speed
- 3 seconds of health regeneration
Researcher of the Wise Ones: The boss creates Blood Fiends that attack you. Each time a Blood Fiend attacks you, the boss regains health.
Rotten Specimen: To reach this boss, one of the two Detainment Facility doors must be opened. You acquire the keys by defeating the Wandering Souls and examining their remains. Speak with the Imprisoned Soul and select the option “I’ll release you”.
During the fight, the boss creates a large puddle beneath his feet that slows you down and deals damage. He also emits a poison cloud around him that inflicts permanent damage as long as you remain inside it.
Enraged Specimen: You will also need a key for this boss. Speak with the Imprisoned Soul and select the option “I’ll release you”. Avoid his area attacks. If you inflict any damage on him, he will enter a rage mode that increases his attack and attack speed. This lasts only a few seconds.
The Restless One: The boss dives into the ground and appears a few seconds later beneath you. This attack causes high damage but stuns the boss for a few seconds. During the fight, he summons a sphere that you should destroy. The sphere will spawn Unstable Wraiths otherwise. He also has a strong attack where he strikes the ground in front of him with 3 bone scythes.
Predator Caligula: Caligula creates dark spheres that slowly move towards you. Definitely avoid them. At some point, he will dive into the ground and create a Bitter Specimen that slowly moves toward you and explodes after a certain time. Either avoid it or kill it as quickly as possible.
Lich Tiberius: He creates a dark puddle beneath you that inflicts permanent damage. Additionally, Silent Degenerates assist him in exterminating you.
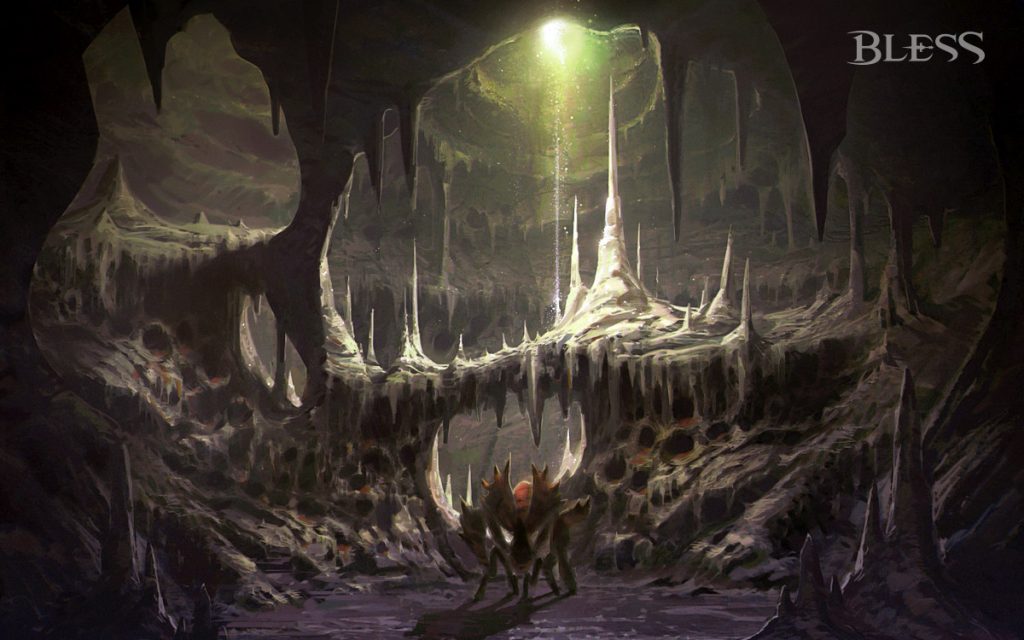
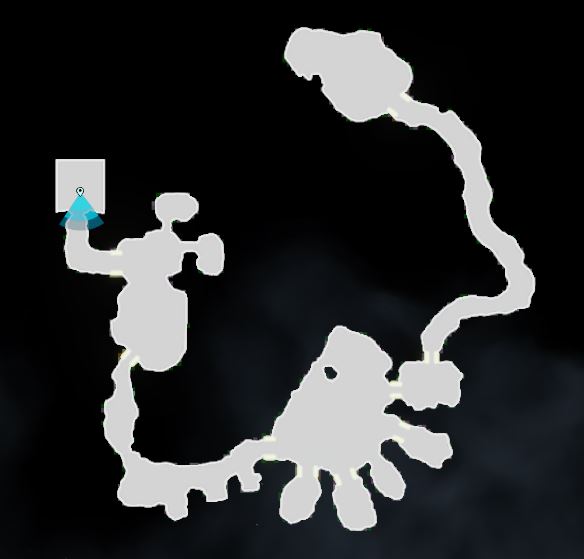
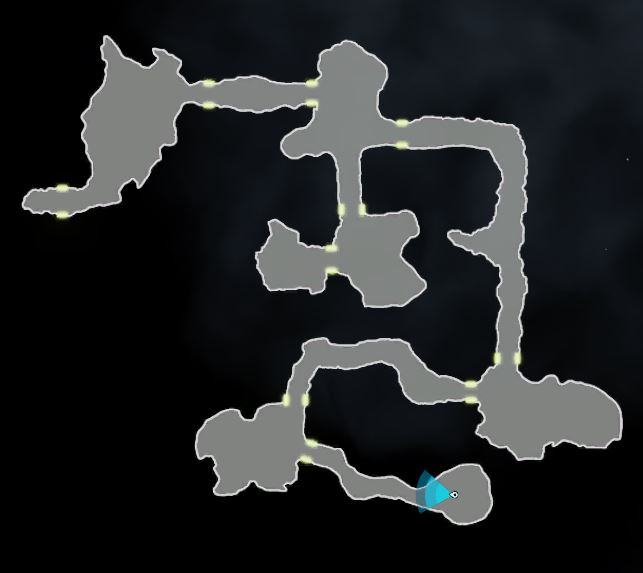
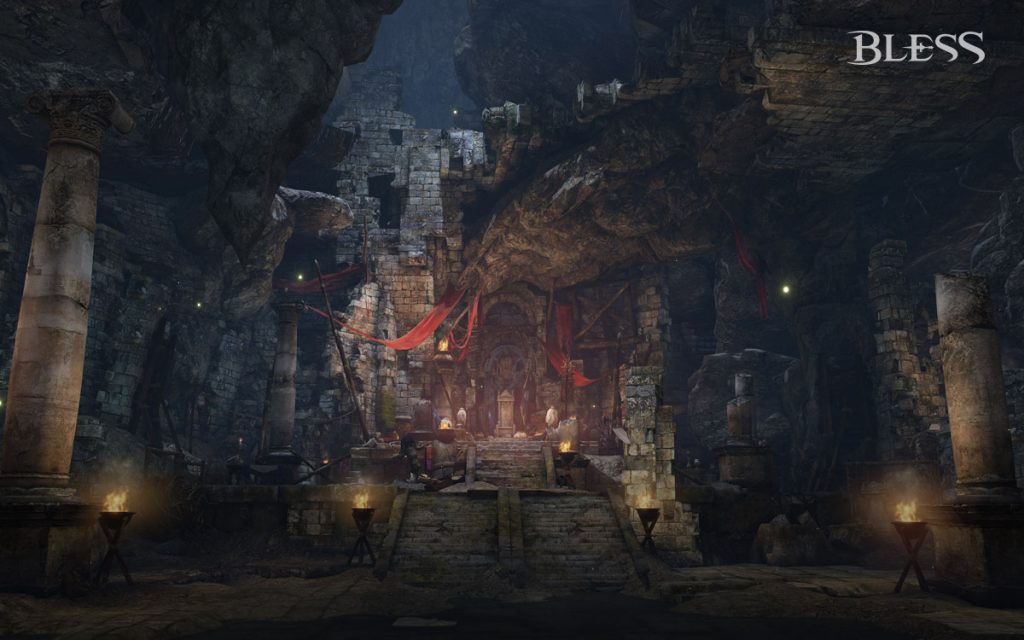
Urutus Mine (Normal):
Level: 31
Equipment Level: 3500

What loot is available?
- Blue equipment
- Rare crafting materials
- Gem fragments
- Dungeon points
Dungeon mechanics: Avoid the numerous traps in the dungeon to prevent high damage.
Roisia Mimbre: She creates a golem during the battle that randomly attacks a player. The group should try to focus on Roisia. Once she dies, the golem will also disintegrate into dust.
Serma Suppressor: This boss fight is more of an event. Once you activate the Suppressor, numerous Auxiliary Resistance mobs will appear, which you should take out as quickly as possible. Toxic clouds will emerge around the fight area, dealing damage over time to players standing in them.
Forester Bardo: Just avoid his marked attacks and kill him.

Markel Hedin: As soon as you enter the room, you should notice the three floating stones behind him. It’s best to lure him away from the stones while fighting him. As soon as his health falls below a certain value, he will go to the leftmost stone in the room.
Try to destroy the stone; otherwise, the boss will get a buff. Markel Hedin will visit the stones from left to right one by one throughout the fight to gain strength. During the fight, the boss will shout “I curse all of you” and create several AoEs. Keep away from the red-marked areas, as these will deal high damage.
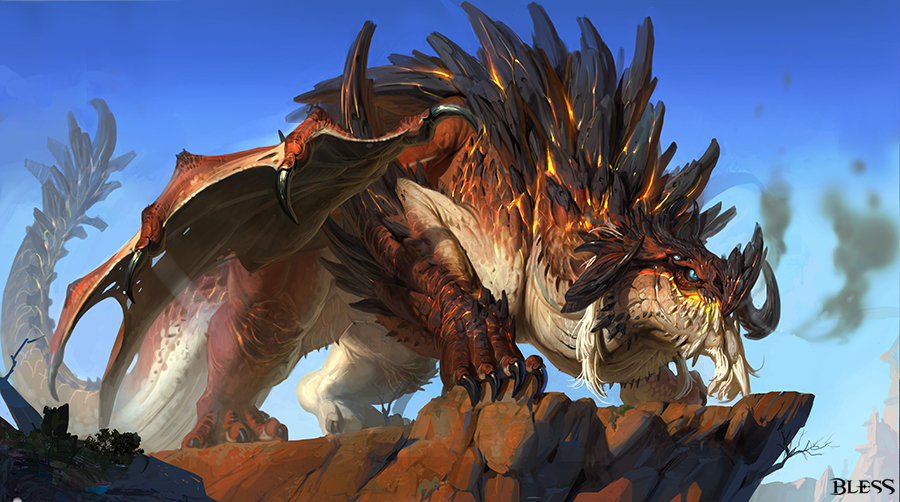
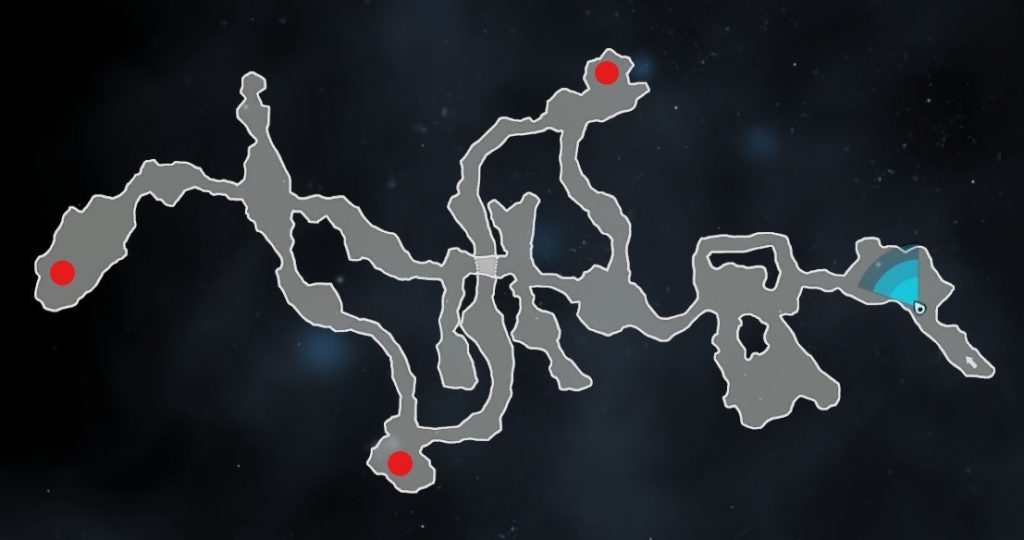
Kobold Hideout
Level: 37
Equipment Level: 4196
What loot is available?
- Blue equipment (Level 37)
- Gem fragments
- Dungeon points
Dungeon mechanics: Wyvern eggs are scattered throughout the dungeon that you can destroy. Also, large swarms of baby dragons are waiting to be taken out by you.
Wyern Tamer Klu: The boss uses a war horn whose area attacks stun you. Once he takes some damage, he starts throwing firebombs that cause damage over time in an area.
Snitch: When the boss swings into the air, he will shortly after deal an attack to the ground that spreads in 8 directions from him. He has a leap attack in which he jumps from player to player, dealing area damage. Also, try to avoid his tail swing.
Trained Wyvern: When the boss rears up and wings, he shortly after uses an attack that causes fire damage in straight lines in front of him. With his breath, he can petrify players, taking them out of the fight for a short time. When the boss has dropped to about 30% of his maximum health, he will dissolve, and the small boss Dirkrook will appear.
Dirkrook: When the boss screams “Explode”, dynamite sticks will appear throughout the room that explode after a few seconds.
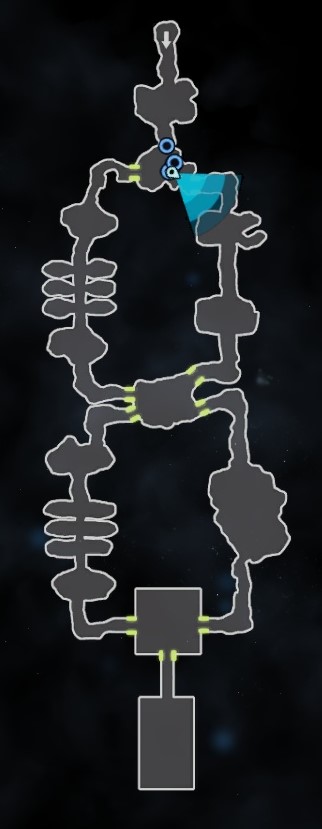
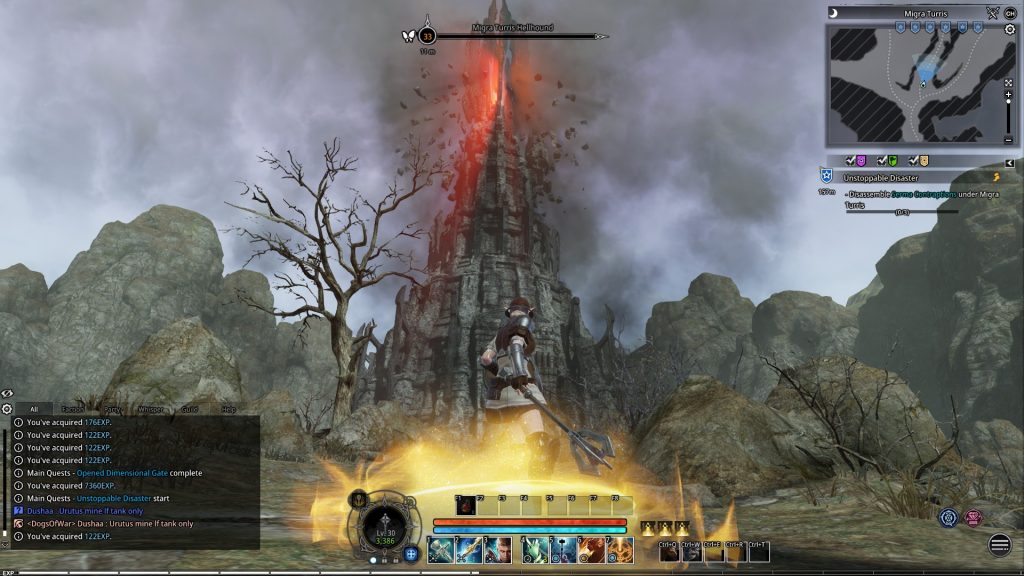
Migra Turis (Normal)
Level: 45
Equipment Level: 6190
What loot is available?
- Crafting materials
- Purple equipment
- Gold bars
Dimension Gate General: The boss creates a laser that deals damage in a straight line in front of him. Gate General also has a nasty attack that petrifies a player. Guardian players should do their best to reduce the damage to other players.
Master of Seduction: She creates purple circles on the ground. Try to prevent her from stepping into these circles. Occasionally, she will taunt a player. Try to evade the attack with your dodge ability. She places a debuff on a random party member. Damage dealt by the member to the Master of Seduction heals the boss instead of inflicting damage.
Narghile: The boss creates circular AoEs scattered across the room but leaves spaces between them. Pay attention to the boss’s calls during the fight.
- “If you want to live, stop!”: Do not move and be aware of the upcoming AoE attack
- “If you want to live, dance!”: Do not stop moving. Use abilities that you can use while moving.
Sometimes the boss frightens a player. Use your dodge ability to evade this attack. This does not count as movement.
Impudent Balog: The boss starts the fight with a cone-shaped AoE. Avoid the tornadoes that appear everywhere in the boss’s room. Healers and damage dealers should stay in a corner of the room to better avoid the tornadoes. Sometimes the boss pulls all players towards him and starts charging an AoE attack. Run out or let your tank use a shield ability. When the boss has only half of his health left, he will unleash a star-shaped AoE that deals damage and throws all affected players into the air.
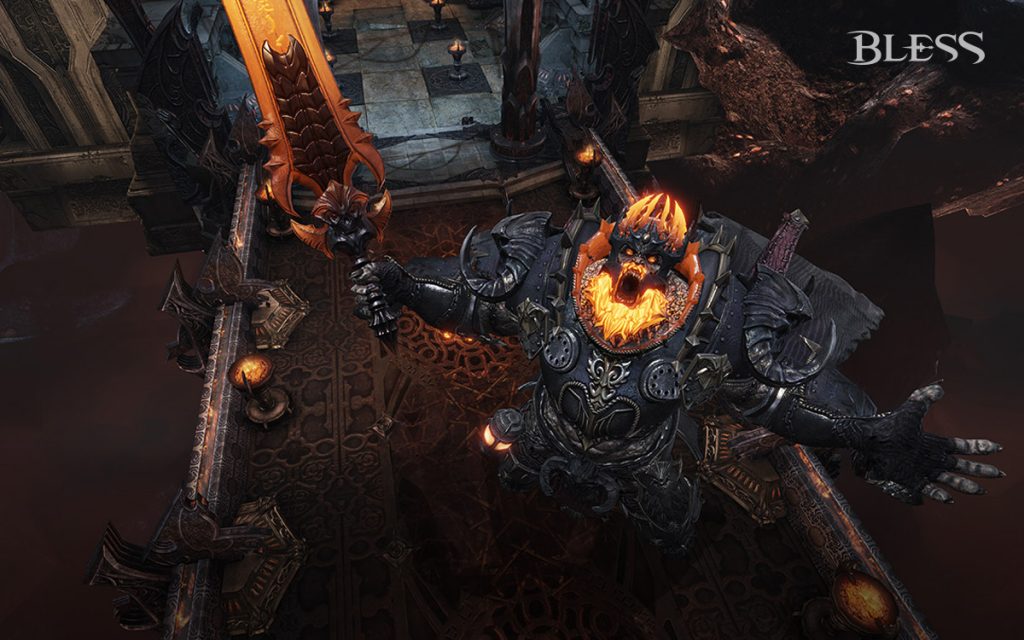
Lord of Fire: Try to position yourself about 12 meters away from the boss. You can see the distance when you click on the boss. This way, you can better avoid his two circular AoEs that he projects around himself. He creates a Red Flame Spirit that deals 9000 damage to each player if not silenced and destroyed.
When the boss shouts “You will see the power of the army of darkness”, he channels an ability. A player must silence the boss; otherwise, he will summon adds to his aid.
When the boss drops to 60%/30% of his maximum health, he will create flames all over the room. Look for a blue light; otherwise, you will die.
Patala Ruins
Level: 45
Equipment Level: 6190
What loot is available?
- Crafting materials
- Purple equipment
- Gold bars
- Pets
Dungeon mechanics: In the dungeon, living water drops fly around. As soon as you see them, you should destroy them because they cause area damage.
Frosty Blade of Bala: Avoid his AoEs. The boss creates ice crystals that send out wave attacks. Stay in them until you have 5 frost stacks. Once he says “The Storm will Judge You”, he will unleash his ultimate attack. As long as you have 5 frost stacks, this attack will freeze you, significantly reducing the damage you take. The ultimate attack will consist of 8 waves. Use your defensive ability after the seventh wave to free yourself from the frozen state, as the boss takes more damage after the ultimate attack.
Vanshiel 9-th Wave: First kill the two warriors to his left and right. The boss creates purple AoE areas on the ground. Try to concentrate these purple effects in one area of the room and do not let yourself get hit.
Mad Prisoner Havasha & Krod iron Tail: Havasha will throw poison on the ground. The tank must pull Krod through the poison. Once Krod has 10 poison stacks, he will freeze and take high damage. First kill Krod, and once he falls, deal with Havasha.

Statue of Mahabali: Stay close to the Empowered Device. As soon as the boss fires his frontal AoE at the Device, focus all your damage on the Device. Once it is destroyed, run behind the appearing pillar and kill the appearing adds. Once all 4 Empowered Devices in the room are destroyed, phase 2 of the boss fight begins.
Now you attack the statue in the middle. It will randomly freeze a player. When that happens, stay close together to reduce the damage you receive.
Guard Towers: These are not technically a boss. In this room, several guard towers continuously bombard you. Simply follow the marked path and take out the turrets marked with a star.

Brokadis Rapid Stream: The boss creates a small electric cloud above your head. Once it appears, run to the edge of the arena to get rid of the cloud. Then dive back into the fight.
During the fight, she will unleash a circular AoE that spreads in increasingly larger waves from her. You will need to take two hits, so do not try to run away. Use your dodge/block abilities to avoid additional damage.

Your opinion is important to us!
Do you like the article? Then let us know!